
March 2013 – At anchor in the Bahia de Navidad Lagoon.
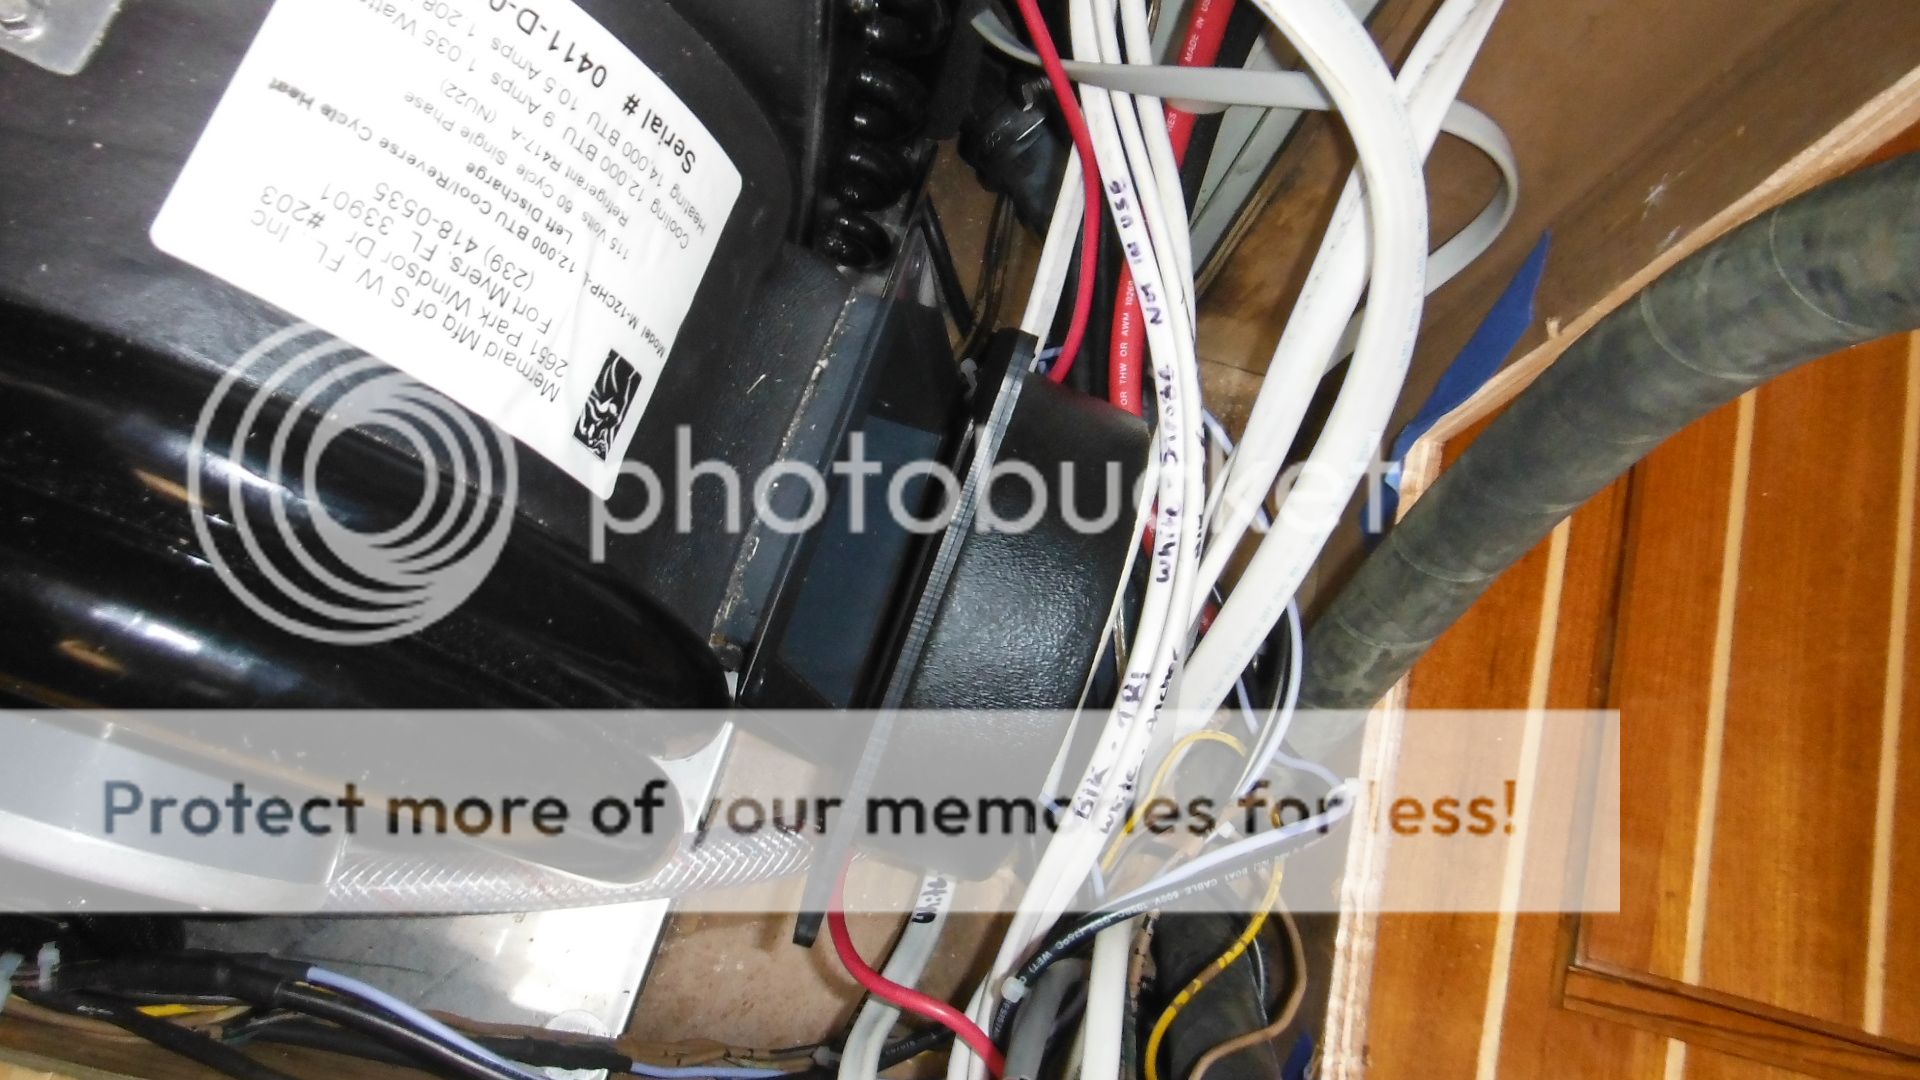
The Mermaid Marine Air 12000 BTU unit that sits in the salon. The Mermaid Marine Air 5200 BTU unit is installed and working in the stateroom and head. Both are completely separate from each other for back up.
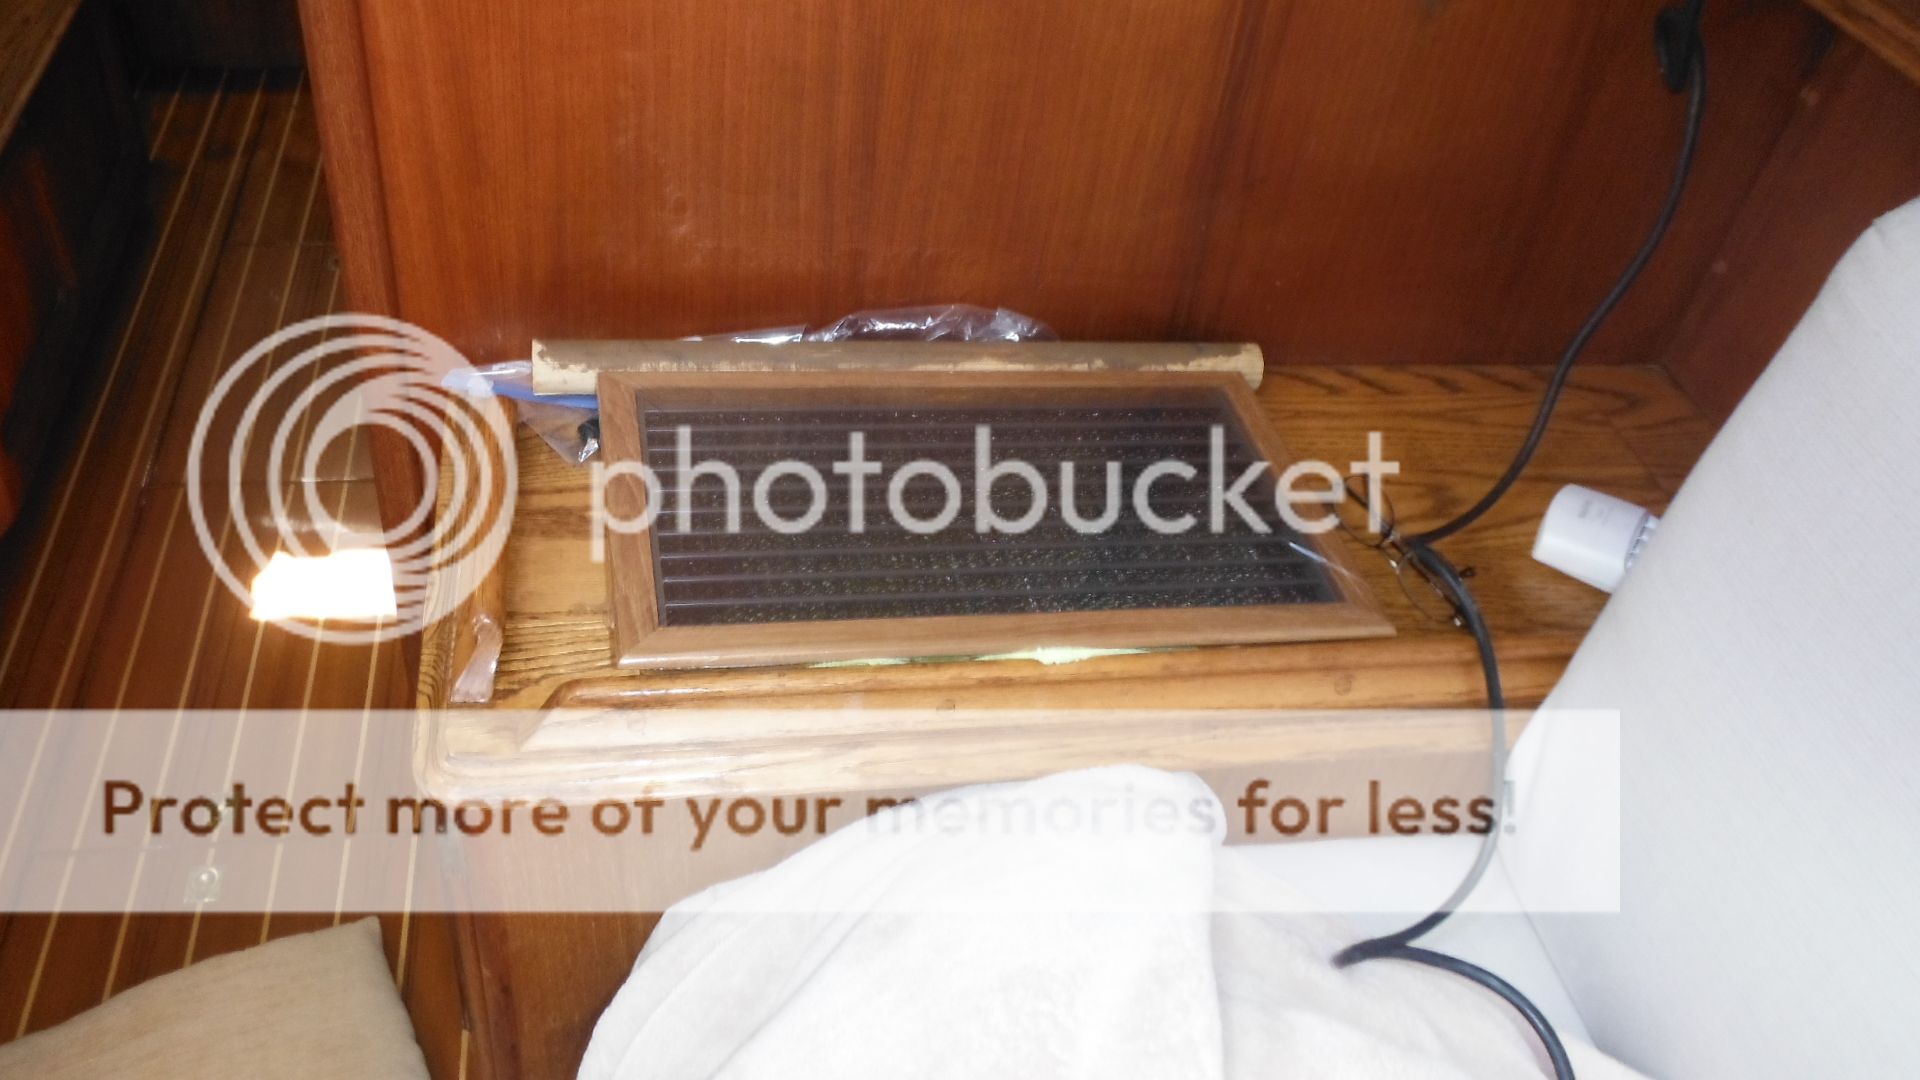
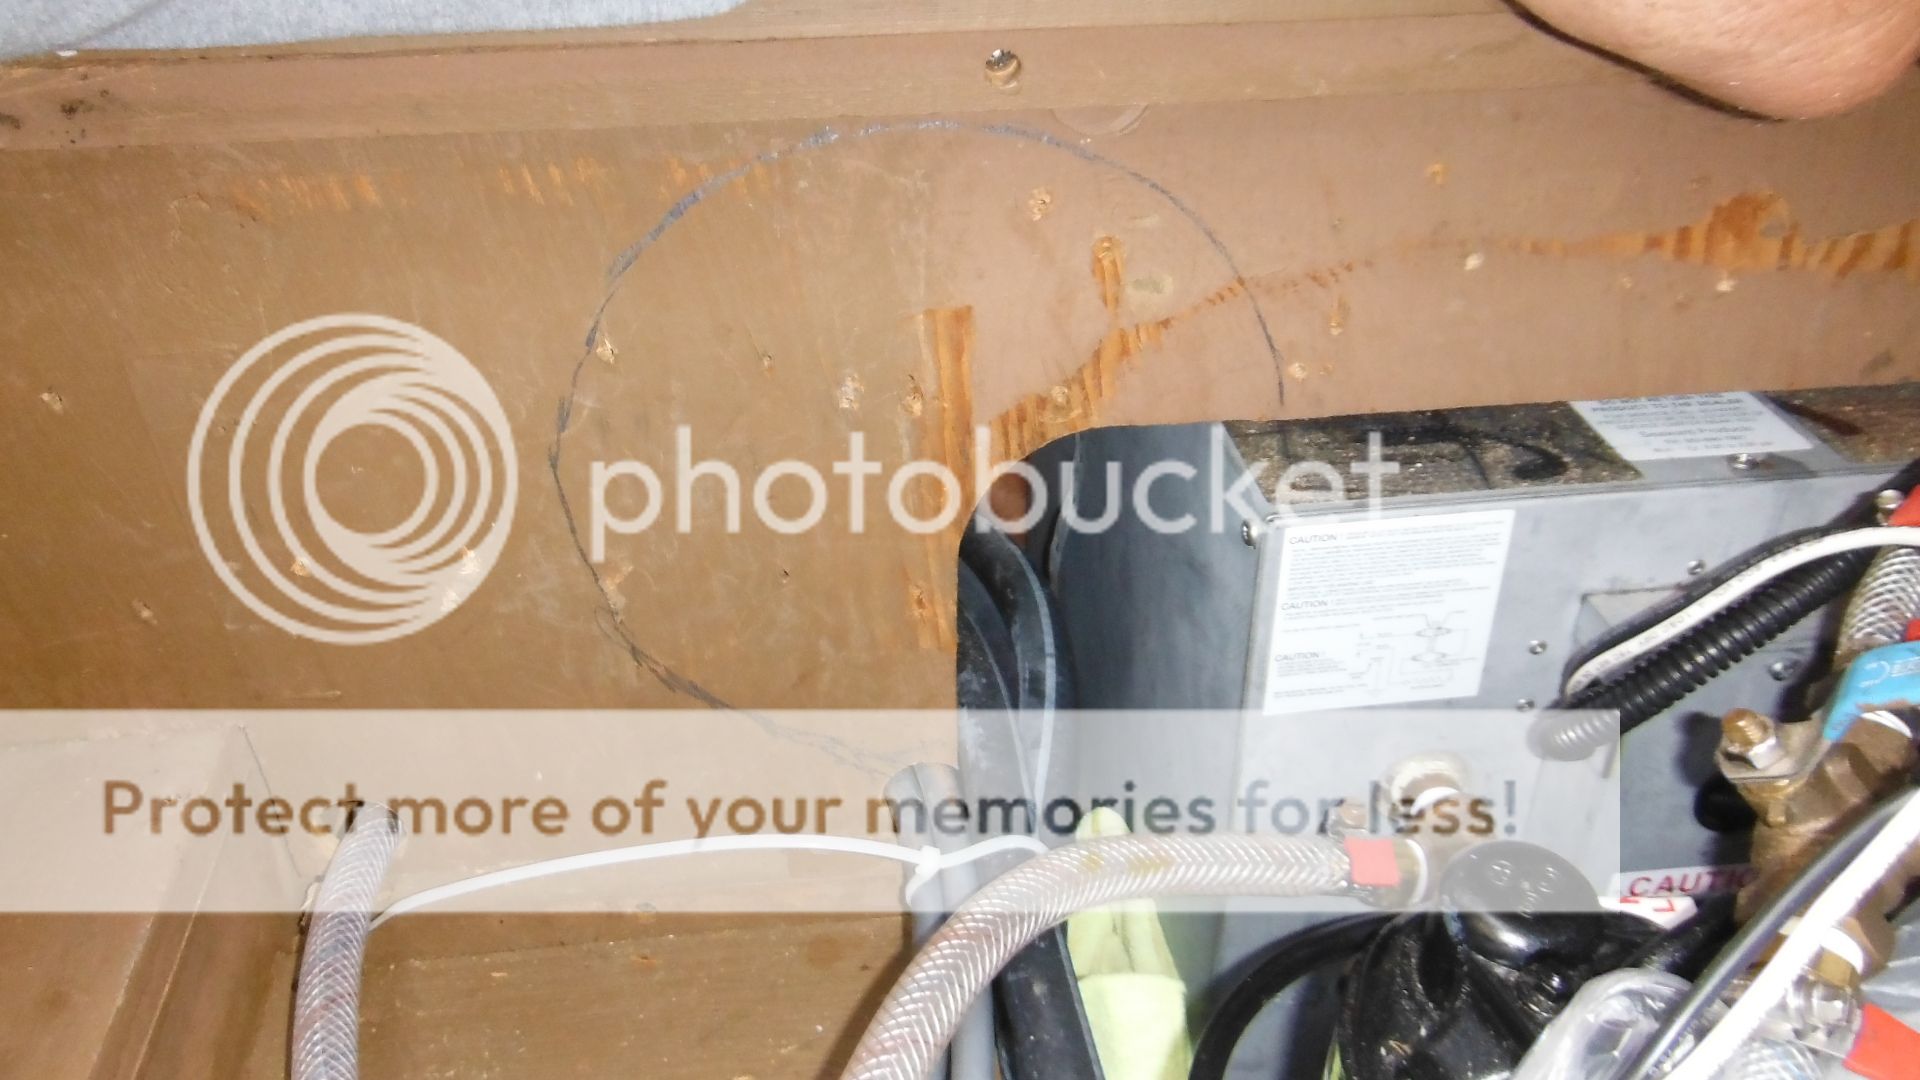
First we decided to install the supply grill. This is the grill that the Mermaid Marine Air HVAC and Heat (HVAC) unit uses to get the air to cool from. We are definitely limited by space on the locations of all this as it being a boat and an old boat at that.
First Debbie cut out
a template for the outside and a second one for the insert part for the inside.

We had to re-locate or at least move for now the mast
wiring.
Debbie held the engine raw water loop hose out of the way while the cuts were being done.

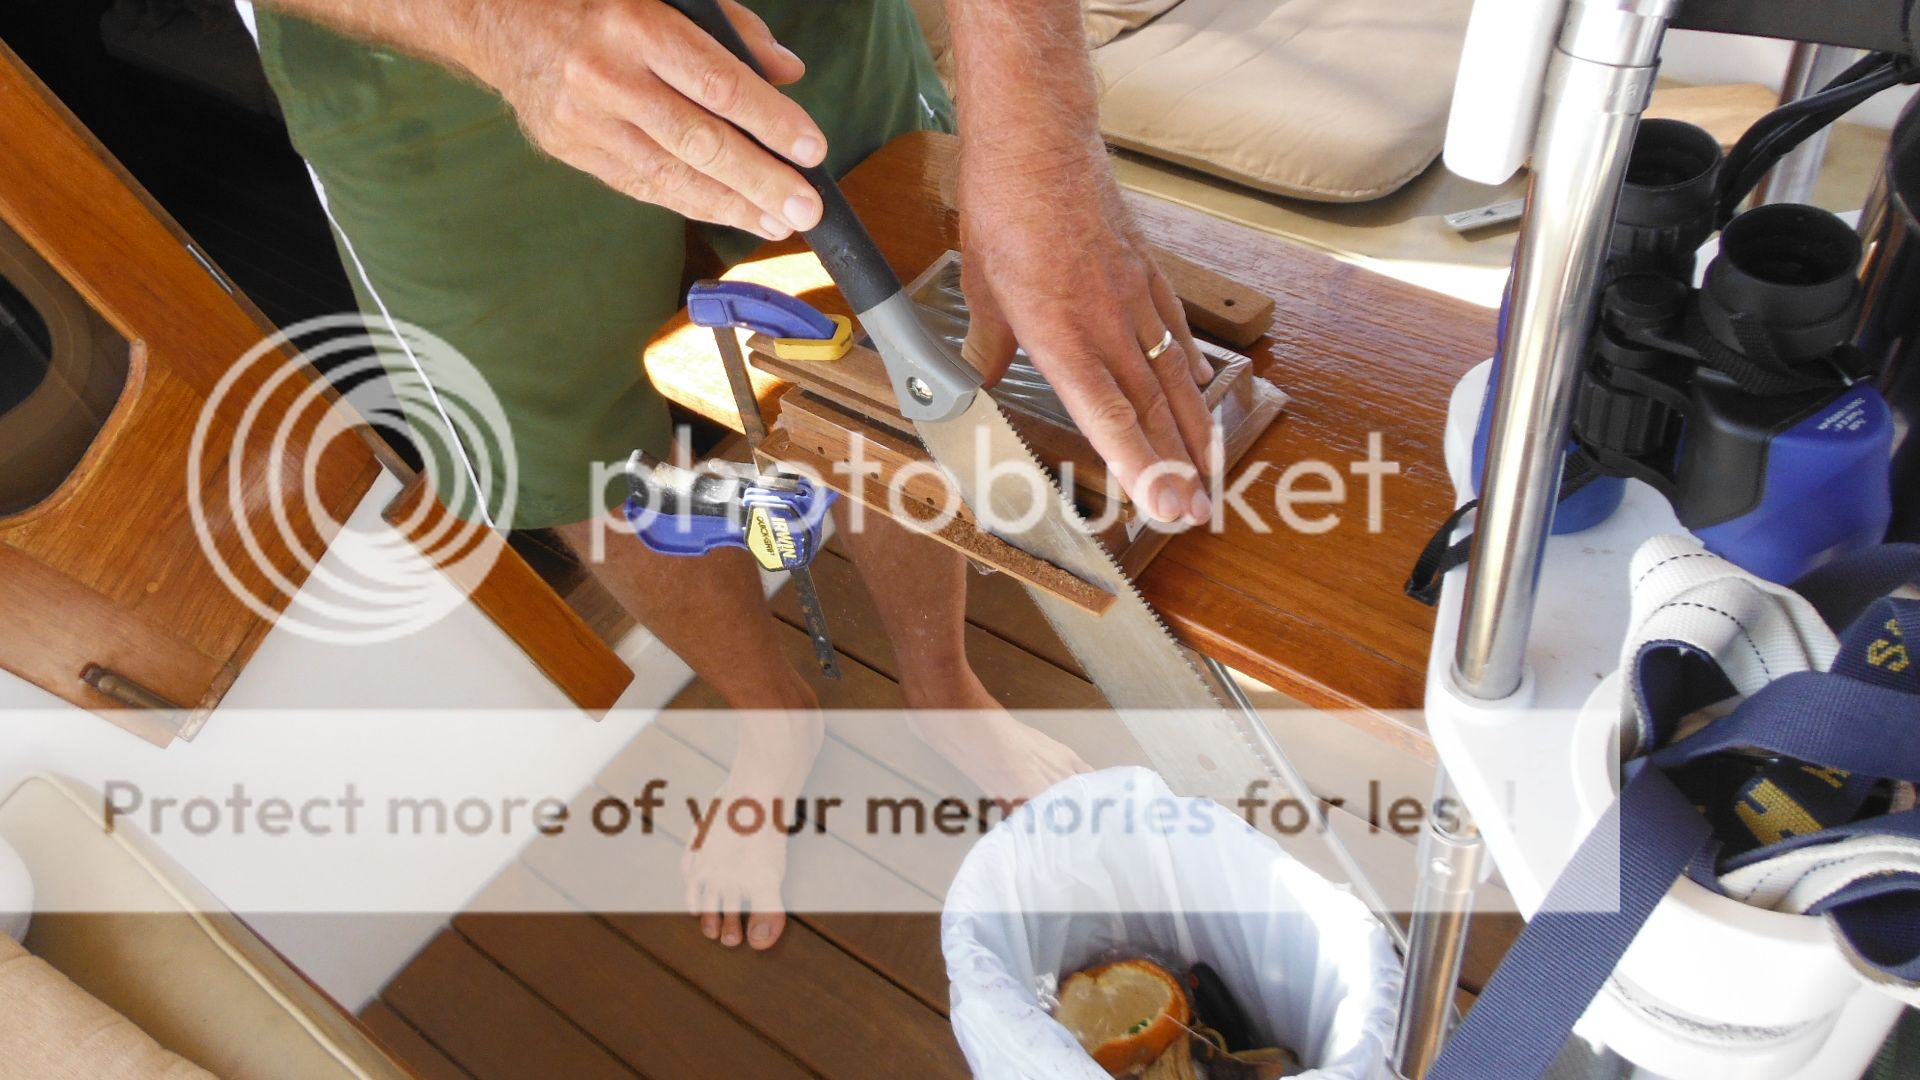
We had space to work so we drilled a few holes and used a jig saw then the Japanese saw.

The we put some teak oil on the grill so it would blend it
better for now.


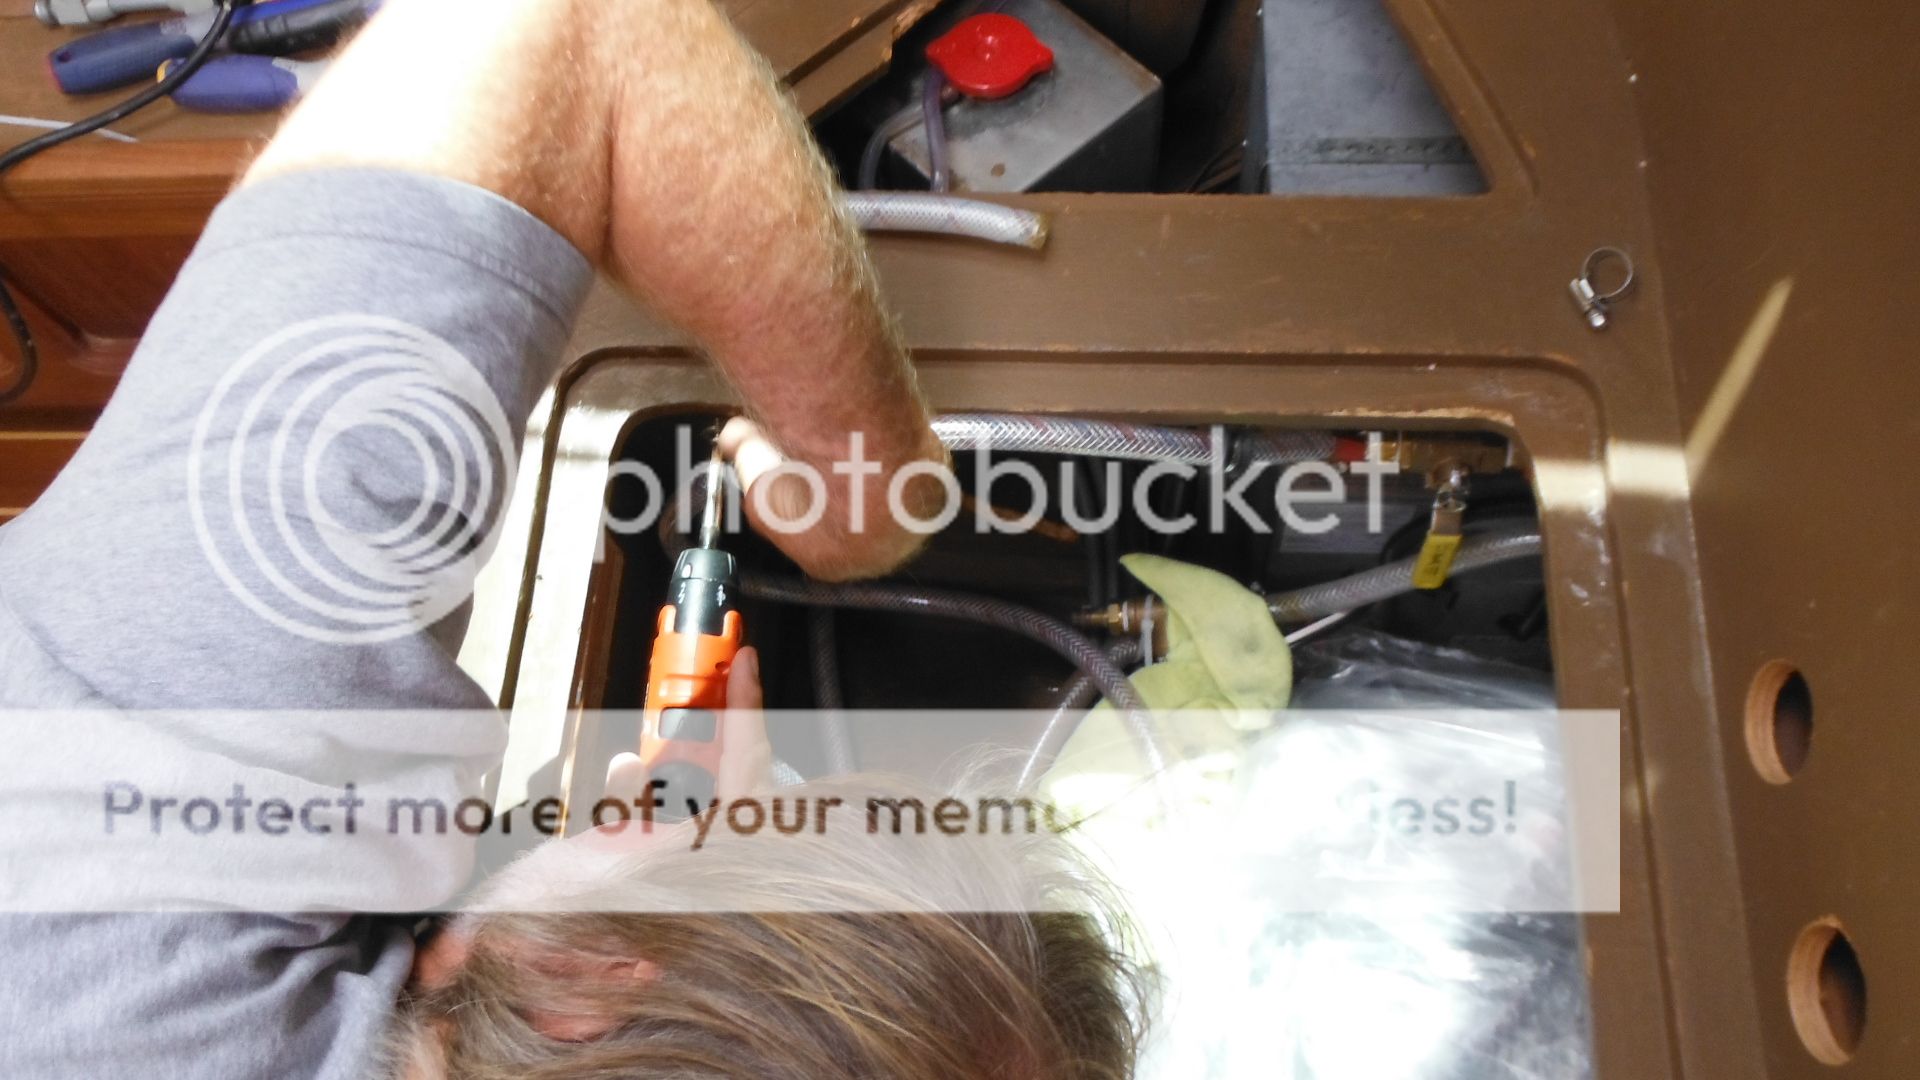
Next Debbie hunted down some screws and lock nuts and regular nuts
and washes for the ducking flange from the HVAC. She then temporarily
installed the flange.
We then did a mock up of how we want the ducting to run. The
HVAC unit has some requirements as to how far the first duct can be from the
unit and what size it must be, also how many ducts need to be installed.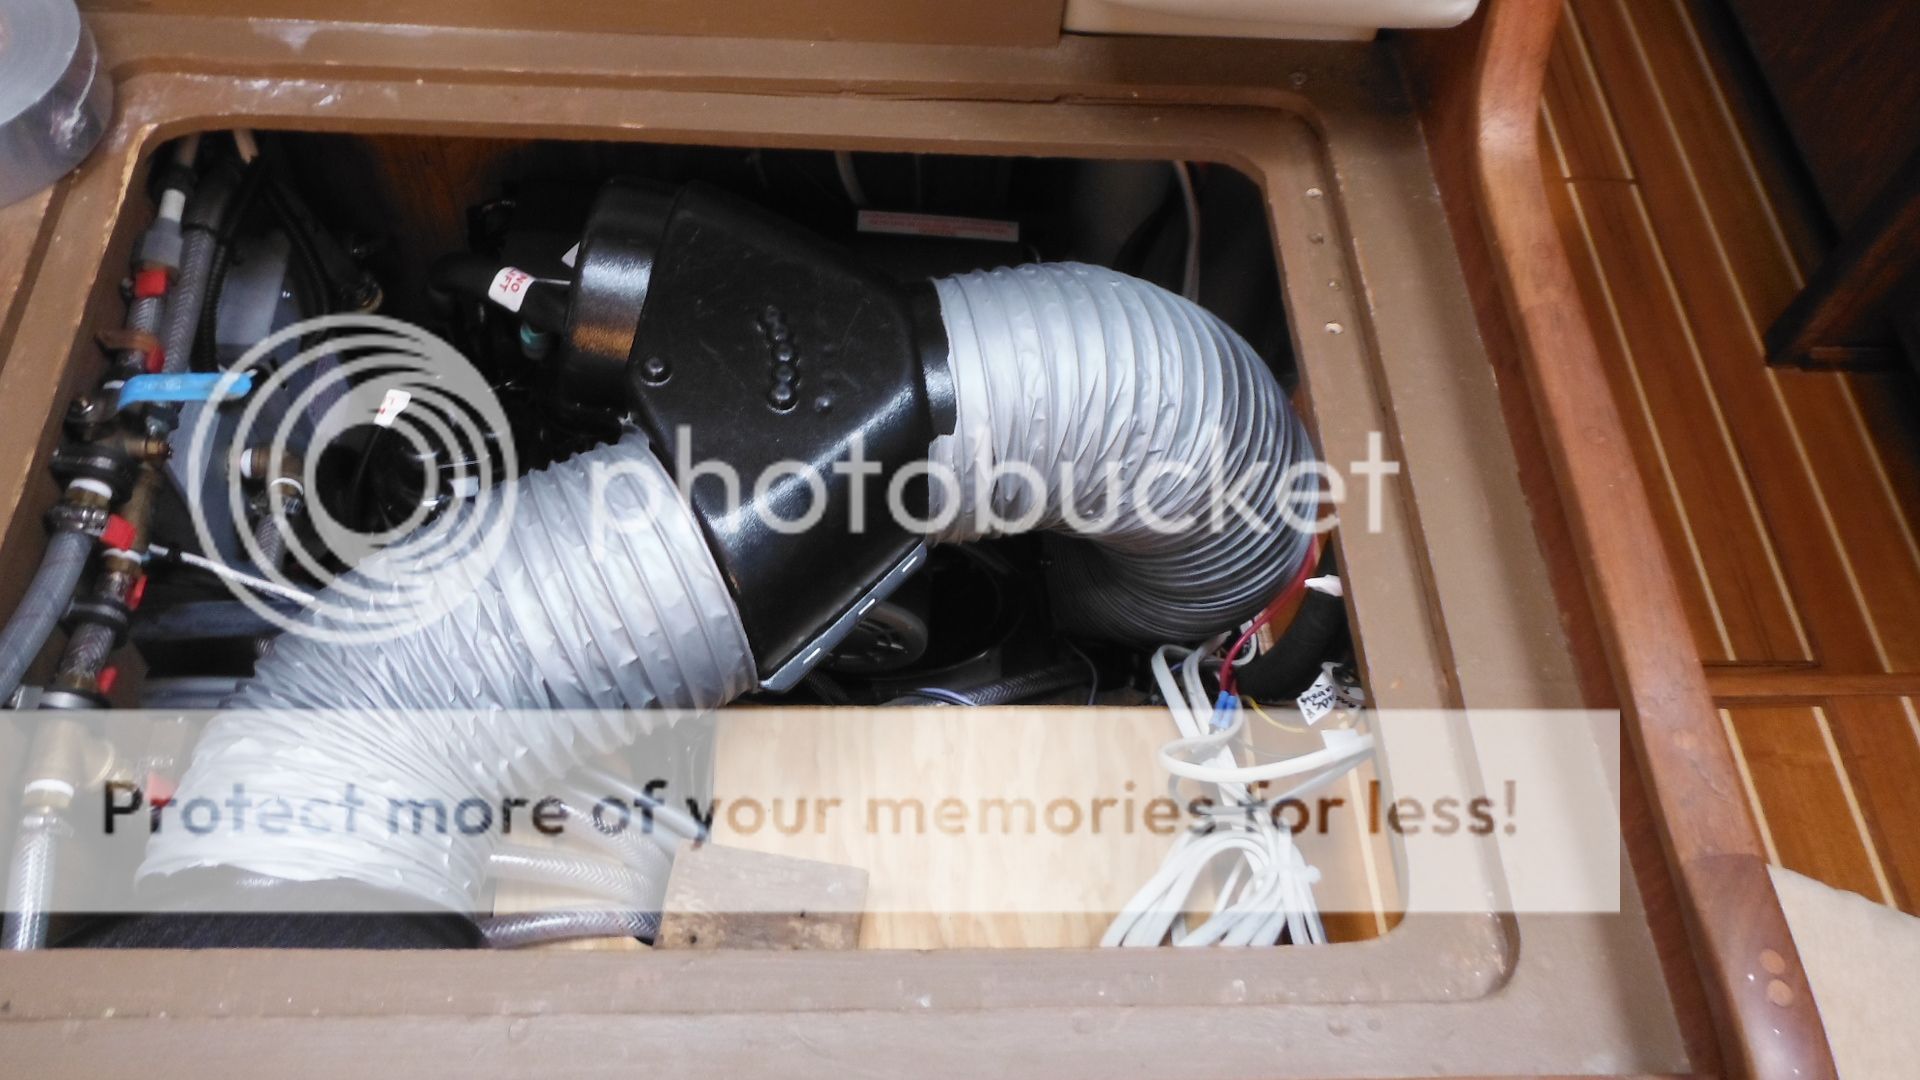
Debbie then made a template of the insulated ducting size for the hole we needed to make. The ducting that is silver we hope to not use (as it's not insulated). If we have enough insulated ducting we will use only that. The silver ducting was easier to work with for mapping out the ducting.
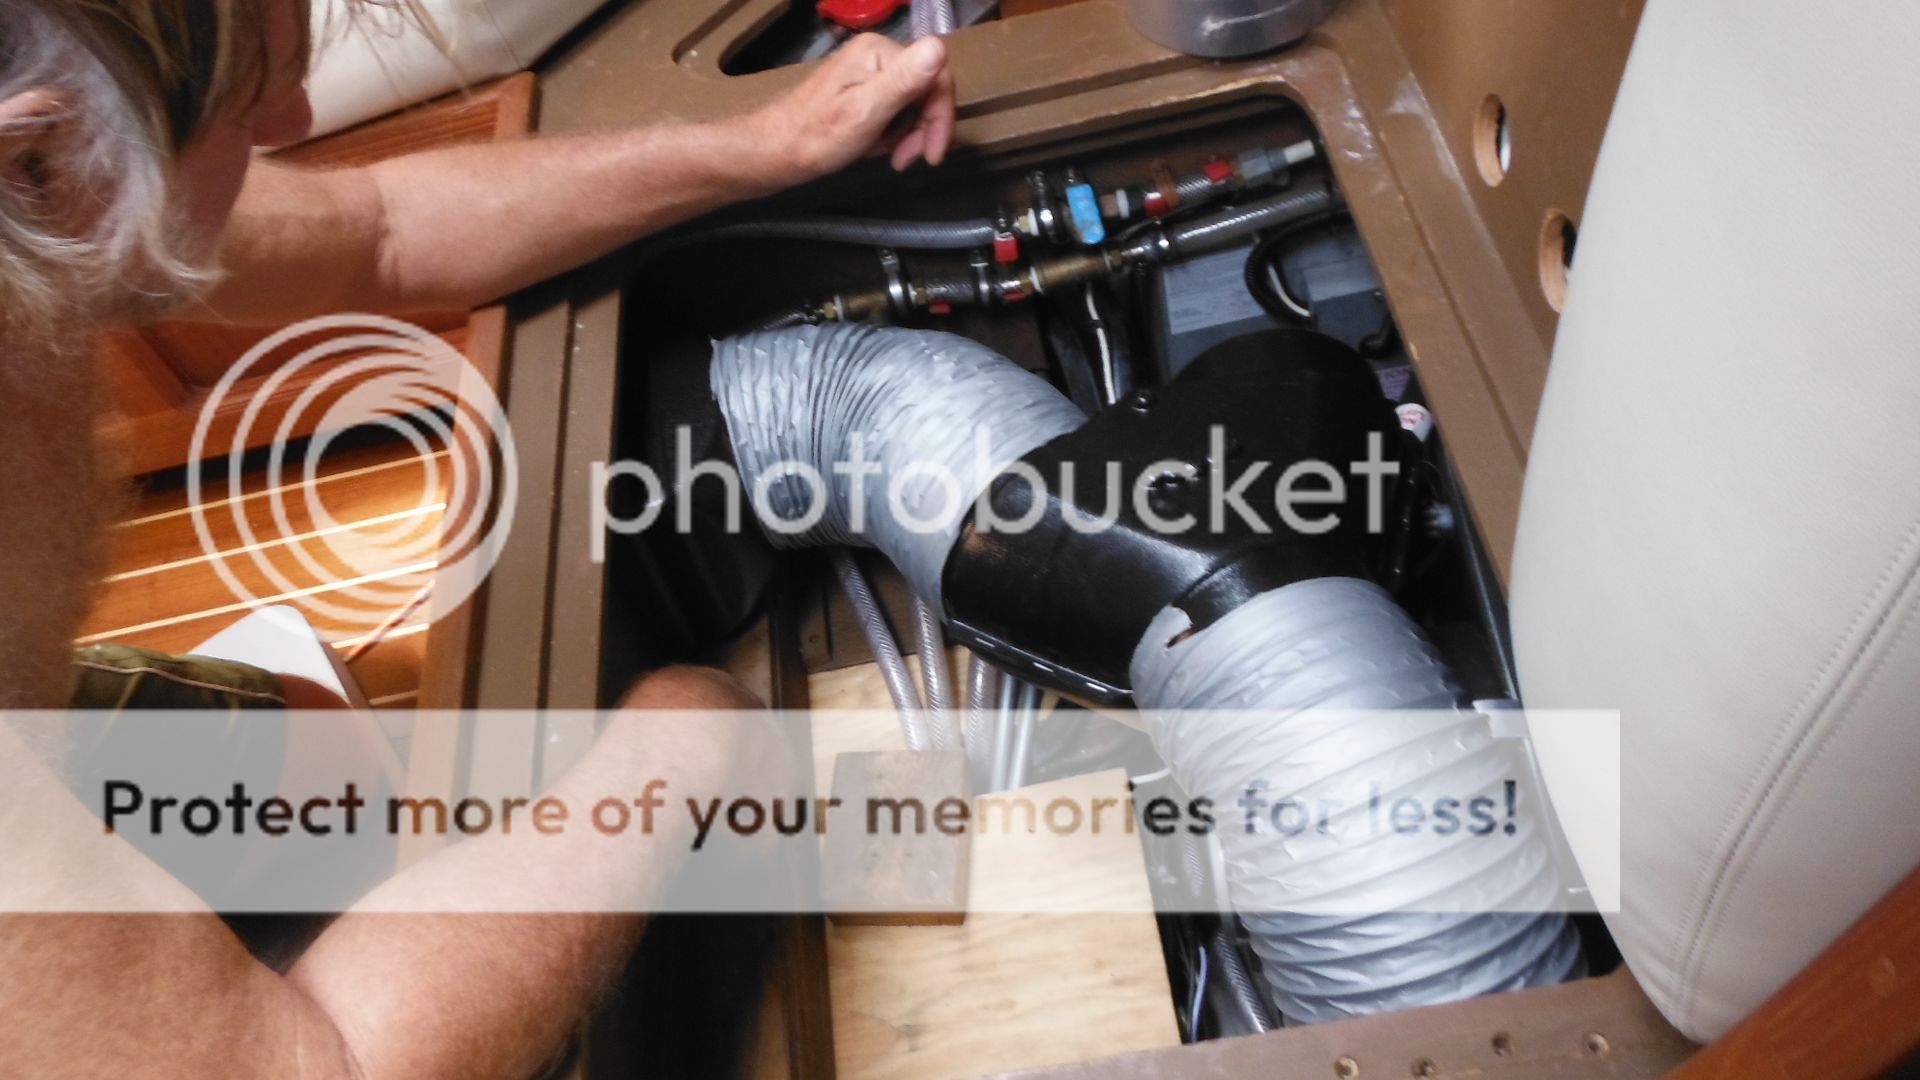
Now we had known how we wanted to run the ducting before it was just a matter of if we really could and exactly where it would go so we could make the cutouts.

We also had to cut one side off the teak grill so we could fit it in. This you can not see unless you get on your knees and we will finish it off nicely.
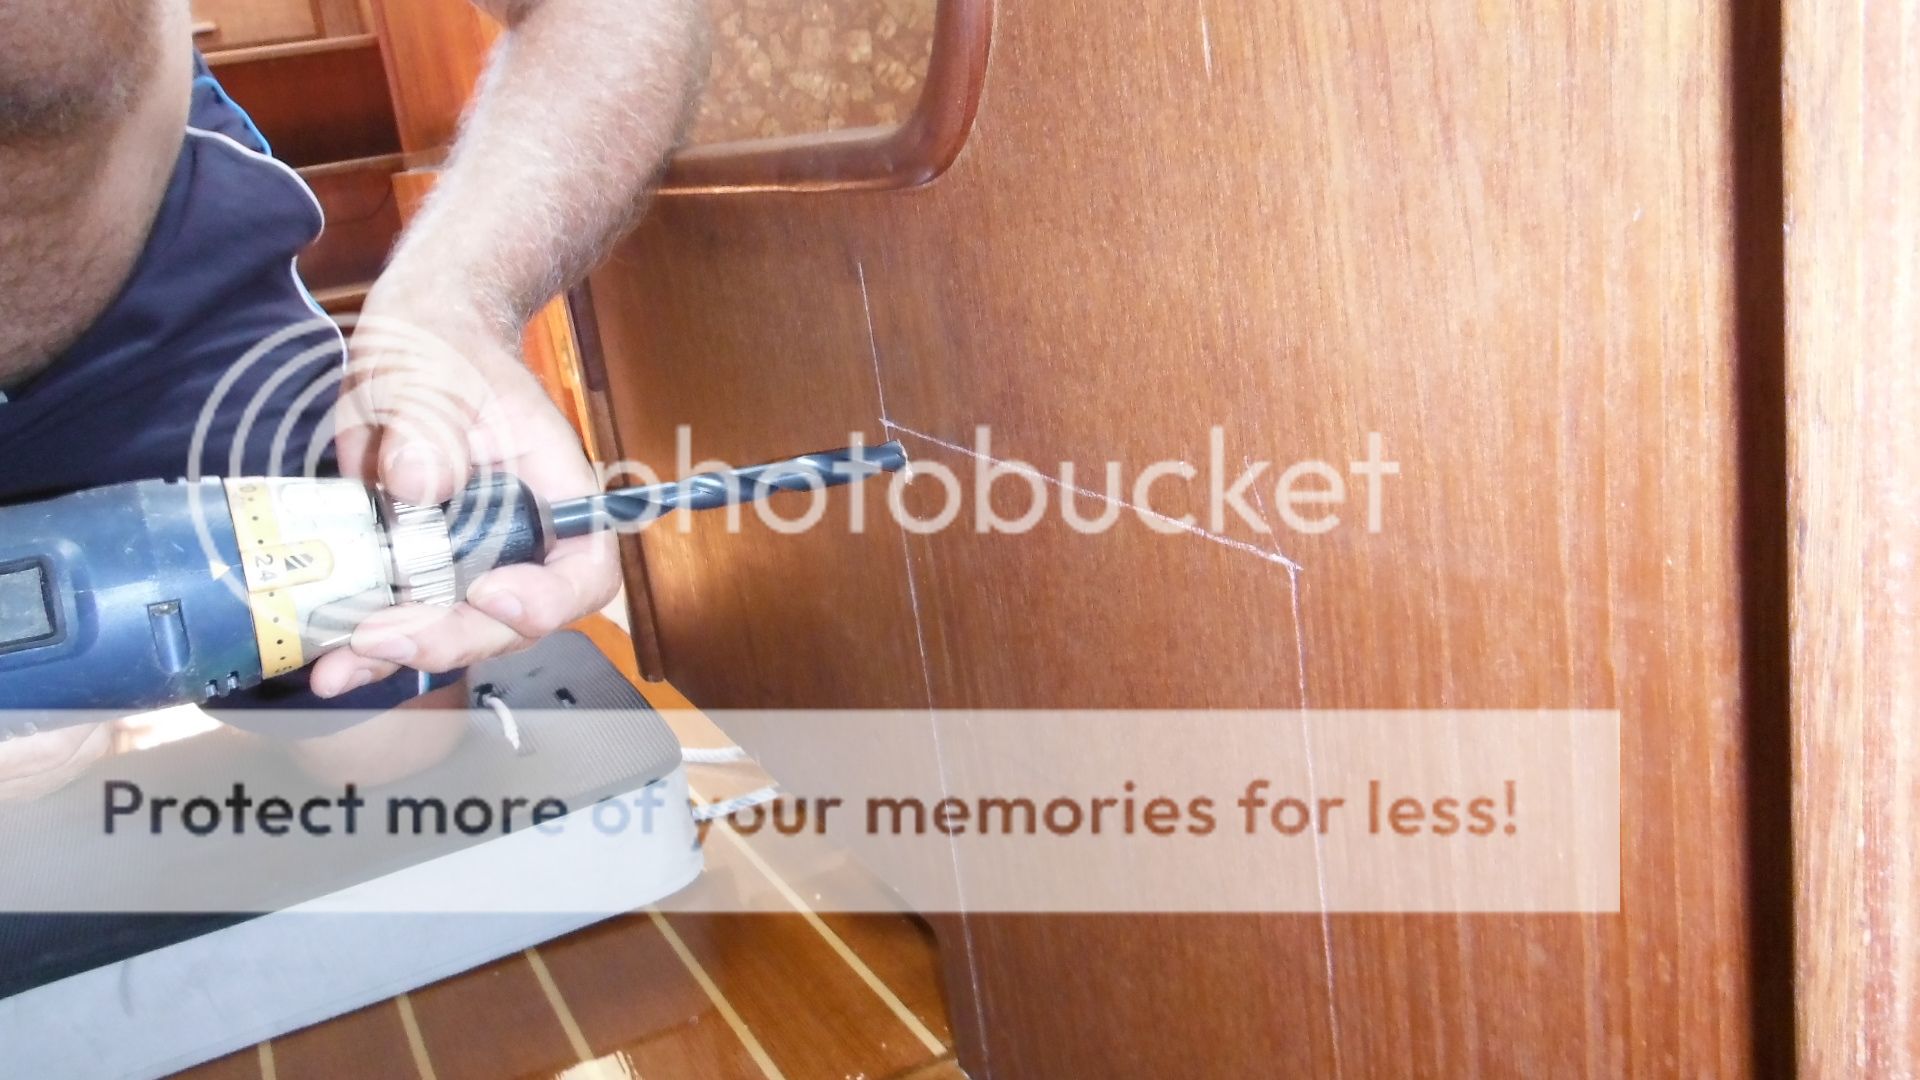
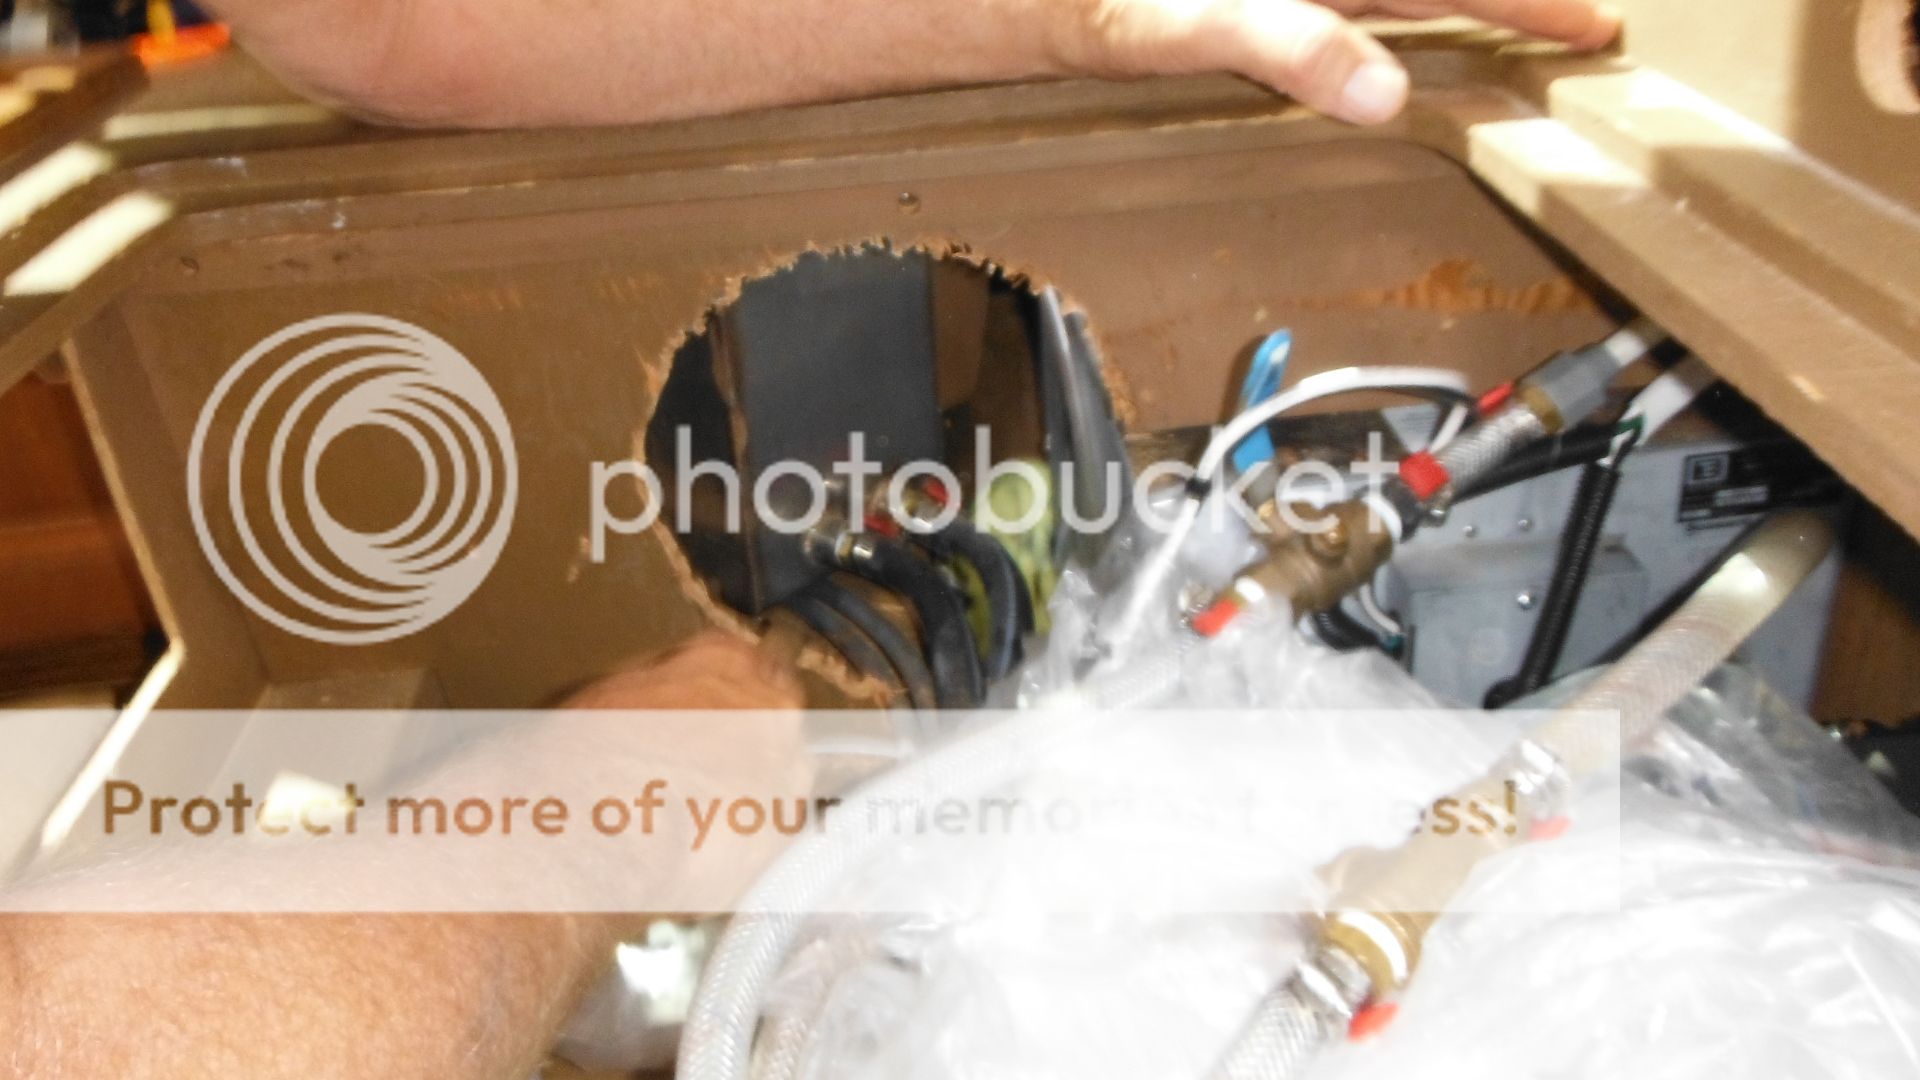
Now that we know exactly where the first return grill is
going we had to make a cut out for it. This required another two templates that
Debbie made and some figuring. We made the marks and had to use the drill to make
a series of holes that we then could connect to with a hack saw blade. Remember
we are at anchor and have a limited amount of tools. That done we used a rasp to
finish off the fit so the grill would slide in


This time we used a drill and then a hack saw blade to make the hole. Then a rasp to finish it.
Not that easy.


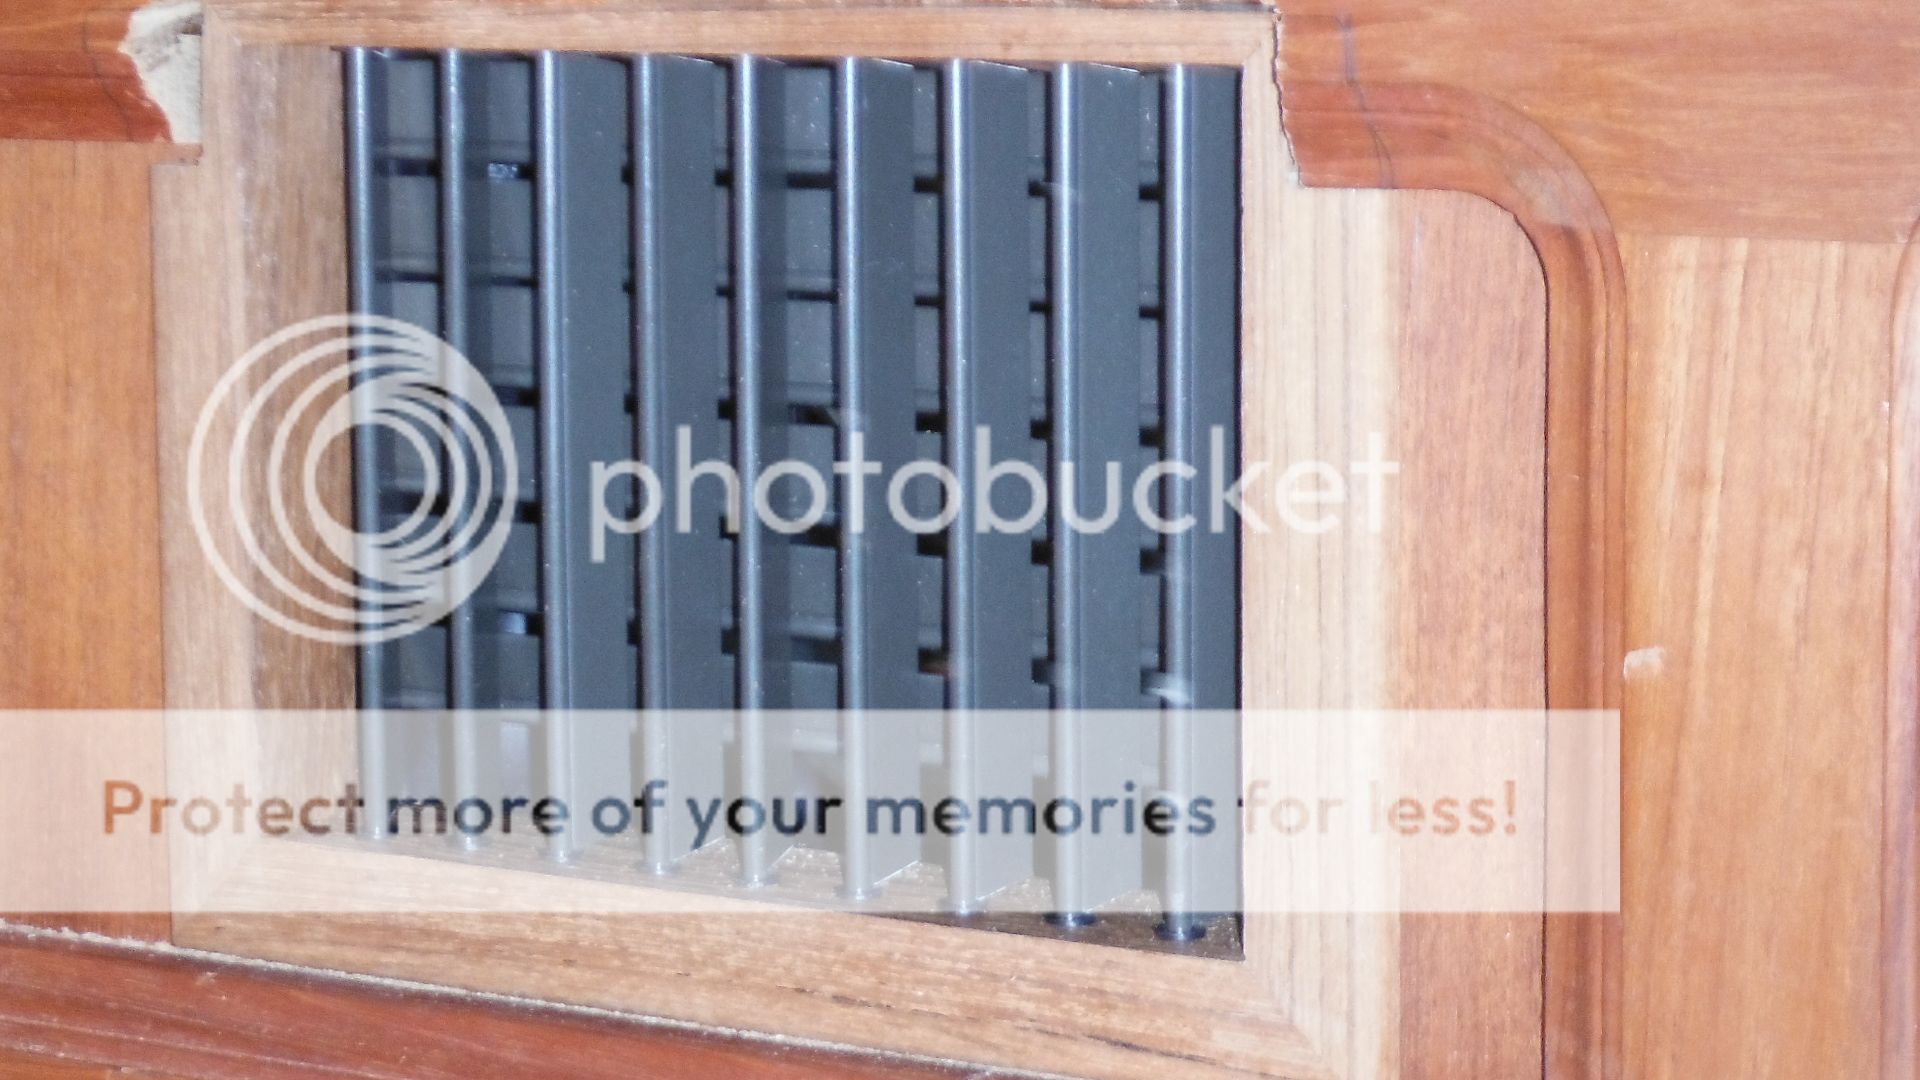
That done we sanded the edges and later applied teak oil
to the
cuts and grill and wa la - it is fit!
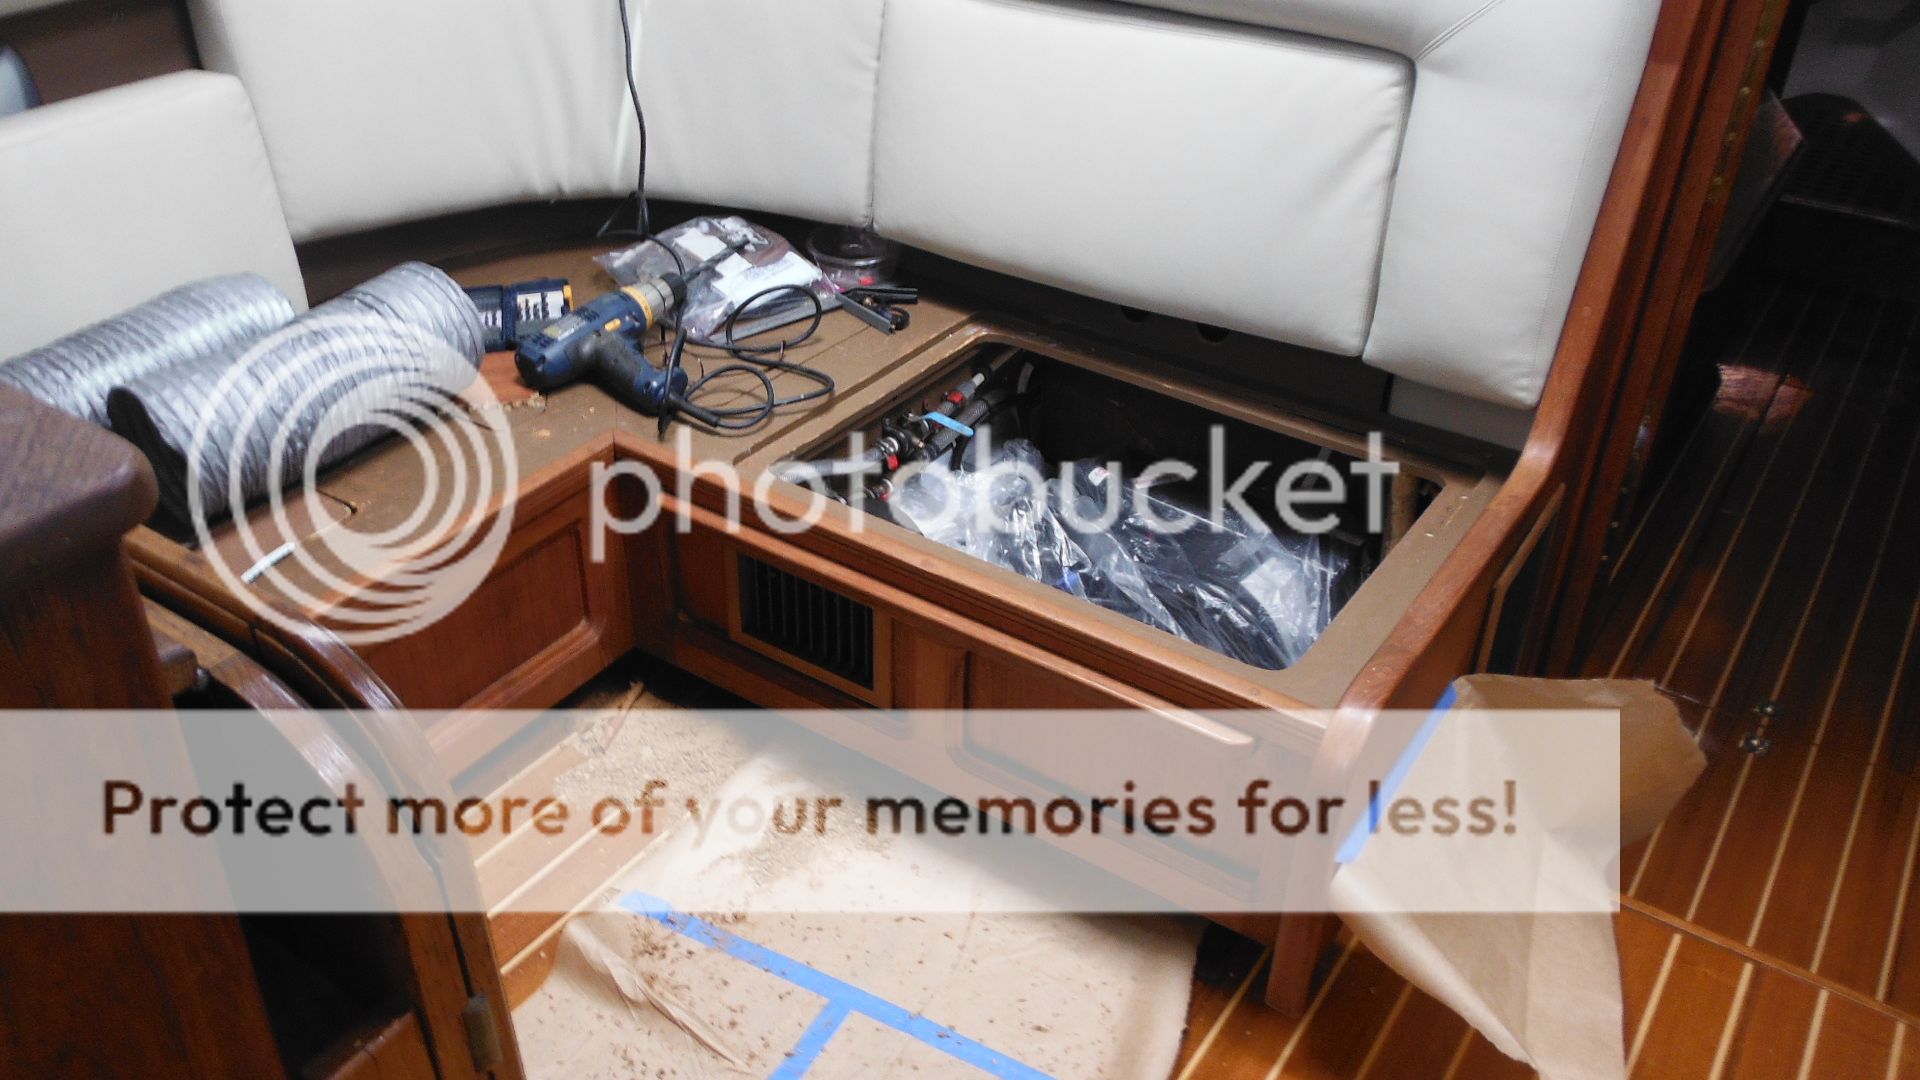
Next was the hole for the ducting to run past the hot water heater and around the salon. There will be a grill in the galley and one in the upper part of the salon on the shelf. That is a plastic circular one that is installed but no ducking. The teak grill and the transition box for the galley we cannot find. I know they were on the boat and we will find them. I mean how do you lose stuff on a 36 foot sail boat???
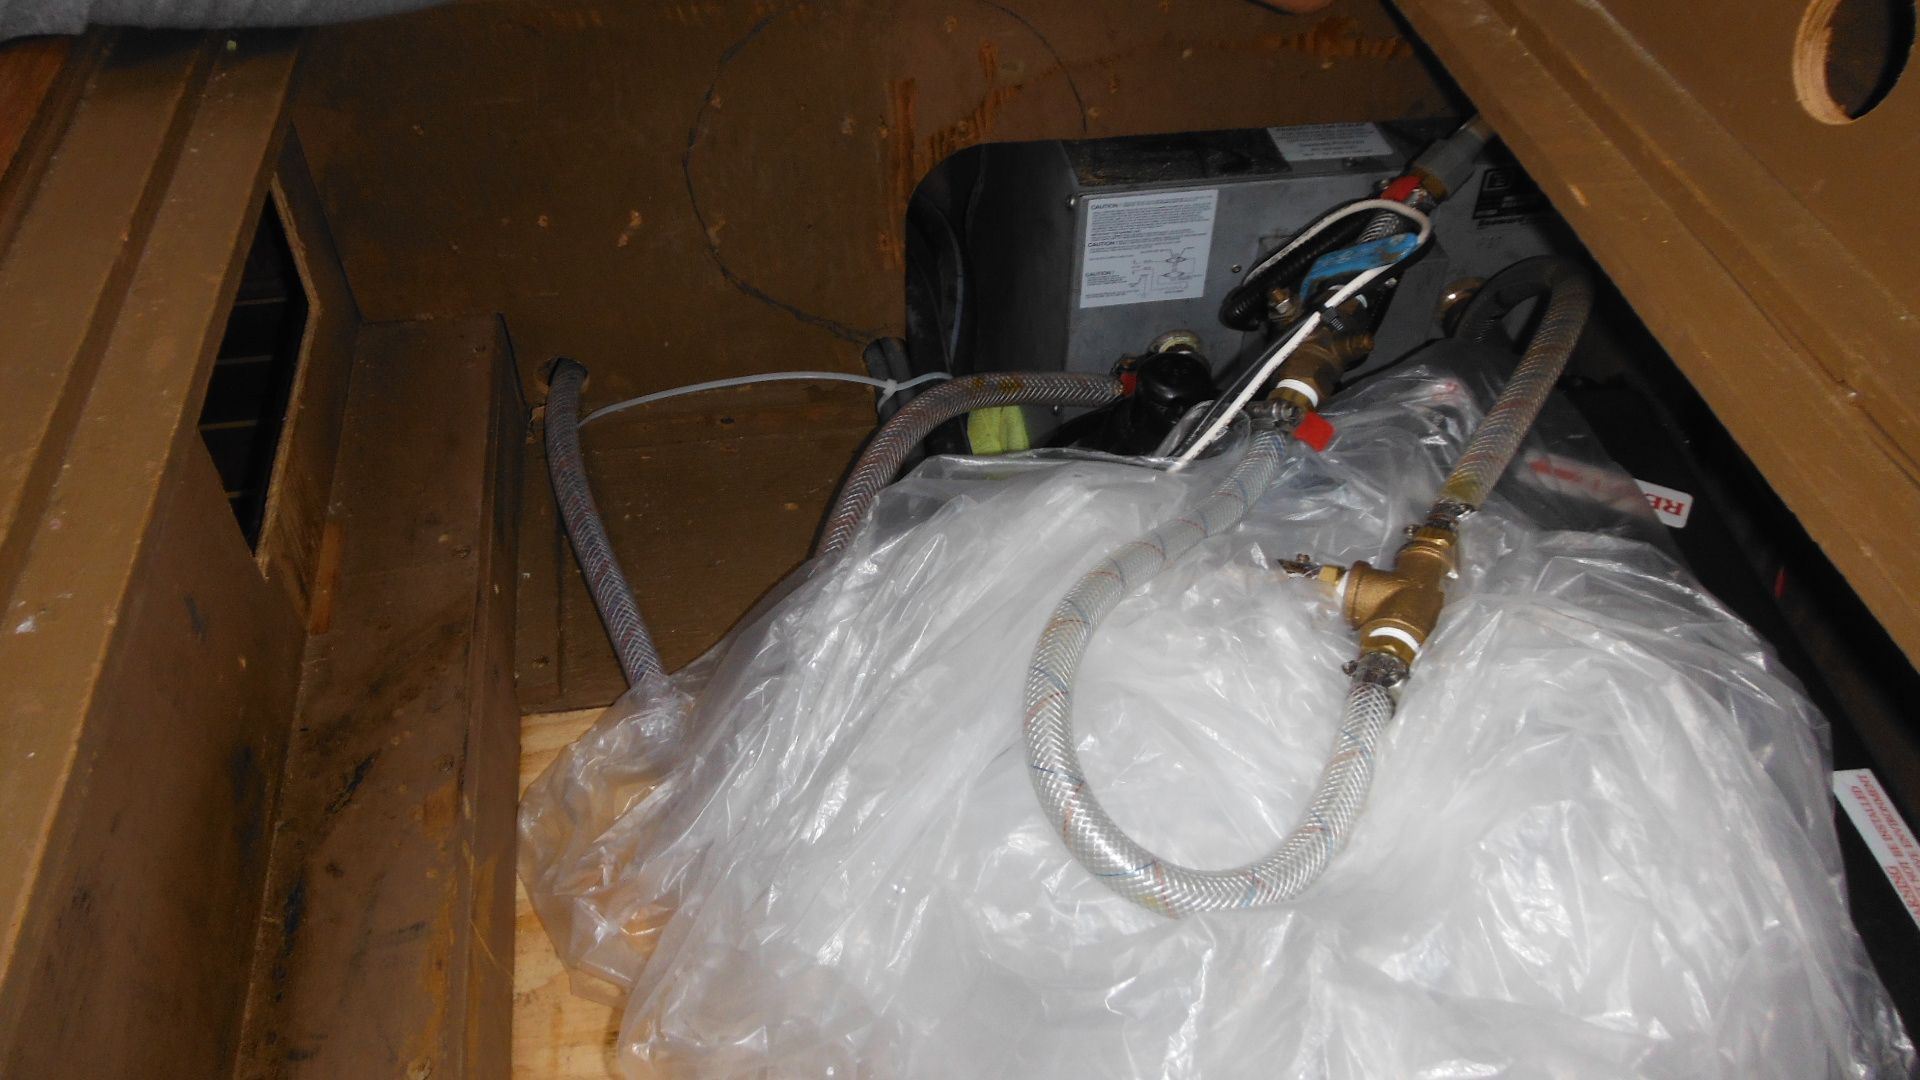
Debbie moved the head toilet plumbing and removed an old T
that we were not using any more.
Then Debbie installed a different valve and a new hose to connect to the fresh water system. Then she moved the fresh water hose to the heater and connected them all together. We then staked it all down so it would not move.


This work we did over a series of three days. Each morning we would work till about 1:00 PM then go play.
It will be interesting to hear how well the unit works, but I'll bet any relief will be better than nothing.
ReplyDeleteDon from FOGgers
looks good! hope you are having fun! sorry i didnt get a chance to say good bye b4 you left! all is well with me
ReplyDeletetake care,
randy (enay)