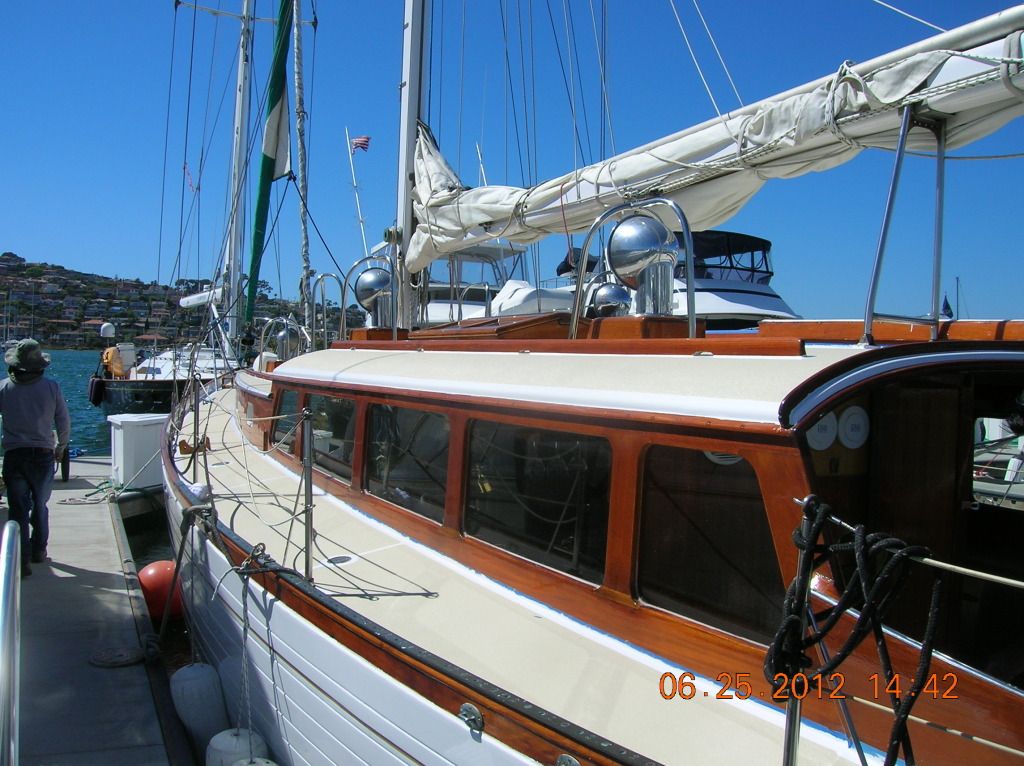
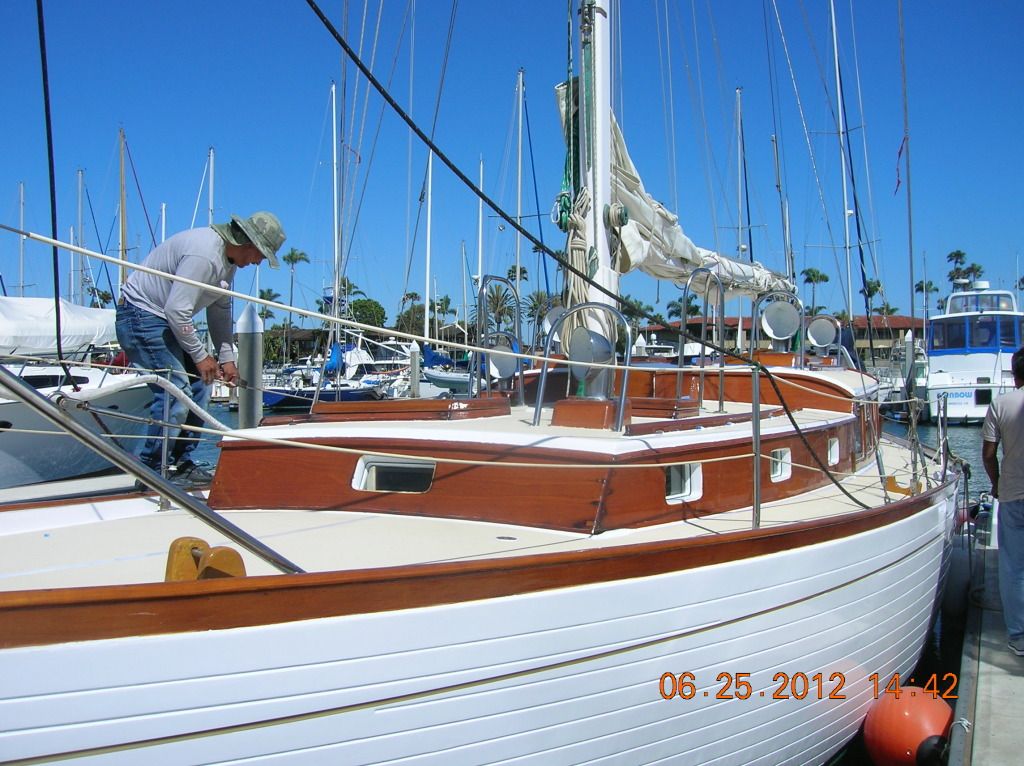
In a marina in San Diego CA.
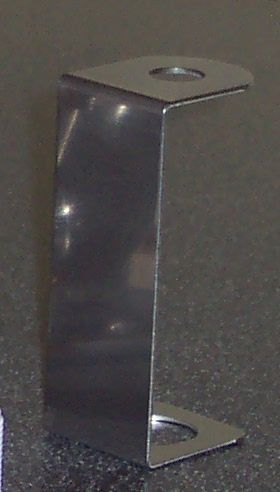
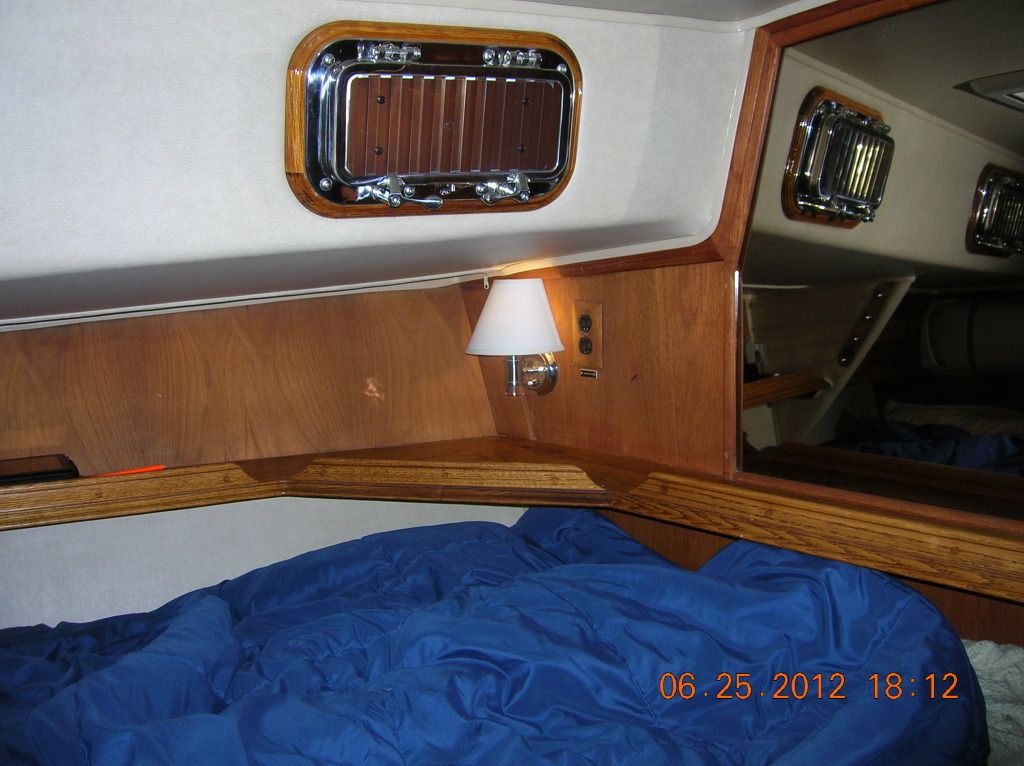
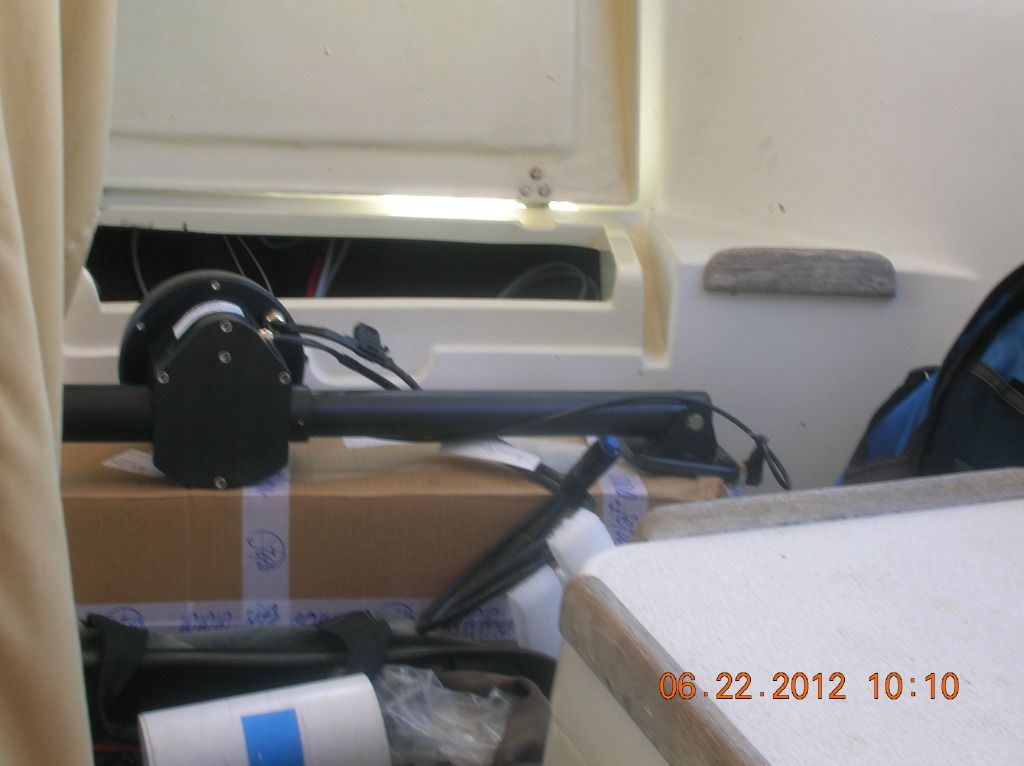
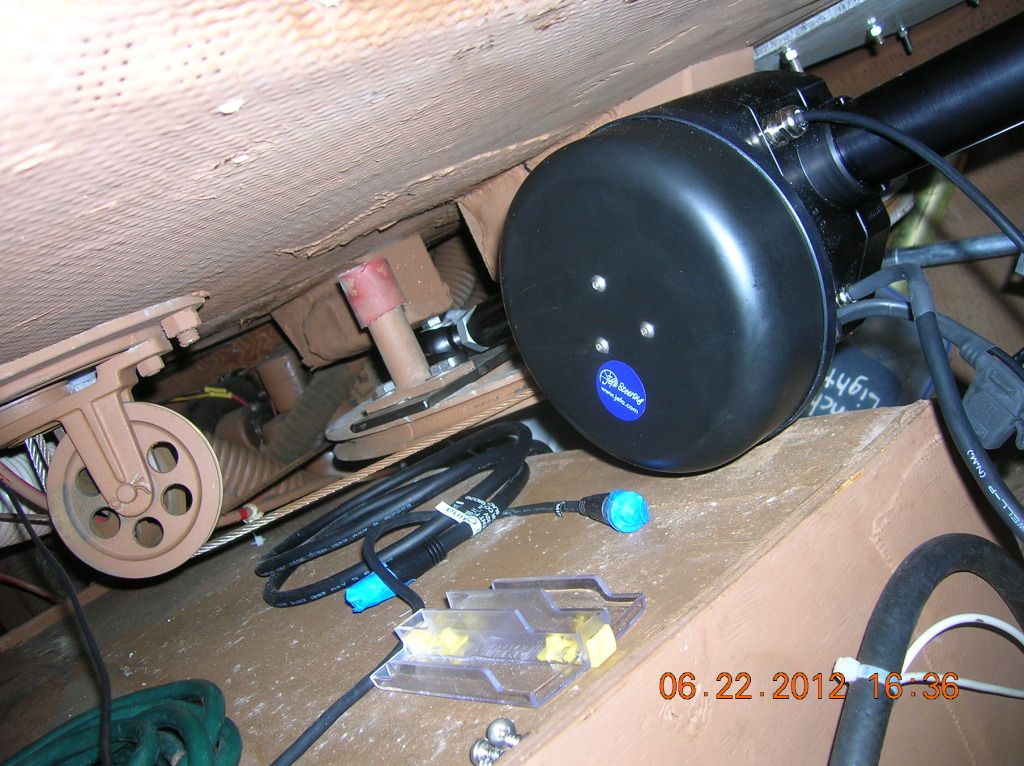
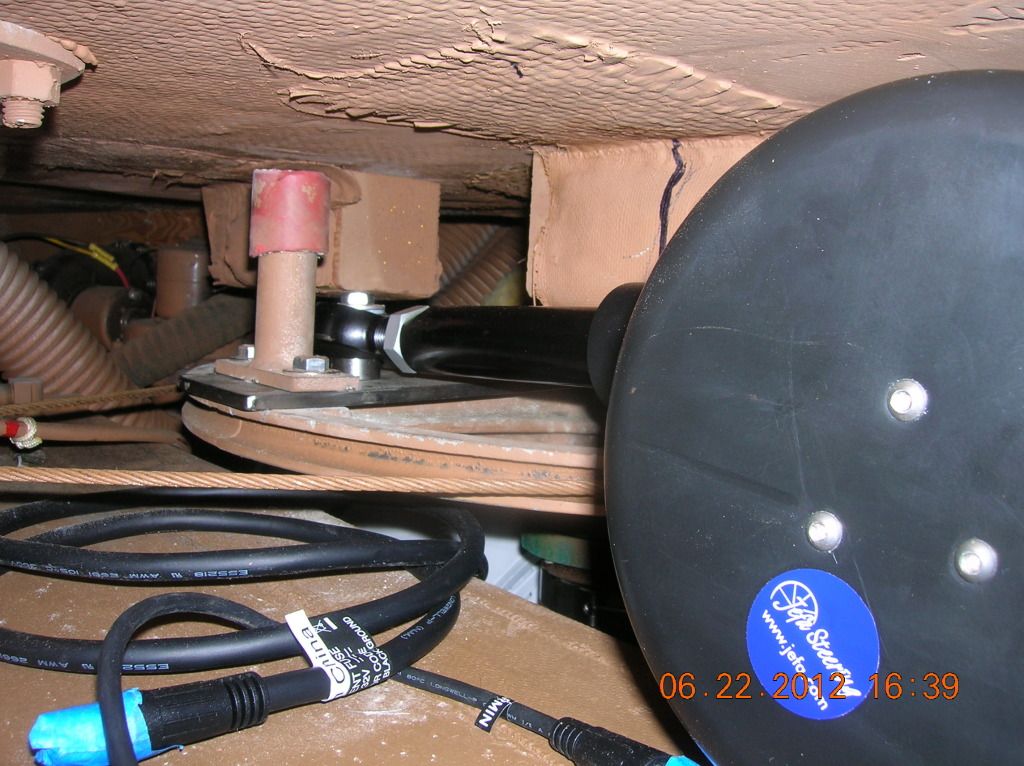
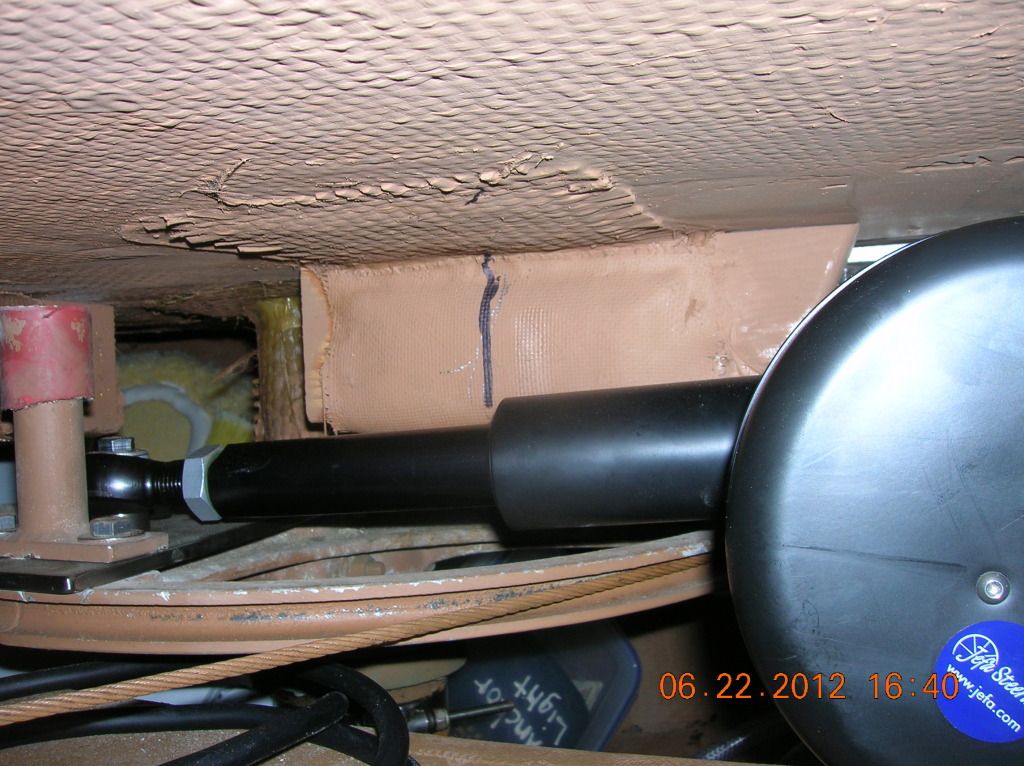
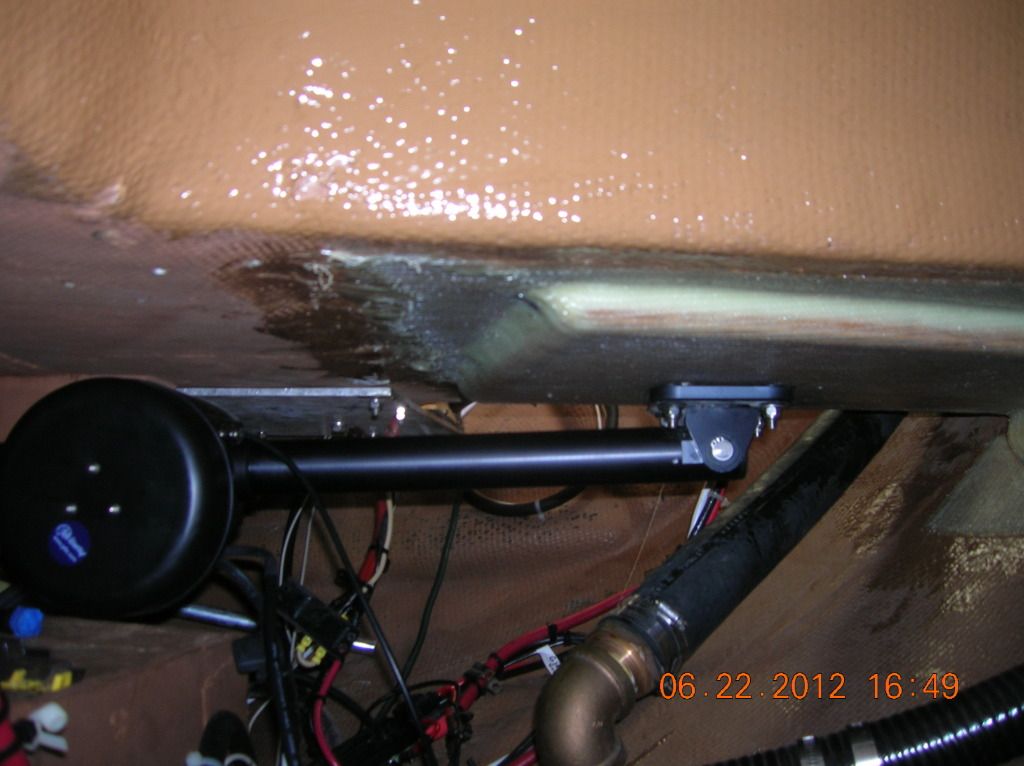
The Garmin drive A
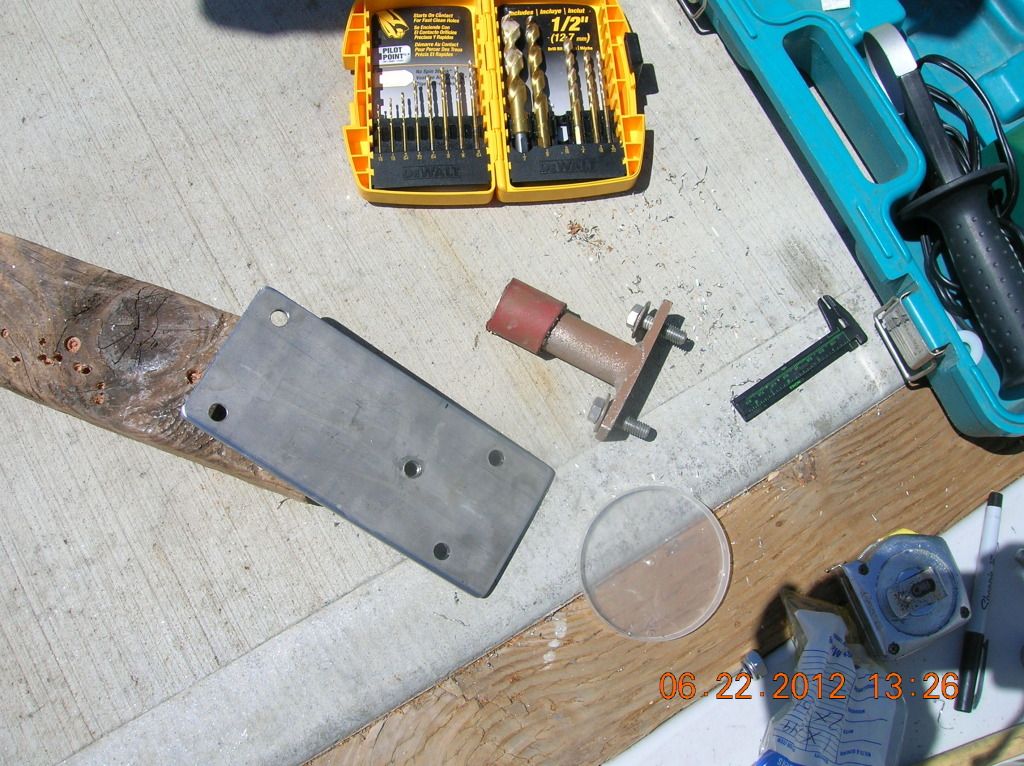
autopilot drive unit(AP) is almost installed. The only part left is to make the quadrant
stop bigger. About two inches all around the previous stop. That will give us
the range for the drive unit. It will be 5% less than now. Not bad. "Rocco the Rigger" is having the part made up. Rocco has been a fun guy to work with and reasonable price wise.
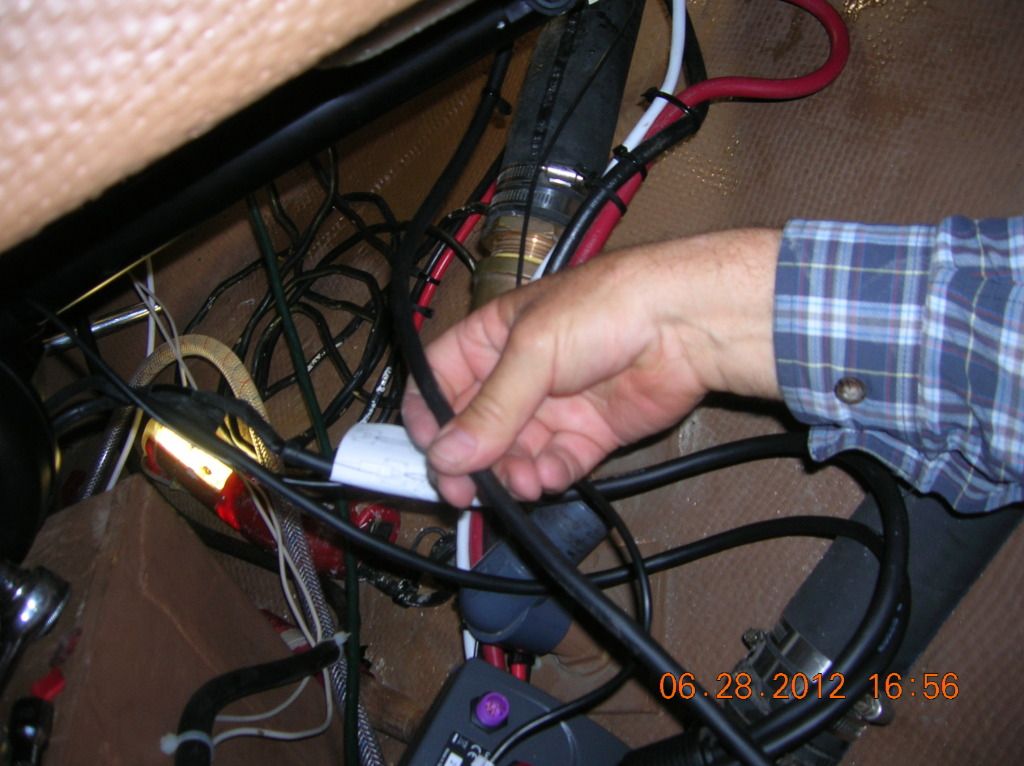
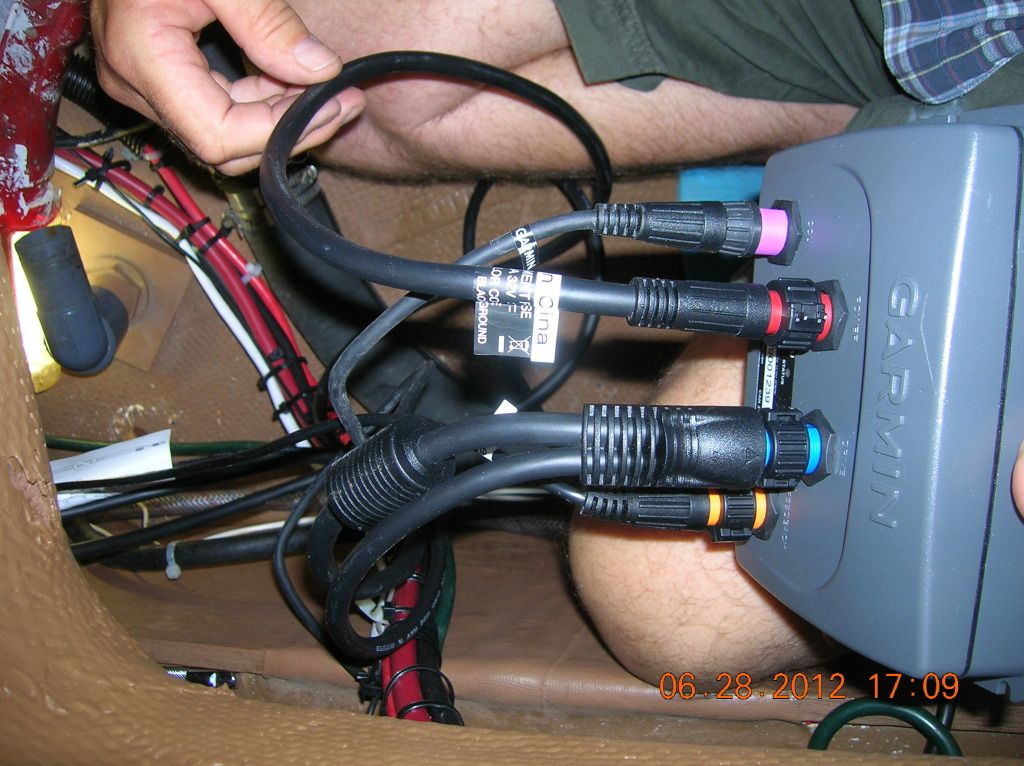
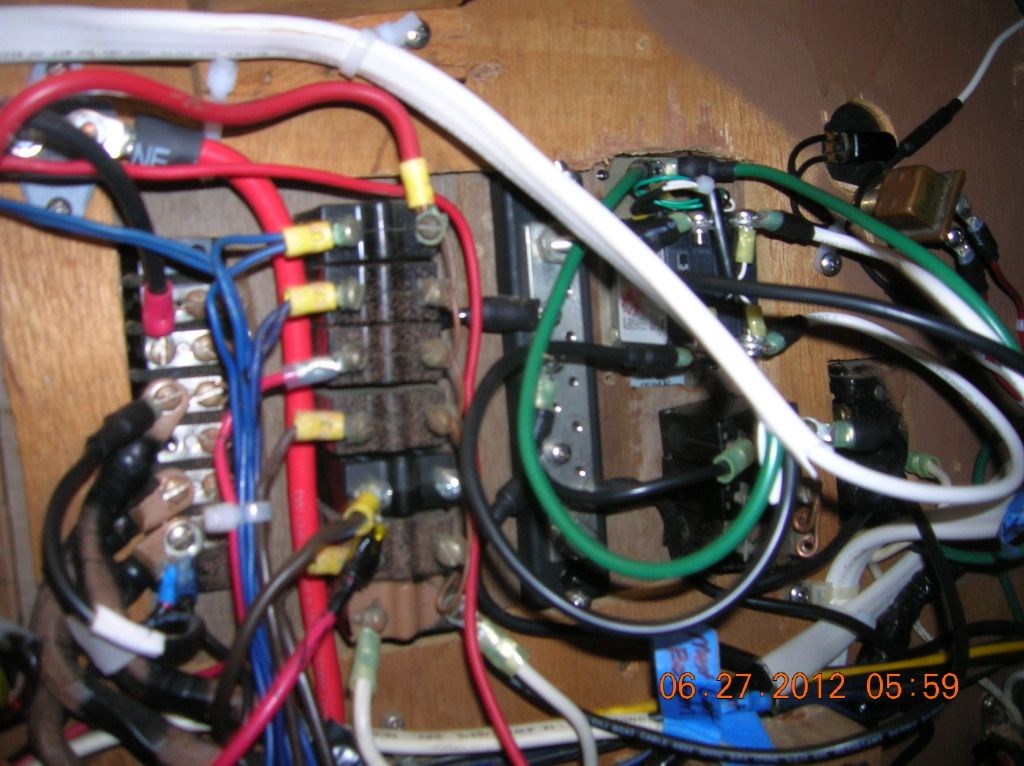
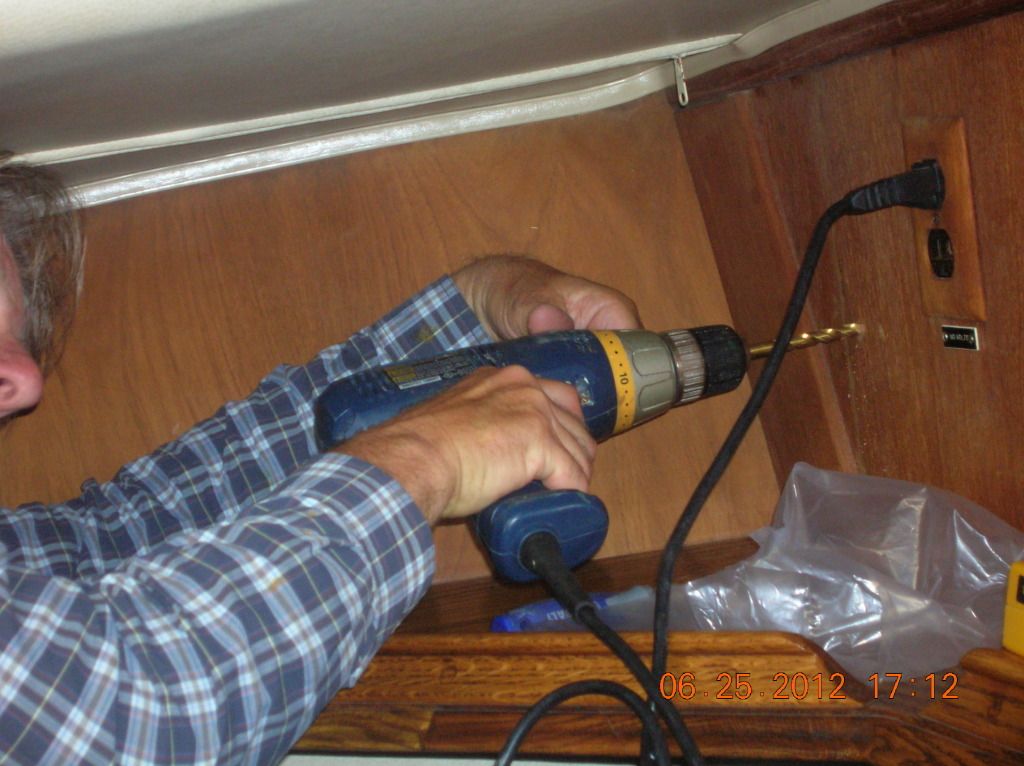
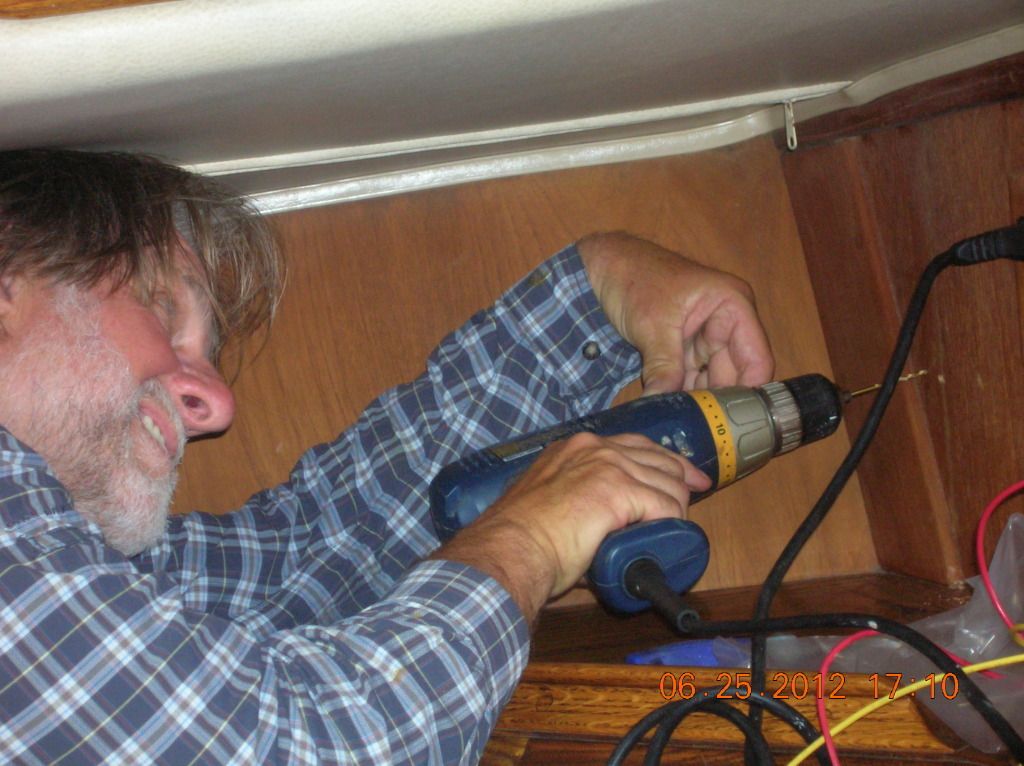
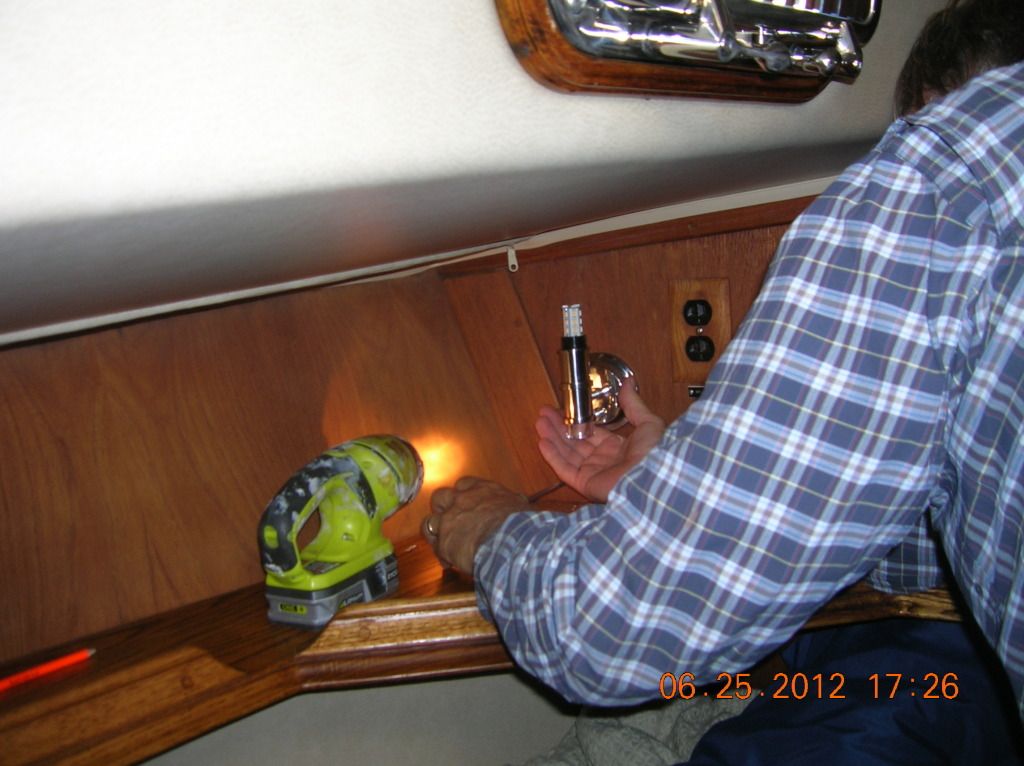
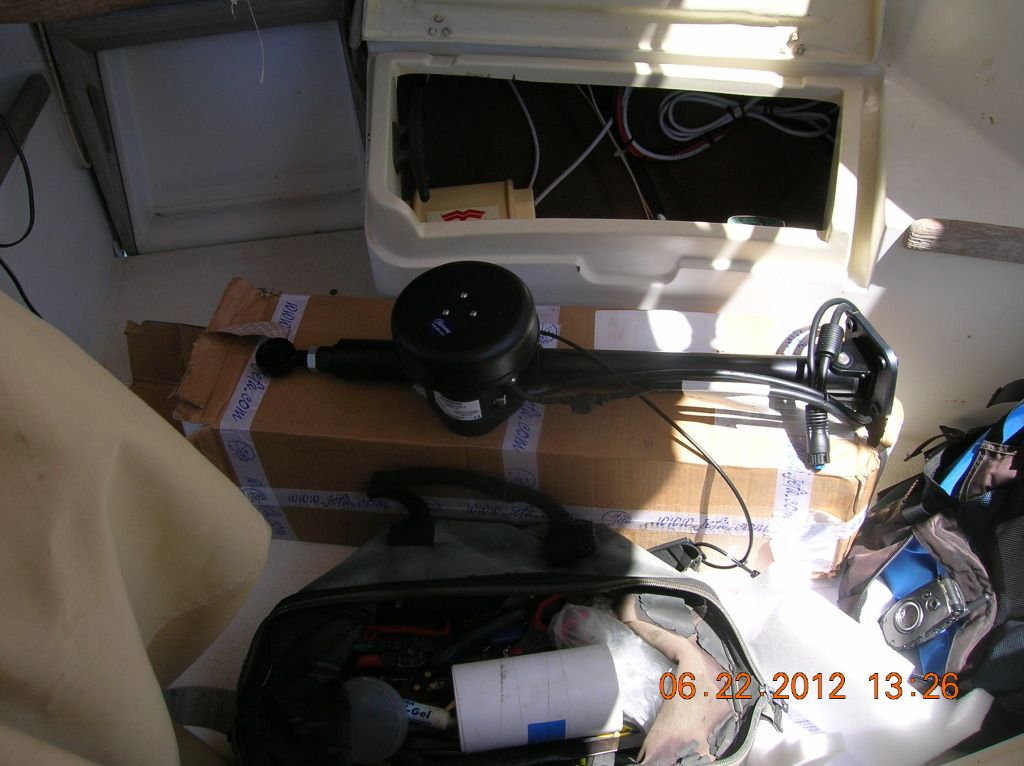
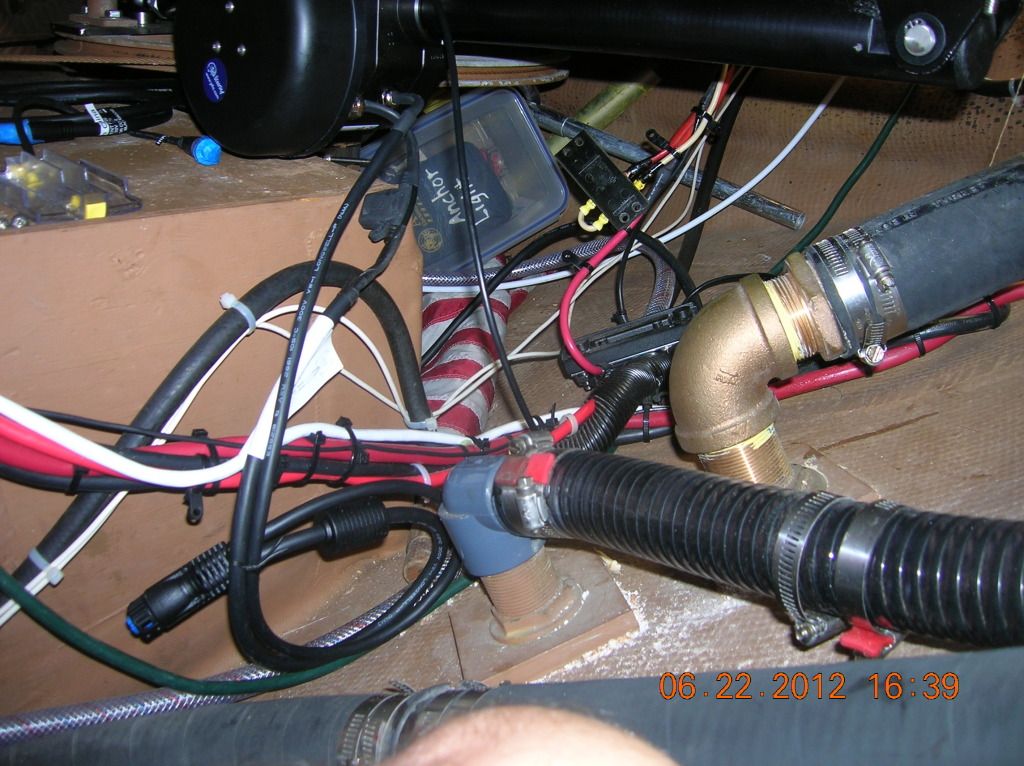
With all the other
work done it is now time to start putting the windlass wires and bus back. Also it is
time to wire up the autopilot brain (ECU).
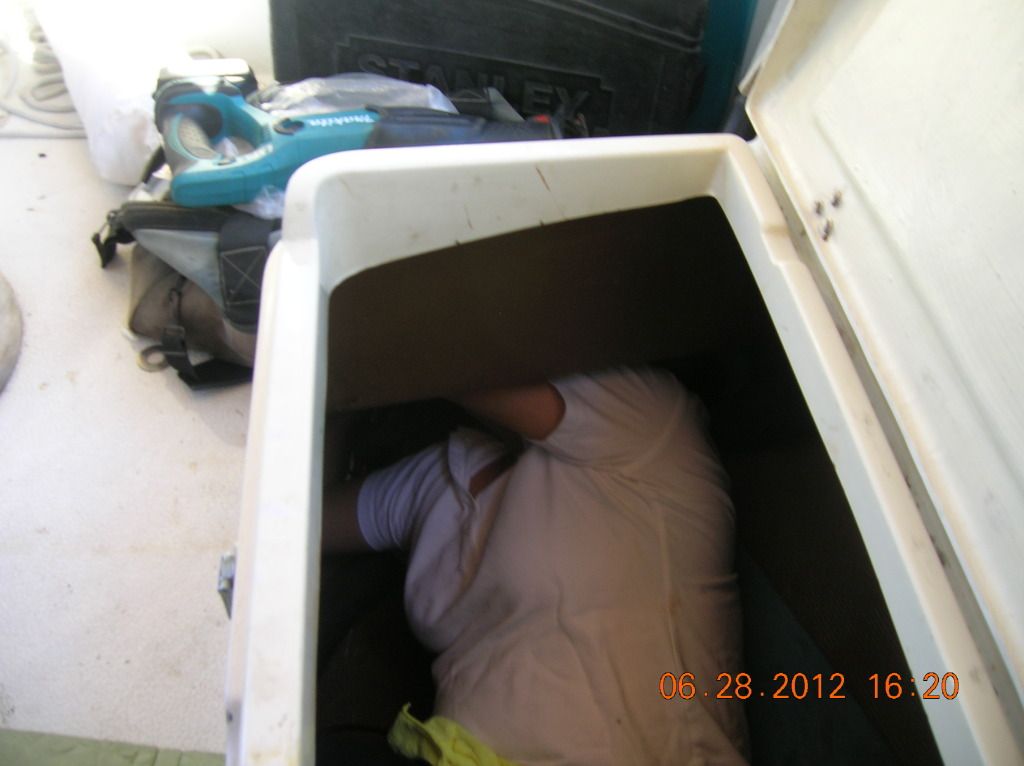
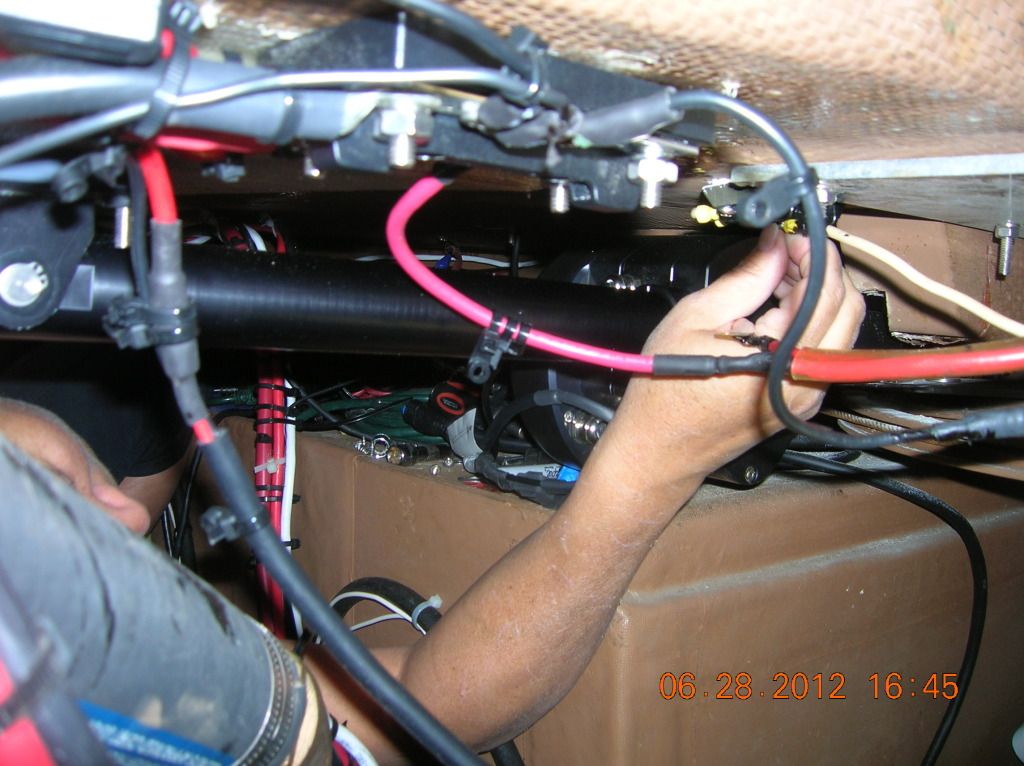
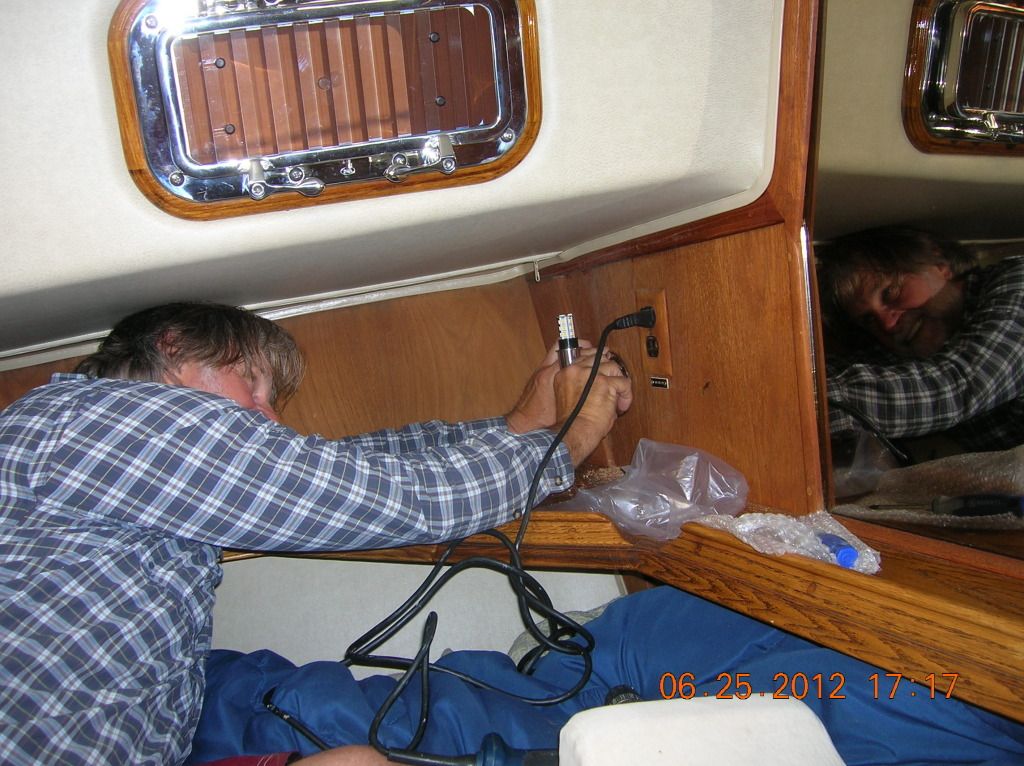
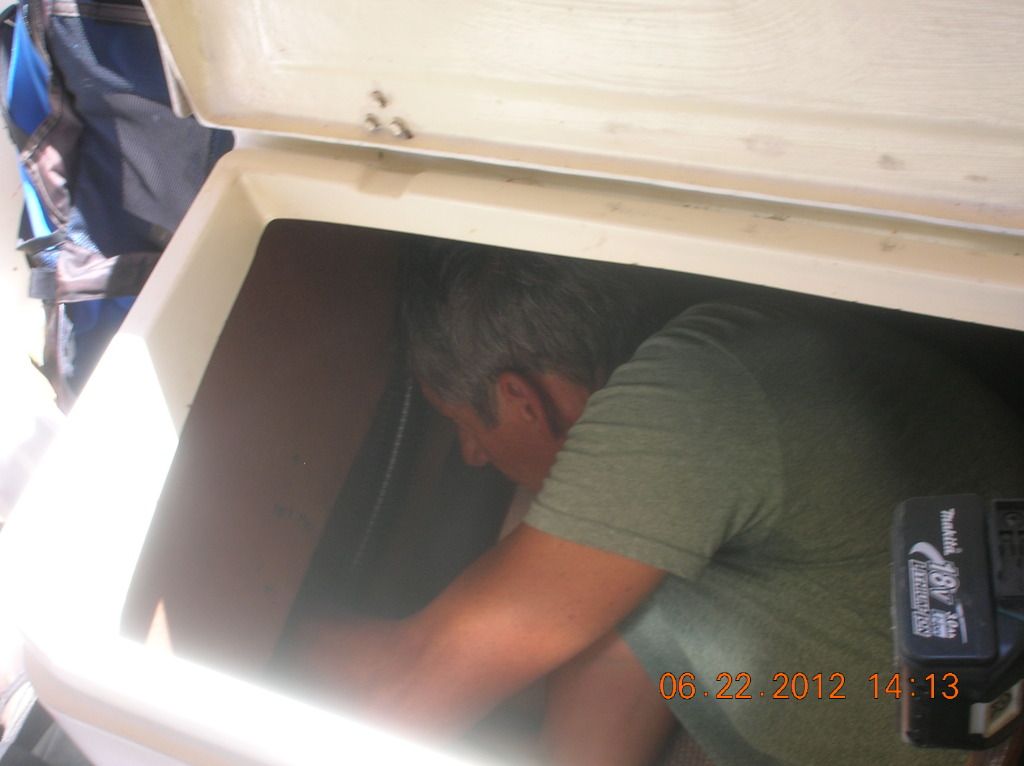
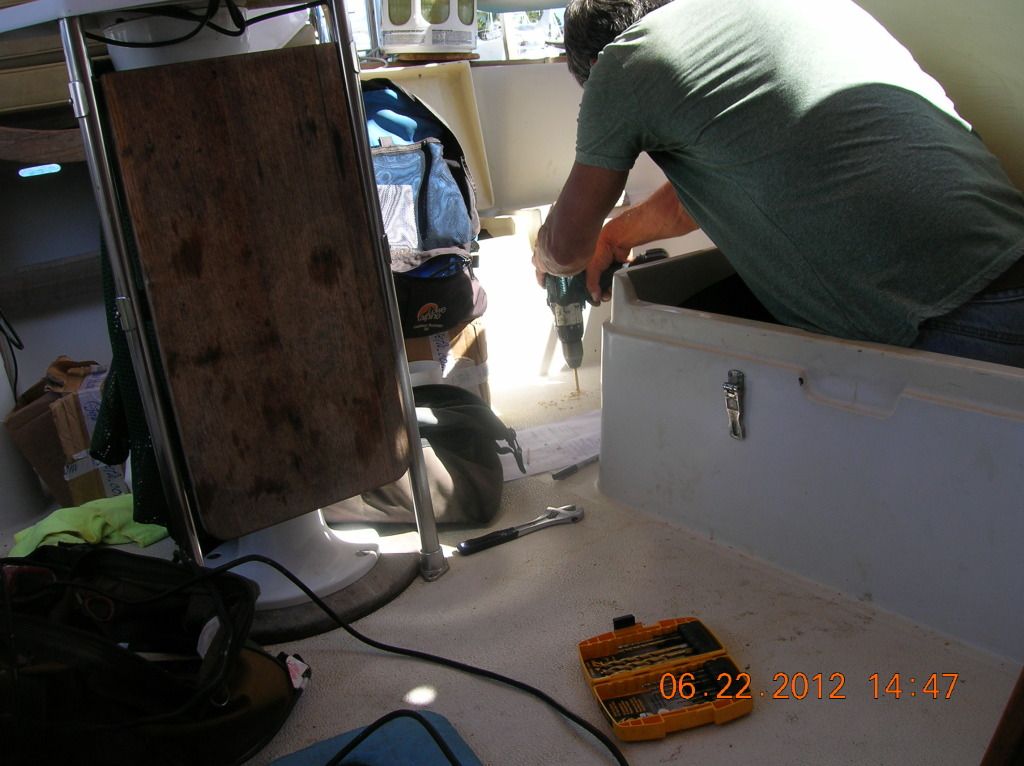
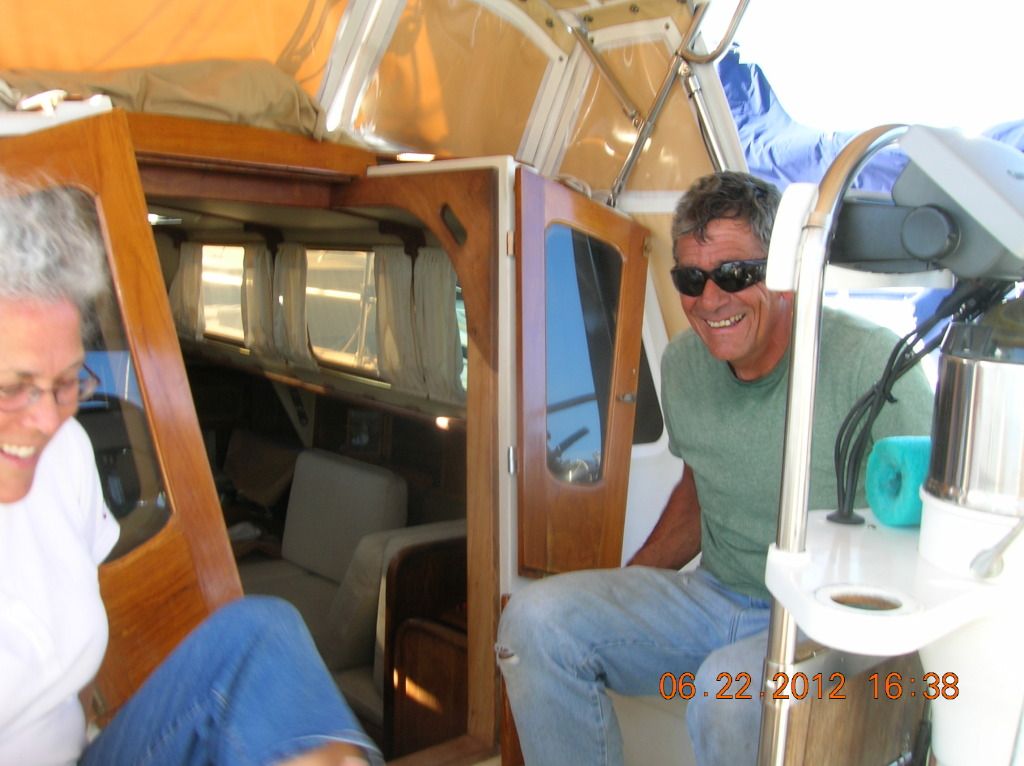
Debbie climbed back into
he lazerett as my size prevents me from getting that far under deck.
I can but
I was getting some cramps and Debbie was gracious enough to take it on.
We did pull out the cockpit scupper hose for more room.
It is like climbing through barbed wire down there with all the cut off wire ties scratching and gouging you. Notice Debbie's arms! We try to face the wire ties away from the work area but these wires have all been cut down to make room for the AP install so the ties are any old way now.
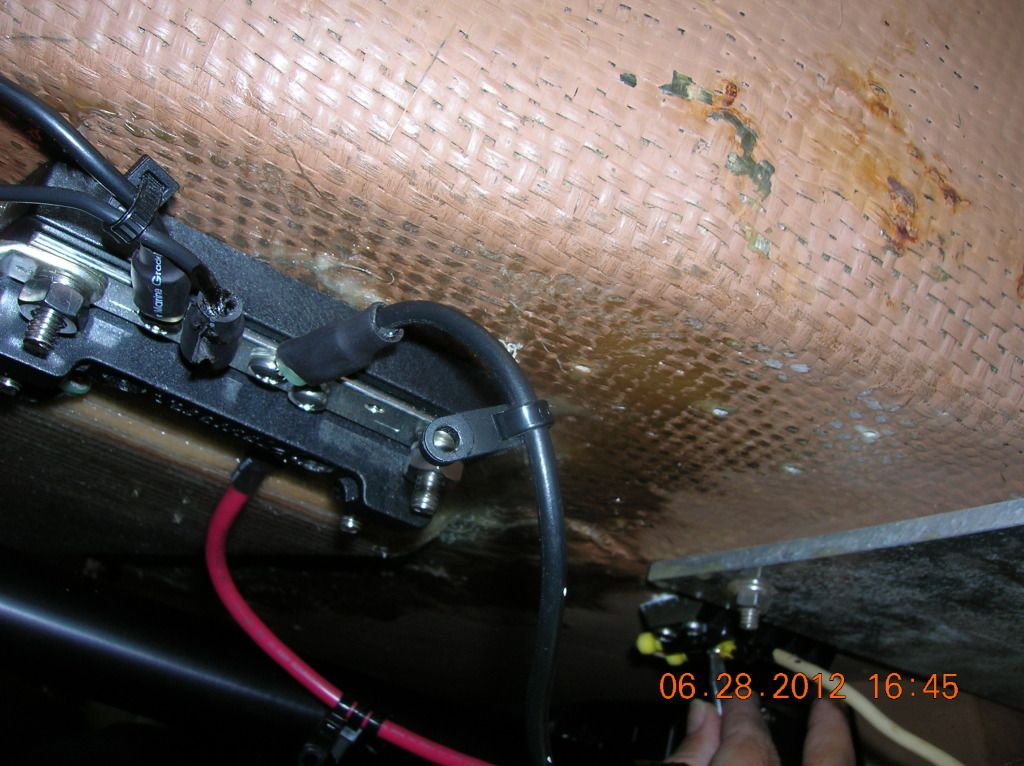
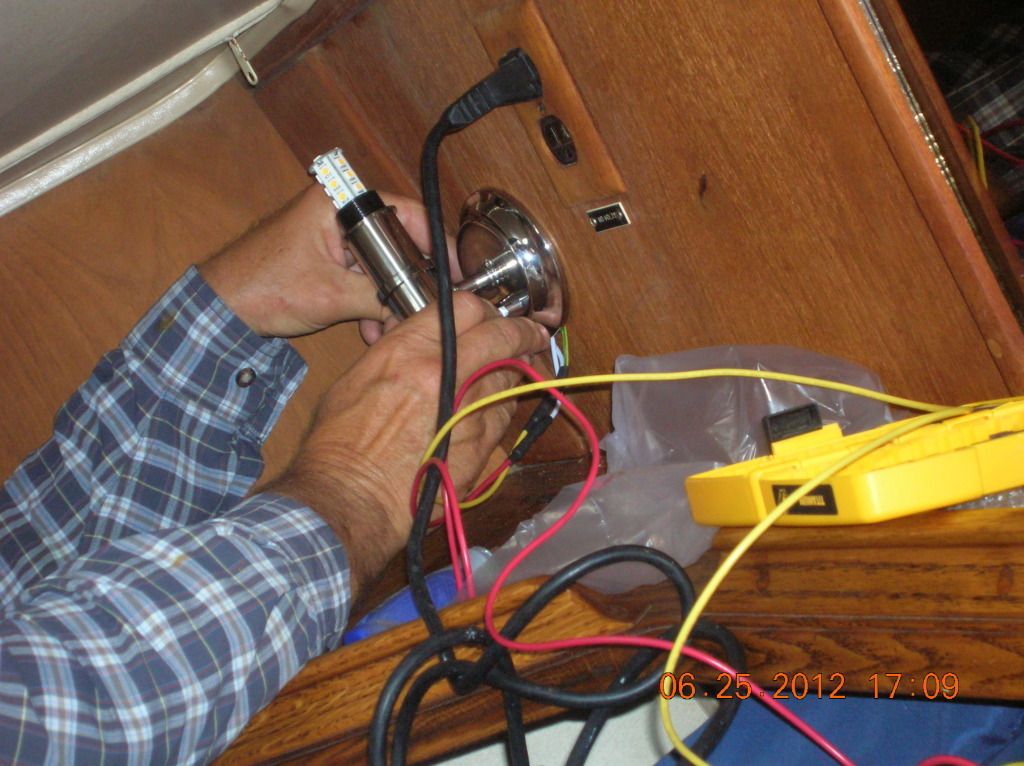
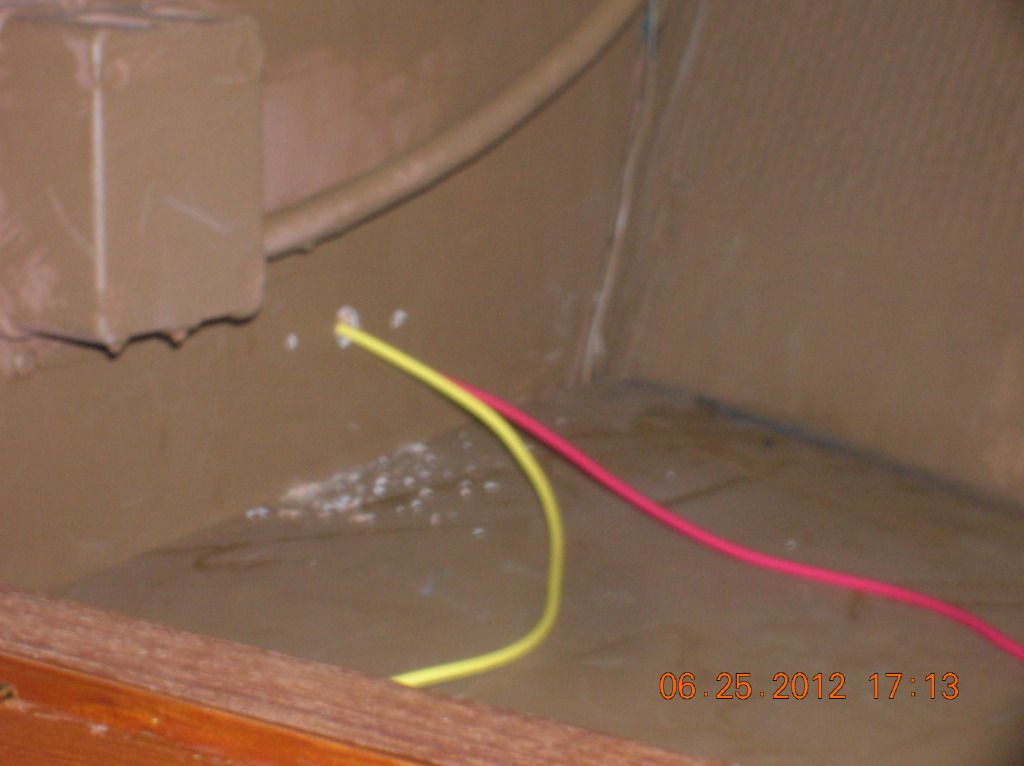
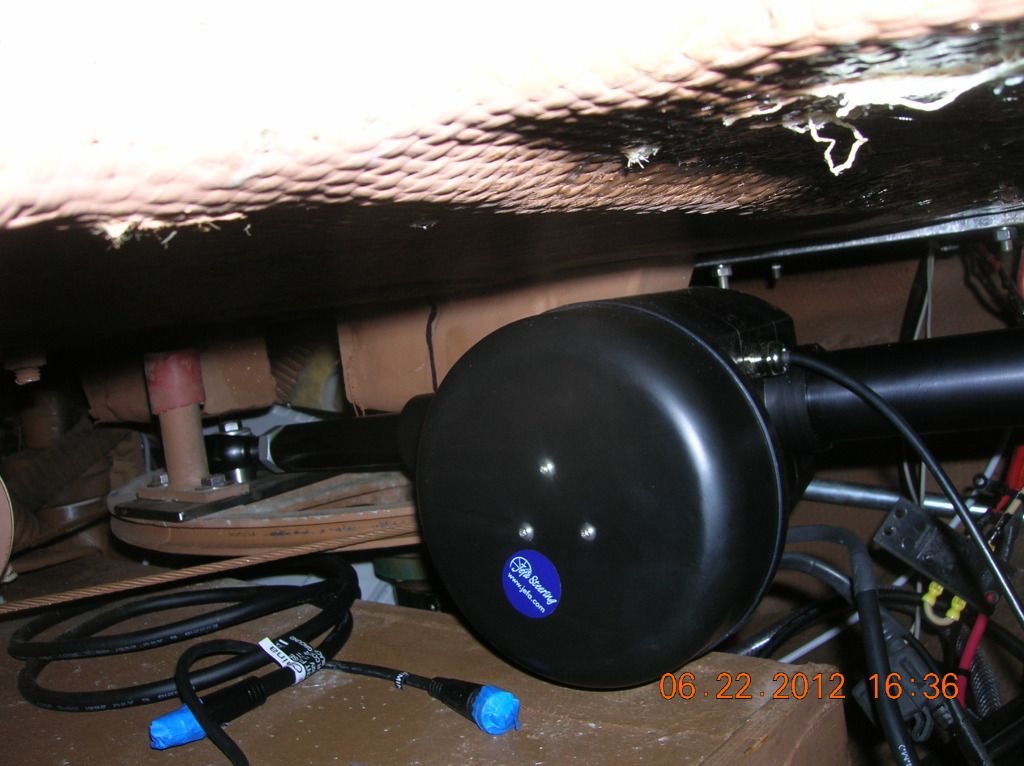
We got the bus and
terminal block re-installed and then decide to stop there and move on to the
ECU as it was getting late. Securing the wiring will be done when we are sure
it is all correct.
It may be the bus cover does not fit on and the wires may need some re-routing. Debbie already re-routed some stern anchor windlass wire on the terminal block.
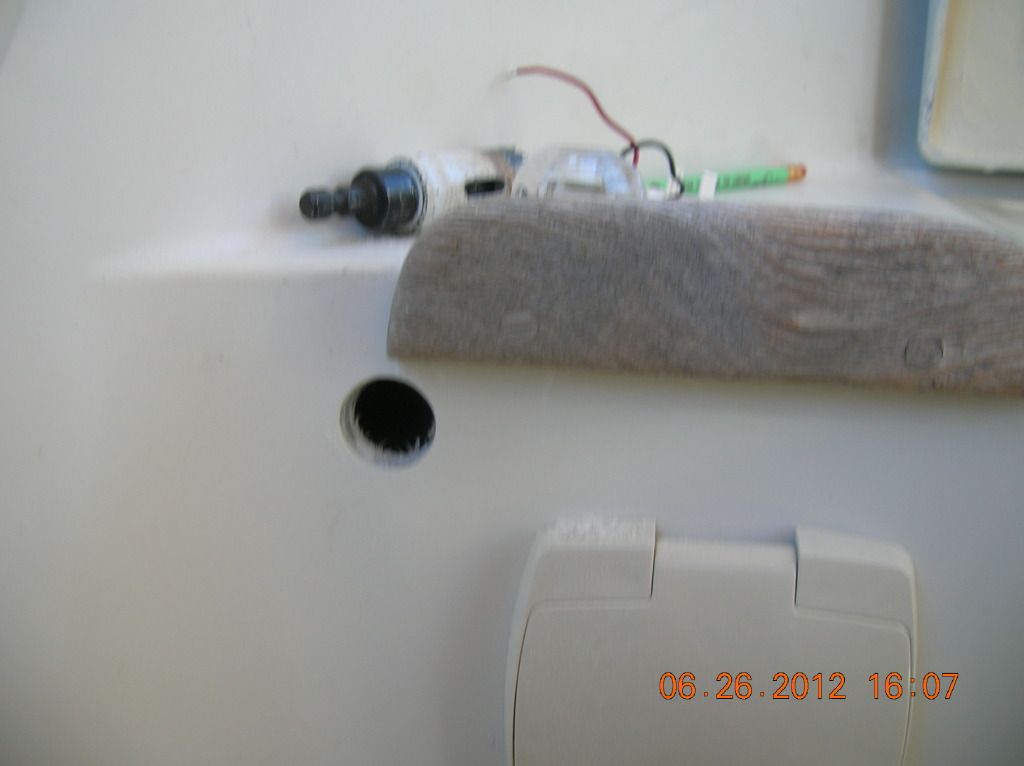
oops!
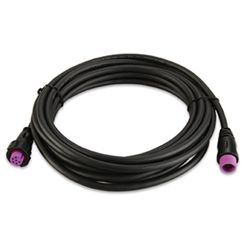
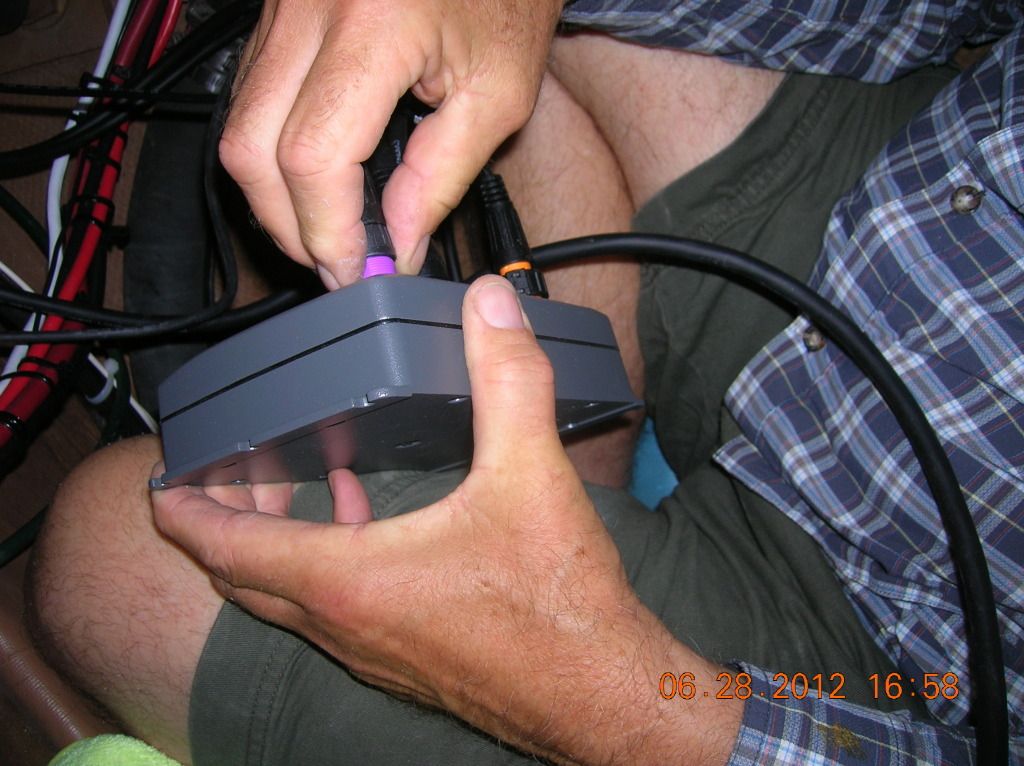
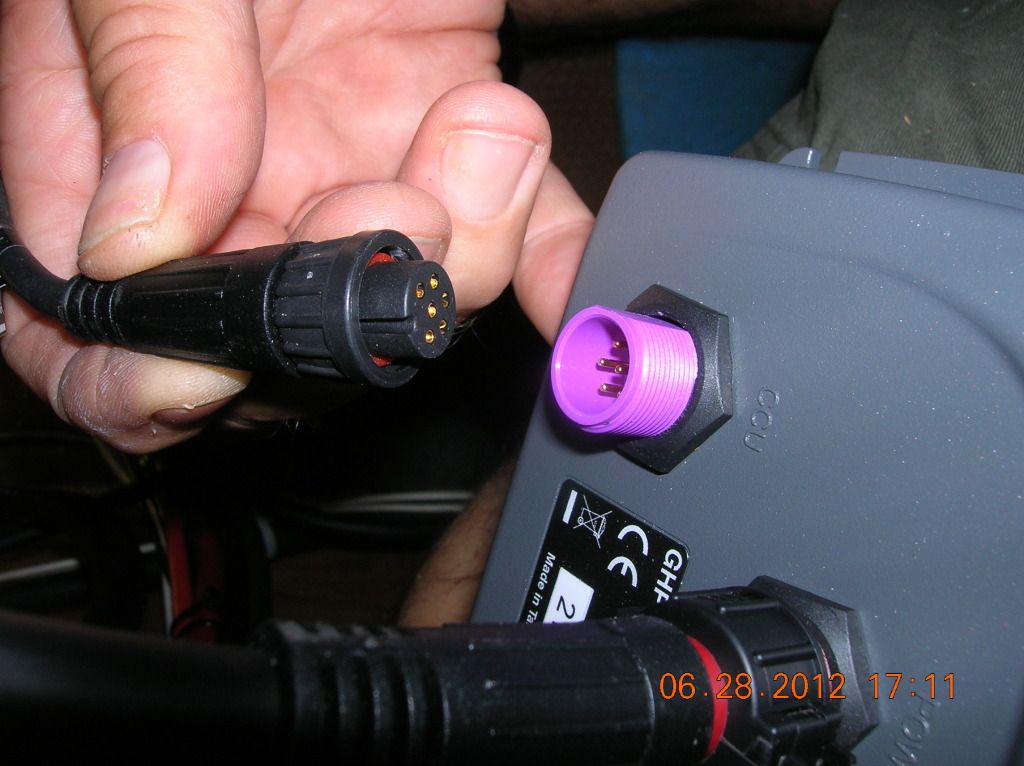
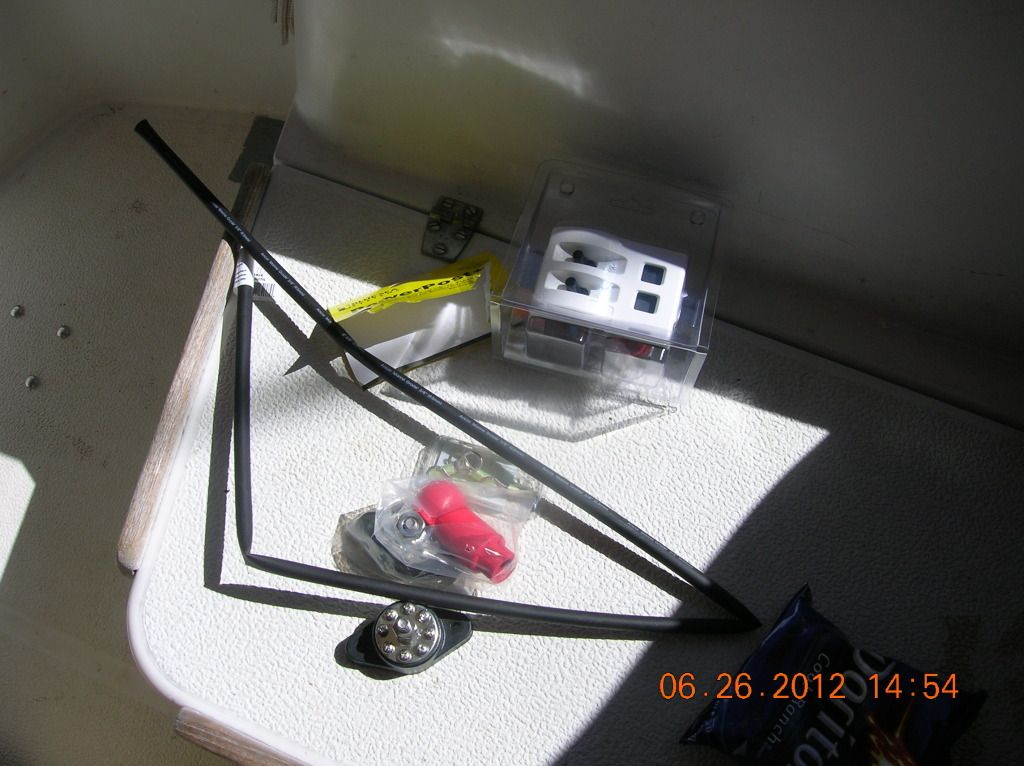
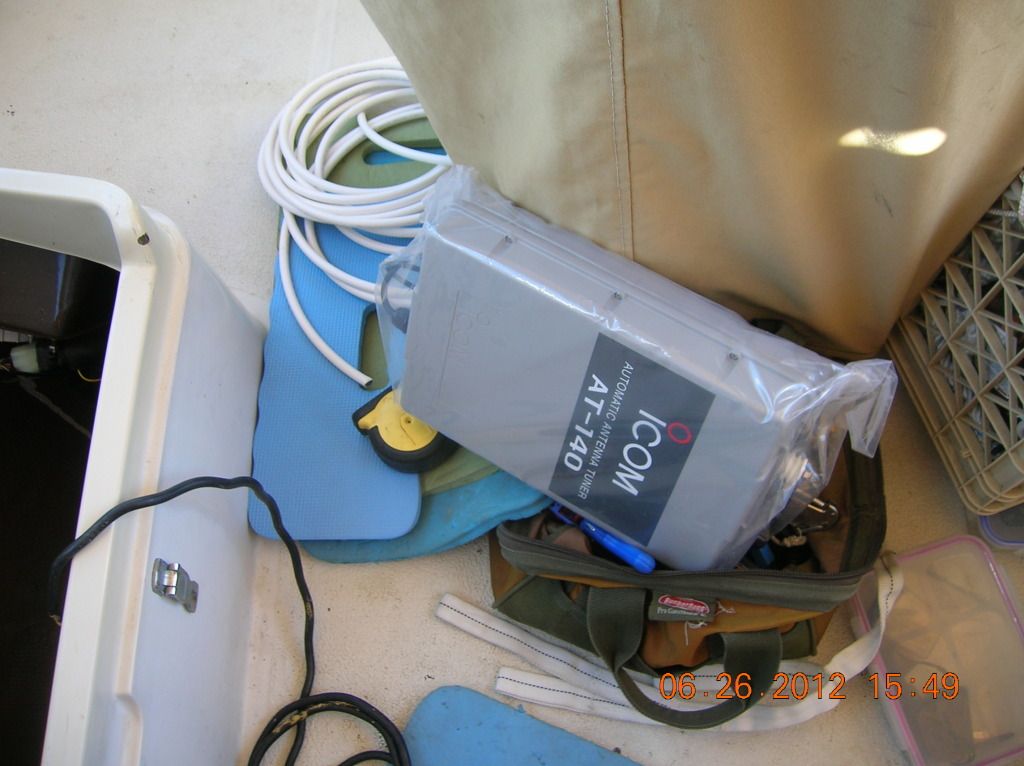
I screwed up again! Not to be alermed as it can be fixed. Just throw some cash and time at it :). I bought the wrong cable extension for the flux gate compass to the brain (CCU to ECU). Dam.
This is supposed to be idiot proff with the color coded connections but I can find a way to defeat it!
This is a Garmin 2000 network cable extension, not the one we need. eBay here it goes :)