The stern running light got mounted and wired up - 2012

 While removing the old stern light fixture it just broke right off.

Purchased the ShadeTree fabric shelter


 Debbie got us a deal on the ShadeTree fabric shelter. She negotiated a close out purchase of a bow and stern ShadeTree boat awning system for a price we can afford. We would have been way over budget or possibly not being able to afford the system or only one half  if Debbie did not get us the close out.


ShadeTree sent us the fabrics for the fore and aft so we could decide if we wanted to purchase the two sections. We decided yes they would fit and yes we can live with the colors. 

 The colors are off between the fore and aft sections and possibly not our first choice of colors but we are happy to just get the system!

Debbie placed the order after we made the decision!

Cockpit courtesy and Blue Seas WeatherDeck™ Waterproof 6 position Fuse Panel video

 We did a video of our working cockpit courtesy lights and Blue Seas WeatherDeck™ Waterproof 6 position Fuse Panel. This is done with my Droid X work phone so is nothing real fancy. 


Blue Seas WeatherDeck™ Waterproof 6 position Fuse Panel lights

 The Blue Seas WeatherDeck™ Waterproof 6 position Fuse Panel was not showing a green led light on the second switch we wired up.

 The LED lights on the switches are supposed to be lit red when not on and blank if the fuse is burnt out. Green if turned on (behind the label you put on).

 I called Blue Seas support for help. 

New Blue Seas WeatherDeck™ Waterproof 6 position Fuse Panel.

Blue Seas decide it must be the circuit board and sent us a new one  We checked it out and wired it up. The new WeatherDeck™ Waterproof 6 position Fuse Panel  worked perfect. As we were getting ready to remove the original one I noticed the wires on one switch were wrong.


How the wiring should be.

 OK I messed up. I inadvertently put one of the switch wires onto another switch doubling that switch up. This caused the LED lights to not work properly.


Wires move from one switch to another by my finger.


 So switching to wires back to the correct position made the panel work correctly, what a surprise J.
Now in my defense the panel side I messed up on was a bit hard to see so I did not notice the double wiring I did.

 I called Blue Seas support. I told them it was my fault and wanted to know if they wanted us to ship the  new  WeatherDeck™ Waterproof 6 position Fuse Panel back hoping they would say keep the Weather Deck panel as it is not worth the shipping and re-stocking etc. Then we could sell it for something we wanted like a new 600 amp buss from Blue Seas. They did say what I wanted them to, but with a curve ball. They said we should keep it but donate it to a local boating organization. Dam! So looks like we need to contact the Sea Scouts or some other community boating org or even save it for a Mexico type of Sea Scouts.

Purchased 4” transition box for 5200 btu AC


 We stopped by A to Z marine and picked up a 4” transition box for the Mermaid 5200 btu AC\Heat unit in the stateroom. This will be for the teak supply grill.


This is going to be a tight fit, inside this teak shaft.

New emergency bilge pup hose to through hull


 Debbie replace the emergency bilge pump hose from the pump to the cockpit through hull. We were concerned about the hose at the through hull fitting. It was deteriorated and looked as though it could part or rip off. It is after all over 30 years old. Not a good time to try to replace it 100 miles out with a full lazewett so we figured let’s do it now.  The other end that attaches to the pump was shot also and would not stay clamped on.


 Debbie had to cut the hose off at the through hull fitting using a hack saw.


Then cut the frozen rusted hose clamp off using the same hack saw. Limited space and some “Darns!” J but it came off.

Next was the trip to Marine Exchange on our bicycles to get a new hose and clamps.

We purchased the wire enforced see through hose that is a lot easier to work with, 1 1/2 inch ID.

Debbie then heated up the hose and wrestled the hose on and clamped it tight. Another nice job completed.

Pump out adapter

 Debbie picked up a Dometic pump out adapter (343502) for guess what. It is to make our lives a bit easier at the pump out station. We may not use it much once we leave San Diego but when we need it we will have it. Anything to make the job a bit easier :).


Referstripped scew replaced, painted, finished - 2012

2012 Marina Kona Kai Shelter Island San Diego, CA
Debbie finished off the refer by re-screwing in the original stripped out screw in the back end of the evaporator plate and adding another to hold in down. She used the food approved silicone to seal them up.

Got AIS on Standard Horizon Matrix GX2150 VHF radio back up - 2012

The dot in the middle with the line on it is us. The range is set at .5 of a mile.

The new IMTRA Eyeball accent LED got a fitting - 2018

July 2012 - Marina Kona Kai  Shelter Island San Diego, CA  
The new Captiva PowerLED (Eyeball), Warm White accent light by imtra for the salon got a try and it looks really good.

Ordered another Inflatable fender with a fender cover - 2012

We just ordered our second inflatable fender from Aere.
It is thew 19x29 fender in white. The cover is in beige.
This should take care of one side of the boat.
Air pressure - 1.5 lps max enough air to indent the finger slightly.
June 2012 - Currently at Marina Cortez Harbor IslandSan Diego, CA


Quest stern shower valves set up under galley sink - 2012

7\06\2012 San Diego, CA
Missing one 1/2 inch female hose barb yet.
These are the two Quest valves that will connect the stern shower to the under the galley sink plumbing.

Stern light mount finished but for wiring it up

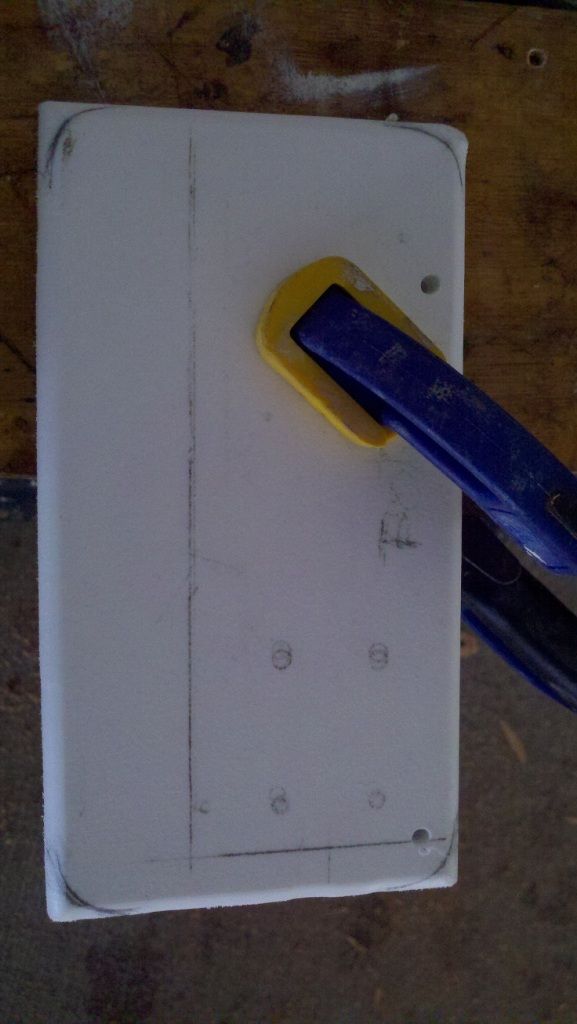
Marked up stern light mount for rounding the corners.

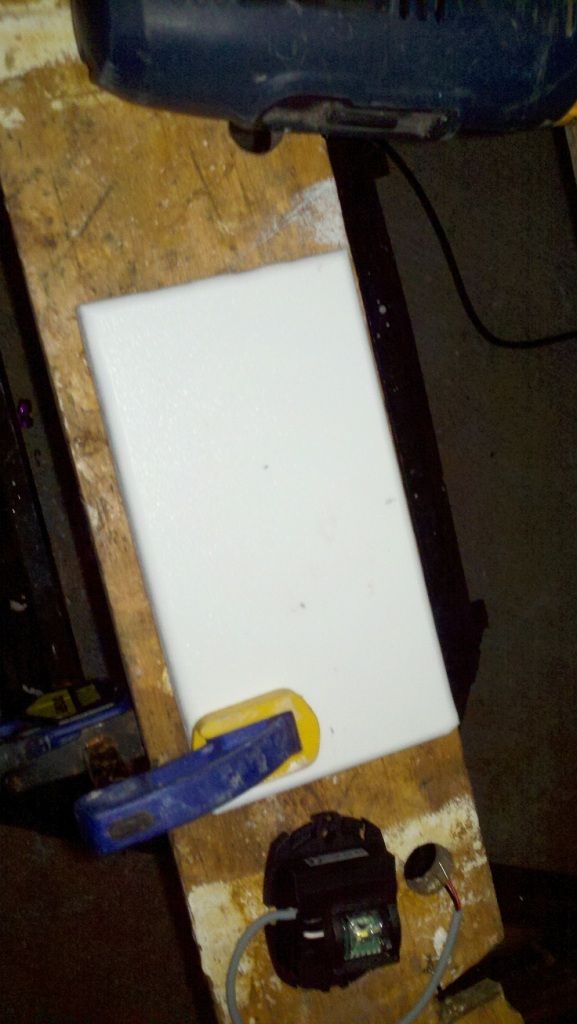
Rounded corners with the jig saw and then sanded them.

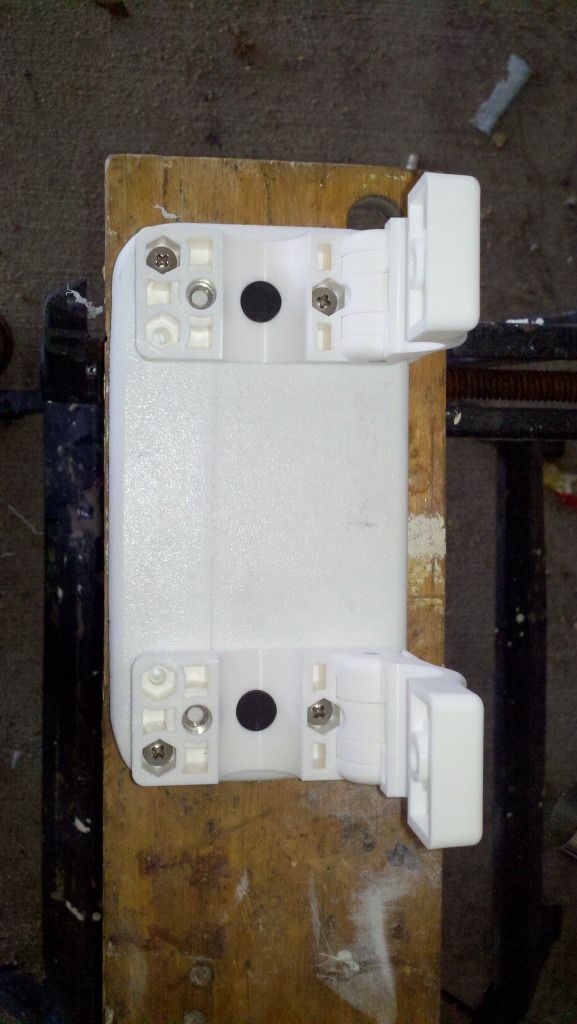
Locating where to drill holes for the rail (dingy davit ) mounts.

Holes drilled being carefuller not to go all the way through. Short a couple screws but rail mounts are installed.

Located the spot for the light and drilled the hole through for the wire.
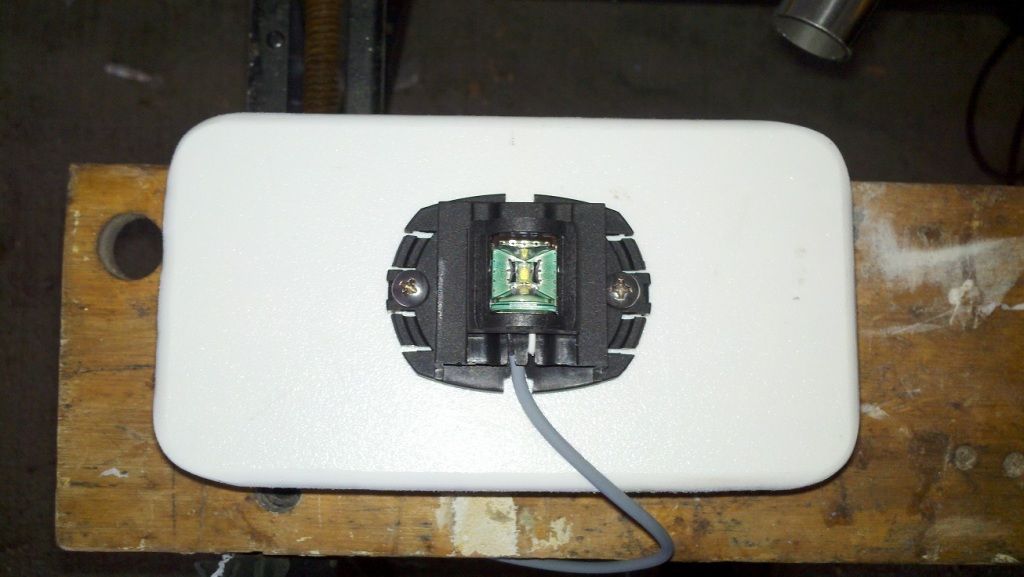


Back side.

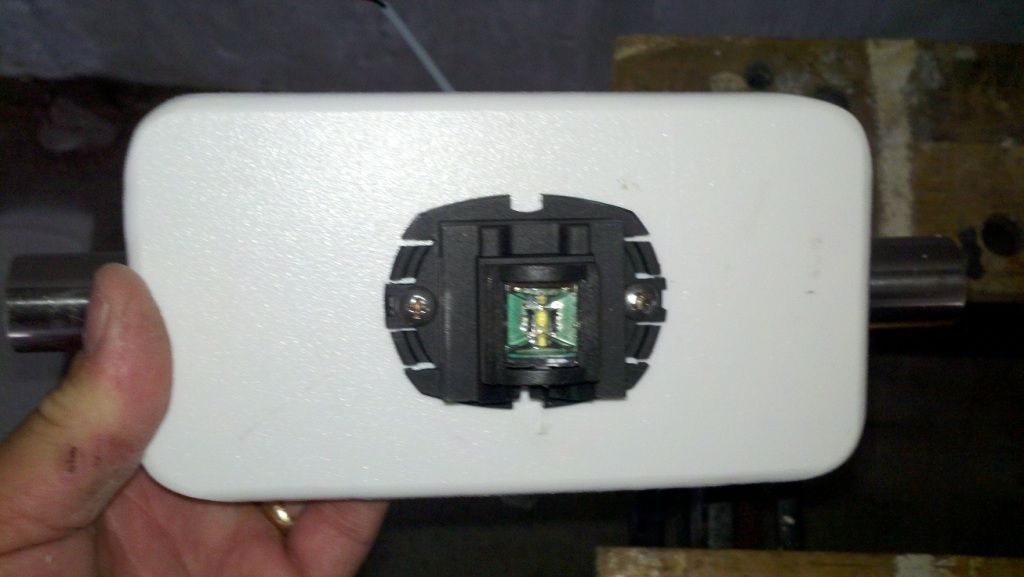
Front side of stern light.

Now to wire it up and we will mount it.

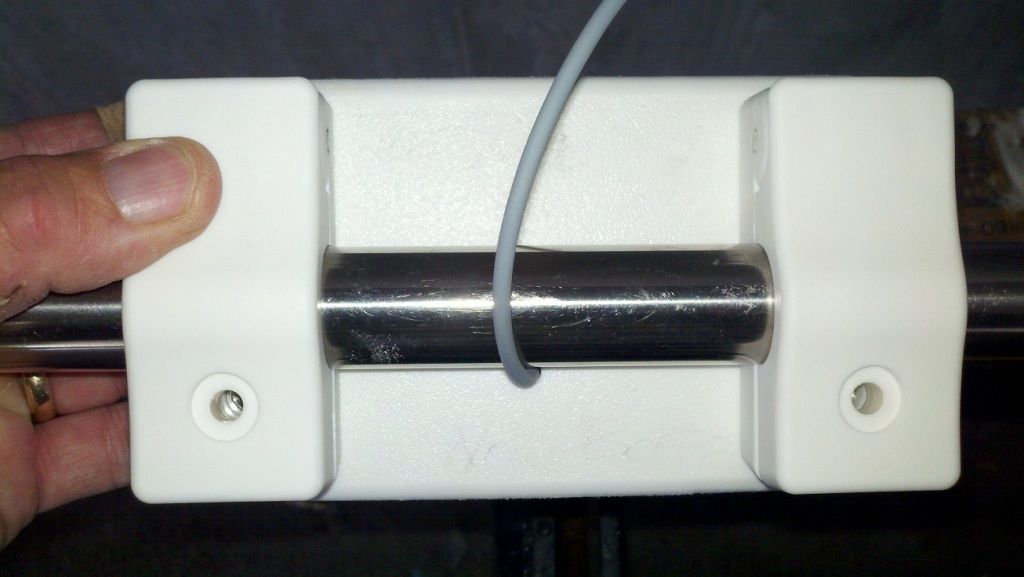
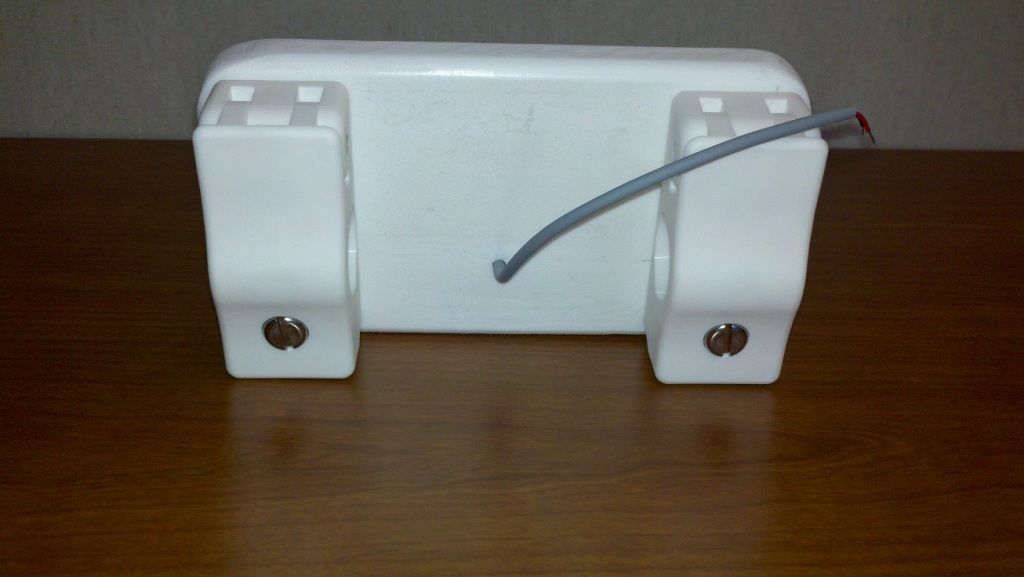
The mount is wide enough to be mounted on the center of the dingy davits cross bar. 
There is a plate in the center that the rail mounts must miss, that's why the mount is a little long. It looks fine but it could be shorter if it were not for the plate.

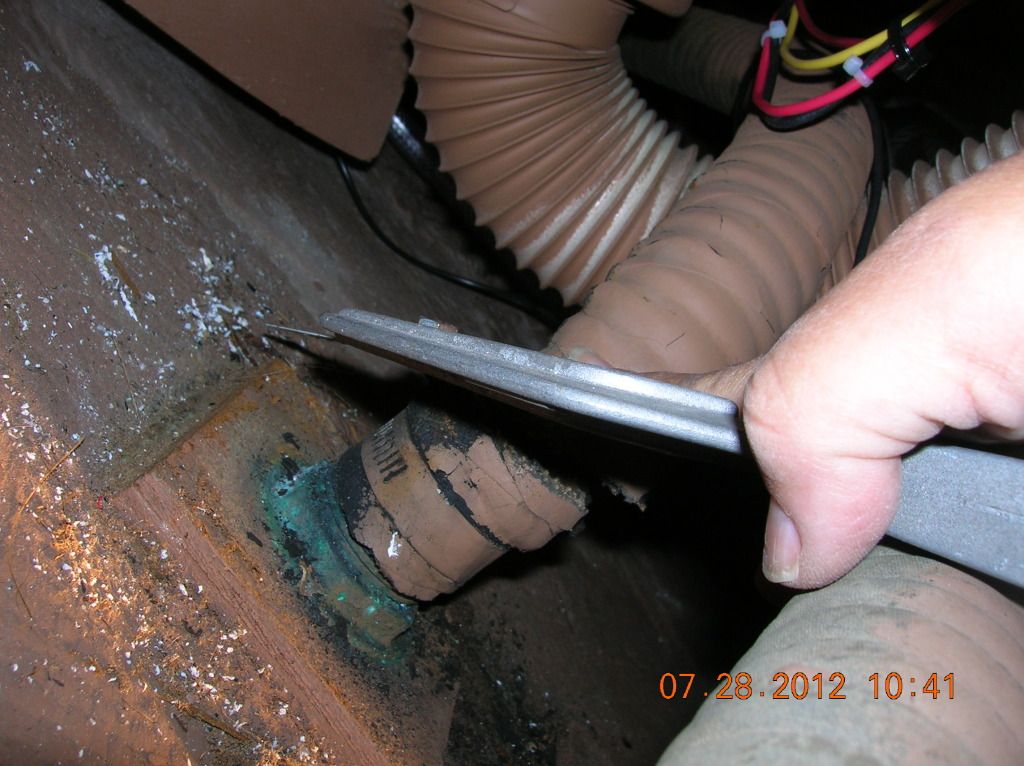
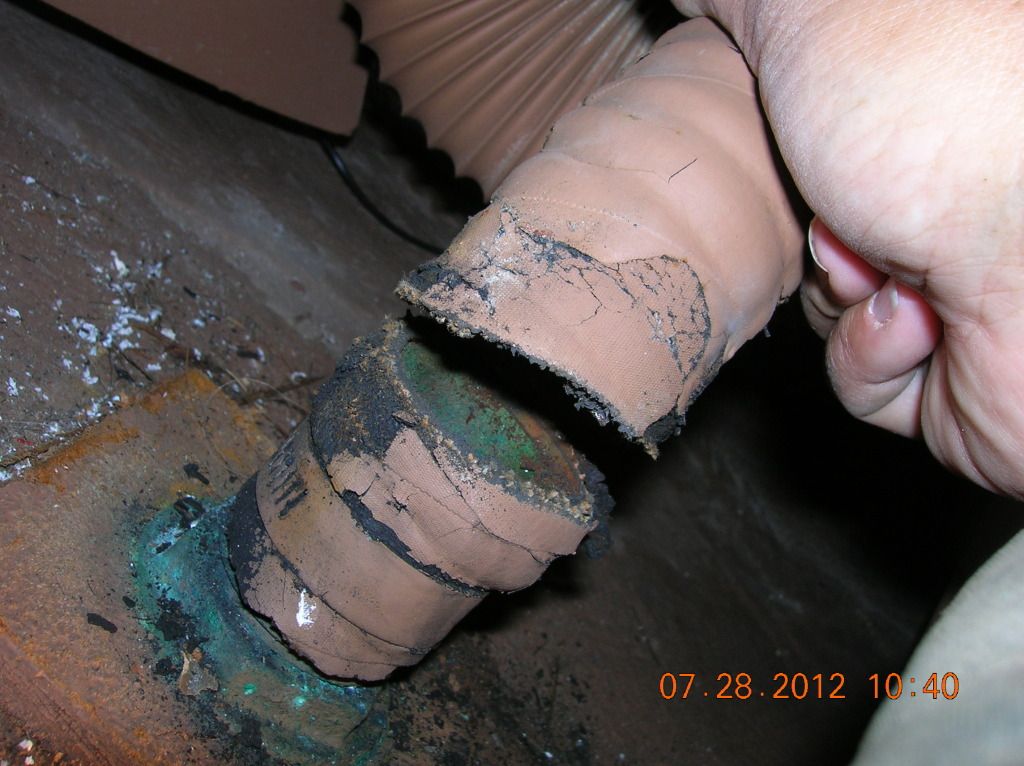
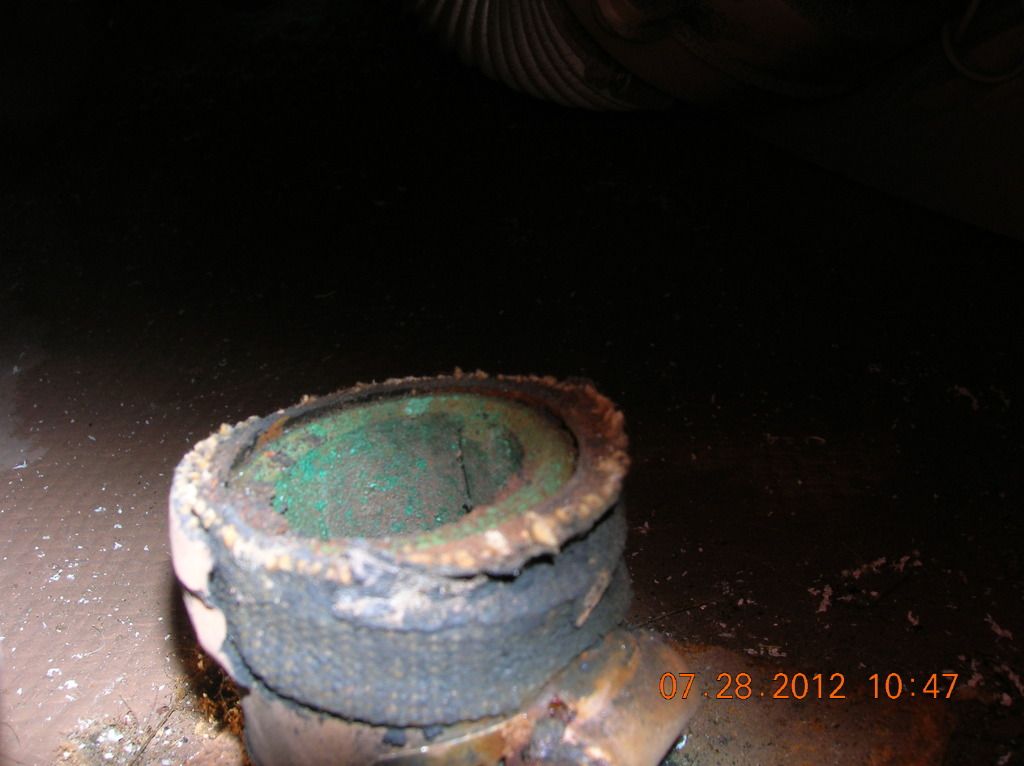
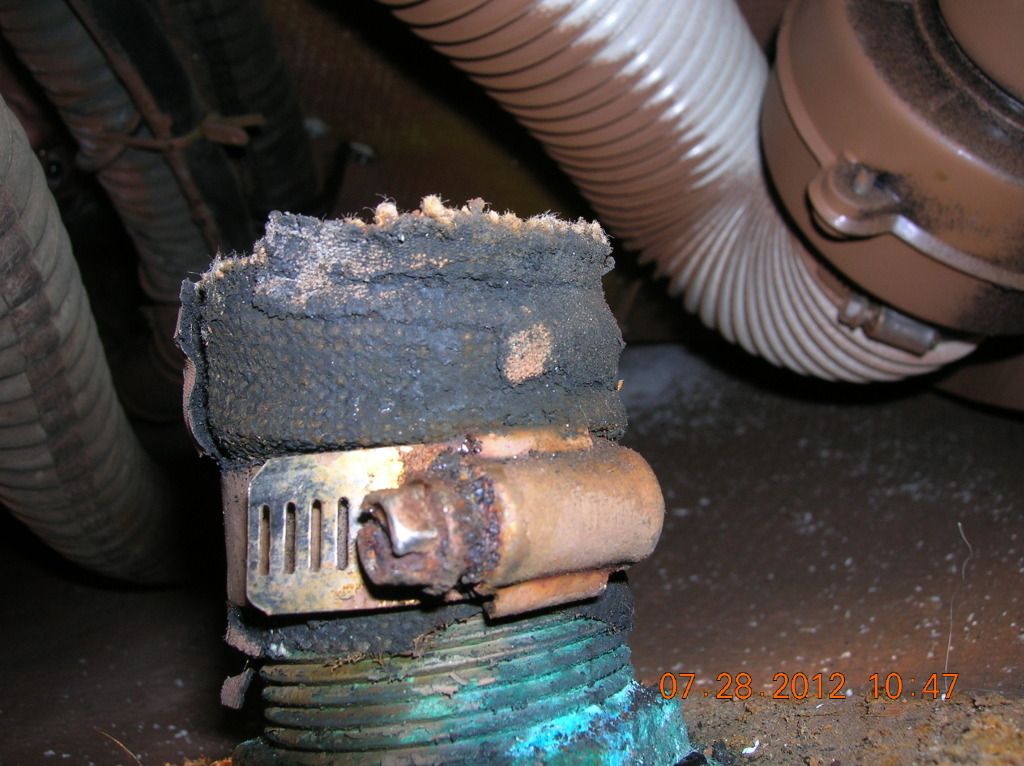
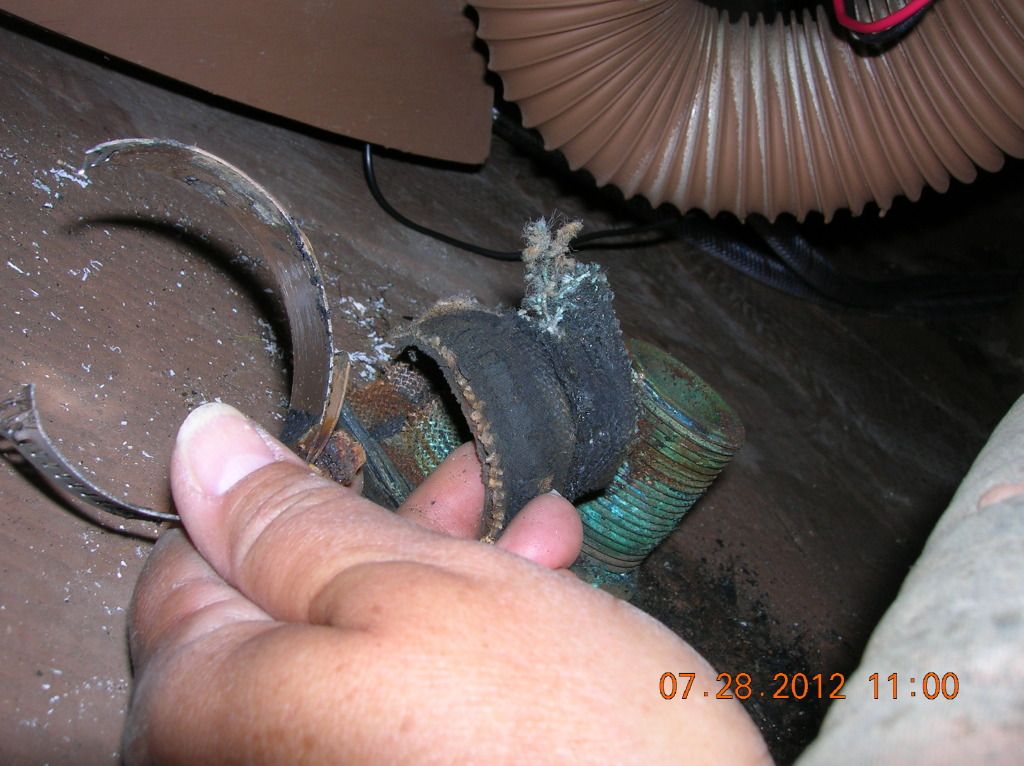
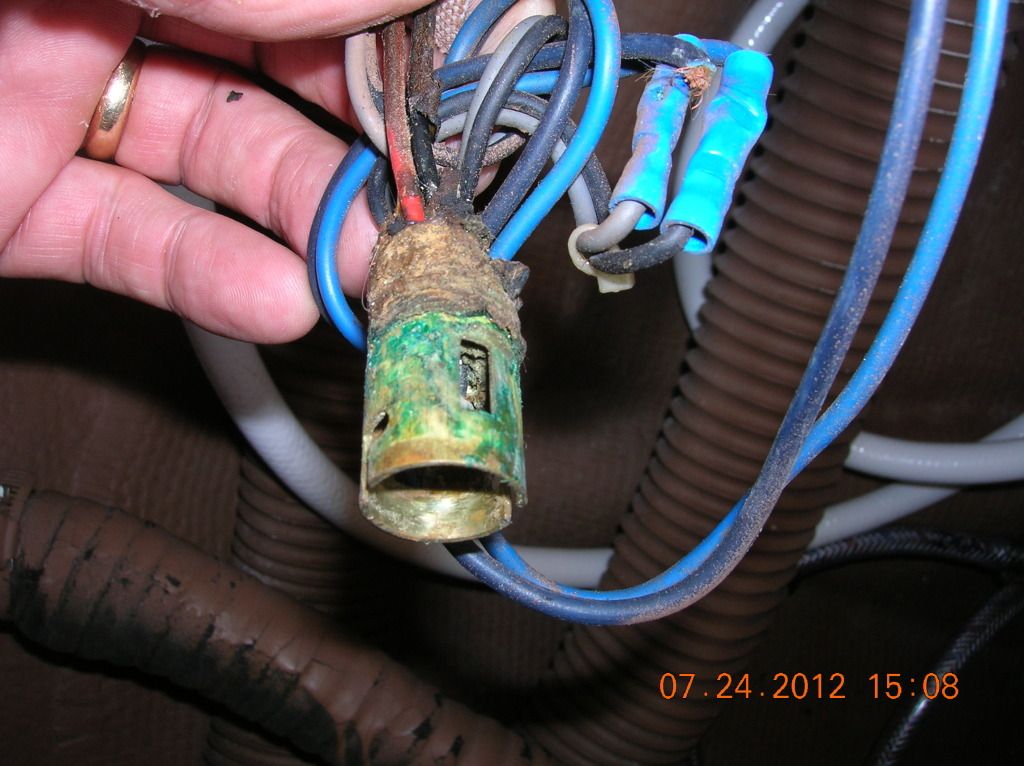
And you wonder why the old stern light was giving us such a pain.


oops, thermostat cable is the correct size - 2012

Mermaid Marine Air include the original 15' cable, what are we supposed to do with that? eBay maybe??

Eyebrow sure looks nice, started forward one

Our newly completed salon eyebrow sure looks nice. We removed all the blue tape and cleaned up the excess.
Removing tape ect.


We started the forward eye brow. Debbie is taping it up and then we are ready to re-caulk it. We had previously removed the old caulking, what there was of it and what there was of it was not much good.

San Diego Kona Kai Marina, Comparing Islander Freeport's water lines - 2012

July 2012 - Kona Kai Marina, San Diego, CA

  While we were out dinging about in our marina we went by two other Islander Freeports. One a 38’ and one a 36’. We noticed their rudders and saw how they sat in the water. It has been a long time since ours (s\v Elegant'sea) sat the high in the water. 
The rudder sticking out of the water that much. 

New Salon IMTRA Eyeball LED light - 2012

July 2012 - Marina Kona Kai Shelter Island San Diego, CA
This new Imtra light (Item:ILIM31701) Captiva PowerLED (Eyeball), Warm White is a spot accent light that can turn.

More work on the ICOM 803 SSB and Pactor mount

 We had to sand down a bit for the SSB mount because the previous spot was a little high. Then we used 3M 5200 to fasten the SSB mount to the hull. The mount being attached is only three stringers.

Re-fitting ICOM 803 SSB radio into space under nav station..


We will then remove the SSB bracket and plywood. Then using 3M 5200 we will go around the stringers where there may be voids etc. Then some paint and we put it back together.
 We could have fiber glassed the stringers in also but the 3M 5200 should hold this fine.


On the hull.

On the stringers.

Set in place till the 3M 5200 sets up.


  Then we used the paper template for the Pactor modem to mark off the four holes behind the radios and drilled them out. We made them big enough so we could adjust the Pactor modem to be aligned straight with the shelf.
 While doing this I ripped a wire off the terminal block that goes to the Standard Horizon Matrix GX2150 VHF radio.
I was in too much of a hurry to disconnect the radio from the terminal block as it was getting late.
Not a hard fix and we aill need to go back in and clean up the area and fasten the modem securely etc. It got late so we called it a night.


Drawer still opens fine!