
Old sealant that came out.
Debbie came home and the after work, work party was to shim and seal the mast at the deck joint.This and putting cotter pins into the stays at the turn buckles is all that is left to do to finish the mast project.
We decided to do this the way it was done when we pulled it out. At least the way it looked as we do not know how they did it or how to do it. We know of one kit for this but it is pricey and if for some reason (please let there be none) we ever need to do it again there may not be a kit available. Besides it is a together thing on an OK sunny evening.
The mast joint did begin to leak some moths before we removed the mast. The sealant was below the mast joint and would collect water. It was dripping from around the mast bolt down to where the mast step is. I moved the sealant around a bit as it was soft. The stopped the leak I think. We have no idea how long it had been there, the sealant. At one time the mast was removed, painted and some standing rigging replaced and a spreader welded up. This joint leaking could be very bad in the long haul as it could rot out the mast step. We have seen this and it is an ugly fix. The teak and holly sole needs to get cut out along with part of a rib in the bilge. Also some of the wall and mast locker. Not good. A lot of work.

Debbie first prepped the area with brown paper.


If there is a reason
to do this again it cannot be good I would think.

The larger size - Debbie is cutting the line to length.
Debbie had sized the
mast opening around the deck up and had purchased some line at Sailing Supply
for this purpose. Two different sizes of three strand. The line is used as
shims. You could use wooden shims but that seemed hard to seal around. Maybe if
we had done it before with the wood shims it would be OK.
Then we cleaned the
area with alcohol and a rag.

Prepping with sealer.

Prepping more.

The we applied a layer (bead) of sealer and smuged it around
to great a bound on both the mast and the deck joint.
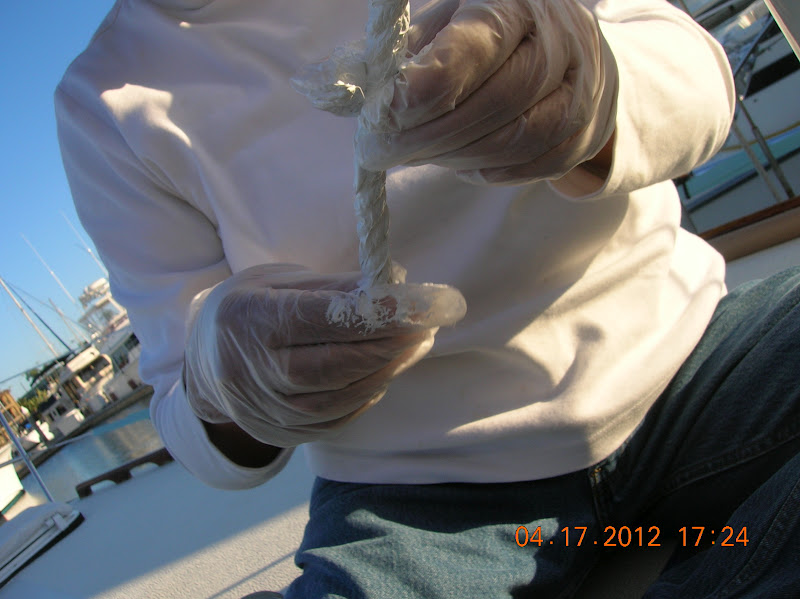

Now Debbie has a
larger piece of three cut to fit. The burnt the edges so it would
not unravel. She massaged the sealer all over the three strand and we threaded
it under the bolt that goes through the mast and to the back of the mast as far
as it would go without forcing it.
Note:
We had before pushed
the mast to center of the deck joint by leaning into it. It did slide across
the mast bolt. We talked to Rigworks rigging shop and they said the mast does
not necessarily sit in the middle of the deck joint. It sits in the mast step
and that may not be in the center of the deck joint hole. So we let the mast
find it’s own spot. When Debbie went up to the top of the mast the mast did not
move from the spot it found that it likes. I was surprised about that. It sits
a littler to the starboard side of the deck joint opening.
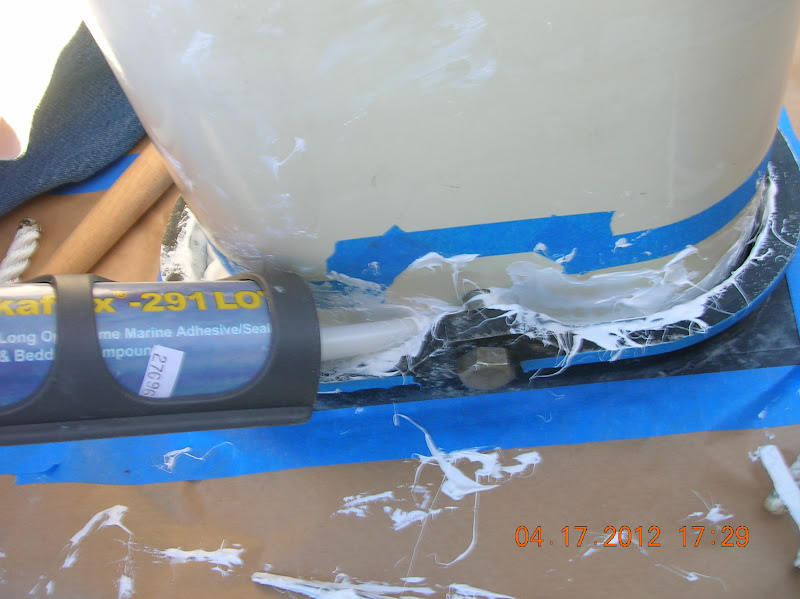

Then Debbie added another bead of sealant and
we smoothed that out over the line making sure to seal the area.

Then we
repeated this again. Now there is two lines and two lawyers of sealant.


We did this and used the appropriate sized lines for the space around the rest of the mast.

In some areas we could not fit any line in so we used shims to stuff sealant into the space.


We then added sealant so we could have it at a slight angle so water would shed from it to the deck.


All done and it was a mess by me.
Another job well done. The mast will not moved and it is sealed real nice.


We covered the work from the fog to come and called it a night!
As much as I wanted to play with our new StandardHorizon Gx 2150 VHF radio this was sure a nice project to get done. Now we can feel comfortable about the rigging and leave the dock!
There is a Sumbrella mast boot cover Debbie made that covers our work.
No comments:
Post a Comment