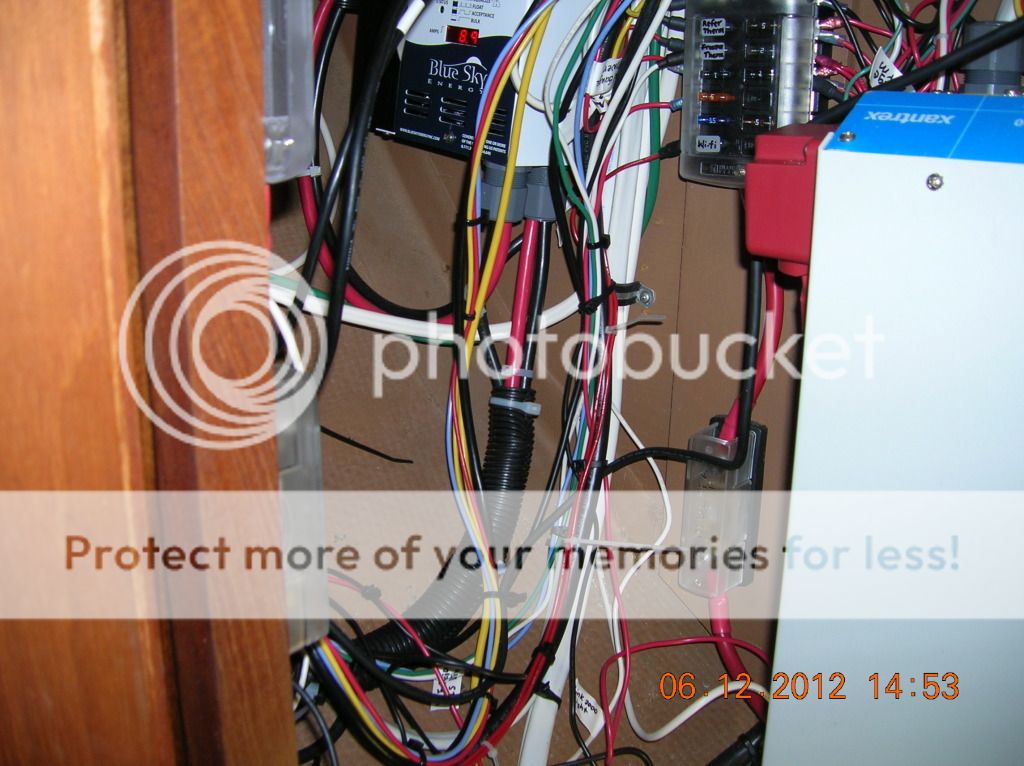
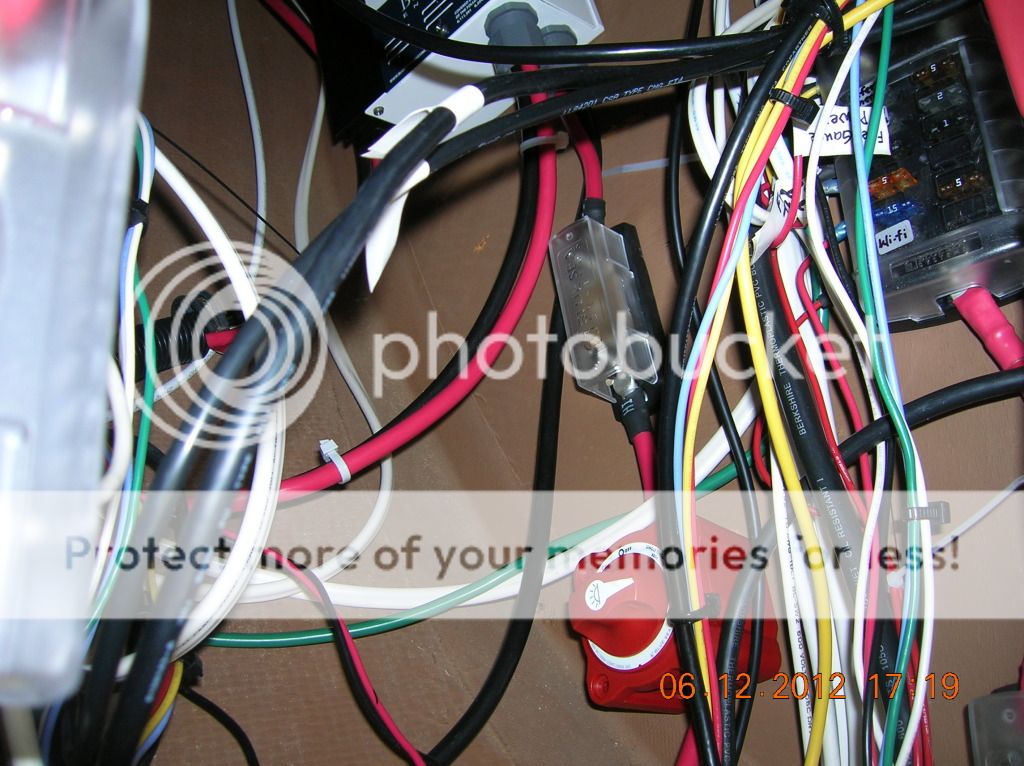
The Blue Sky Energy inc Solar Boost 3024iL DUO solar controller sitting there in a rats nest of wiring before we start.
It is not as bad as it looks. Some labeling and securing up the wires and it
will be neat. We are still not done so we need access to pull some of these and
arrange them yet.
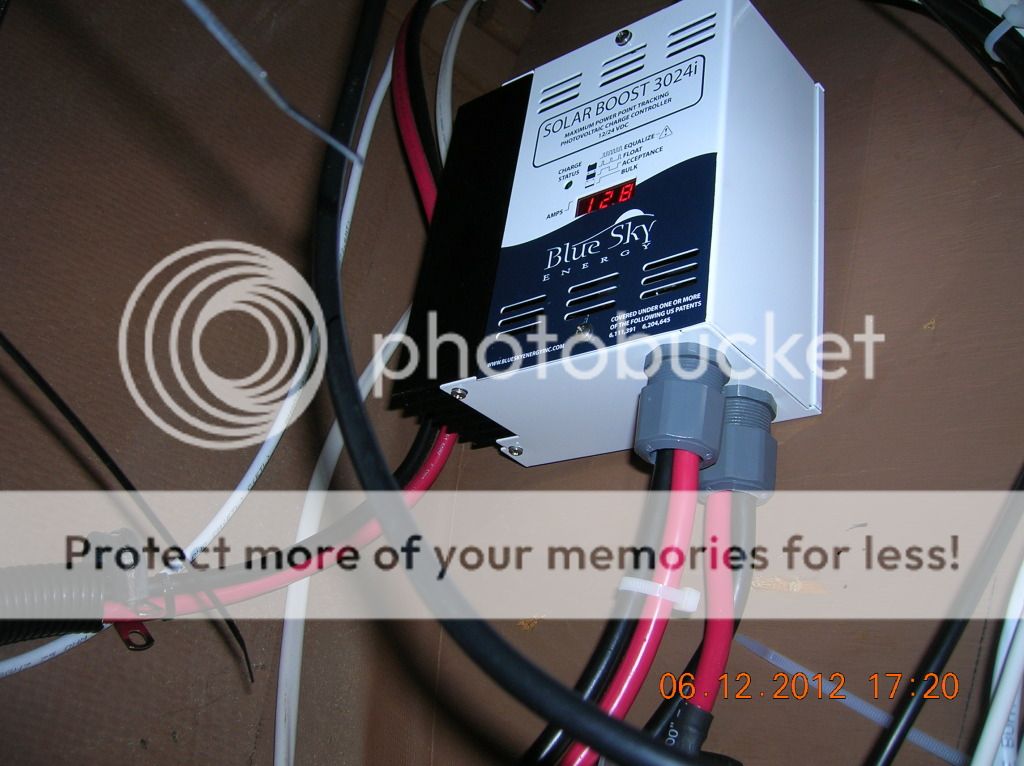
So the Blue Sky Energy inc Solar Boost 3024iL DUO solar controller is wired directly to the positive and negative
battery buses. The goal here is to install a emergency shut off switch and a 50
AMP fuse for the wires and to protect the Blue Sky Energy inc Solar Boost 3024iL DUO solar controller.
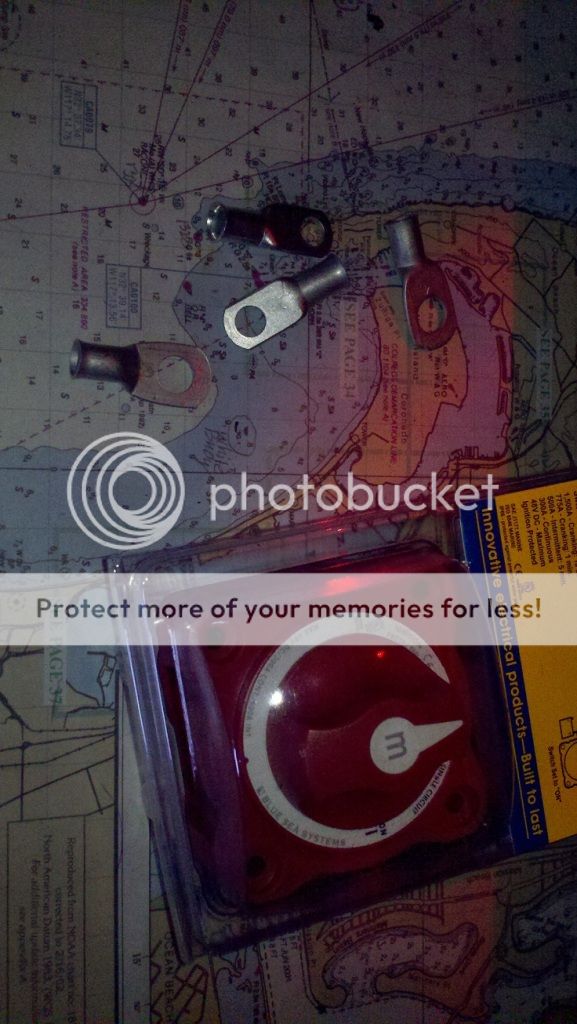

The emergency on\off switch (Blue Seas Systems PN 9003e - e-Series Battery Switch, Single Circuit ON-OFF) will come in handy to
re-boot the controller if need be and if we just want to shut it off. Now we
need to disconnect the positive cable from the battery buss which means digging
under the settee.
OK this does not happen often, turning off the Blue Sky Energy inc Solar Boost 3024iL DUO solar controller, but it
should be easier and quicker in case something happens.
Later we will replace the buss the solar panels connect (before connecting to the Blue Sky Energy inc Solar Boost 3024iL DUO solar controller) with a blade fuse block. We have already purchased the blade fuse block but
have not had time to replace the bus with it. It is kind of low priority as it
is for lighting protection and if we just want to shut down one or more solar panels.
So off we go.
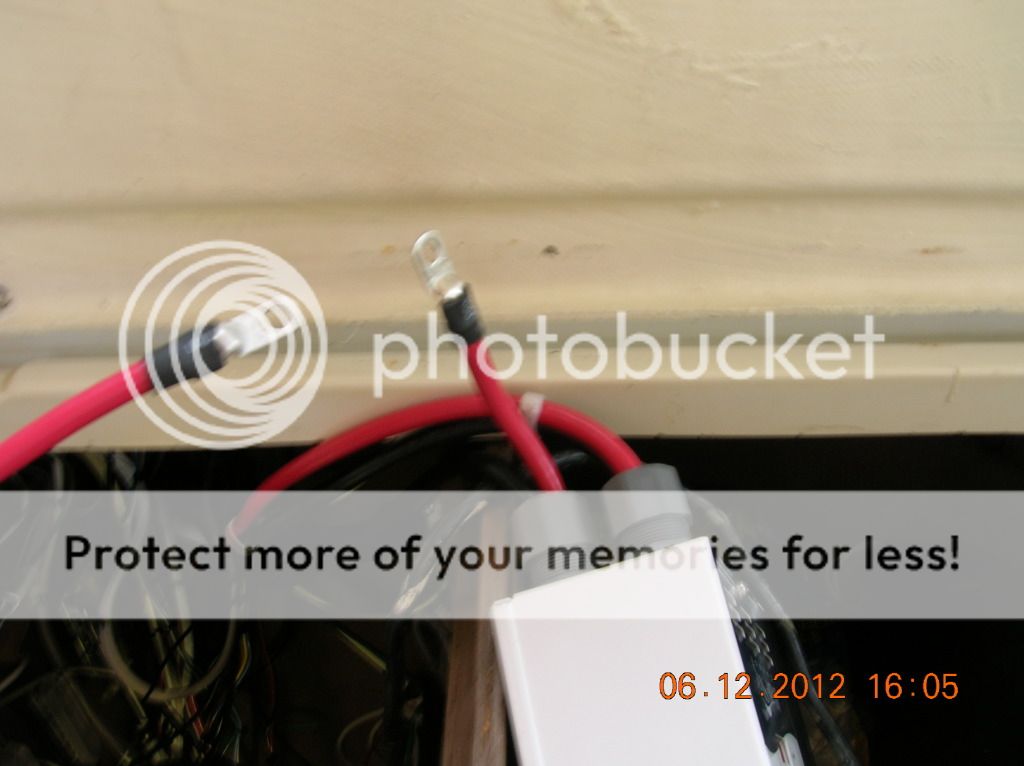
First we disconnected
the Blue Sky Energy inc Solar Boost 3024iL DUO solar controller(SC) from the positive bus.
Then we had to engineer where the fuse and switch would go.
There is limited space and we need to have access to both. Also we want to be
able to remove the SC if need be for any service or whatever.
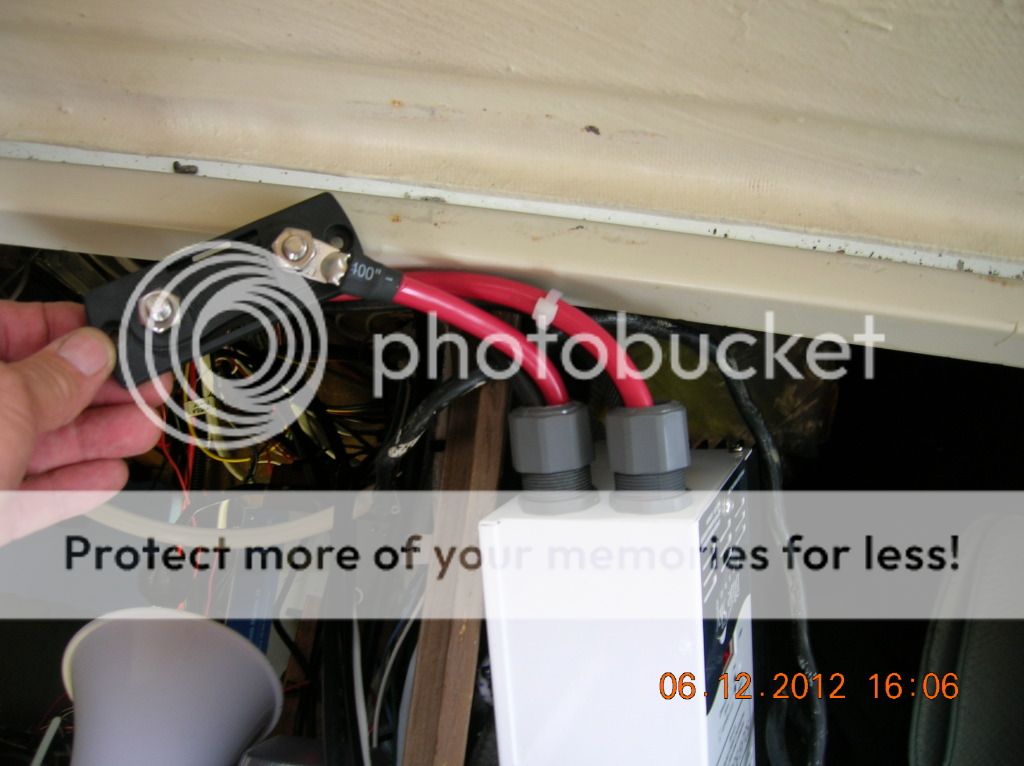
We can do this by disconnecting the SC from the fuse and lifting it out, that's the plan. When we installed the SC we left enough cable to lift it out of the
lazarett to where we could work on it.
We moved the SC up quite a bit from where we had original installed it.
That way we had just enough room for the fuse and switch. We now are using the Link 2000 to monitor the batteries so we do not need to see the LED readout on the SC so much.
Working on the SC at the lazarett opening.
Now this should never
happen but it has. We added the hot water divert load option so we needed to re-configure
the SC and that required lifting it out. Another thing or two we did but I do not
remember now.
Admittedly there is nothing to do to maintain the solar system. That’s why we love it. It just tirelessly cranks out power to the system. Wash off the panels once in a while and that’s it!
The SC is real nice and boosts the panels by as much as 30%! We do not want to lose it so a fuse is needed.
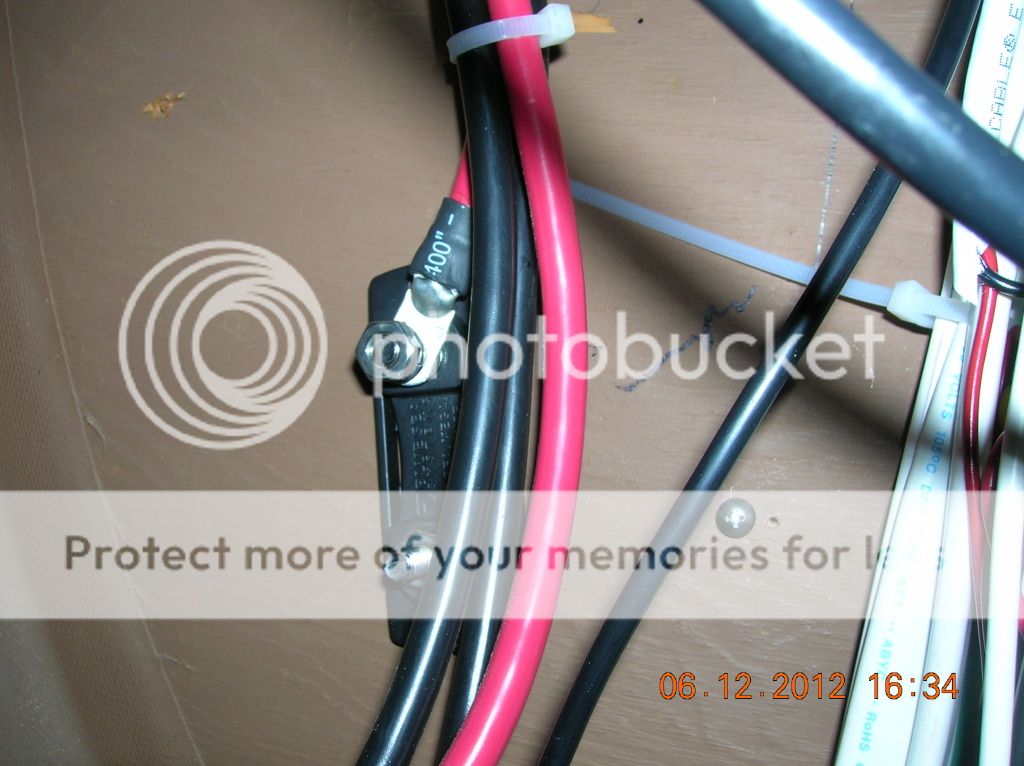
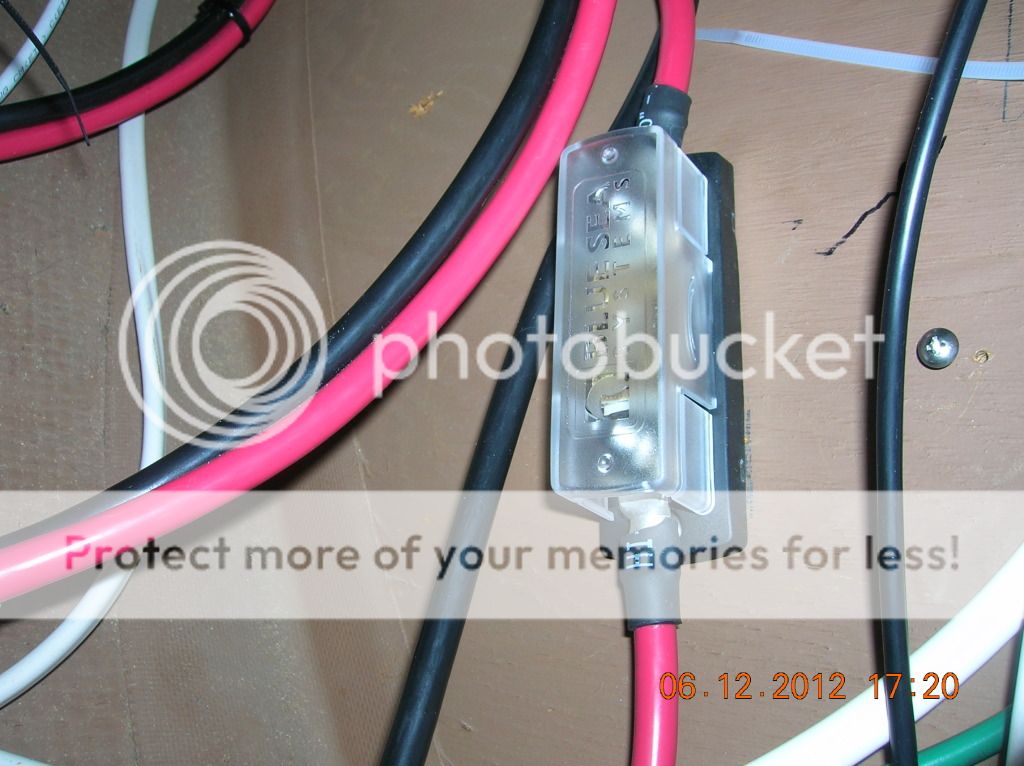
Blue Sea Systems Fuse holder.
We install the SC so the cable to the fuse holder can be removed, not so tight that the cable is stuck on. I have done that before so now I know better, at least this time.
Getting the position of the fuse holder before screwing it in.
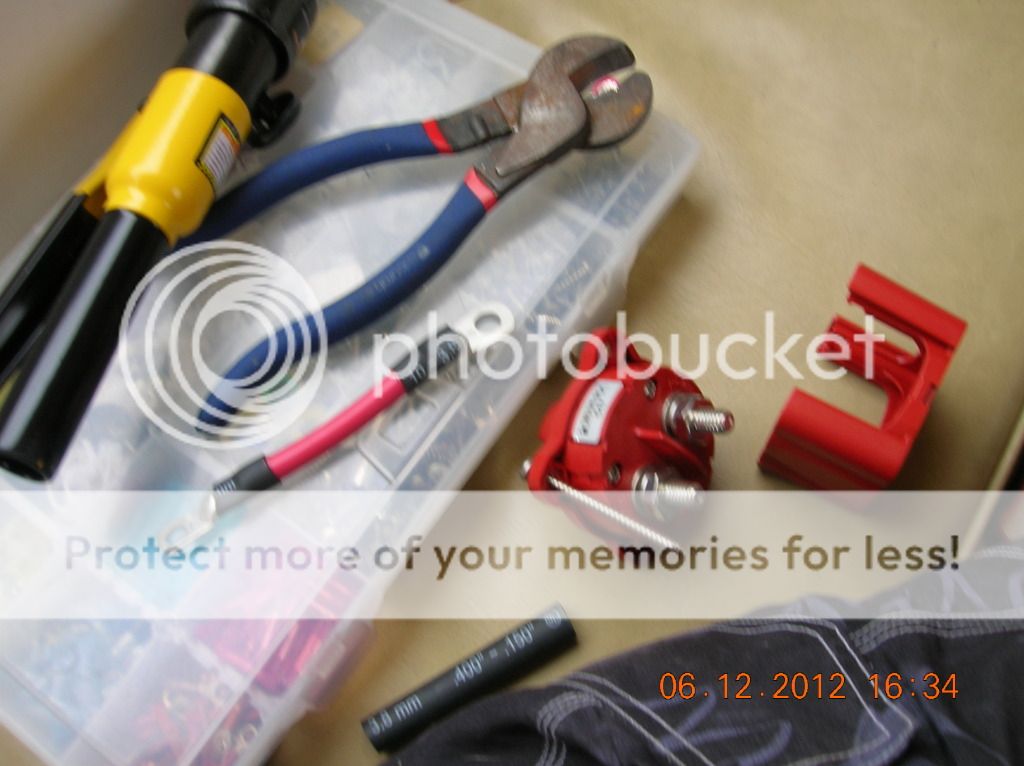
Configuring the Blue Sea Systems m-Series Mini On-Off Battery Switch with Knob - Red position to the fuse holder.
OK this was not particularly difficult. The hard part was access. There was a lot of laying on your side in an uncomfortable position and swearing about hair (OK lucky to have it, whats left) in my eyes and sweating and such but no real difficult problems to over come.
Of wait! Now we have purchased a few of these fuse holders and they all looked the same to me. Guess what, yep you guessed it. This one is smaller! Come to find out it is a (Blue Sea Systems SEA Fuse Block) and we have been getting the (Blue Sea Systems ANL Fuse Blocks). Guess I just learned what I should have already known 😀
Humm, to late to go buy one, do we have another, no, or well there is one in the head.
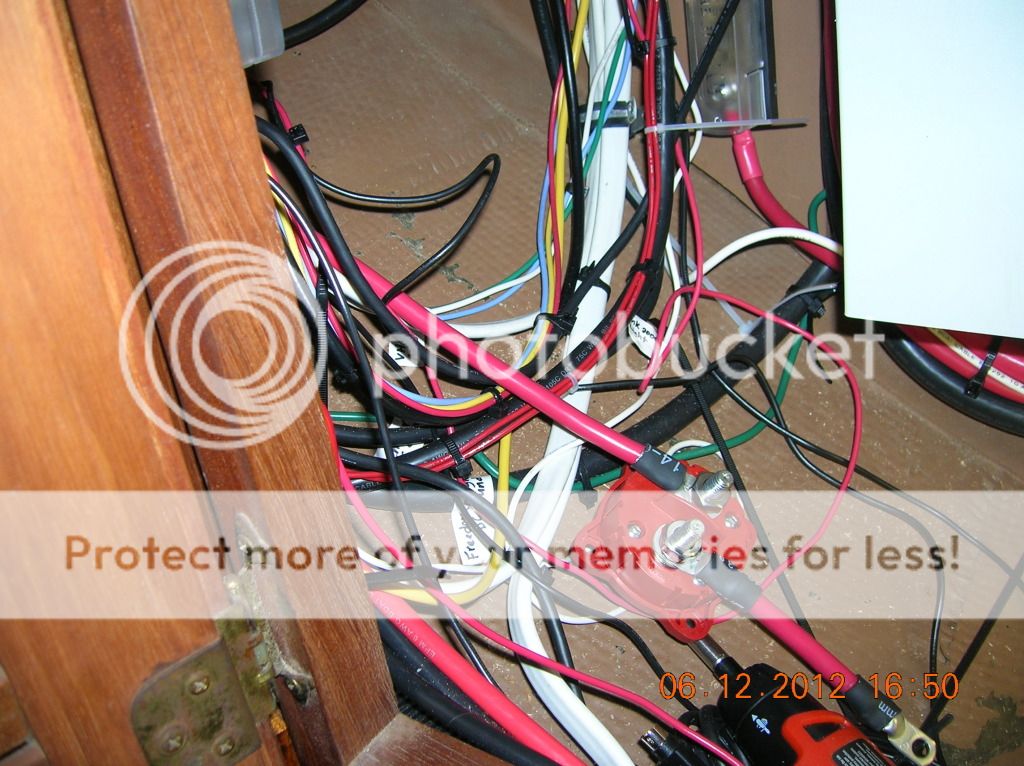
The one in the head connects a blade fuse block that we have not started using yet. We are going to remove the bus under the bed and connect those wires to the head fuse block. Much better access and the fuses will be blade and not glass in-line fuse. Just not had time do that so lets rob that fuse holder from the head for this project.
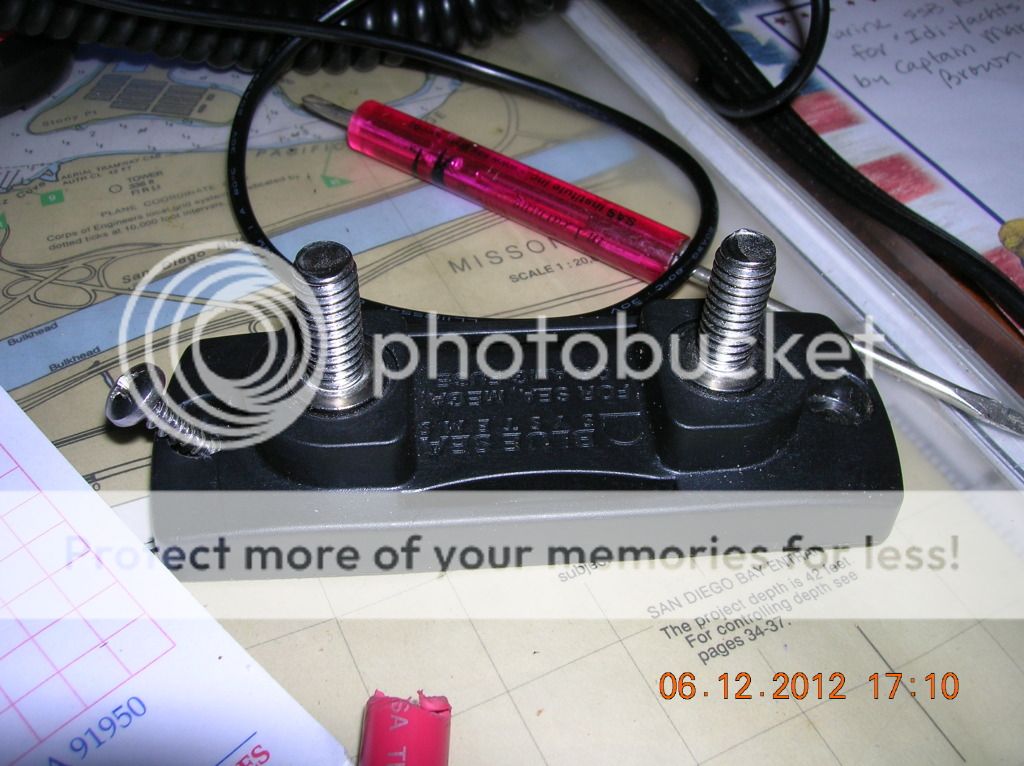
Now who would have thunk it? Looks almost the same only a bit shorter 😕😀
This complicated things a bit has the cables were sized for the shorter fuse holder. Not to be denied we did all the contorting again and got the system installed right.
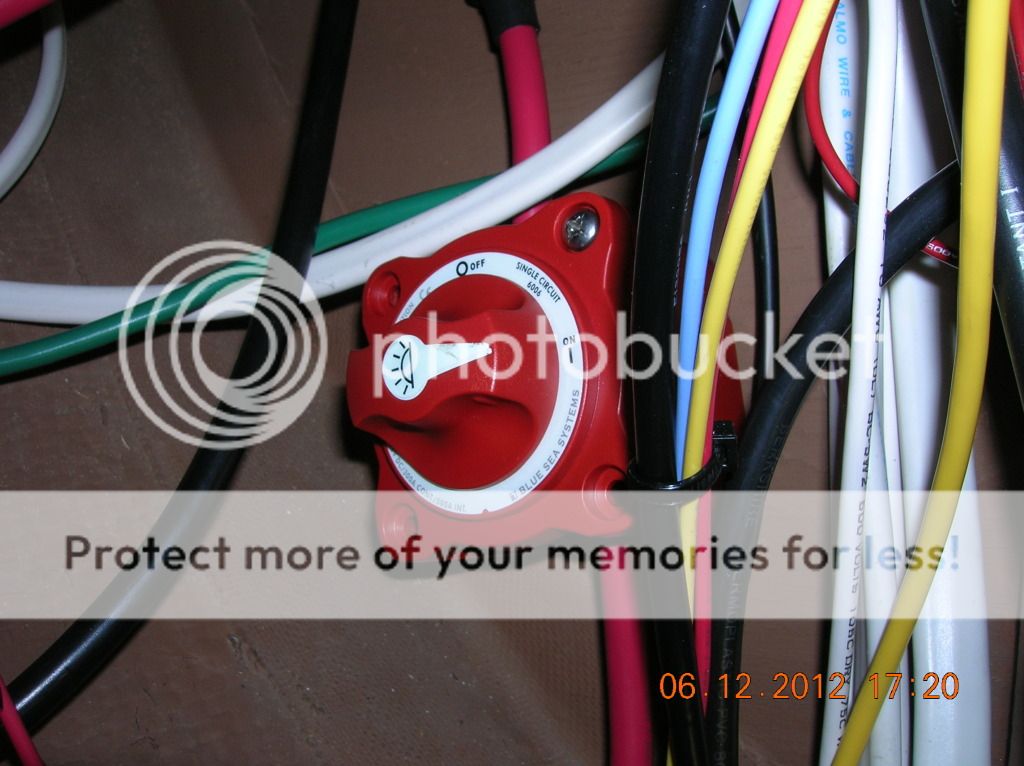
Forgo to get switch screws so we robbed one from another switch to get this one mounted for now.
The switch comes with different decals. We used the sun shine looking on for this particular switch as a label. The switch is on as we finished the install and re-connected the SC to the battery bus.
The SC cable from the switch to the batteries needs some slack that we have but it will need some snaking to get it and then we will stake down the cable at the switch.
OK all done and the SC is back up and running!
No comments:
Post a Comment