2012 Marina Kona Kai Shelter Island San Diego, CA
We did some major, time consuming plumbing work some in preparation for the Mermaid Marine Air 12000 BTU AC\Heat unit.
We did some major, time consuming plumbing work some in preparation for the Mermaid Marine Air 12000 BTU AC\Heat unit.
1. The first order of business was to remove the EXTREME™ Smart Sensor™ 4.0 Fresh Water Pump 12 VDC..
2. Then take the plywood mount and make it independent of the XTREME™ Smart Sensor™ 4.0 Fresh Water Pump 12 VDC... As it is now you remove the pump and the plywood comes off also. This makes it more difficult to re-install the XTREME™ Smart Sensor™ 4.0 Fresh Water Pump 12 VDC..
3. Then re-install the SHURfLo 4.0 fresh water pump upside down as recommended by SHURfLo.
4. Add a valve and connect the galley sink foot pump .
5. Add a valve to the starboard side water tank sight gauge.
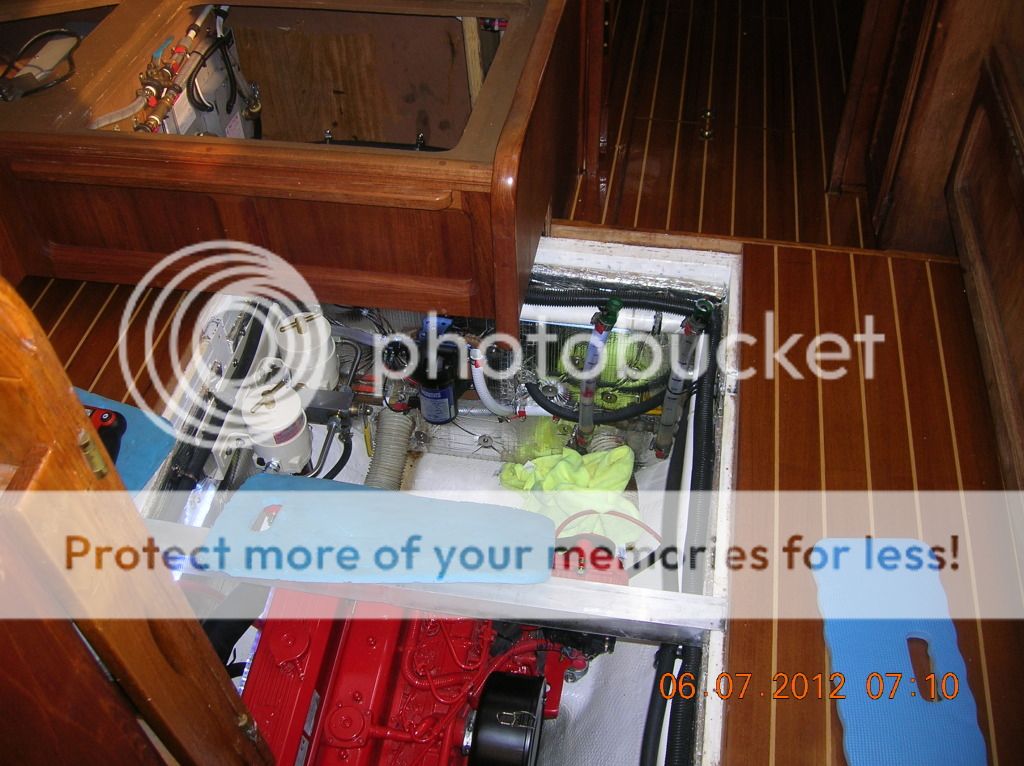
6. Then re-locate the water lines, hot and cold, from the space under the
salon seat by the water heater to the engine room.
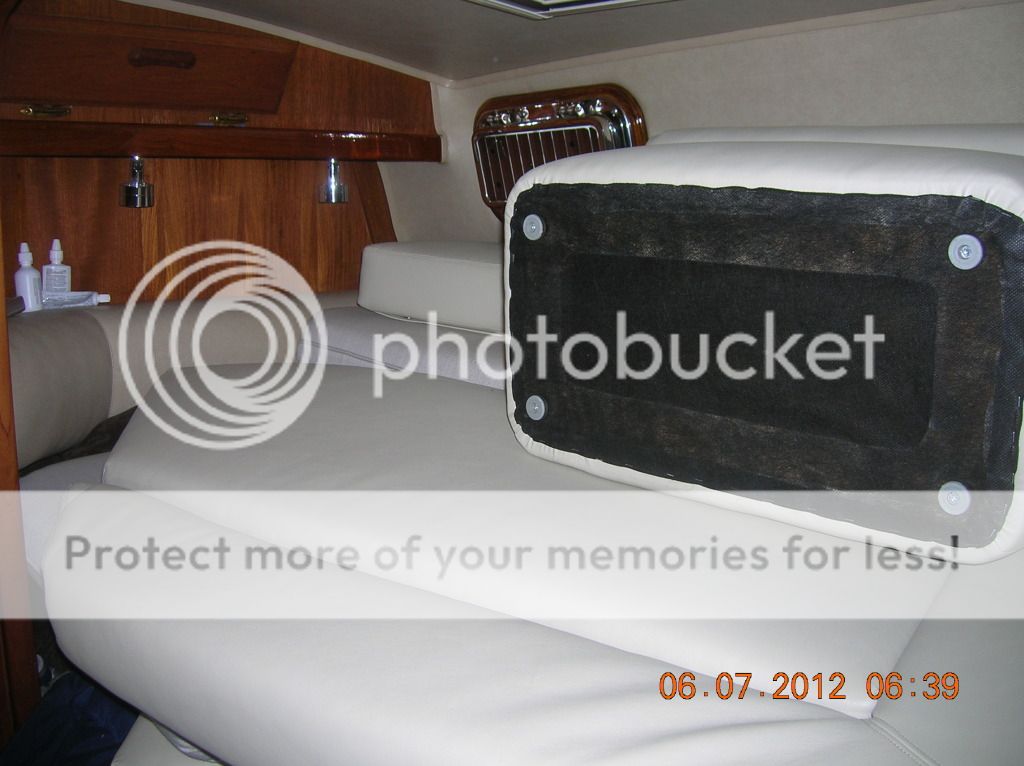
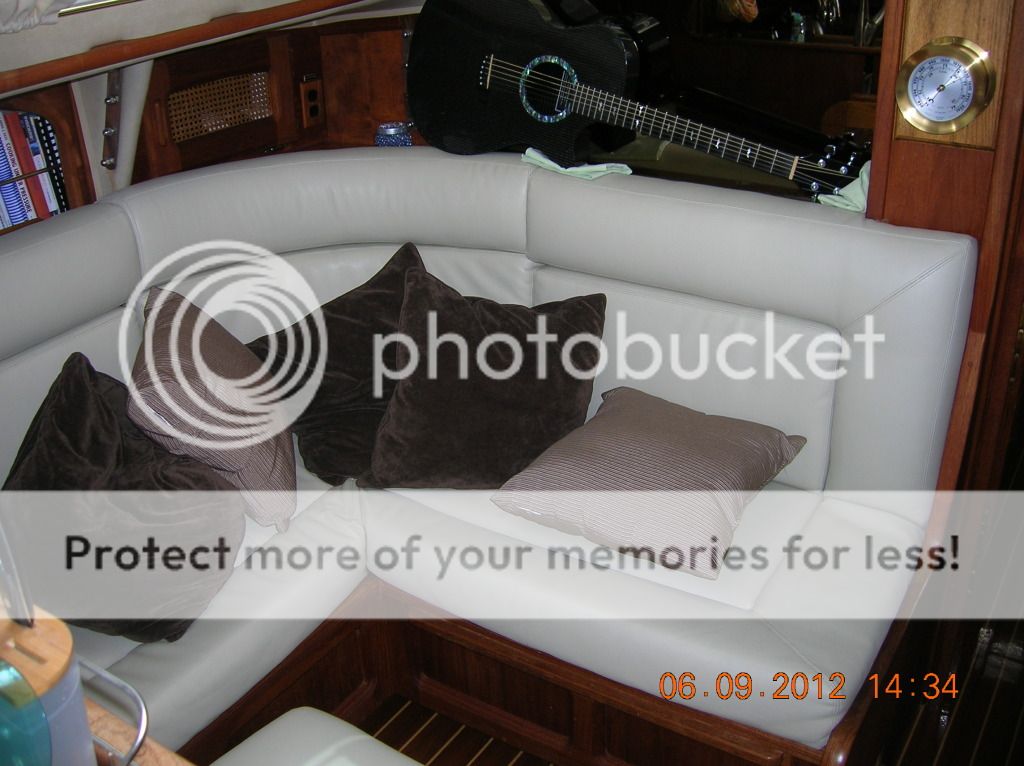
The first thing to do was clear the work area of all cushions.

Put on some music and we are ready to begin!
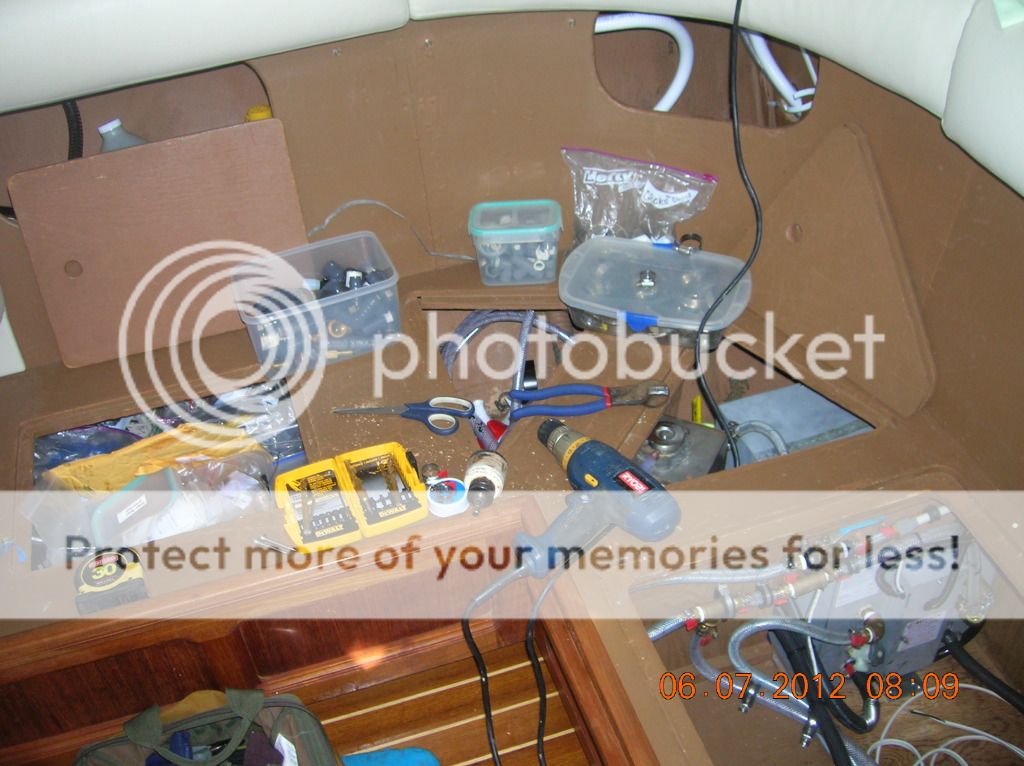
Lets go!
Just another plumbing video 😒
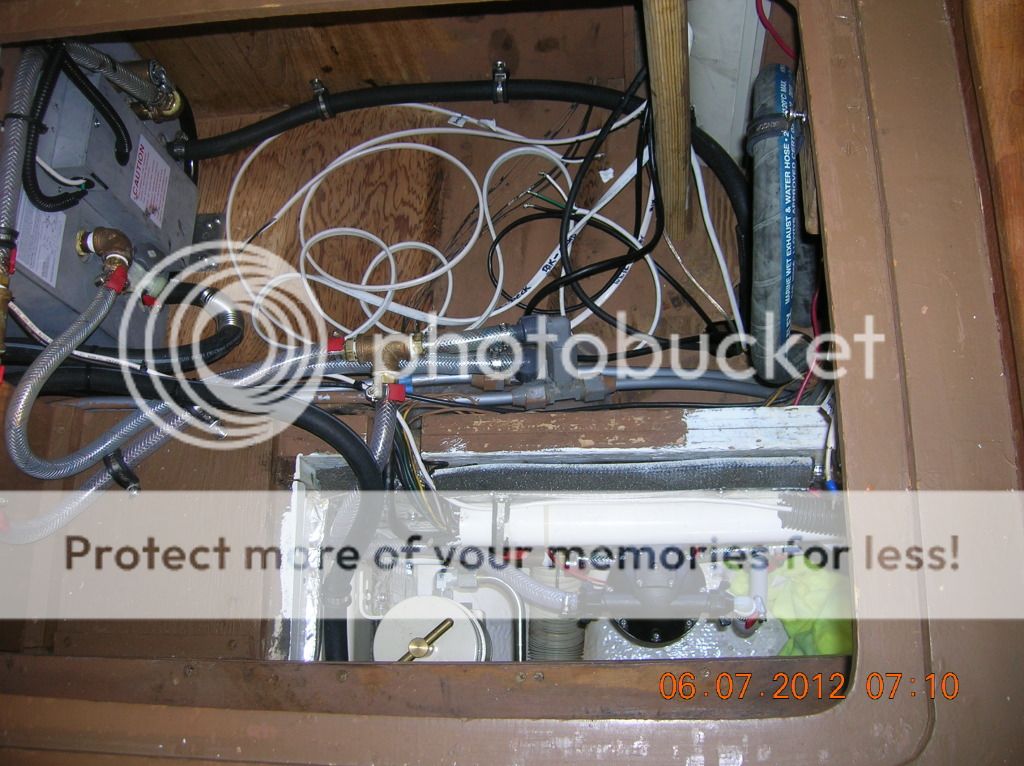
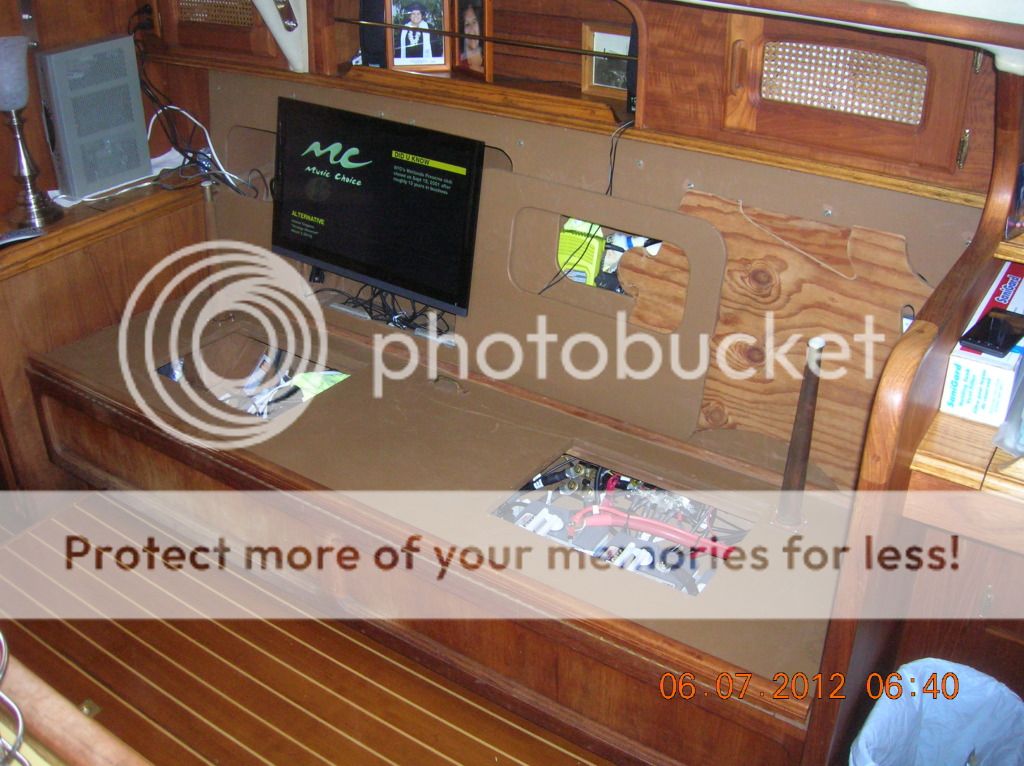
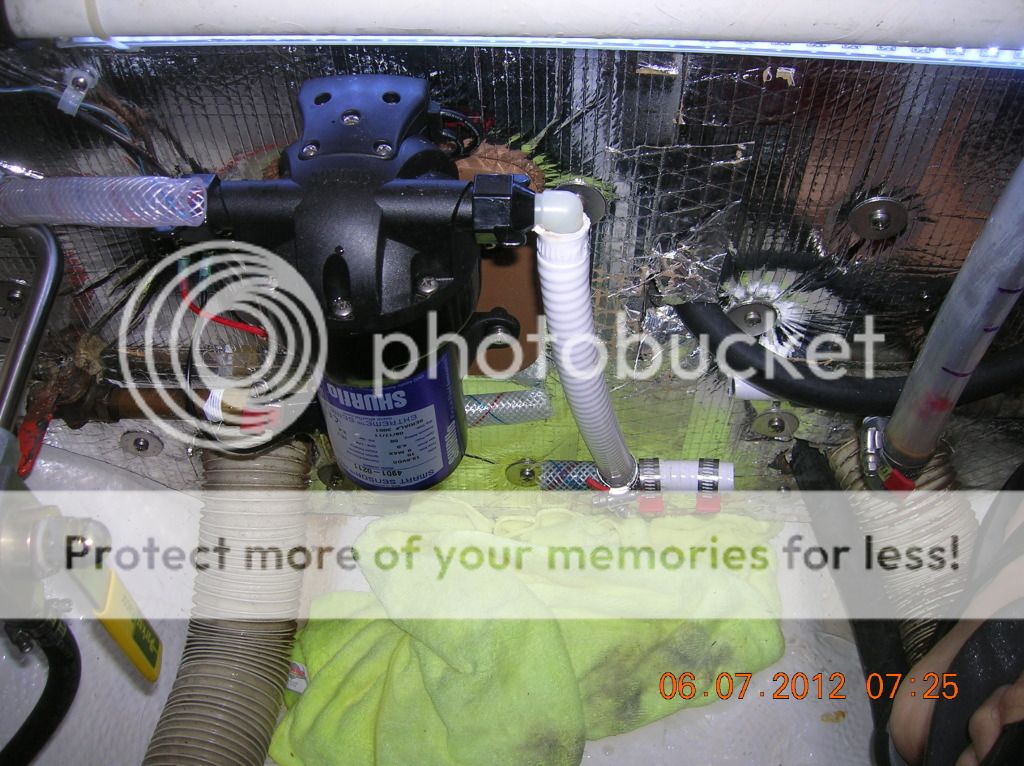
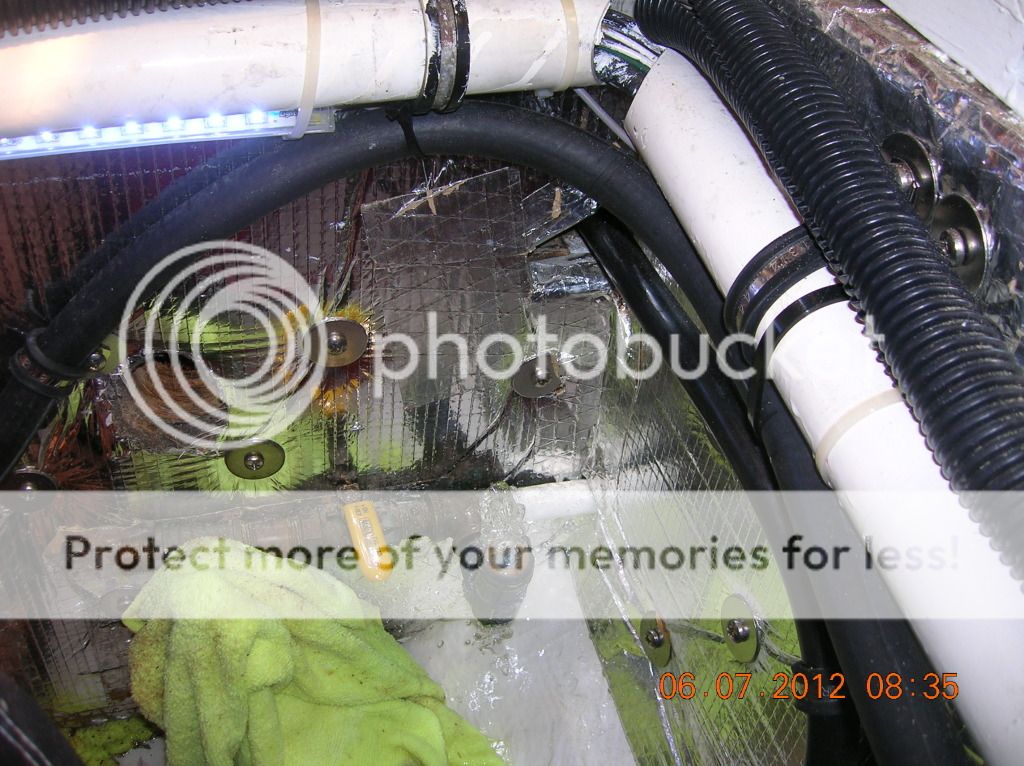
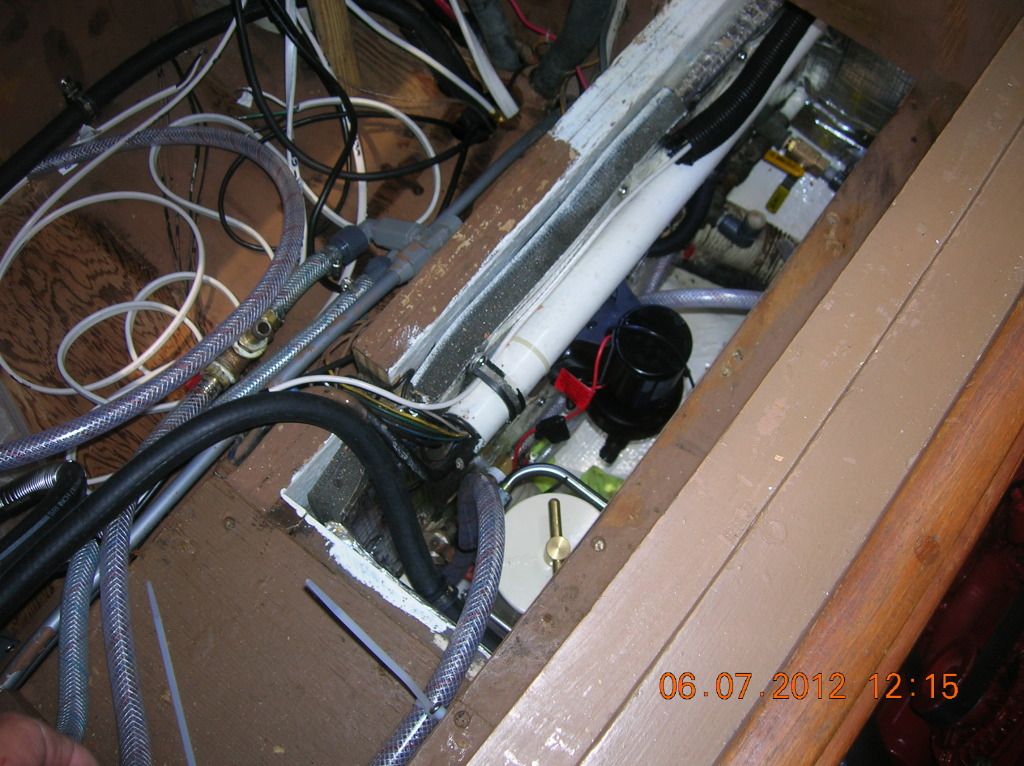
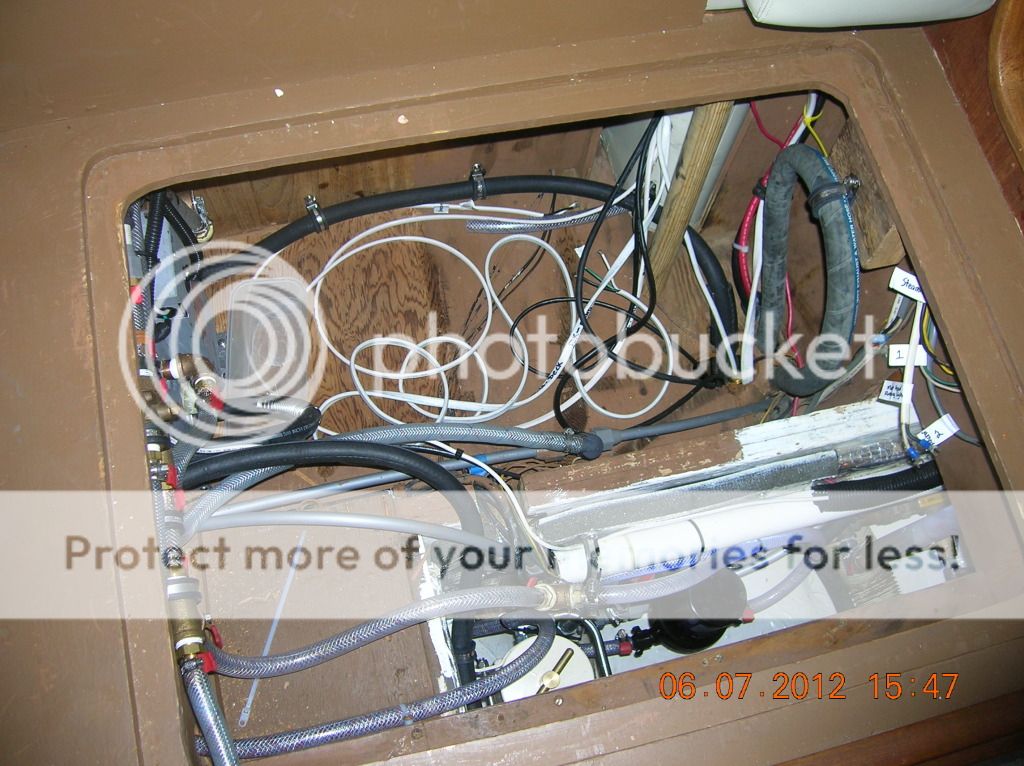
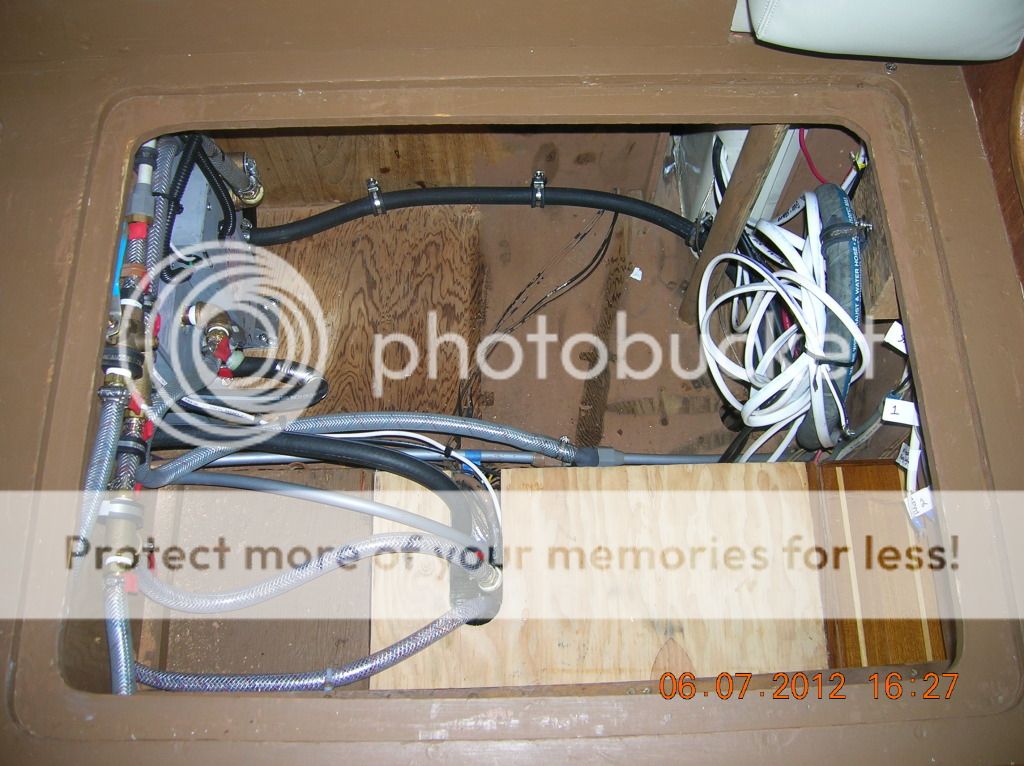
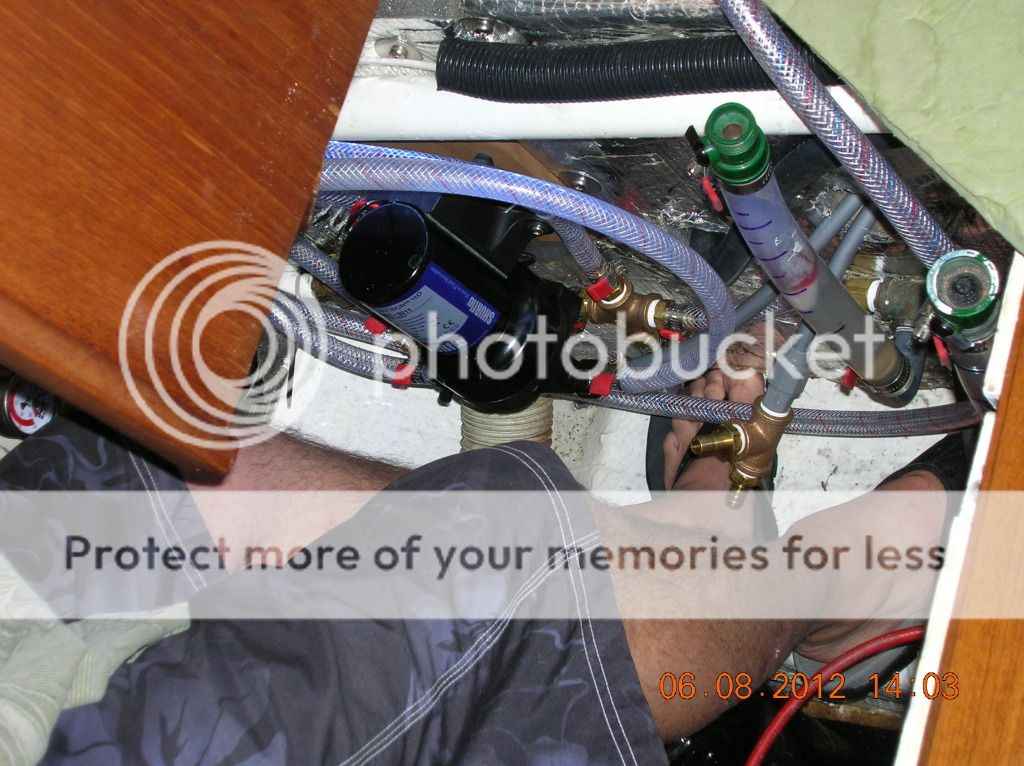
Shows the water lines and pump to be worked on.
The wiring is from the mast and not yet attached to the terminal block.
Disconnecting the EXTREME™ Smart Sensor™ 4.0 Fresh Water Pump 12 VDC...
Some hose had to be heated or cut to get them off, We chose cut 😈
My seat 😌
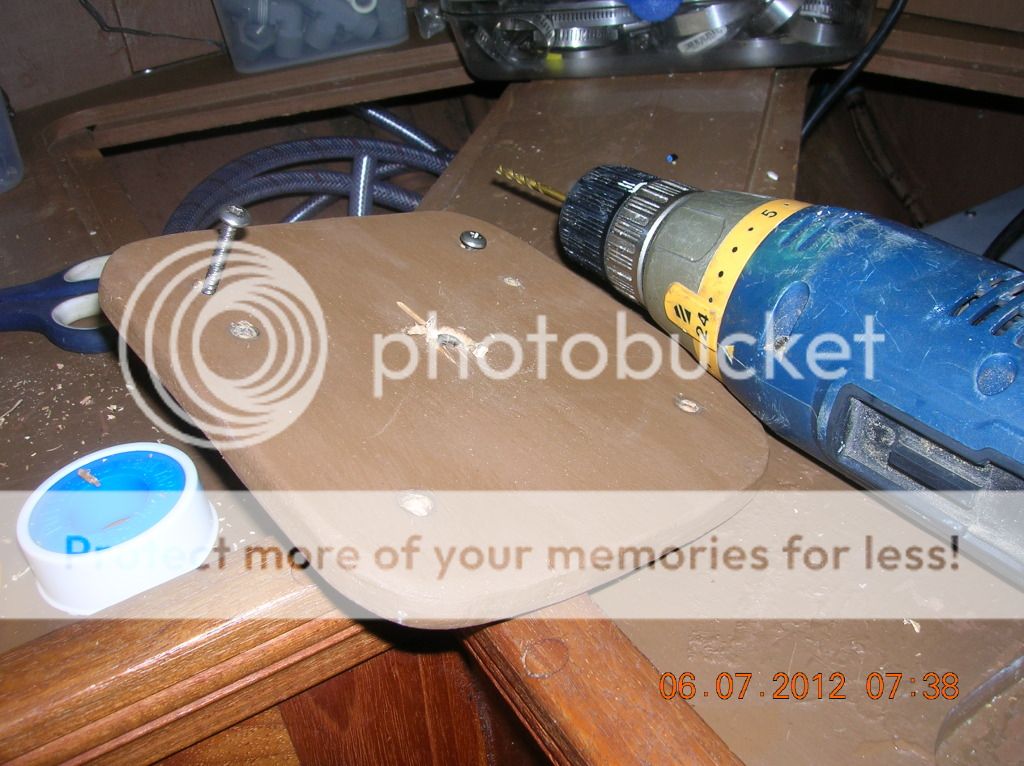
Re-design of SHURfLo 4.0 fresh water pump plywood mount.
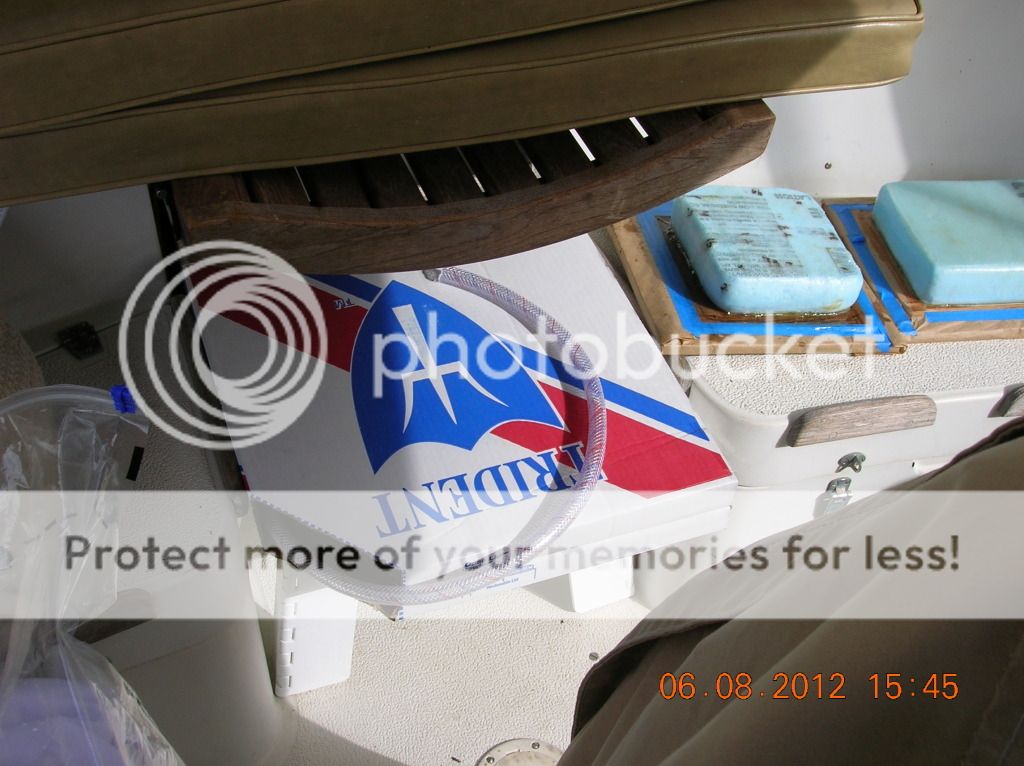
Next it was time to engineer a place for the hot and cold water lines to enter the engine room. We wanted all the fittings to be low as possible and all in the engine room if possible in case there is a leak the water simply goes into the bilge where it would get pumped out by the bilge pump. We decide upon entering the engine room from the bilge by the stateroom. Now to drill the hole for that. The hole would be angled for less chafe and better piping flow.
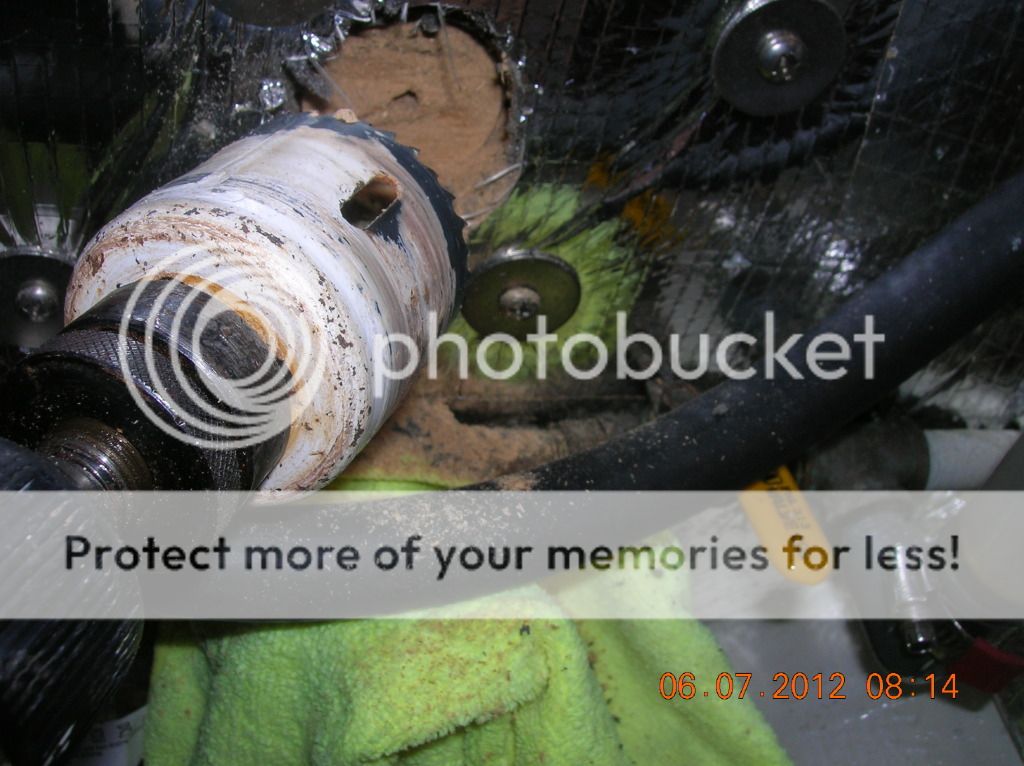
After some drilling we got a hole!
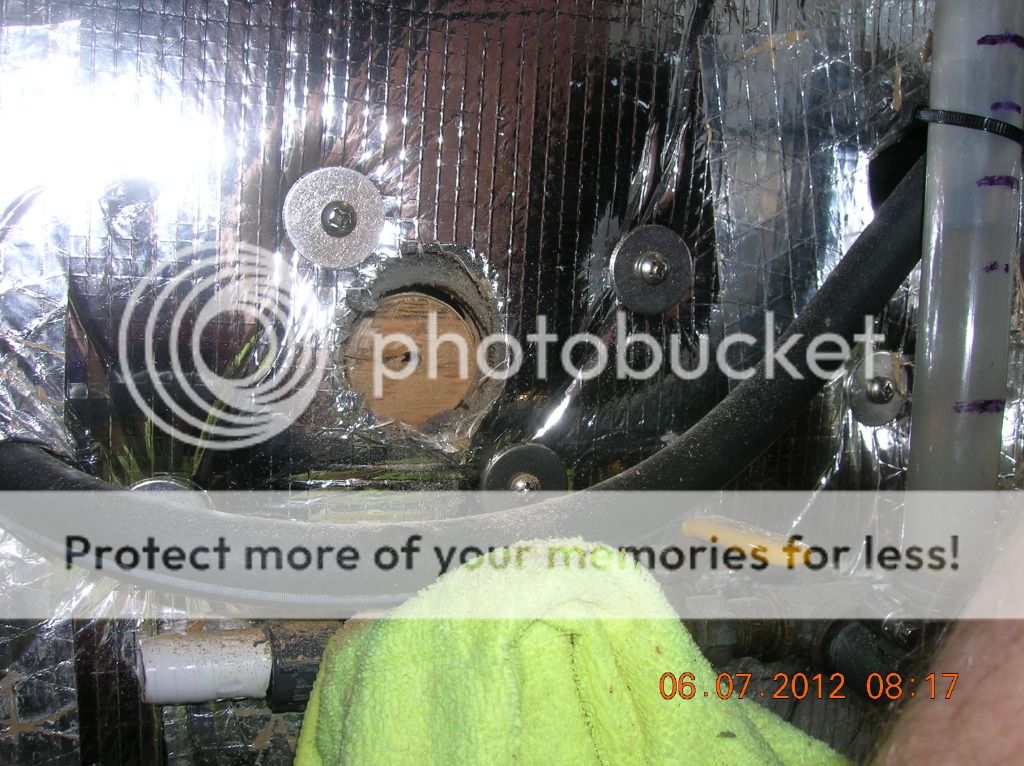
Hole is almost through, this is thick stuff.
You can see the old sight gauge set up to the right.
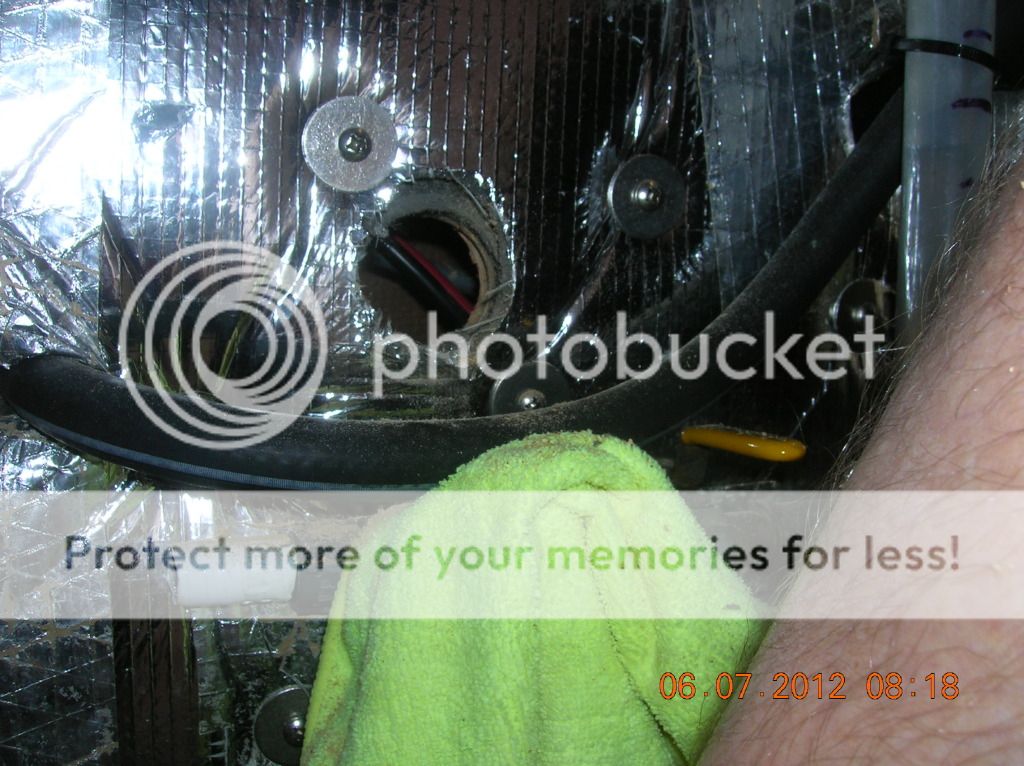
Got the hole, but it fought back.
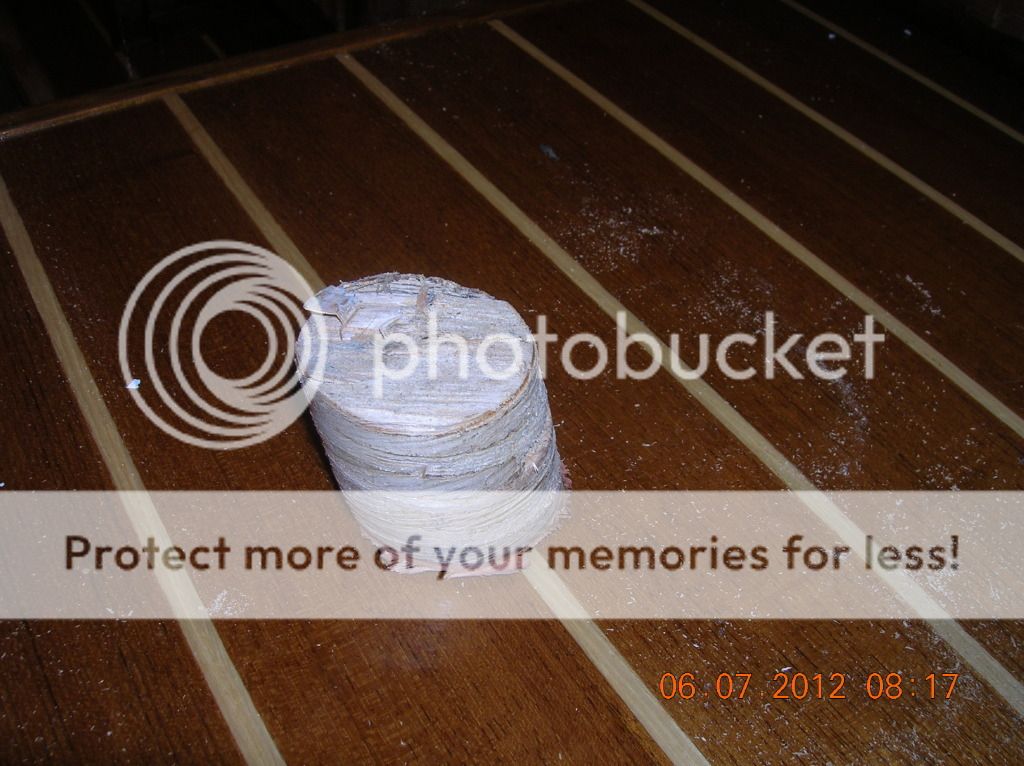
Got ya!
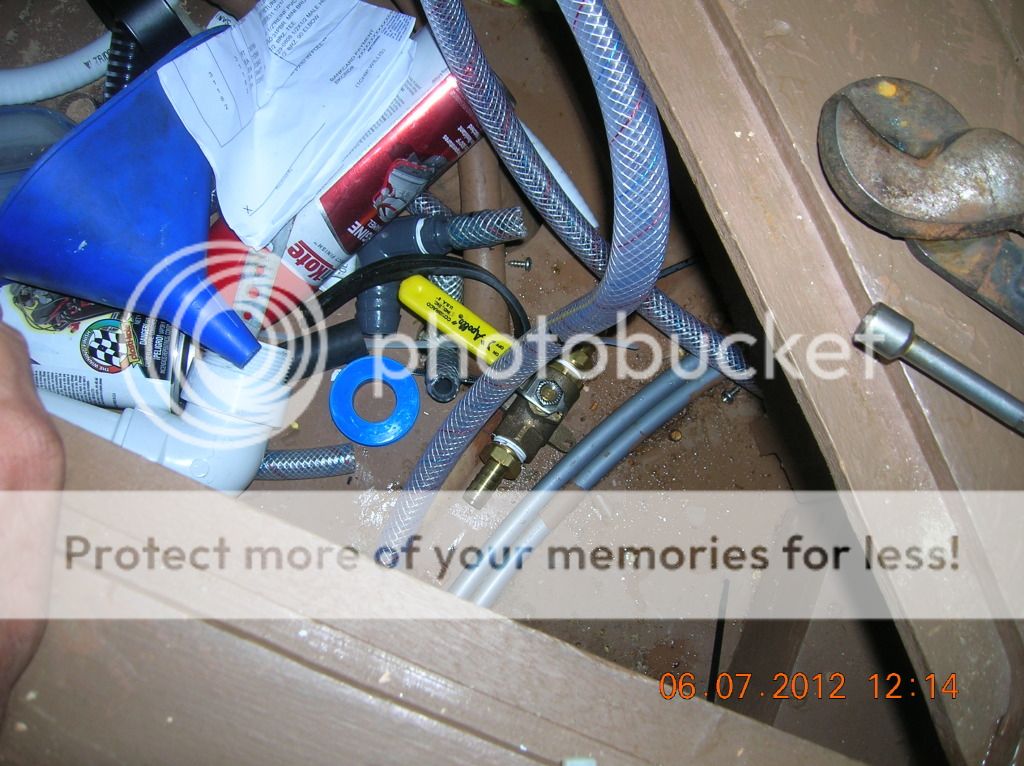
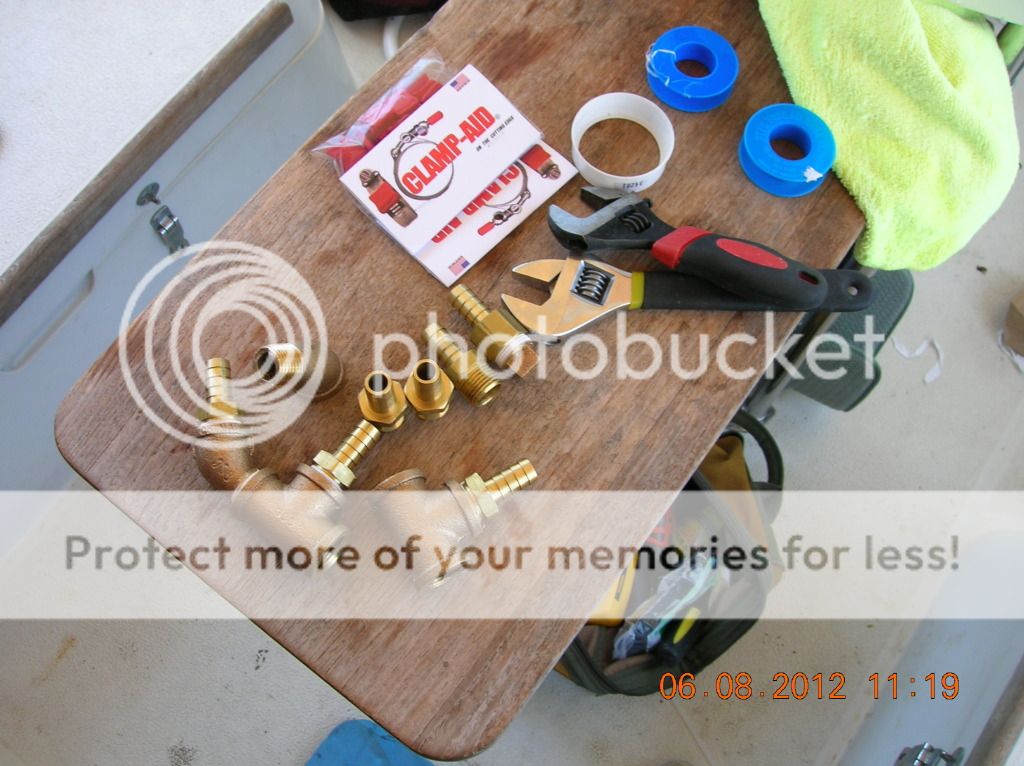
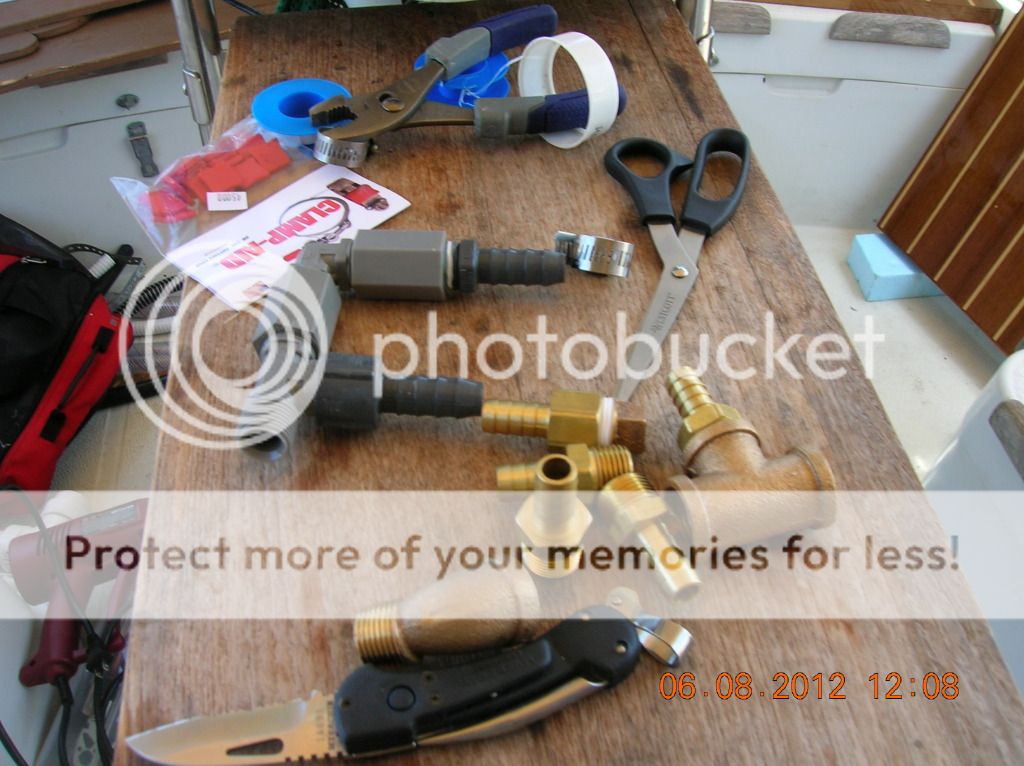
Now to move over to the sight gauge valve addition. We bought a 1/2 valve and some more bronze pieces that went to 3/4 to fit the sight gauge rubber tubing. After thinking about it we decided that the added weight of the bronze fittings would be possible hazard. The pipe originally comes out of the stainless steel water tank and it has a welded in fitting. Why add more weight hanging off that fitting?
If the valve is installed and the plastic elbow to the sight gauge breaks off ewe can just close the valve. OK we loose the water but we can still use the tank.
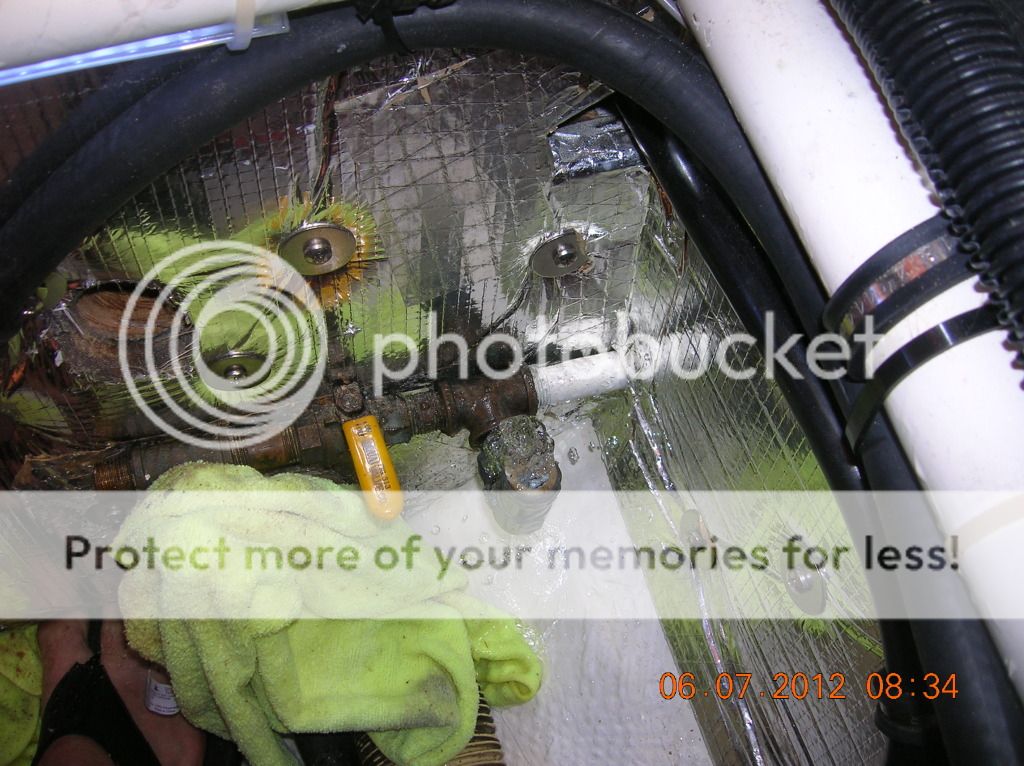
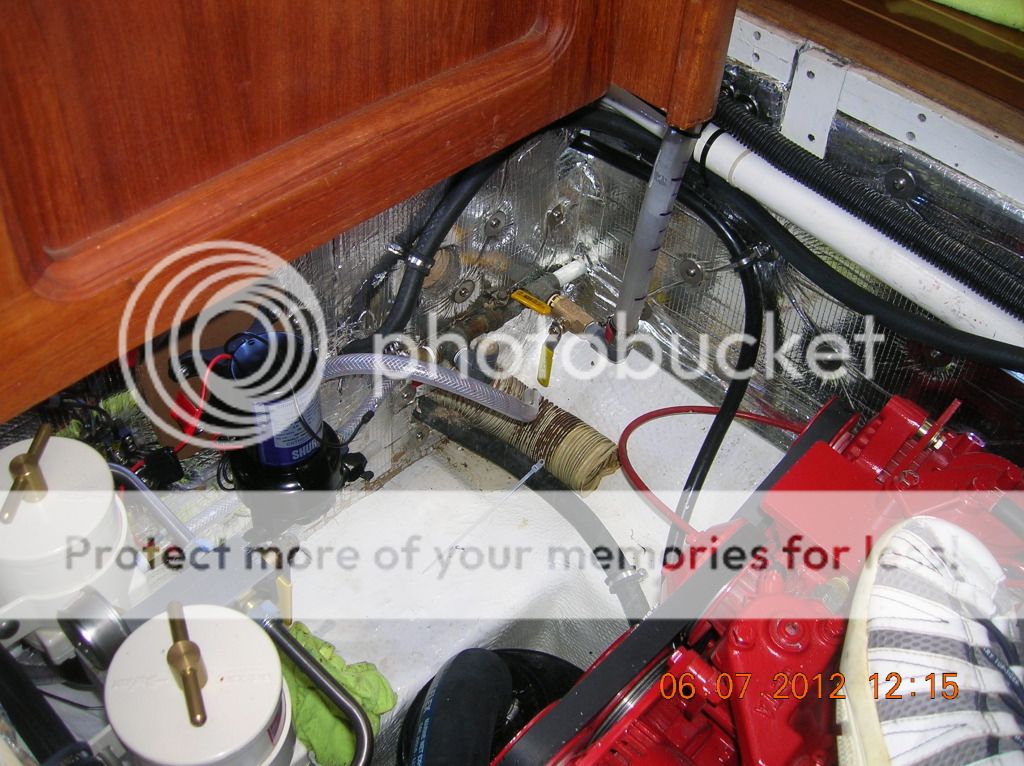
Here you can see the water bubbling up and into the engine room from this sight gauge tube removal.
This could happen if the plastic elbow broke or was became damaged etc.
The way it is set up the hole water tank would drain into the bilge and there would not be a way of using the tank till it was ether fixed or plugged. By simply adding a valve we can now shut it off at will and stop the water from leaving the tank and continue to use the tank.
After removing the pump it was time to add the valve to the starboard side sight gauge.
No more water, now to put in valve.
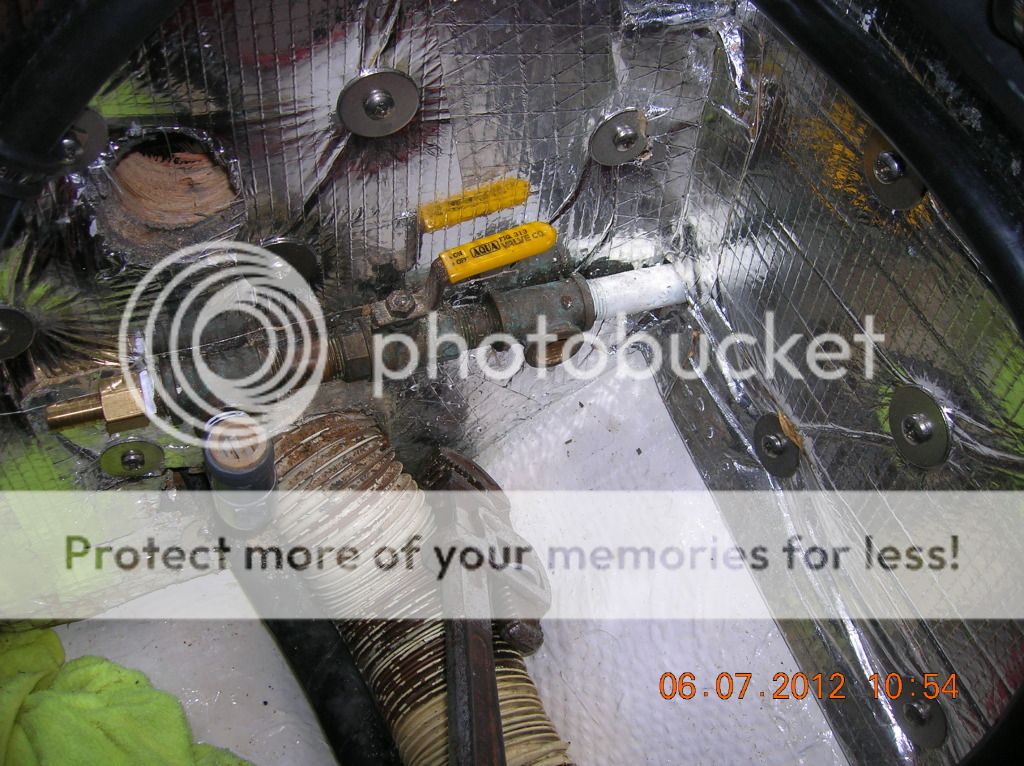
You can notice some sort of baffle in the port sight gauge that we removed to drill the hole. We also removed the plastic hose barb and replaced it with bronze. The plastic are more difficult to get the 1/2 hose on because the hose needs heating and the plastic can crack or break. They do have their uses but this as not a good spot for one.
Valve is in and sight gauges re-installed. We also snaked in a plastic water hose and connected some rubber hoses.
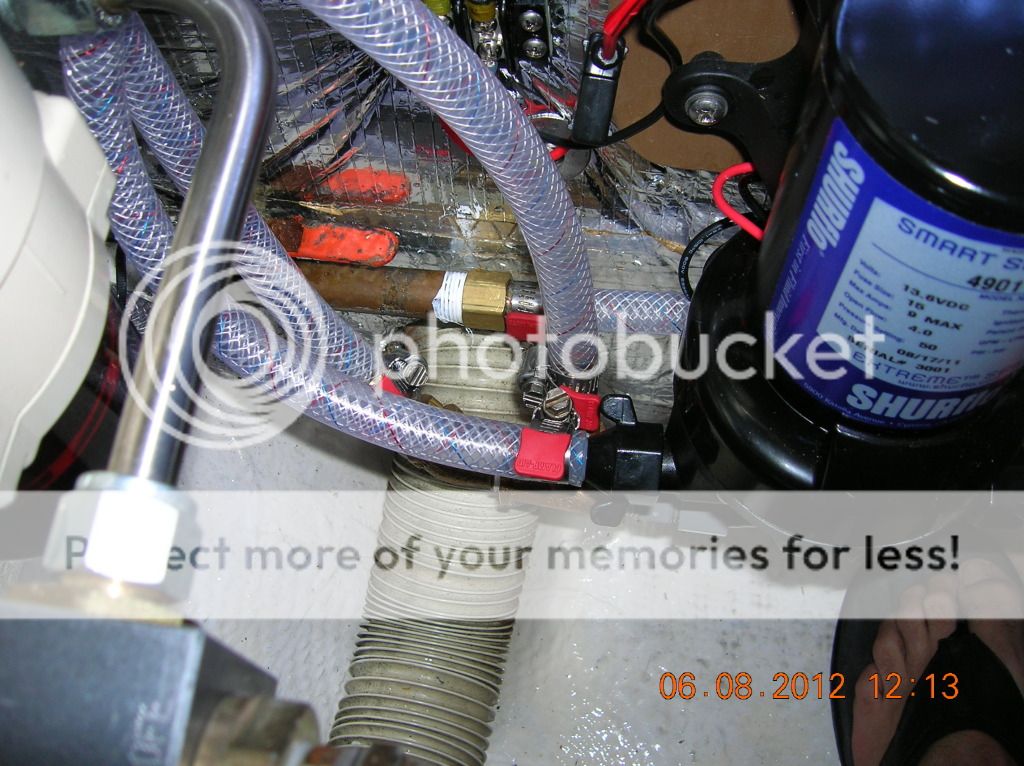
SHURfLo 4.0 fresh water pump place upside down.
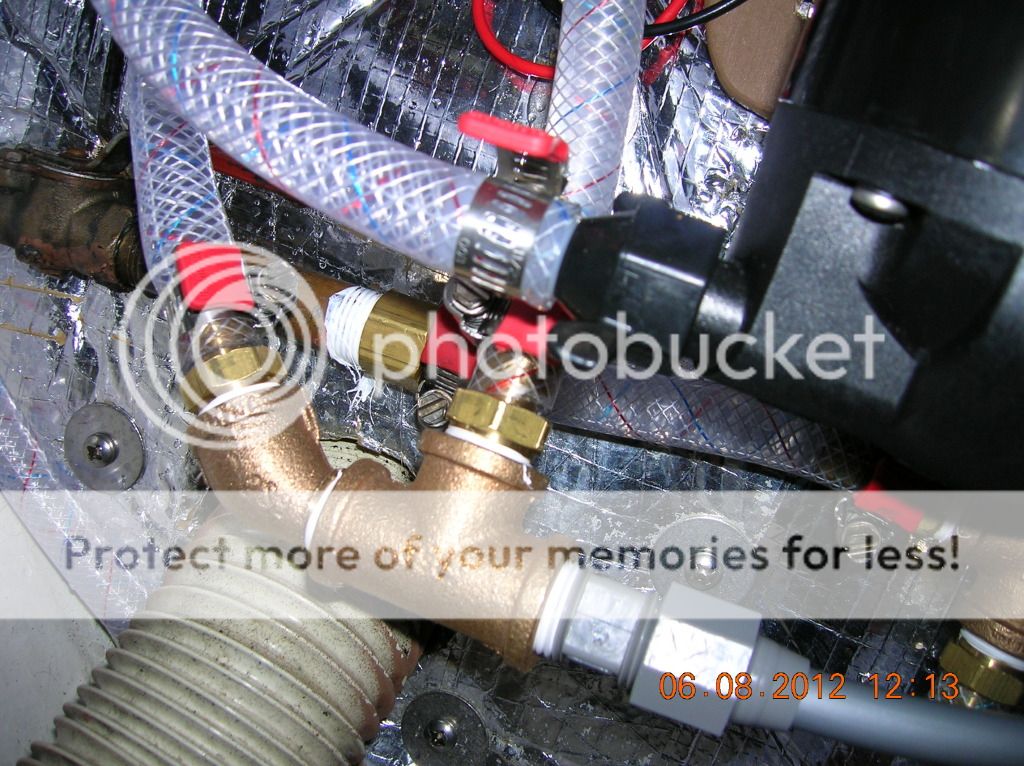
We added a four way bronze fitting instead of a T to the line coming from the water tanks.
This enabled us to hook up the galley foot pump before the water pump. We had previously re-built the foot pump and replaced the foot pump faucet at the sink. We had also run the rubber line to the water tanks but stopped where we wanted a valve.
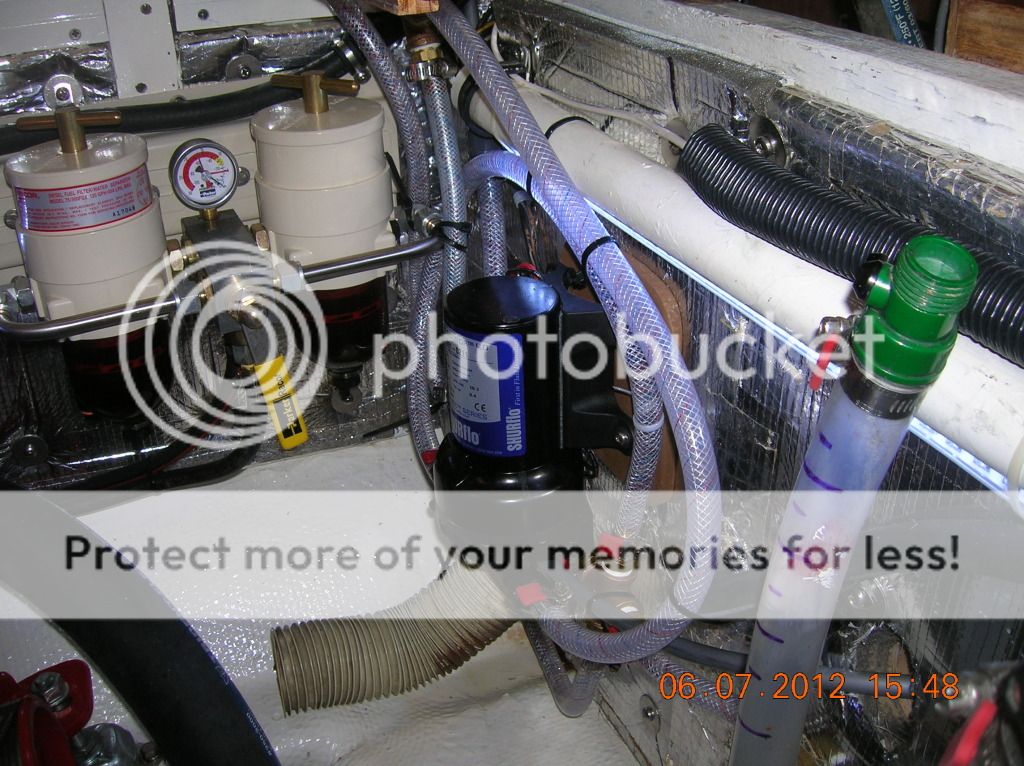
We got the plywood mounted and the SHURfLo 4.0 fresh water pump back in and re-plumbed.
There is one section where we had to use some plastic fittings because we ran out of bronze. It was getting late and we wanted to finish up and get the water pressure working. Remember we live on board. This proved to work out but there was a leak in the fittings. They way we plumbed them with what we had if you tightened one part the other would be loosened 😒 what the heck! Not a big deal as it was only dripping.
I had already mad one run out to Marine Exchange for parts with our handy dandy new\used parts bike. It was fun but takes away from project time.
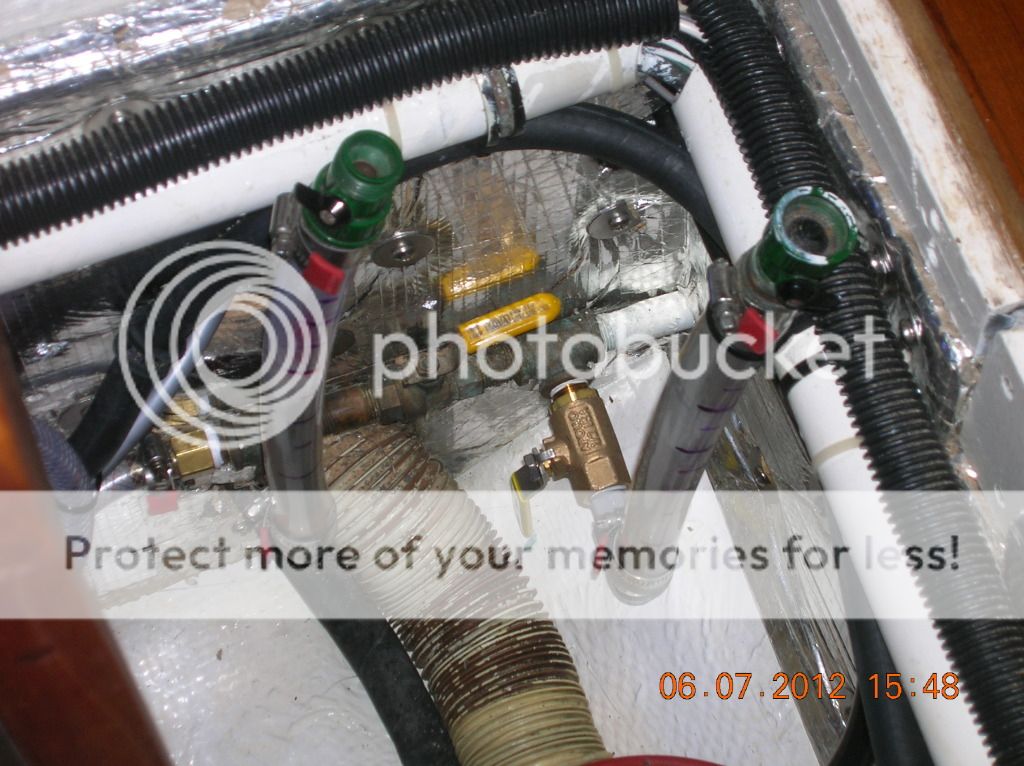
So now we have the cold water line run into and through the engine room and attached to the pump.
We have the foot pump line installed and routed to the valve from both the sink and the water tanks.
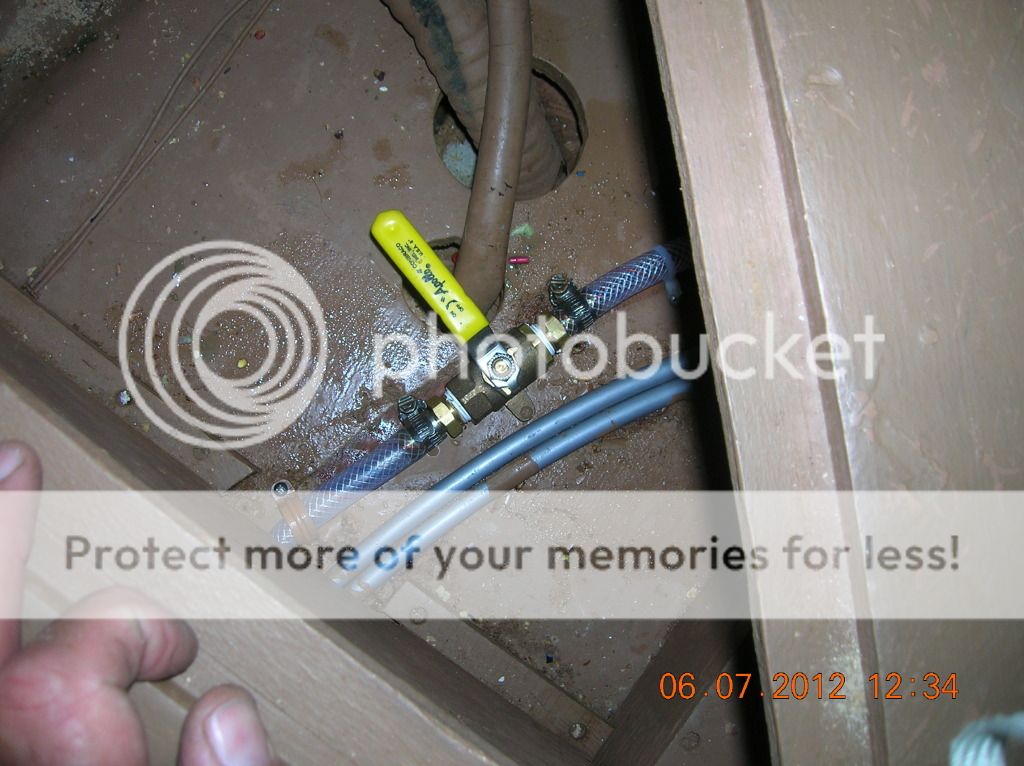
Not having a lot of places to put another valve we chose this one for the foot pump on\off valve. It is in the off position now.

We got foot water!
The foot pump faucet can be raised up or pushed down. This is raised up. This is fresh water and because we will have a water maker we do not think a salt water foot pump will be unnecessary. Plenty of good clean fresh water will be there for us.
OK we finished up for the day, the next day would be fix the leak and re-locate the hot water line. Next day 😀 Now for the hot water line.
We purchased some more bronze fittings for the hot water line and to replace the leaking plastic fittings.

We had re-used some hose as we were short on it. Not a good idea as when the heat gun removes it or installs it the hose is compromised.
Enough of that , we also bought a box of hose.
While we put together a new T with a fancy 45 deg elbow it proved to leak also.
It is that fancy 45 deg elbow I think and it will get replaced this Monday evening.
Besides it may be better to just have a straight hos barb here.
Hiding under the pump.OK now to the hot water.
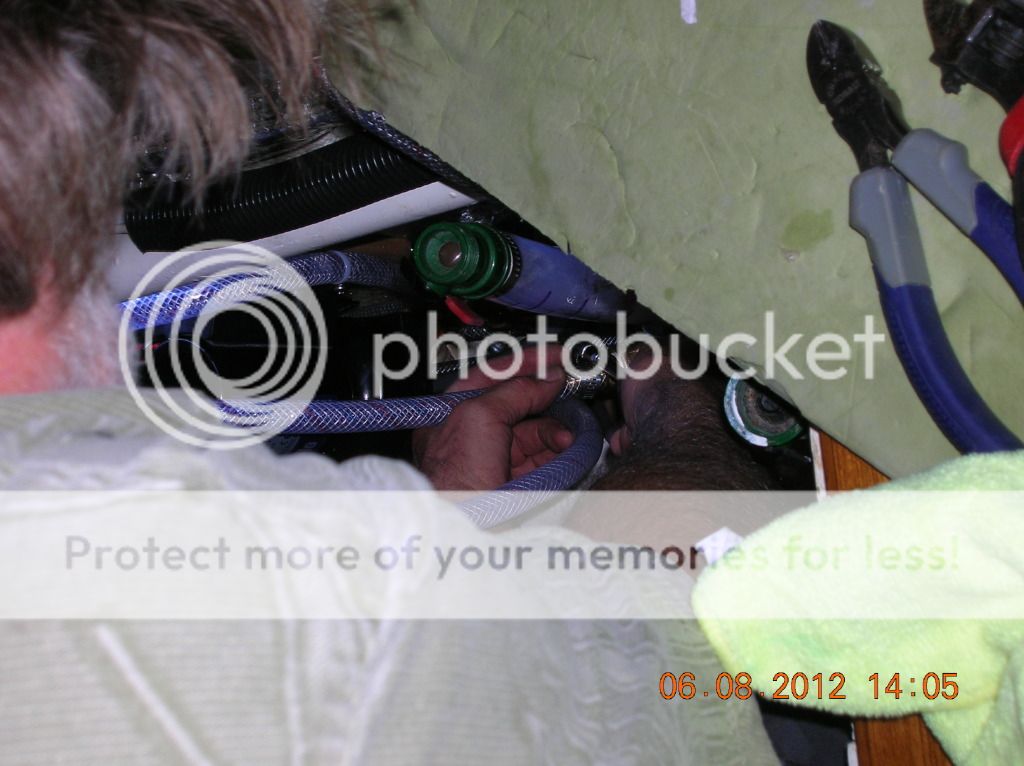
Back in the engine room on my seat.
Yes have feet room.
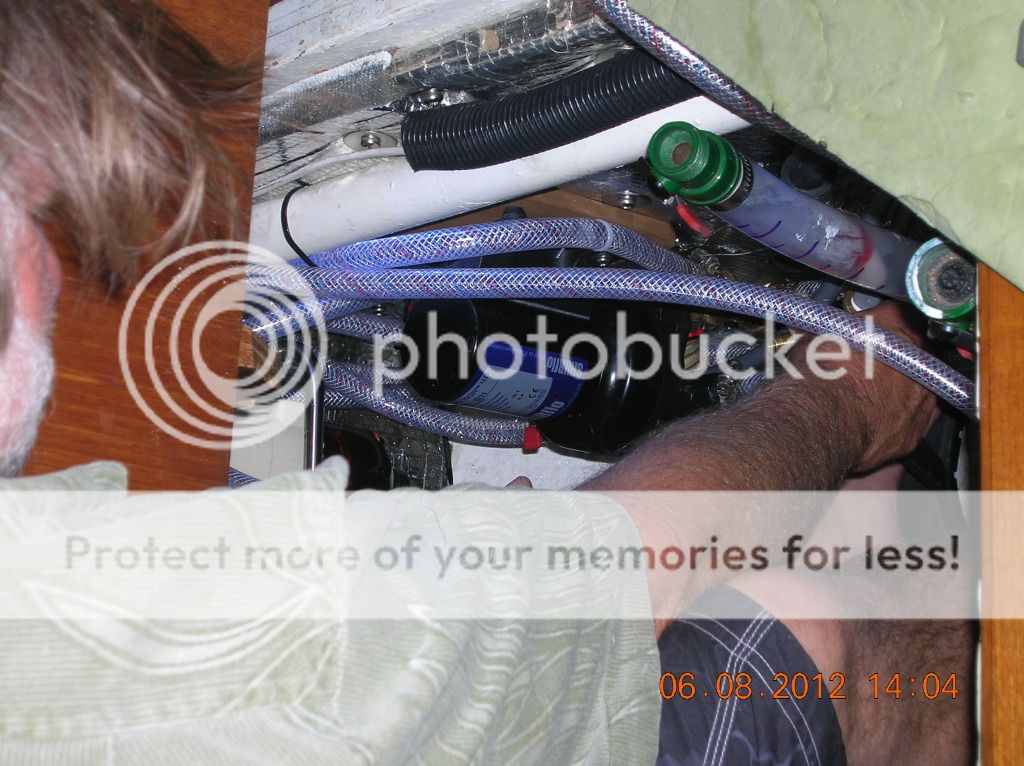
When placing the SHURfLo 4.0 fresh water pump back in upside down we tried to place it lower in the engine room thinking it may be quieter there and give us more room for plumbing. It did fit but it took away the foot room in the engine room. This is valuable space for working in the engine room weather on the engine or plumbing or what ever. With our old Perkins diesel engine we had no such room at all and we are not about to give this up now. SO we placed the SHURfLo 4.0 fresh water pump up where it was before only in the upside down position. It does like it here and woks great.
Foot room

Re-routing the water heater hose.
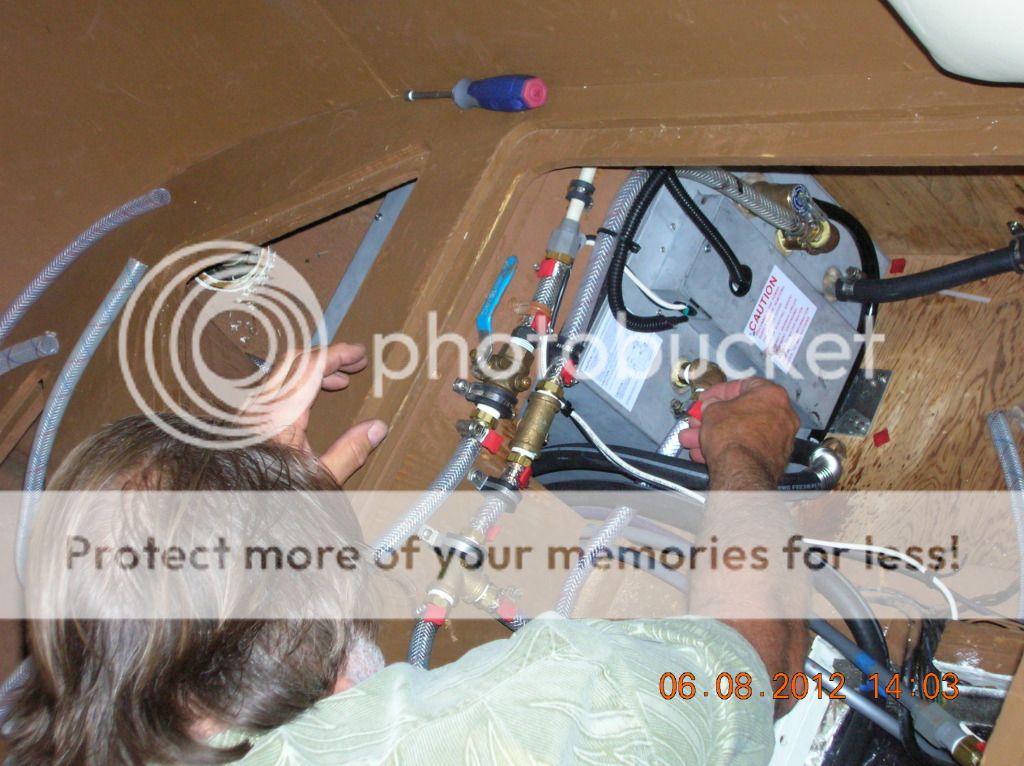
Almost done!
It's working but still have that small leak.
This all needs to be secured and labeled, not that you can not follow the hose but what the heck it would be quicker to find a hose if they were labeled..

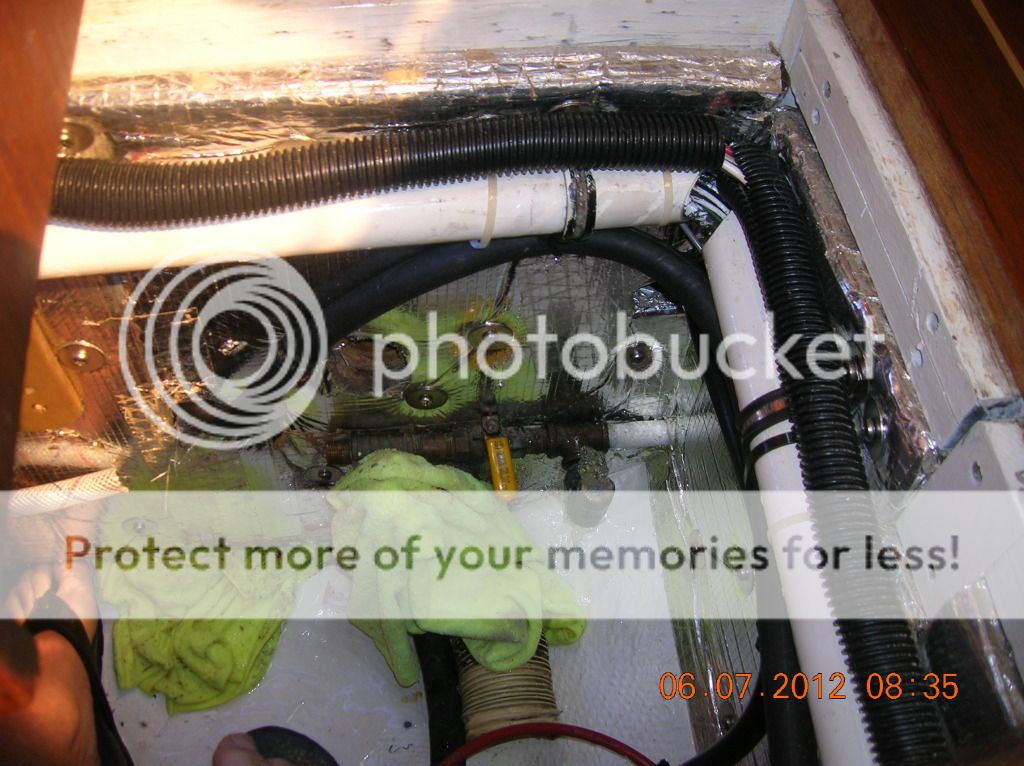
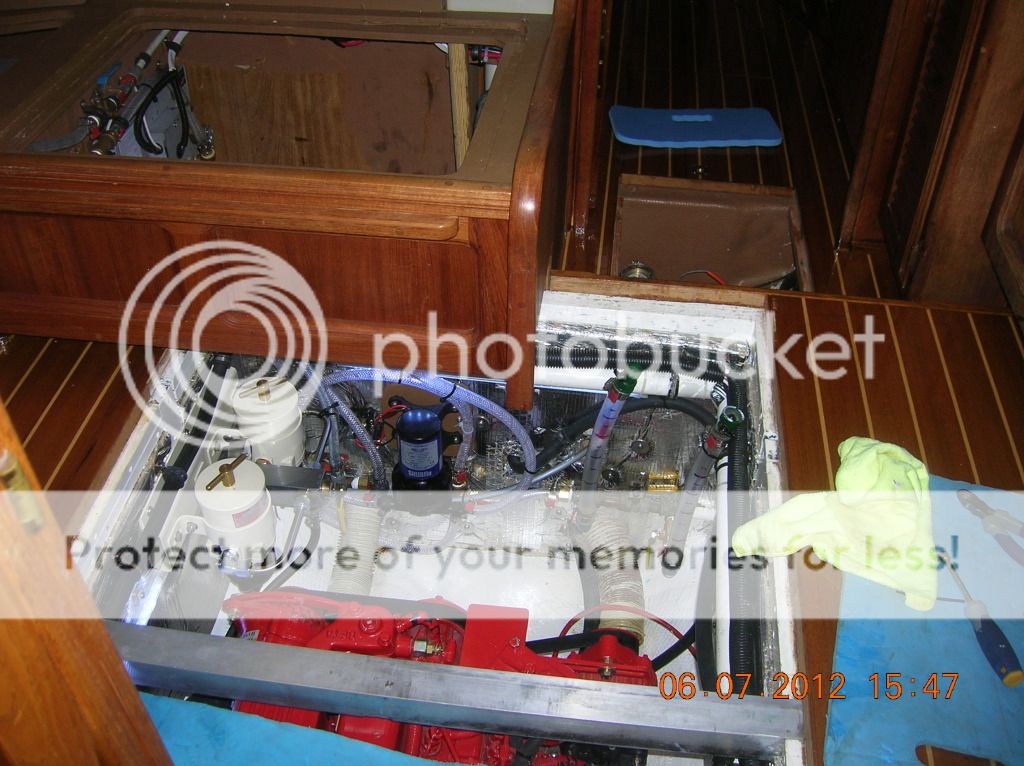
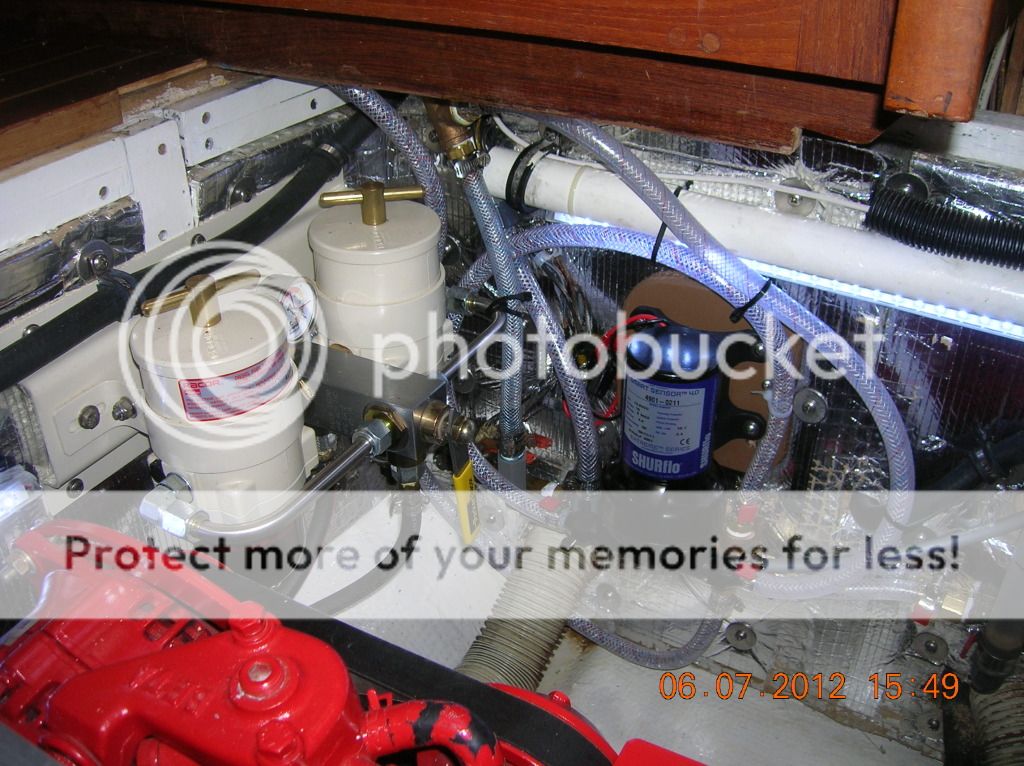
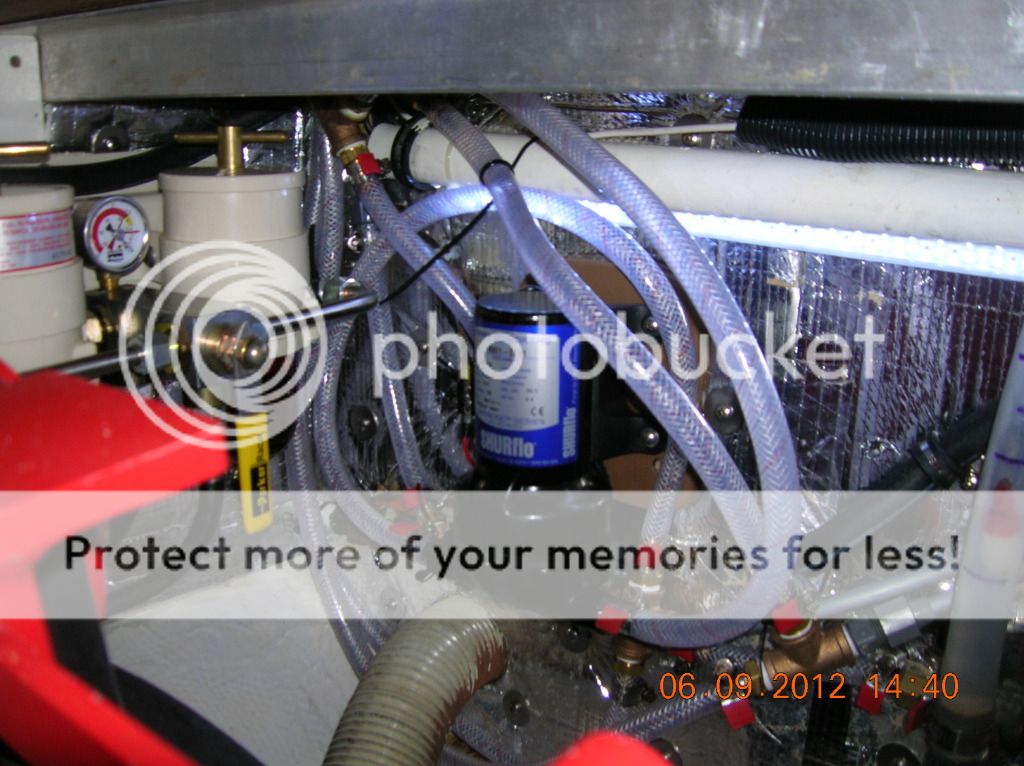
OK all the plumbing has been routed down into the engine room making room in this space for the Mermaid 12000 BTU AC\Heat unit.
Also some old plumbing has been replaced and the starboard sight gauge has no got a valve.
The SHURfLo 4.0 fresh water pump pump has been flipped around and the mount has been re-worked.
Now to fix that pesky little leak 😓 This should now not be hard as the hose comes off the bronze fitting easily and undamaged. A new longer length of hose will be added also.
All done and never know we were there.
As a side note:
We have an extended warranty from West Marine on the SHURfLo 4.0 fresh water pump. So it has, I think a total of about five years of warranty. Still it should be mounted as they (SHURfLo) wishes and that is because it it should develop a leak the water will not go into the motor it it is upside down. Because we have such a warranty it would not seem to be something we care about as we would not re-build it just have it replaced. However, :) there is no guaranteeing a prompt replacement. We will be out of the country and that changes things. We Hope to have a new pump as back up just in case this one craps out. We have seen how difficult life becomes without this simple little pump.
No comments:
Post a Comment