We started our 250 hours maintenance of our Beta Marine 38 hp motor. We are in the Barra lagoon at anchor. We probably have about 325 hours on the motor now.
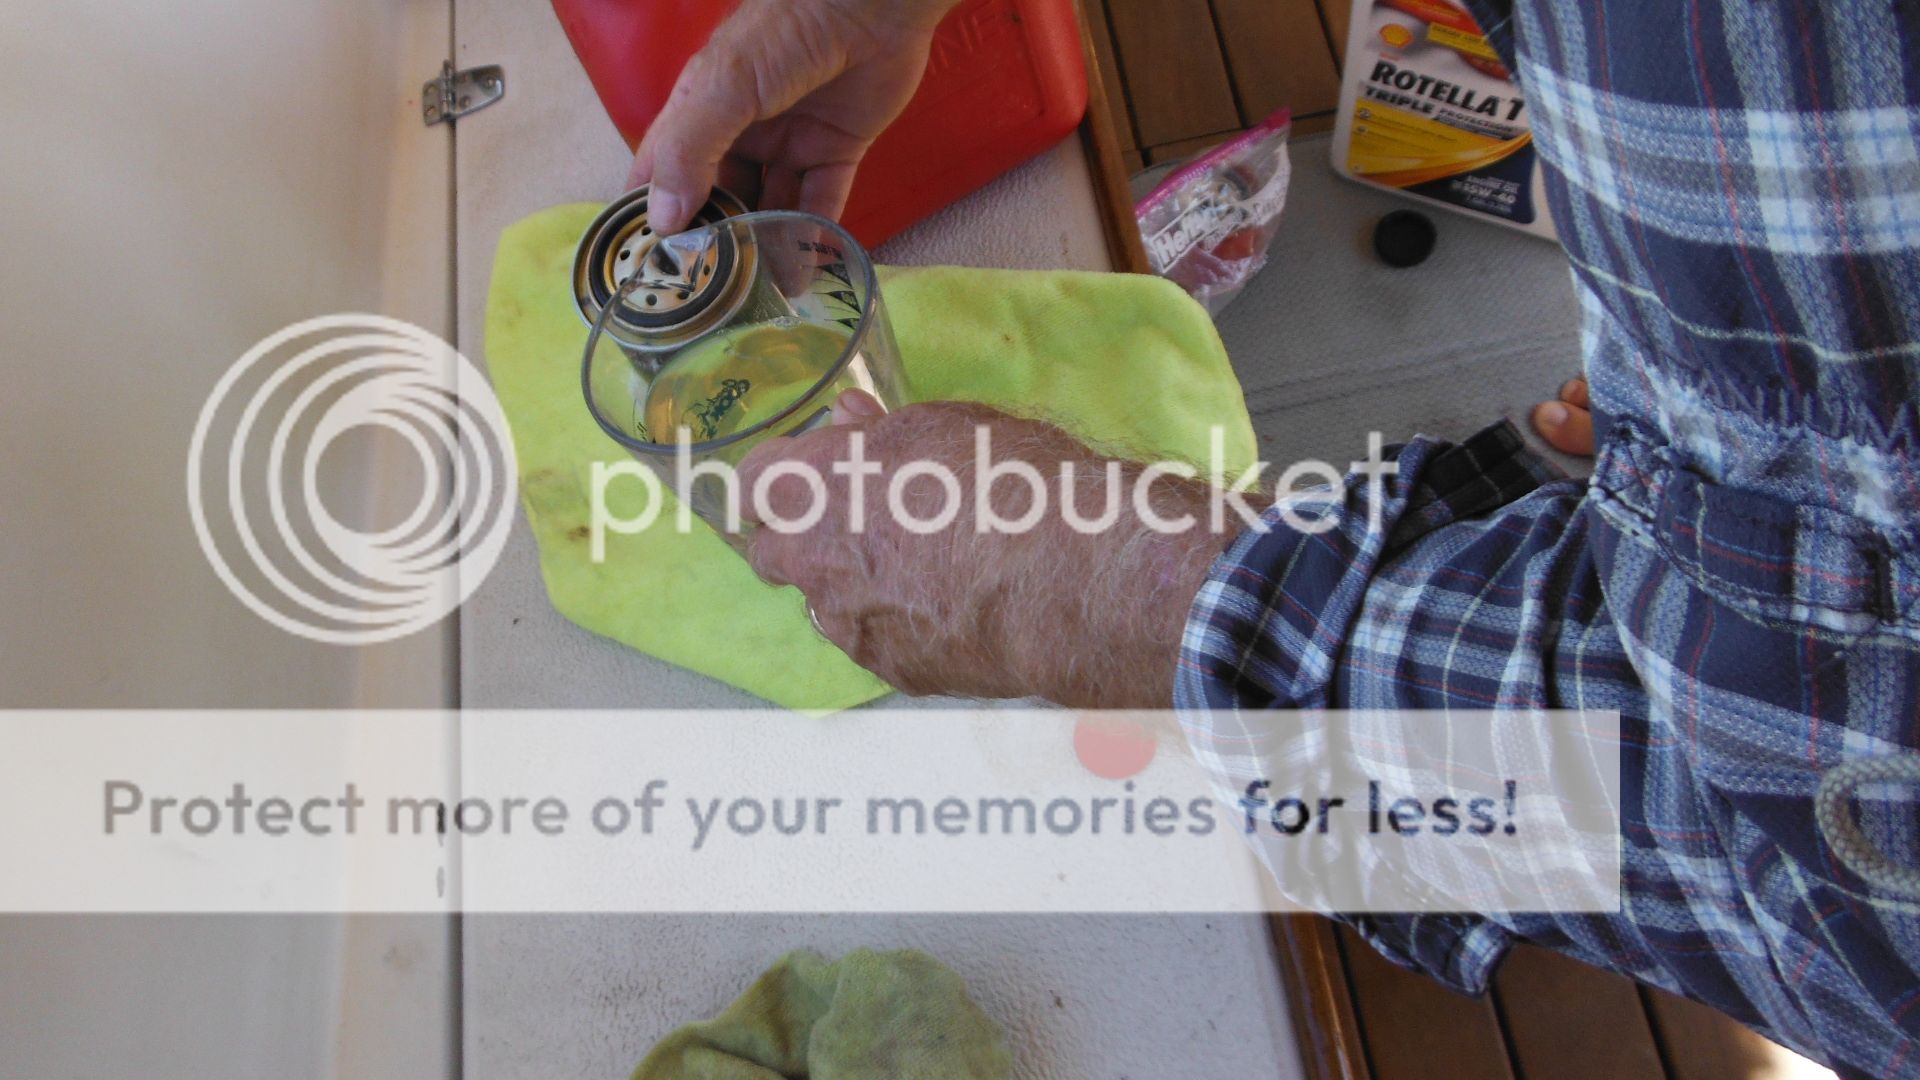
The first thing we did was replace the fuel filter.It was straight forward and we back filled the filter with diesel fuel. Then we used the hand pump Beta Marine 38 hp has for bleeding the fuel filter and then the injector pump. All went well and we started the motor up and it ran fine.
job well done.
After looking
for the next task Debbie said “Oh, you did not need to do that yet”. I had
misread the maintenance schedule so oh well we have a new fuel filter early and
will still keep to the schedule, a new filter never hurts.
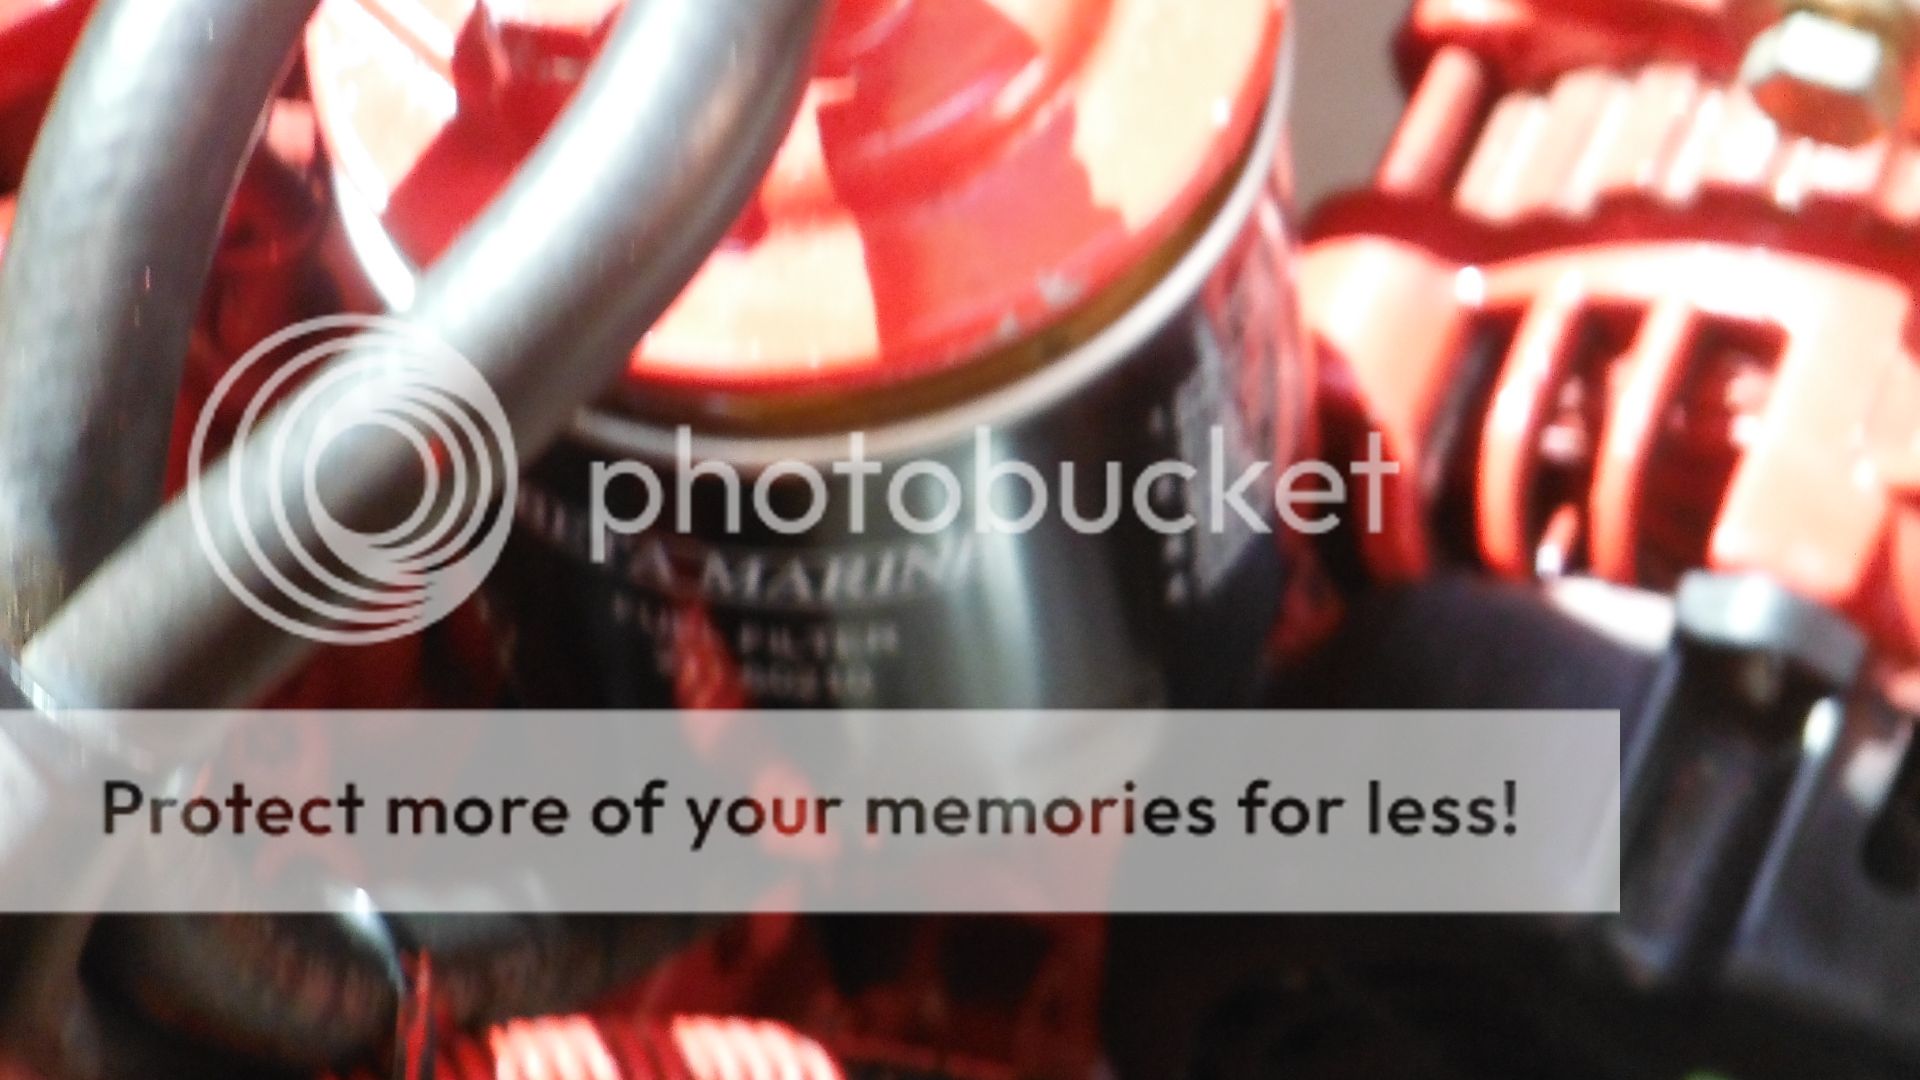
Here you can see what looks like salt deposits by the aft flange. It shows it does need some attention.

Here you can see what looks like salt deposits under it also.

Now how many auto part stores can you look out and see a Vaquero! (cowboy)
We got one gal of 50\50 and found a gal of 96% straight to mix and use for our depth sounder . Different story though :)
The manual tells you how to remove the exchanger tube stack, kind of but not how to replace it. We emailed Phil Jones our mechanic in San Diego and he said we may need to move the alternator out of the way and hit the heat exchanger tube stack tube with a piece of wood and a hammer. That we needed to do
.
After some pounding with the wood and hammer on the forward
end of the tube stack it came out the back, not easy but it did come out.
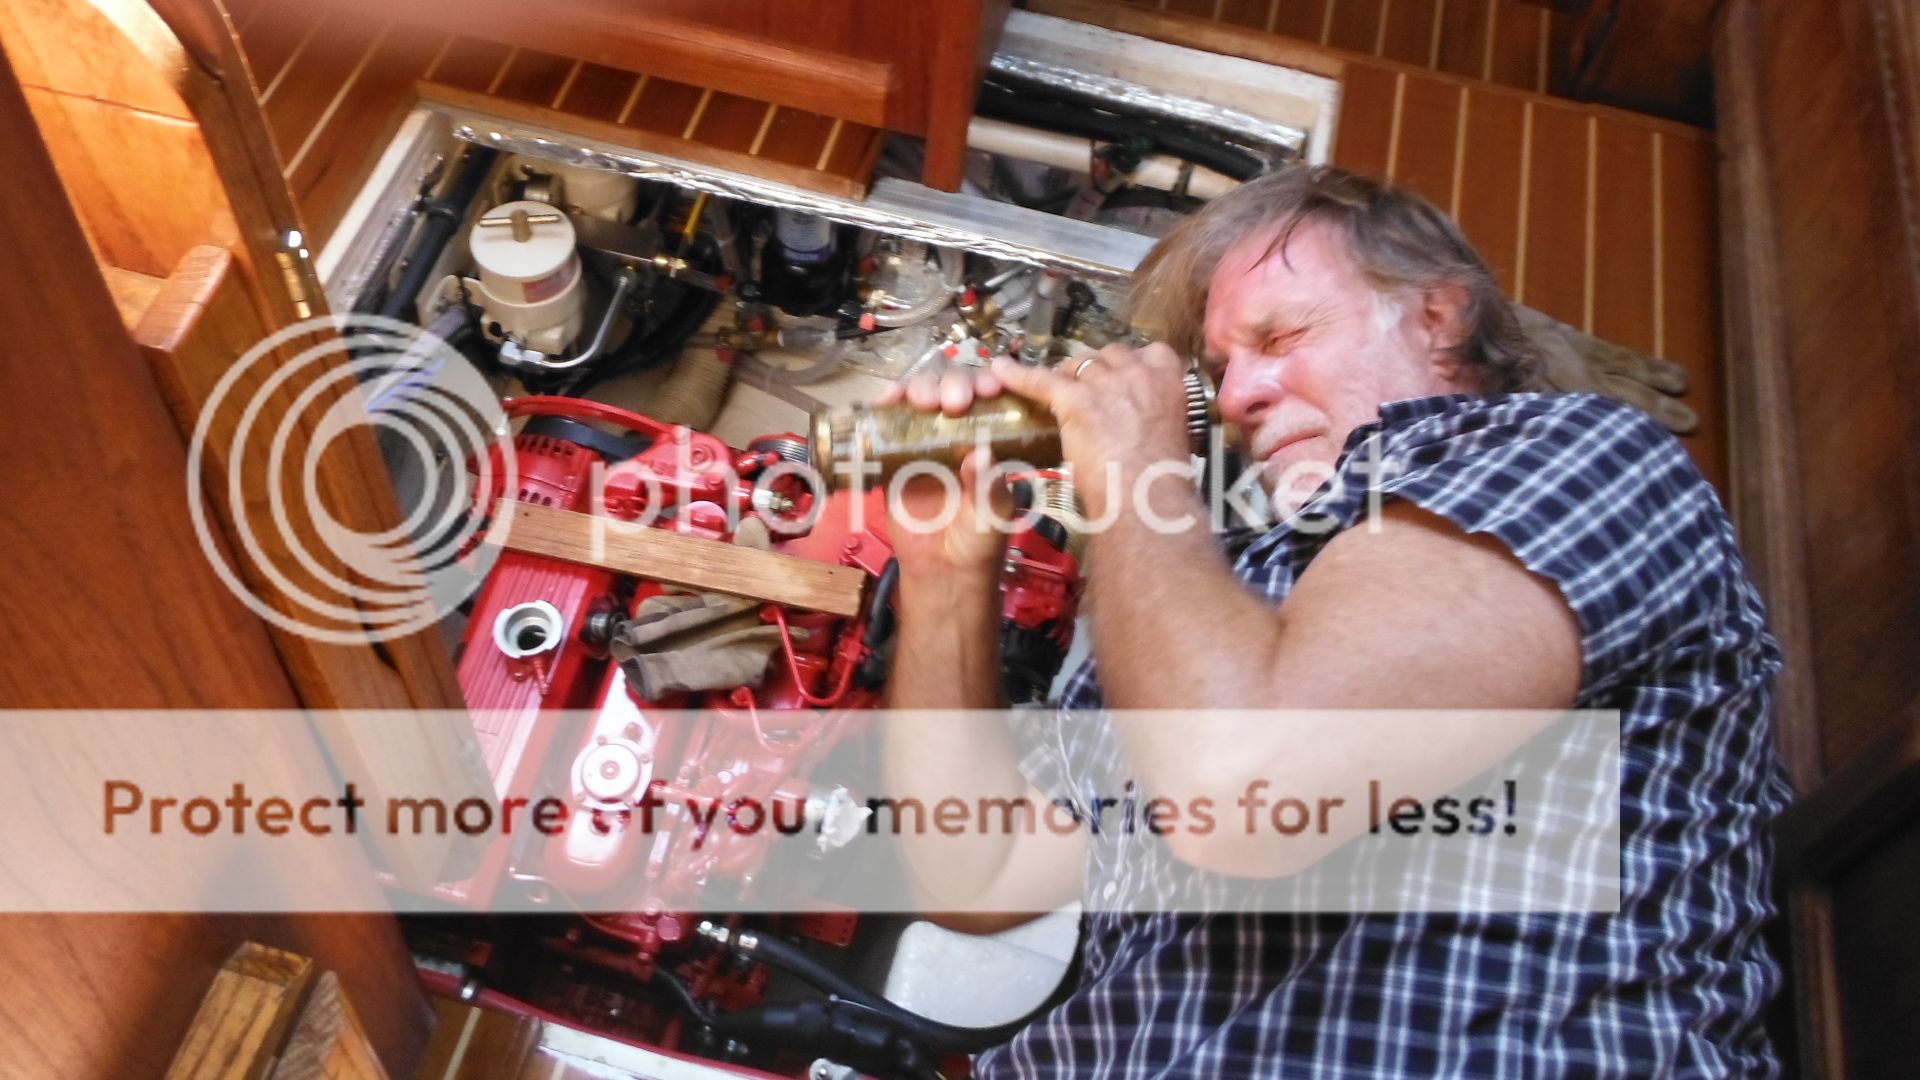
Of course we had to have a look see 😁

A hot and sweaty job - it is at 85 or so degrees.
This all took most of the morning and then it was time to re-assemble.
Phil "The MarineMan"also said to align the heat exchanger tube stack with the aft flange. Nowhere in the manual does this get mentioned. We did this and put the motor back together, the air cleaner, the alternator and hoses etc. We filled up the motor with antifreeze and burped it. There was leaks at both ends of the heat exchanger tube stack. OK now we had to pump all the antifreeze out of the motor and take the heat exchanger tube stack apart and try again. This time we just put the hoses back on and filled it with antifreeze, there were still leaks. This time we took a day of, manana, our new mantra! Of course we are still at anchor and now have no engine but who cares - we are in the Mexican Rivera! We went to the pool at the Grand Isla Navidad Resort as a guest of Richard on S\V La Brisa a 43’ Mason. We met Richard as he heard we had a Beta and wanted to check it out. He has since ordered a new Beta Marine 60 hp for his boat. Any way he had a couple pool towel card sto let us use if we wished from past crew. We also got hot showers, always a good thing with plenty of hot fresh water.

Richard is on the right. We are also all going to the Ribs feed at the Sands Hotel with a band
''Desperados" Saturday night.


The entertainment, or maybe we all were:😊
We took Richard up up on the offer and then went
to the free party that night. Open bar and hor’douvers. Good time.
The next day we went back to work on the Beta Marine 38 hp engine.

Here you can see two notches in the heat exchanger tube stack on the end where the space is. The flange is supposed to line up in the space that runs through the circle and where the straight line is showing. I had lined it up wrong twice and made a notch each time I did.😖
.
There are also marks on the flange.
Cleaning the aft flange.

Looking from aft int heat exchanger.

Looking from aft int heat exchanger.

Looking from forward end. We also mopped out the antifreeze.
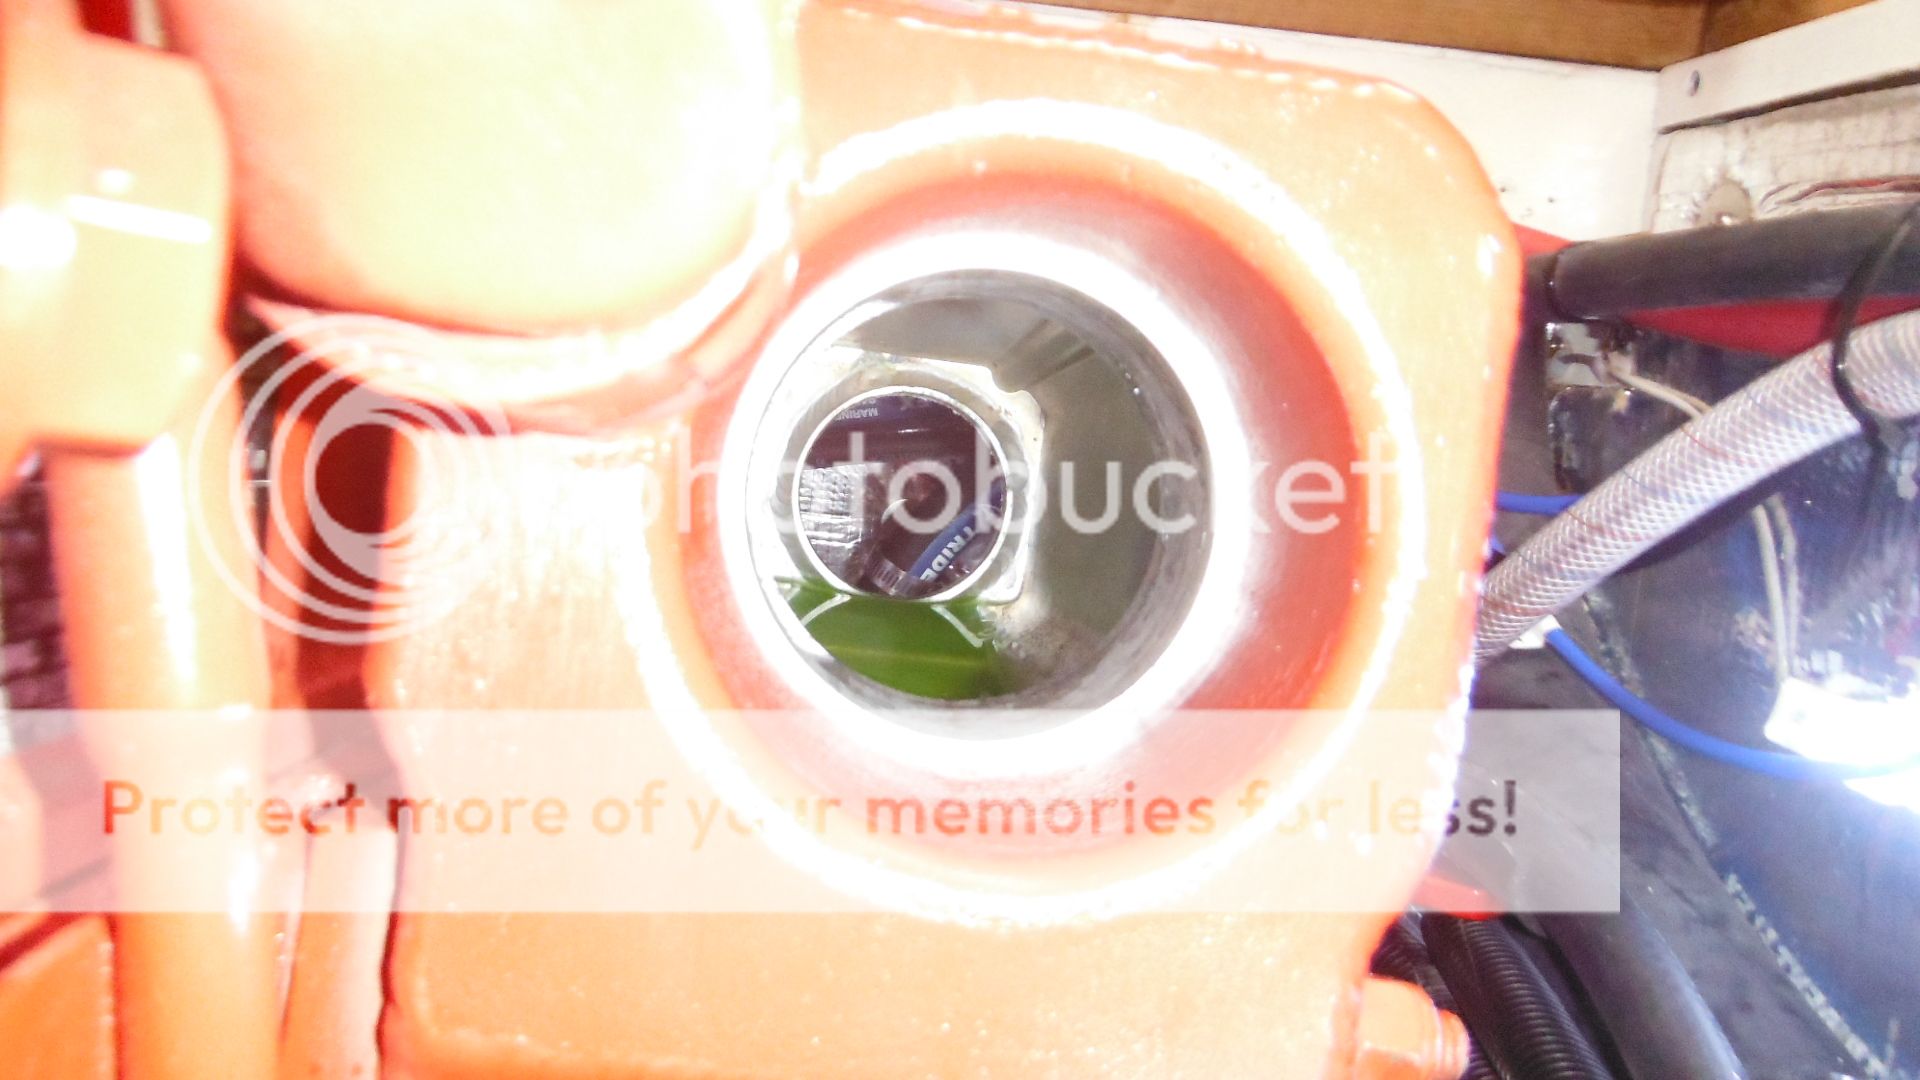
You can see right through 😀
This time we got some more information from the Beta forum about tighten the exhaust end first to make sure the heat exchanger tube stack is aligned with the flange and that is what we had been thinking. We tore it all apart again and cleaned the flanges and the heat exchanger tube stack again and really good. We put in the heat exchanger tube stack and then the stern O ring (both o-rings got some silicone grease). Tightened the flange down and it was aligned correctly. 
Filling the accumulator tank with antifreeze, a little at a time, slowly.
Burping the coolant.
We could still move the flange a bit side to side but
when we installed the forward O ring and flange...it tightened up and we slowly
filled up with antifreeze again. We checked and re –checked and still no leaks.
We then re-assembled the motor and called it done for the heat exchanger tube
stack. Gee that was not easy!
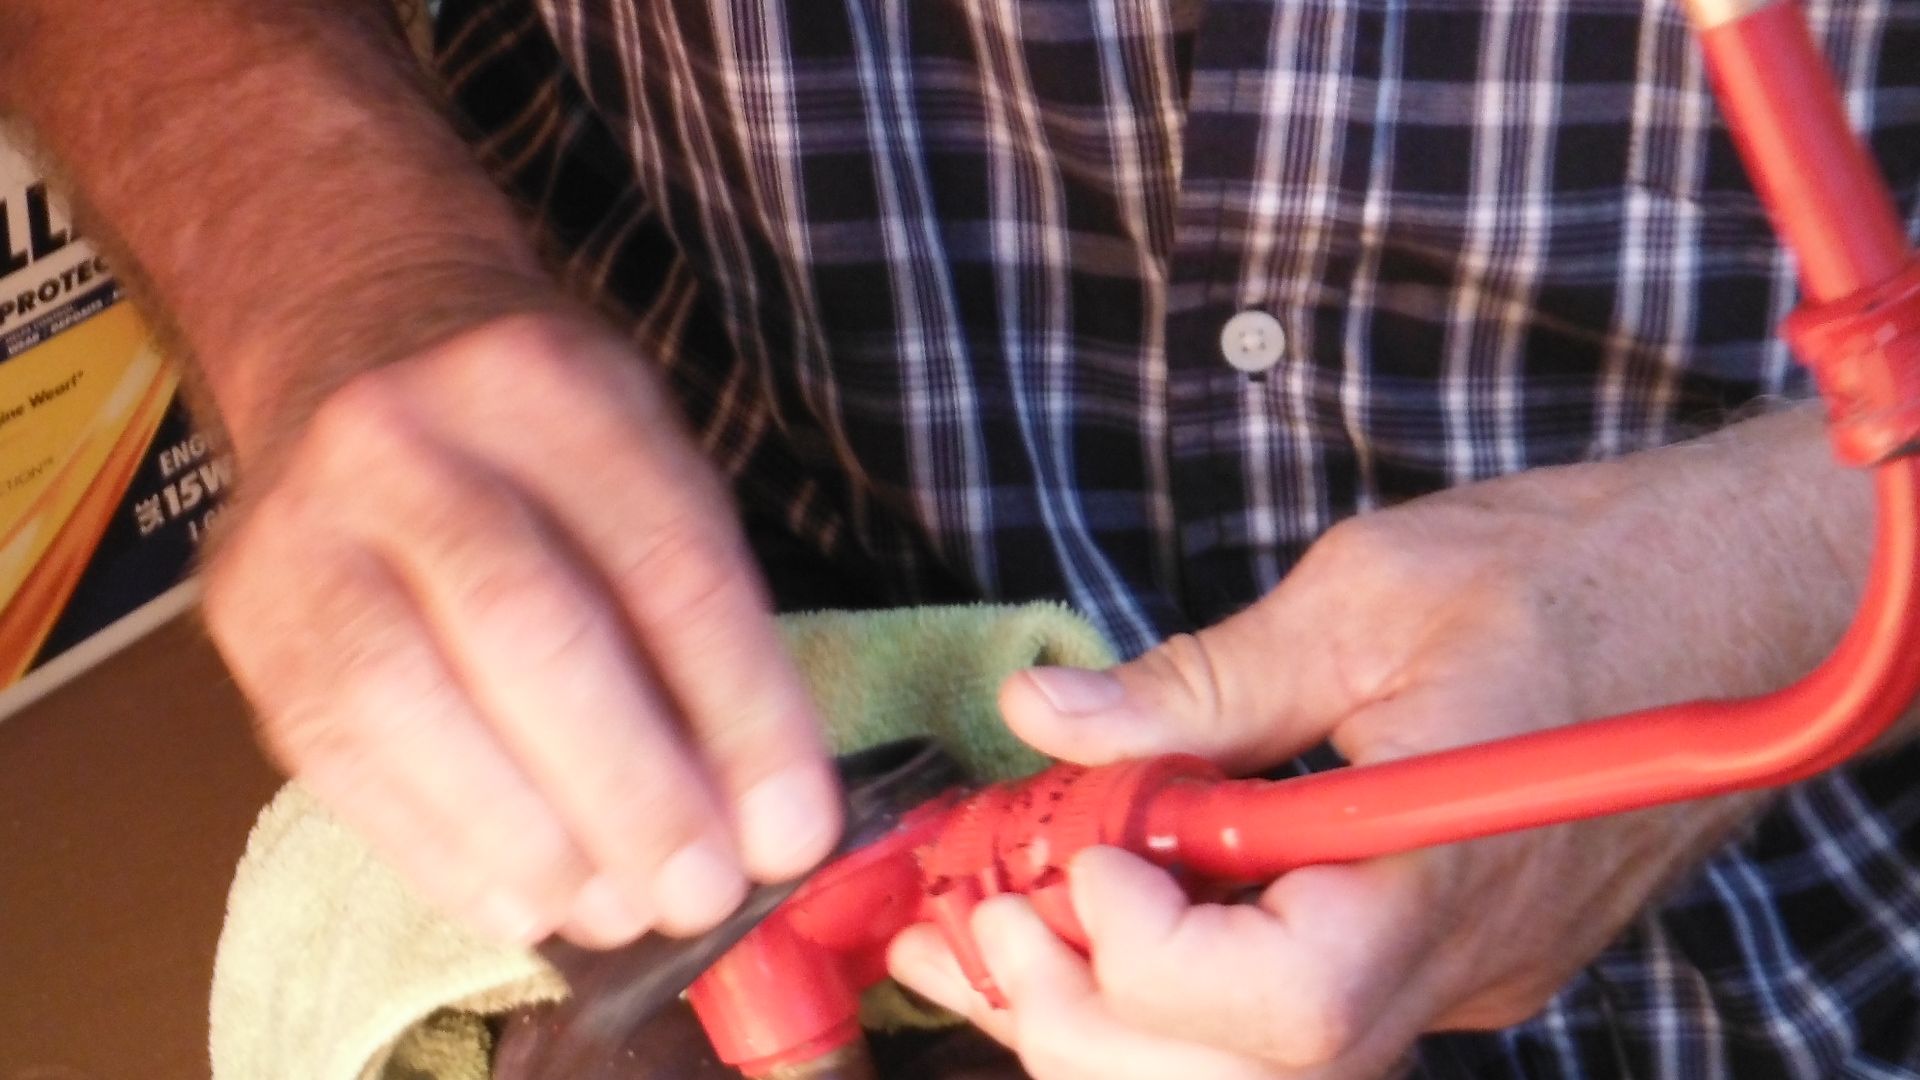
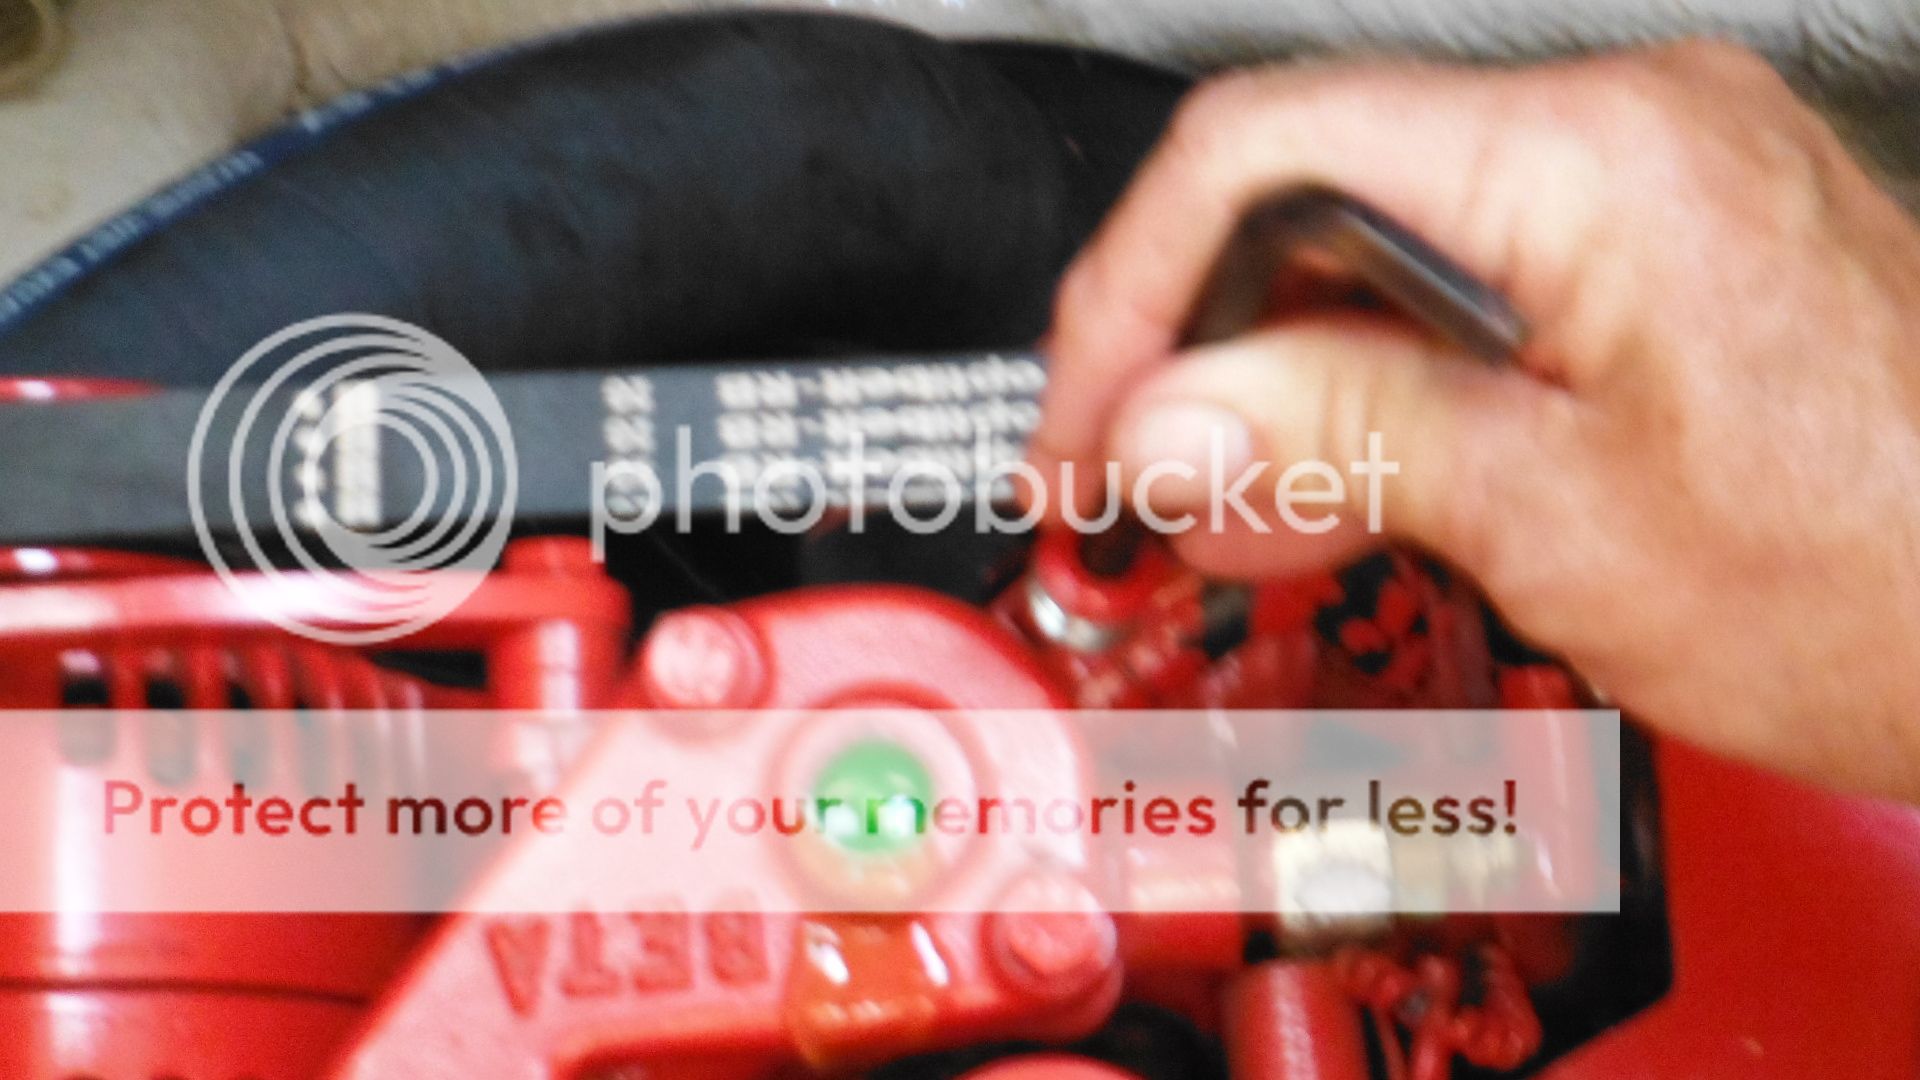
We decided while we
were there to put on loctite on the two motor mount bolts that keep coming
loose. We checked one and sure enough it was loose.
We loosened it more and Debbie put on the loctite (small hands).

Then we did the same to the other one.
Next we will start up the motor tomorrow after the Locktight has had a chance to dry some and check for any leaks.Next is replacing the impeller and changing the oil.
Don't you like working on engines! I had a real time of it replacing the starter on our Pathfinder engine, but I learned a lot afterward. Now I can change out the stater in half a day, but it took me days to figure out how to do it in the beginning. The heat exchanger on our engine is pretty easy to work on, and I've broken it down several times for maintenance. Next time you work on your heat exchanger it will go much easier, now that you've done it once and know what tools are needed.
ReplyDeleteDon from FOGgers