It has been a stormy summer here at Paradise Village Marina in Banderas Bay, Mexico. Lots of named storms and the effect of one in particular got us - Hurricane Odile. It didn't come into the bay however the wind, swell and rain from it did. We are on an exposed dock (for breezes and views etc) and I should have moved to a protected dock sooner.
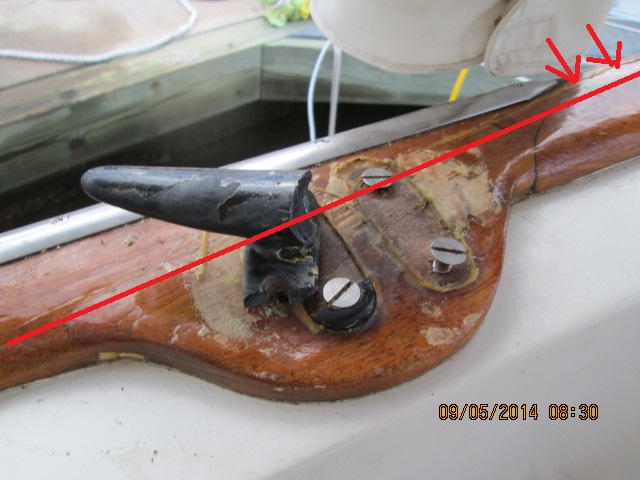
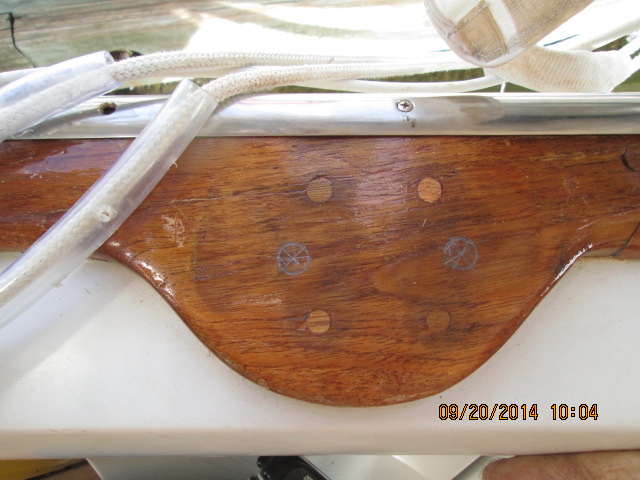
Our cap rail was also split by the cleat. (In the repair, we screwed it together and plugged the screws of course.) It is not an issue as it is not load bearing at that point and can hardly be seen, the crack.
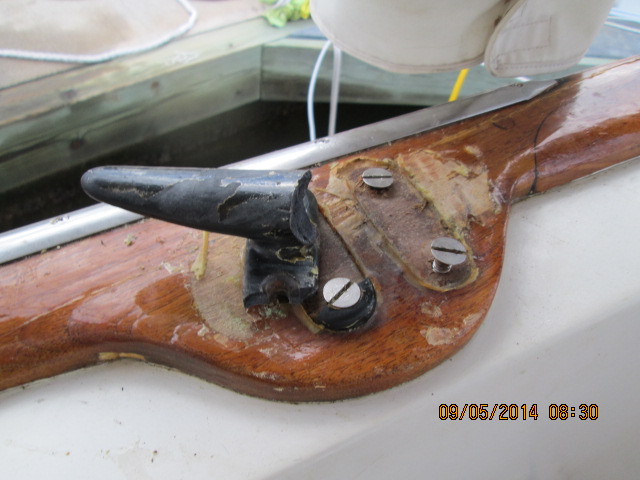
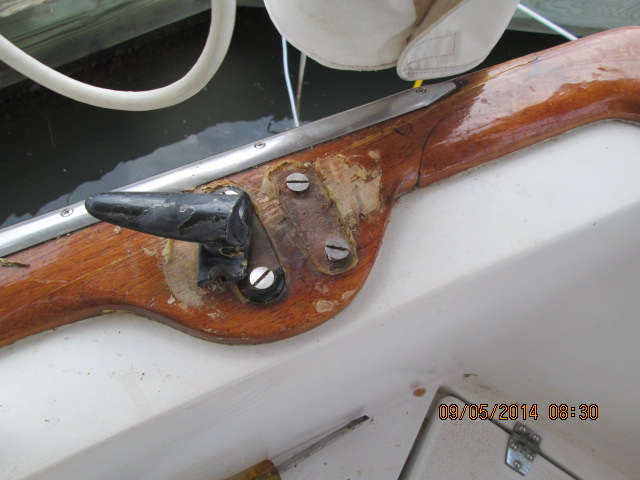
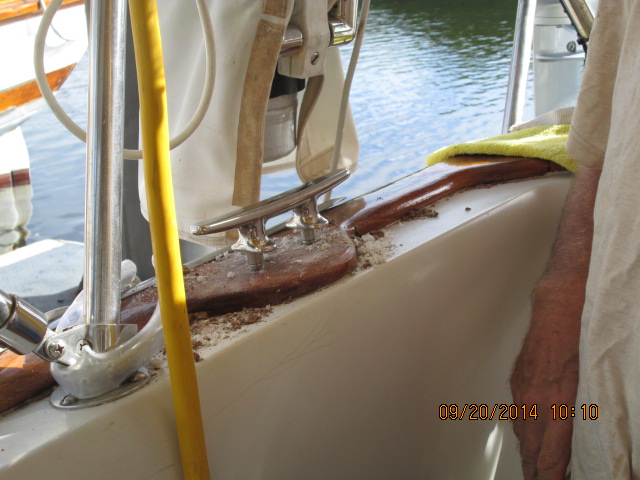
The stern outside screw cracked the cap rail.
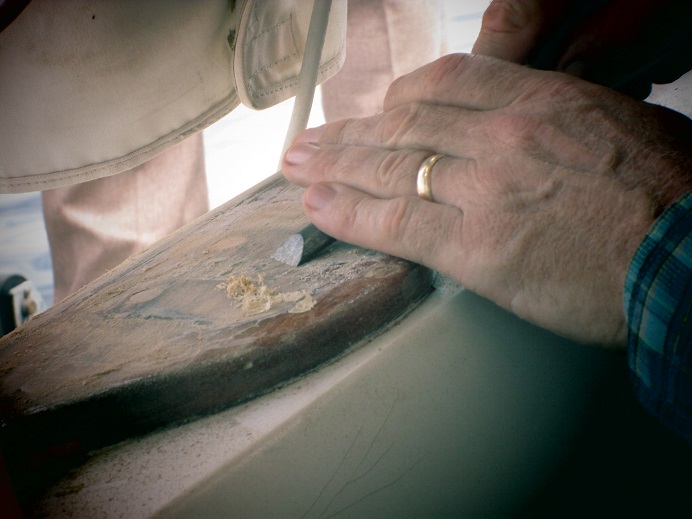
Getting off the old Cetal ect.
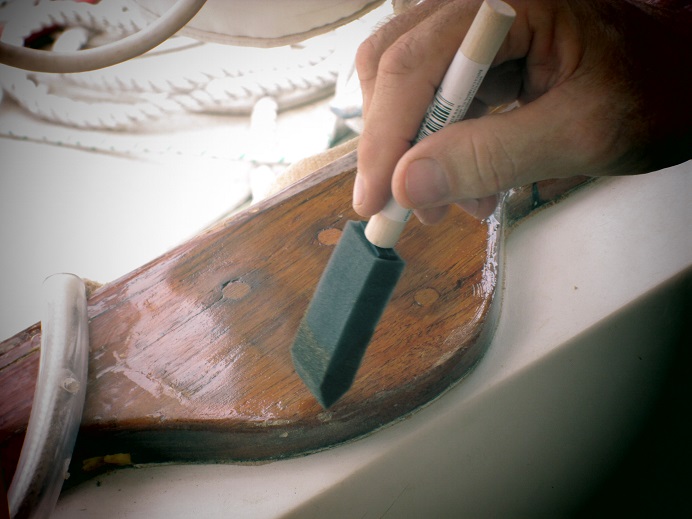
A new coat of Cetal Natural Teak goes on.
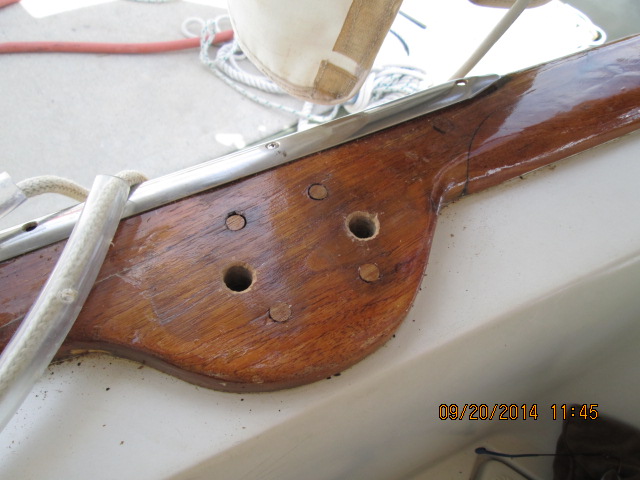
Then we decided to take the plugs out :(
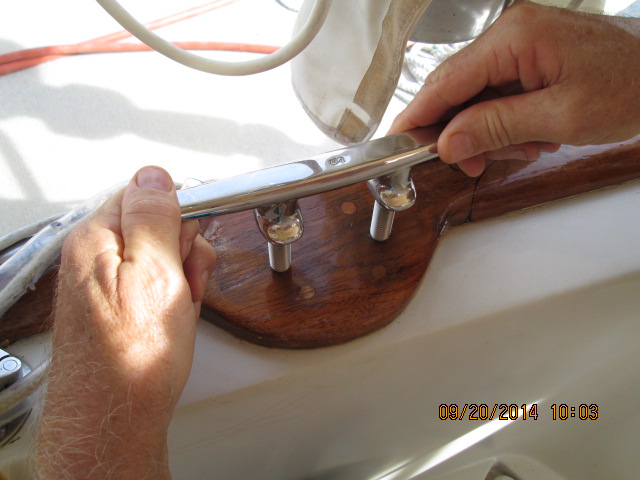
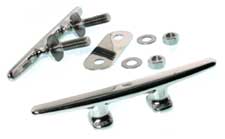
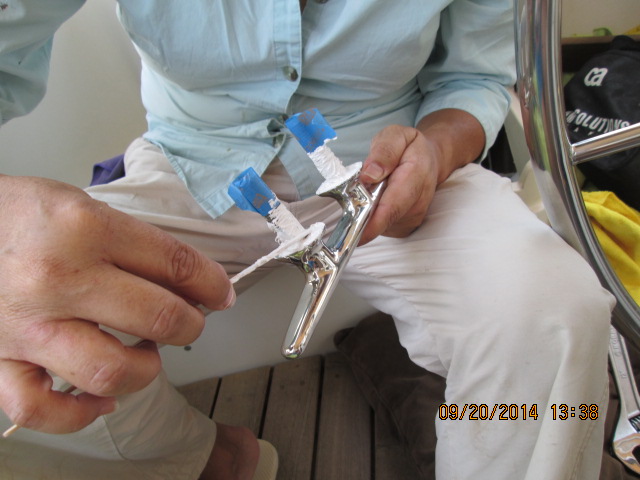
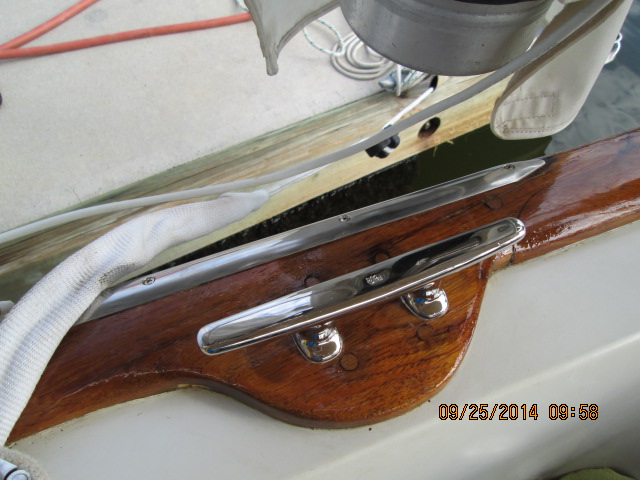
We replaced it with an 8” (same size) Shaffer SS cleat.
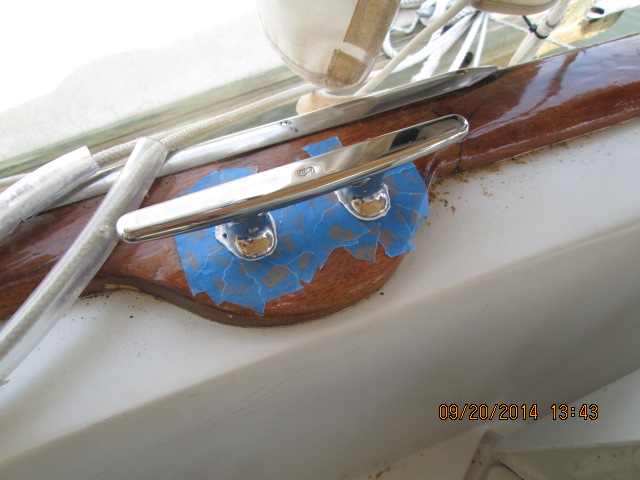
Marking up the new cleat position.
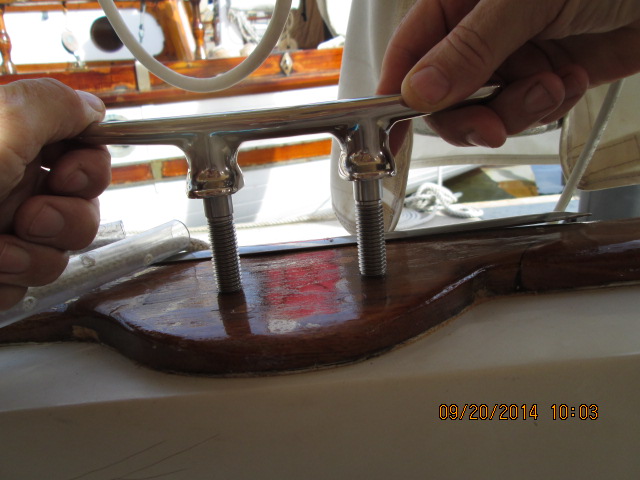
Lined it up with the edges of the teak cap rail going forward and aft. And yup it fits!
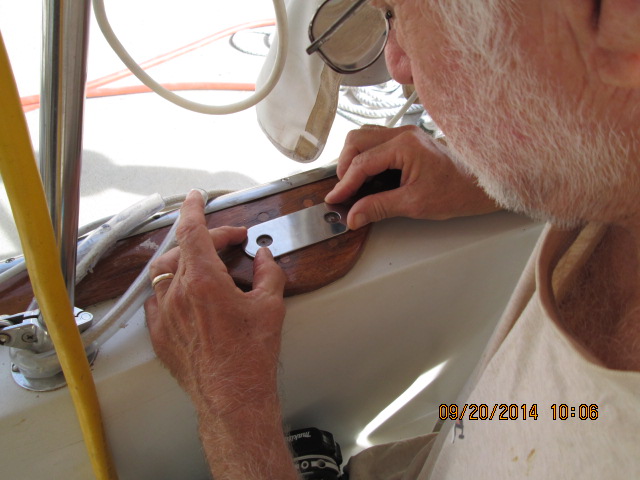
Checking the backing plate for hole alignment.
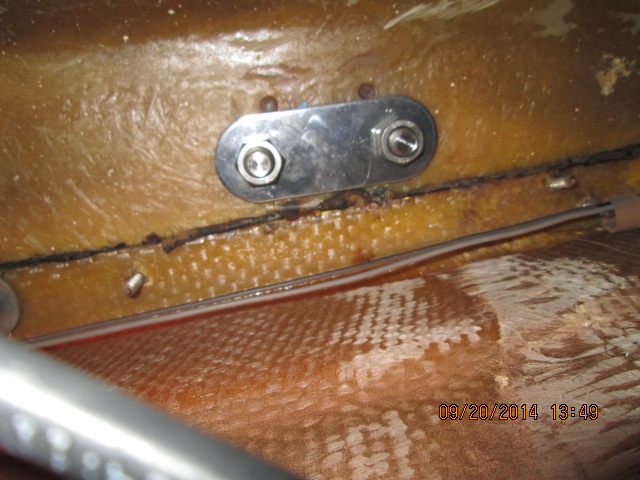
The Shaffer cleat we installed has a backing plate which we used. The 9/16 studs fit well leaving enough room for the plate and nut.
8" Stainless Steel Deck Cleat. Hidden Metric Studs, 316 Electropolished Stainless Steel, Smooth Radius Edges reduce line chafe, Backing Plate included, Maximum Line size 5/8".
We purchased ours online and had it shipped and then Debbie brought it down with her when she returned. The usual routing mess but luckily Debbie was already in the US visiting our daughter Lindsey.
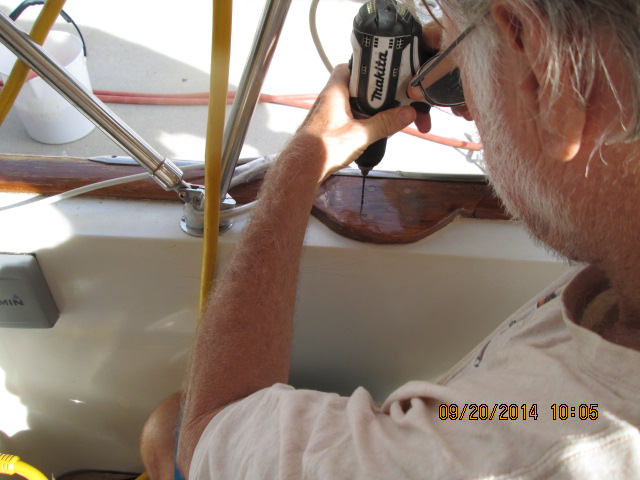
Going up in hole sizes.
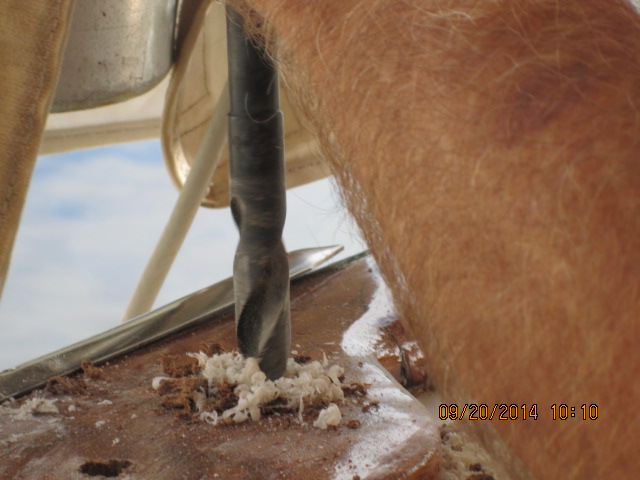
After drilling the smaller sizes we did the 9/16 holes (thanks to Jorge of Severin Sys Services here at Paradise Village Marina for letting us borrow the correct drill bit!!).
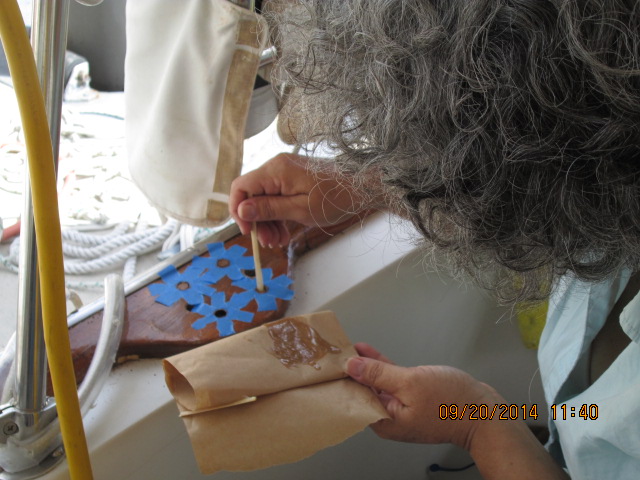
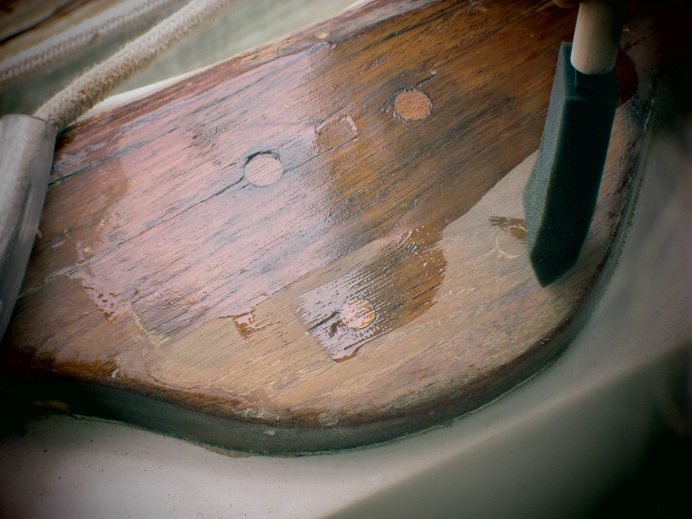
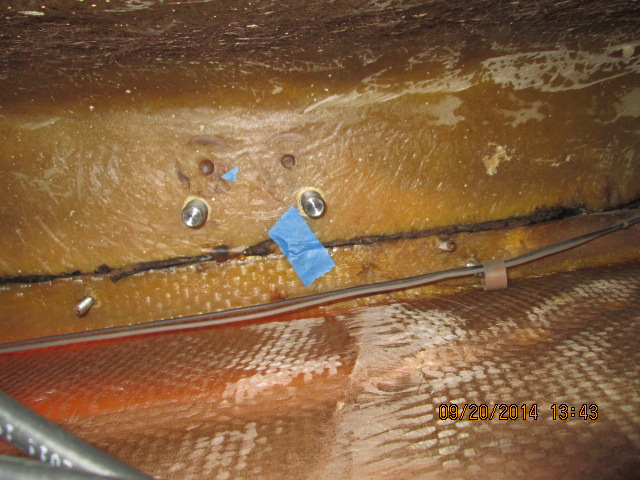
After we put the plugs in and cleaned up the area we decided it would be best to back fill the old holes first with epoxy.
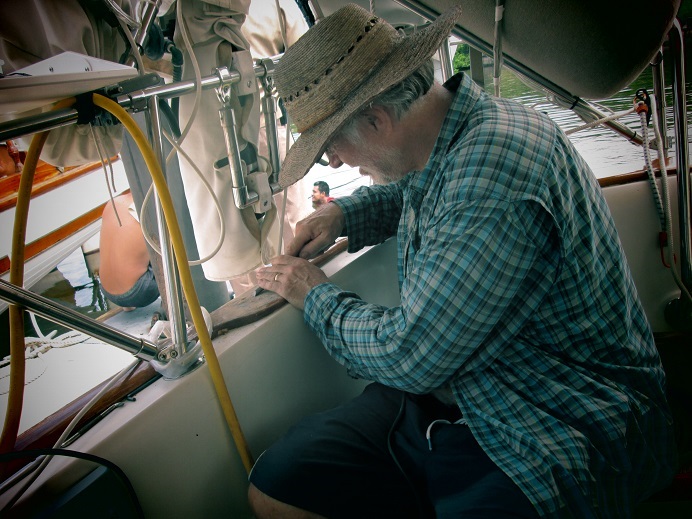
So Debbie climbed into the stern lazerett and put some tape over the holes. Then she put epoxy in the holes and new teak plugs went in and it all got sanded again. We chamfered the new 9/16 holes for the new cleat. Sealed it with 3M 4000 UV on the top 1 “ or so of the bolts and used provided lock tight for the nuts.
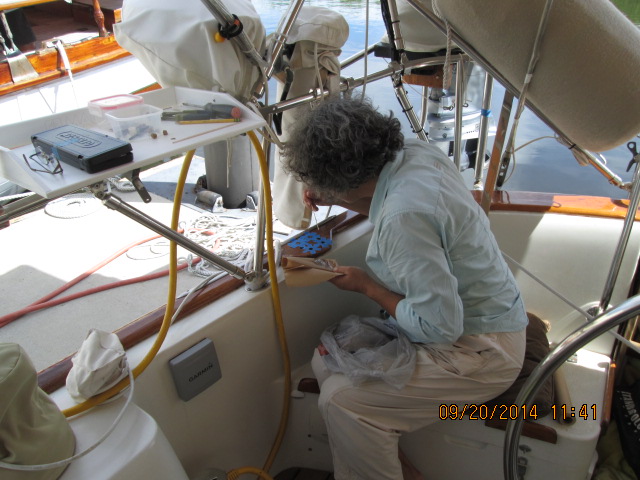
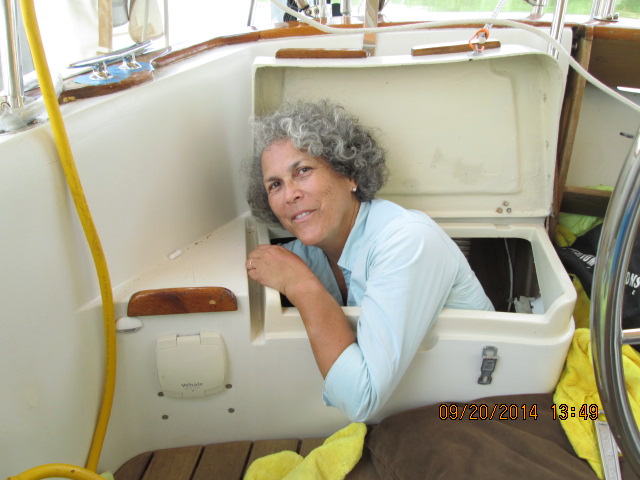
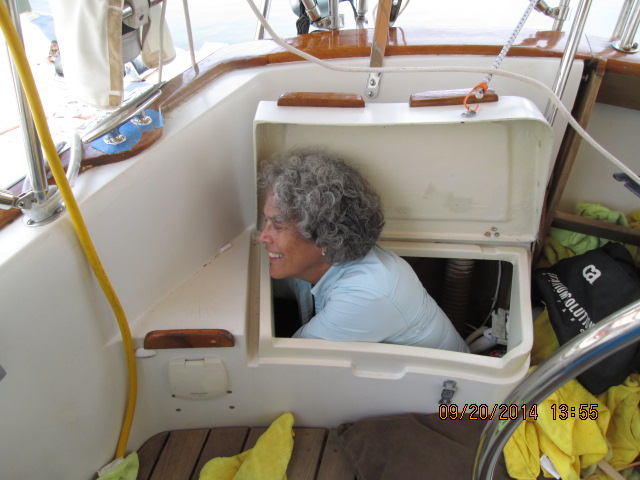


Al the work had to happen under-deck, sight-unseen and sometimes one-handed!

New cleat studs with backing plate.

All done! Well, still need to screw in the cap rail protector.
We bought two cleats but we will probably not add the other until next summer as we have things to do and cruising season is a-coming!
I put some of those cap rail protectors on Grasshopper, after I redid the whole cap rail varnish. Before I put them on I learned from a person that does varnishing on boats, that the protectors cut into the varnish in different places after screwed in, and they can make the varnish fail early at those places. I did a dry run placing those protectors at all the places where I was going to use them, and sure enough when I put hand pressure on them they left an indent on the varnish...Screwing them in would have made deeper indents. What I did was use a small SS washer under the protector where each screw would come through, and this spaced the protector just a tad bit higher off the varnish so it didn't make indents. After I drilled the holes for the screws I put a dab of 4000 on the holes, placed the washer on the 4000 (That held the washer in place, sealed the hole, and under the washer where it would indent into the wood), and screwed the protector on. Now I shouldn't have to worry about varnish break down around the protectors.
ReplyDelete