August 2012 - Currently at Marina Kona Kai Shelter Island San Diego, CA
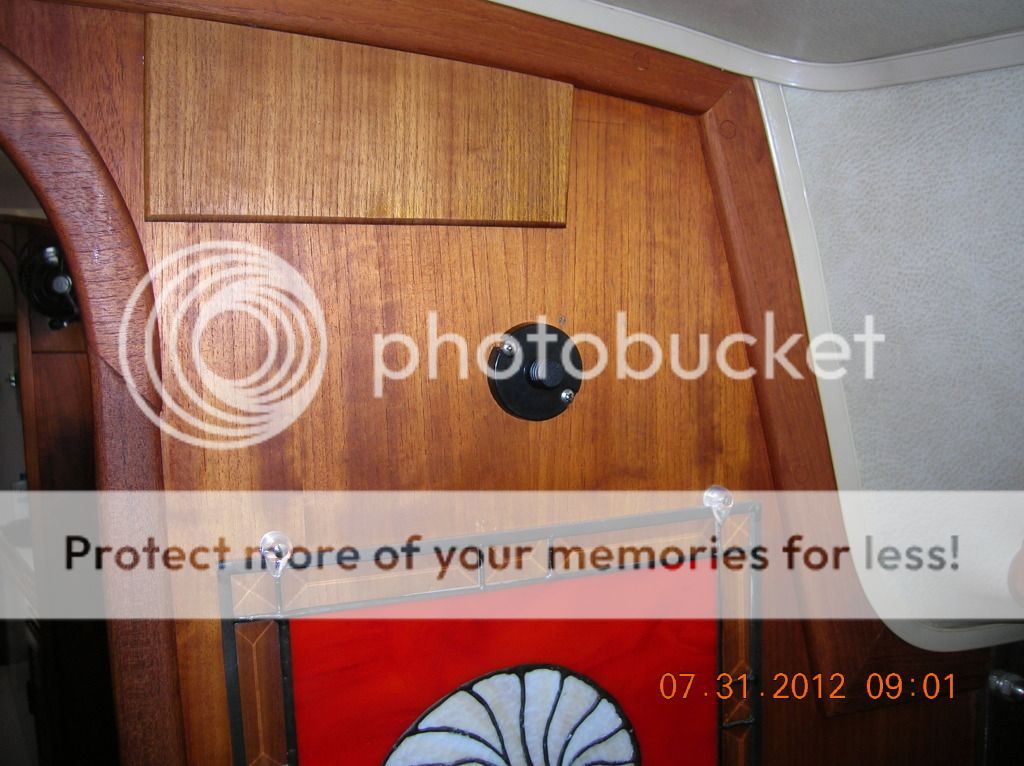
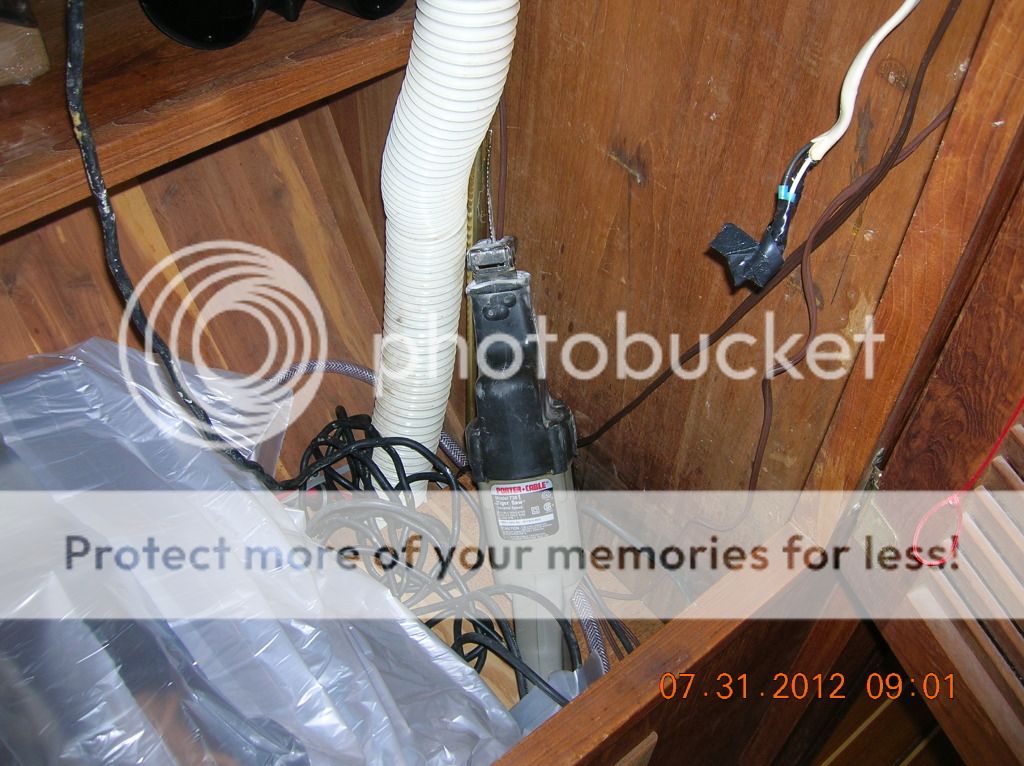
First off we removed the fan from the salon as the wire was running down through the space we wanted to install the supply grill. While doing this we rotated the screws on the fan mount so we do not see them. That was a mistake we made when mounting the fan and it was a good time to fix it. Kind of petty but still.
First off we removed the fan from the salon as the wire was running down through the space we wanted to install the supply grill. While doing this we rotated the screws on the fan mount so we do not see them. That was a mistake we made when mounting the fan and it was a good time to fix it. Kind of petty but still.
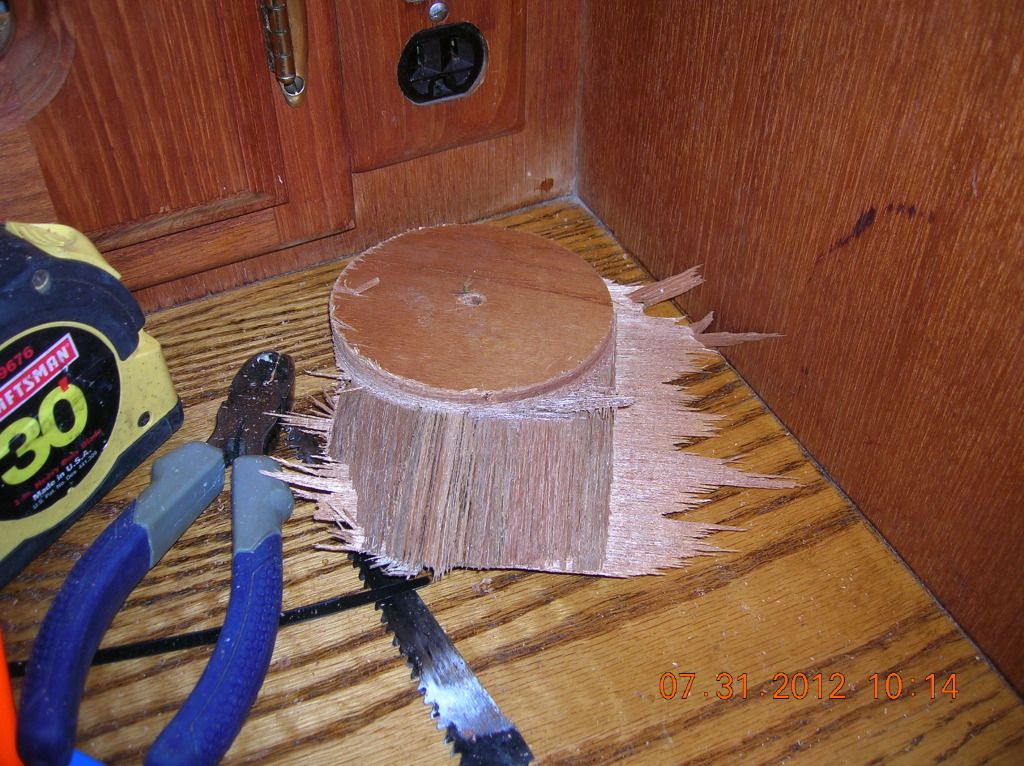
We started the hole
cutting with the saws all.
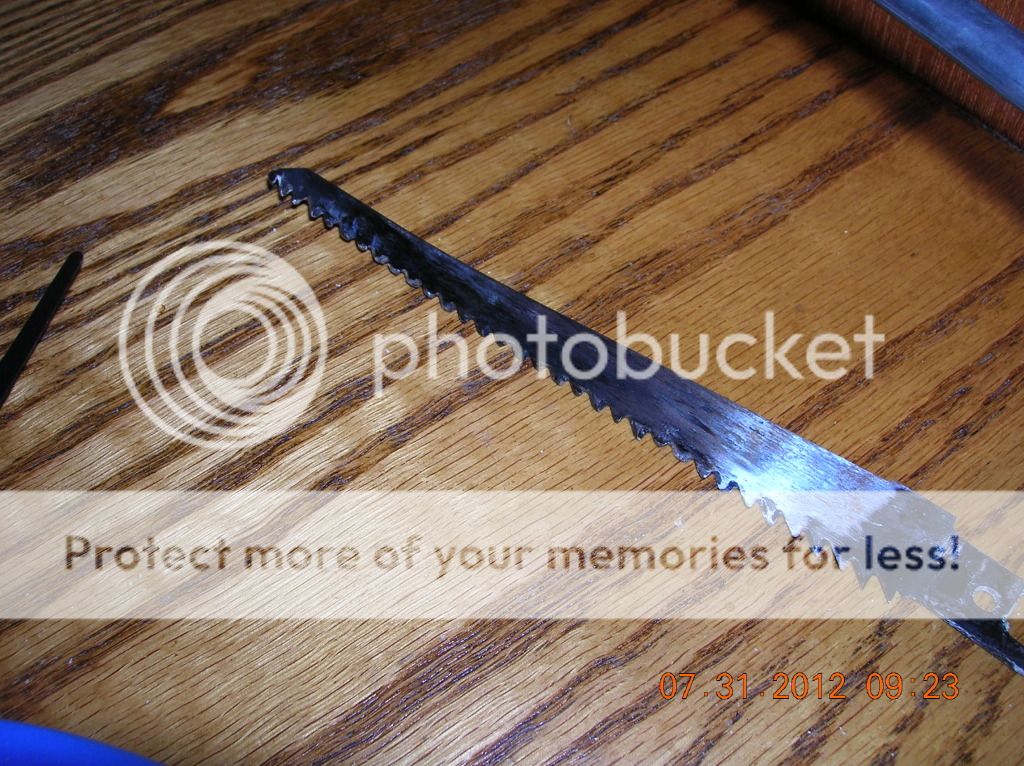
The blade that it came with was destroyed, teeth just mostly gone and it was burning the wood.
There was another saw blade in the
box but it was long.
We put it in and it cut good. It was just long so a bit
hard to work with and when cutting at an angle you had to be careful not to go
through to the salon side because it was so long.
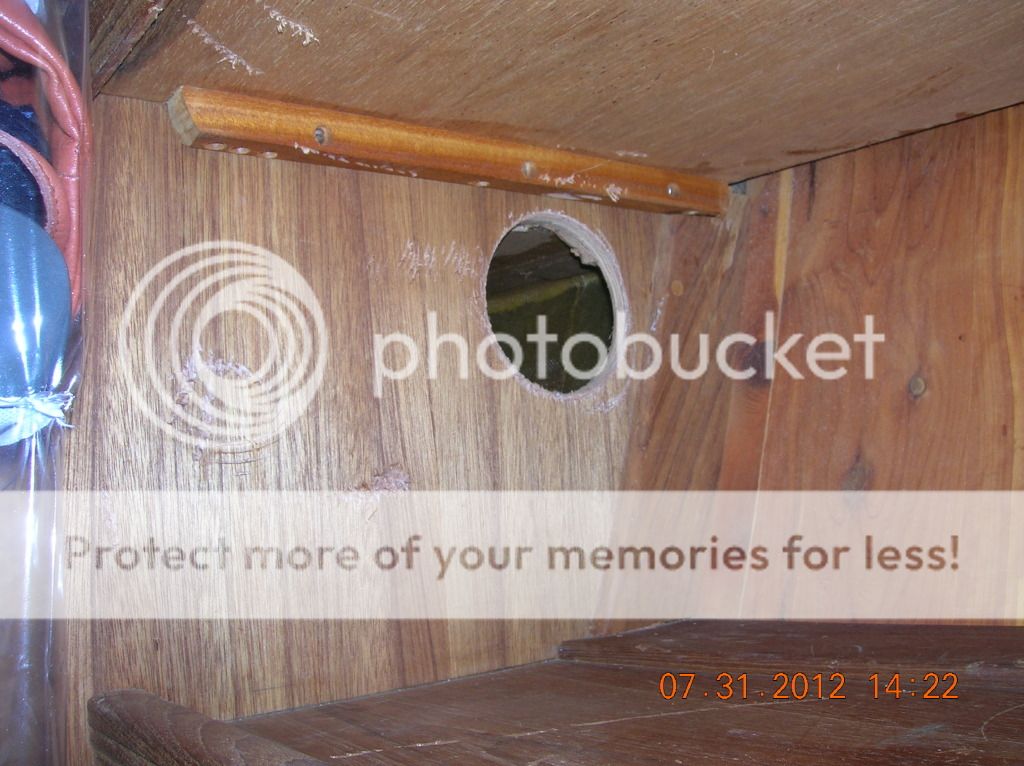
The hole is where we need to make a much bigger hole for the transition box. The PO had moved the dorad hose and left the old hole there.
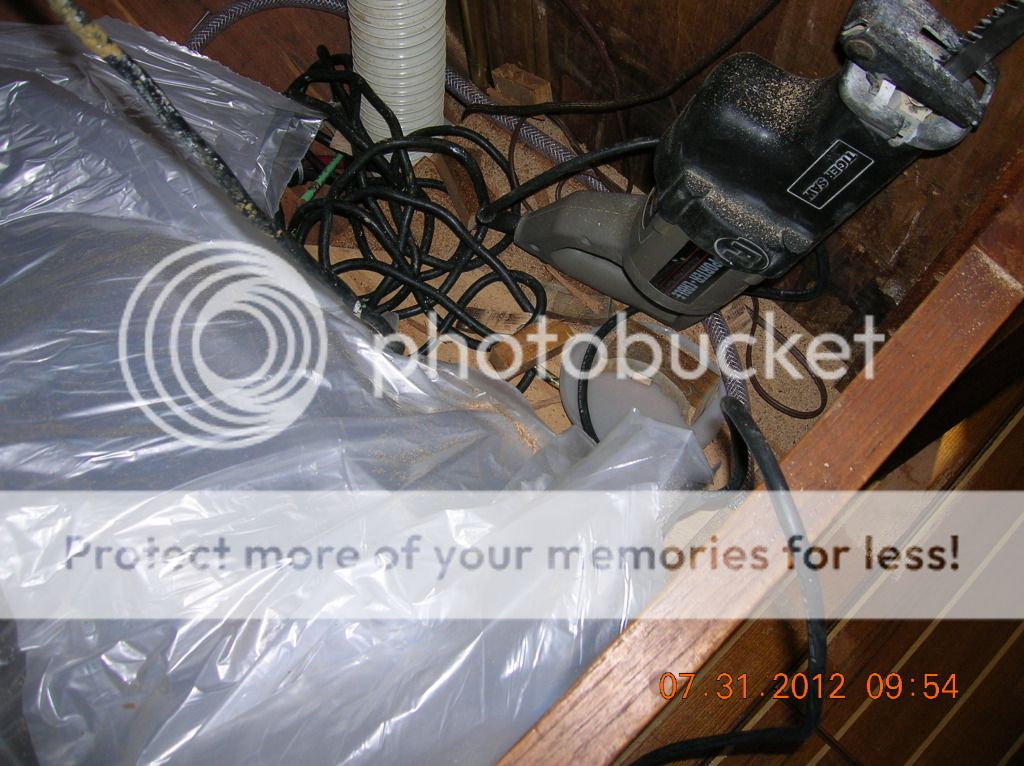
Saws all ready for action.
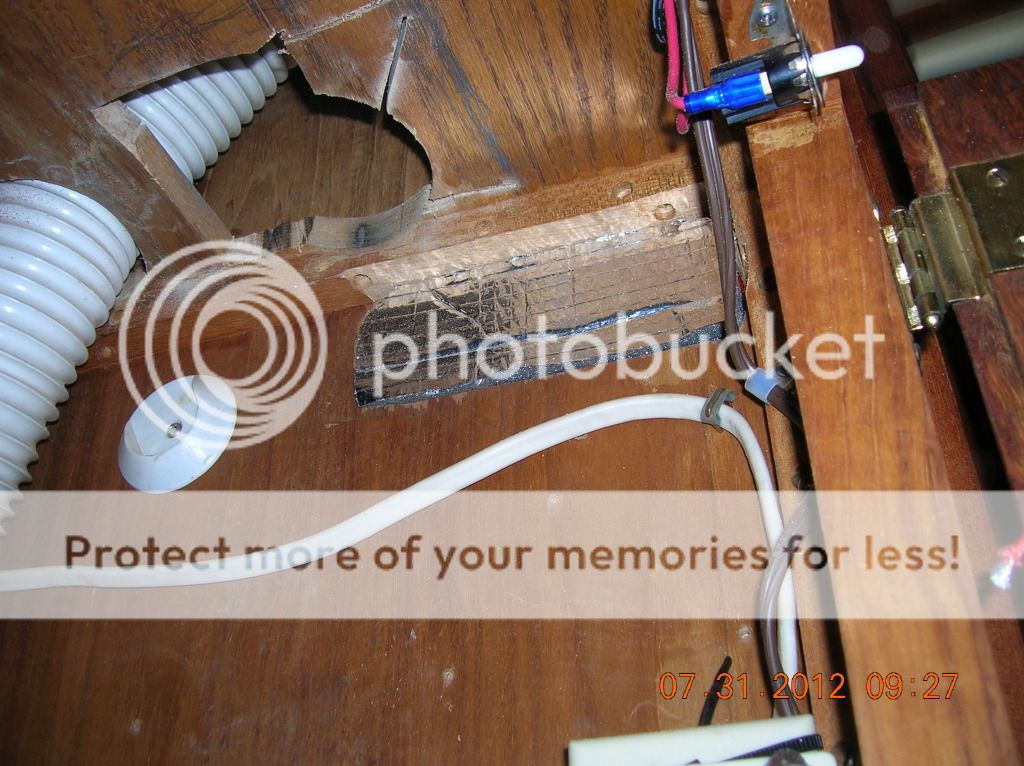
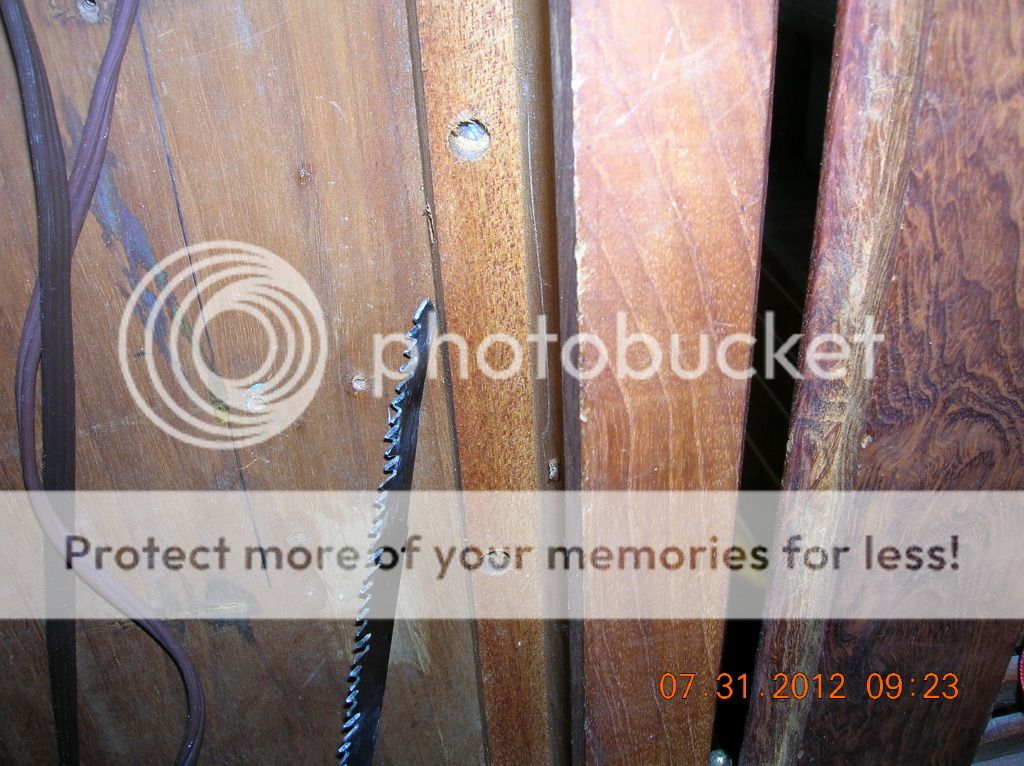
Any way we got the area roughed out with the saws all. It was also heavy and hard to handle working upside down on your knees leaning into a hanging locker and in then in a tight space.
Done with that the space was still way to small for the transition box for supply grill to fit.
Thats as much as we could get with the saws all. It did make the job a lot easier.
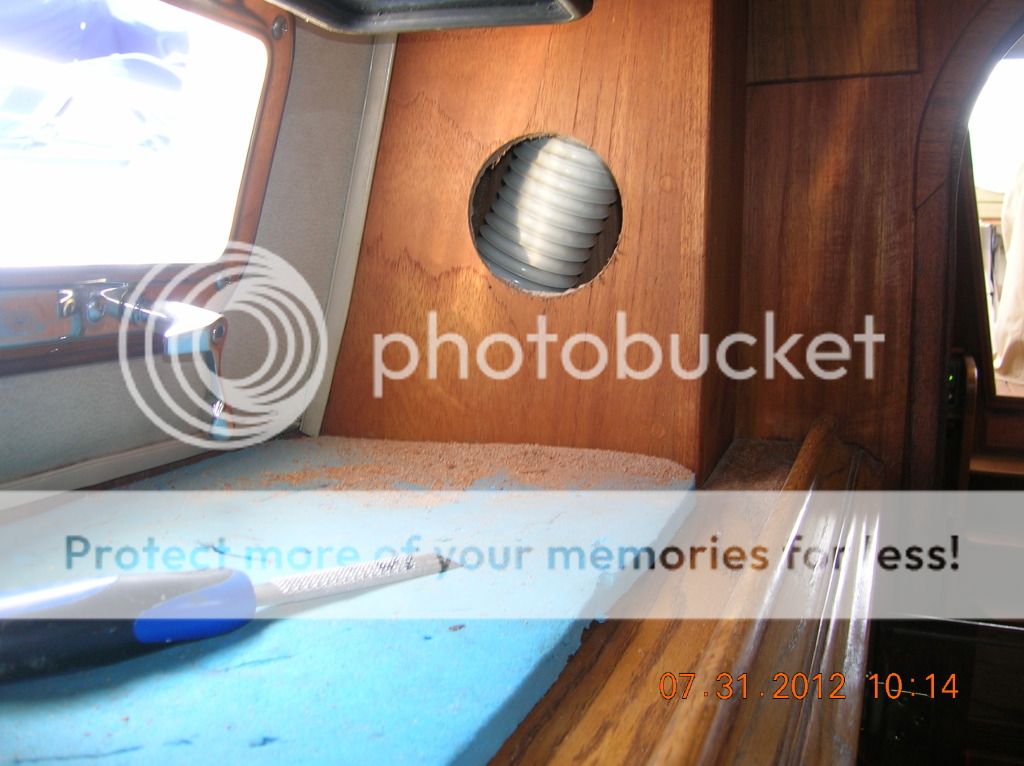
Next we had to use a hammer and chisel to knock out the bracing.
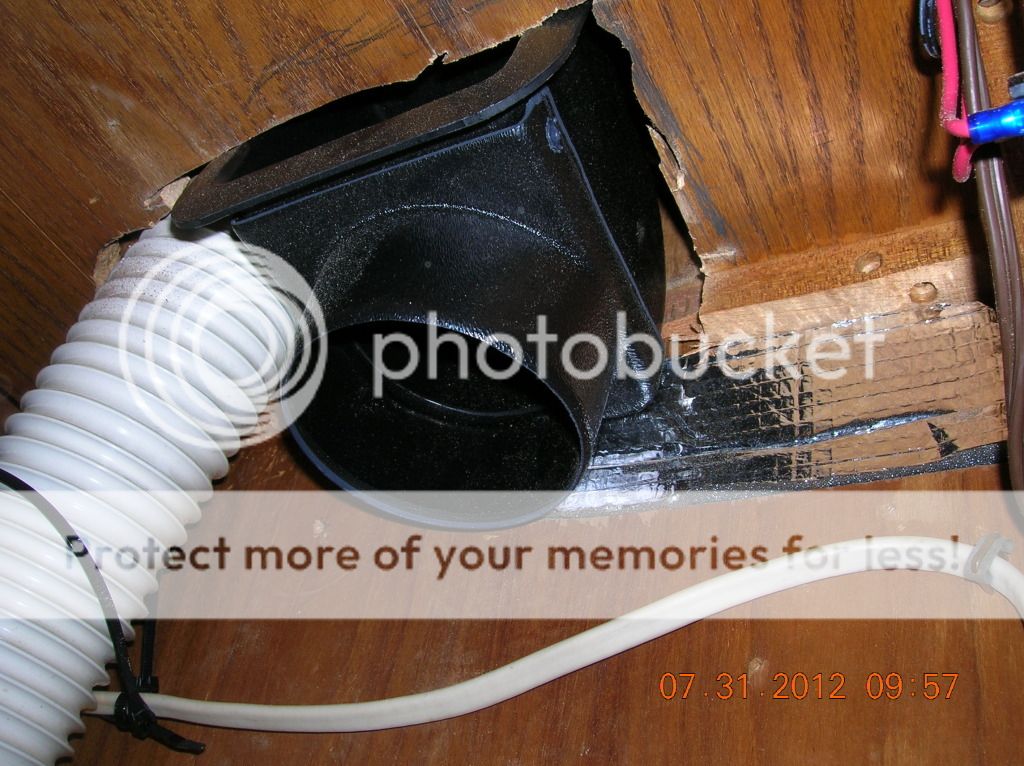
The transition box still would not fit so we got the jig saw and trimmed the forward side.
It was too close the the outside of the dorad box to use the saws all and the saws all was too hard to work with for such a small trim job.
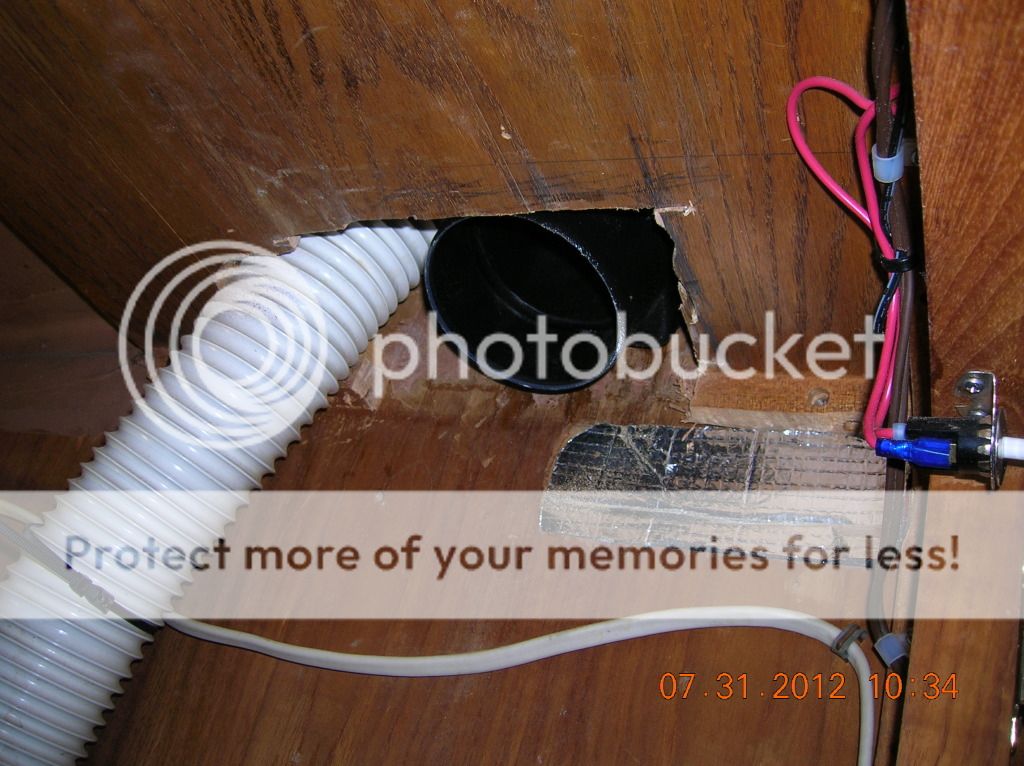
That done we used out glass hammer and some dish soap and tapped the sucker up there.
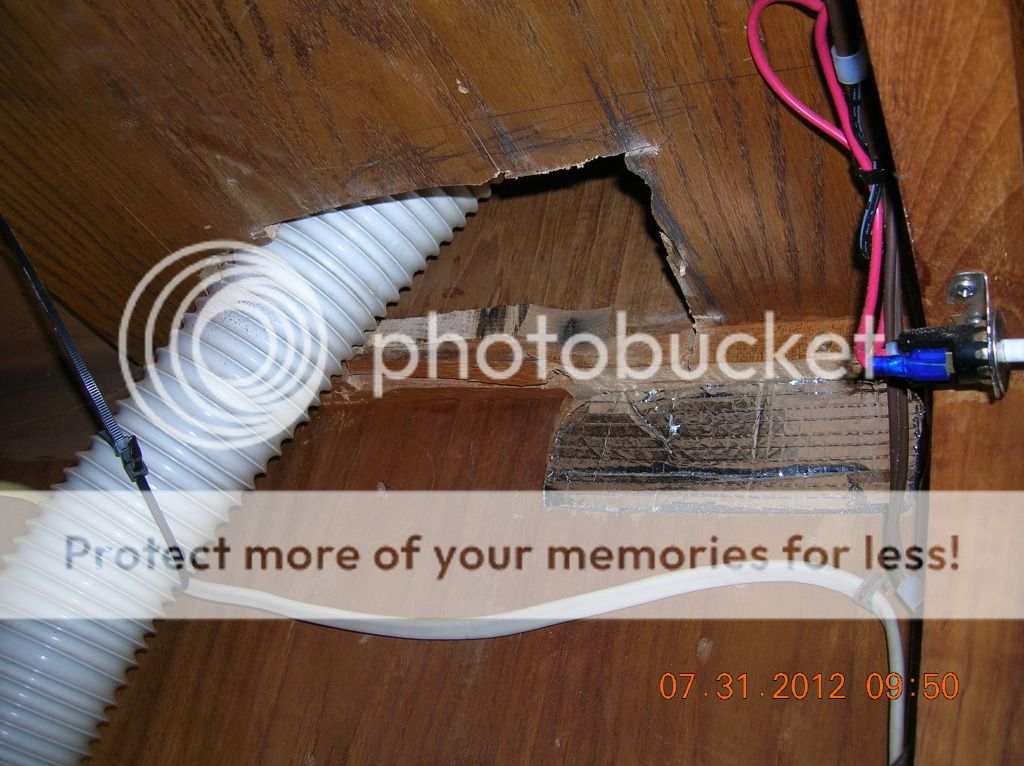
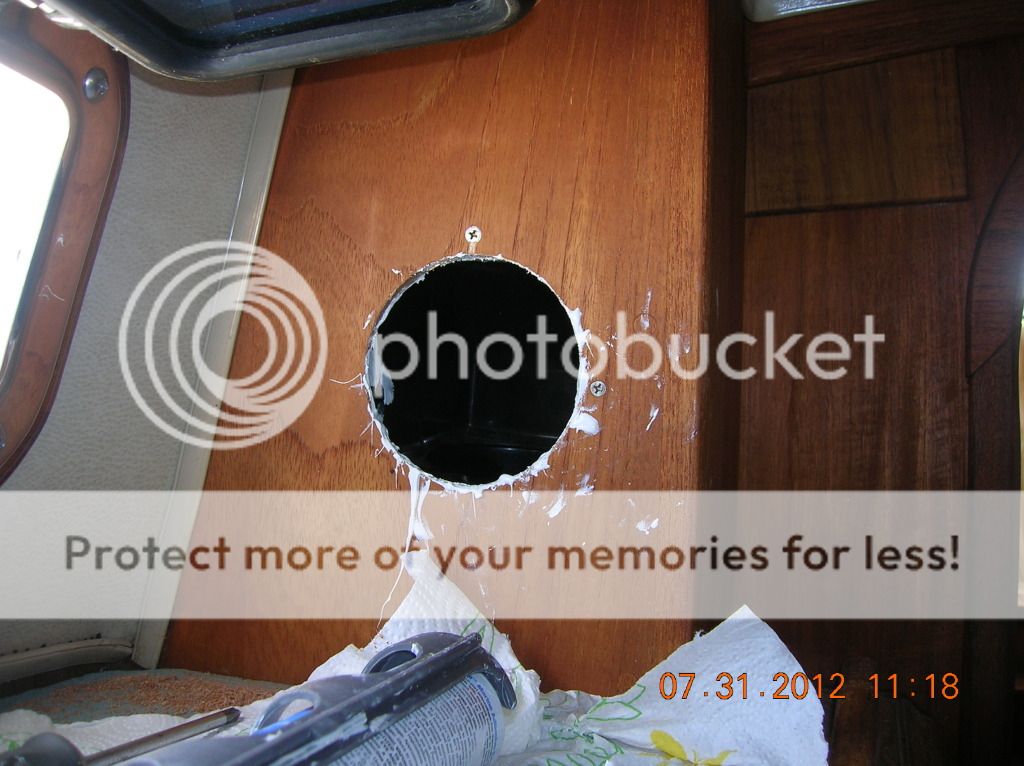
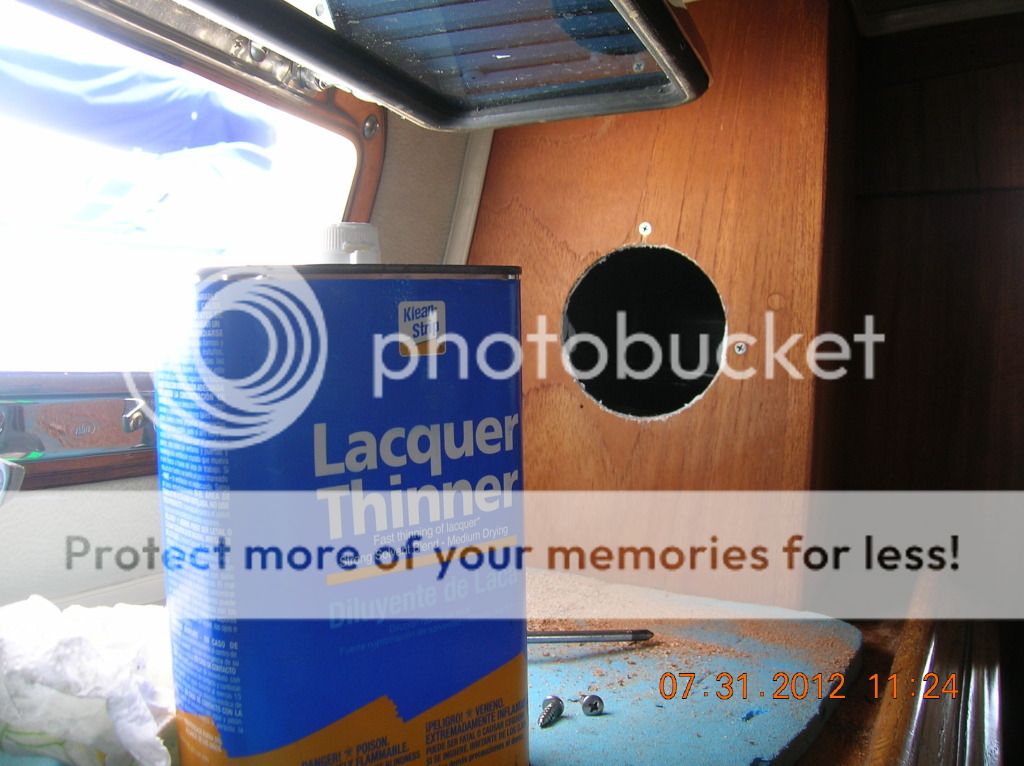
Now it was time to drill the hole.
We placed the transition box into what we thought was the best location. The dorad hose is also in this area and the supply grill needs to over the transition box.
This was going to be tricky because we do not want to mess up the teak in the stateroom with the 4" hole saw.
After cutting the whole a bit it became obvious the 3/8 drill was just not powerful enough to manage the big 4" hole saw. The hole saw would bind and the drill would stop. The n we would adjust the hole saw and the drill would want to spin out of control trying to cut and binding up. It was hard on the wrist and as soon as the hole was far enough through we knocked out the rest with the glass hammer.
Not good looking but done with no gouges in the teak.
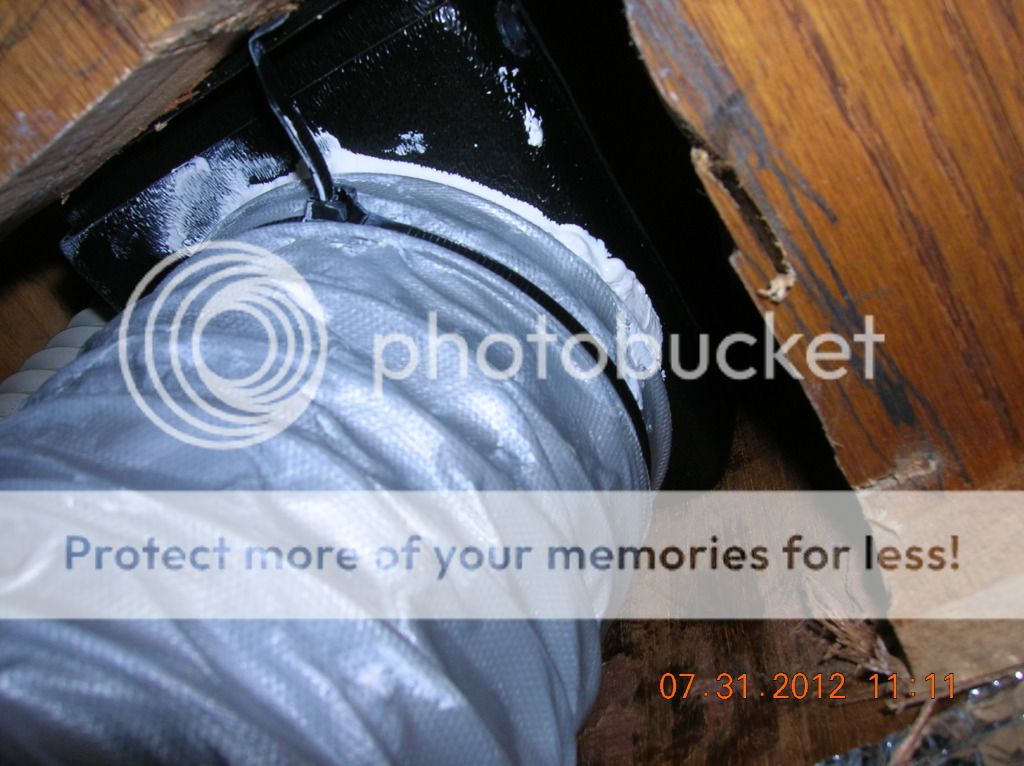
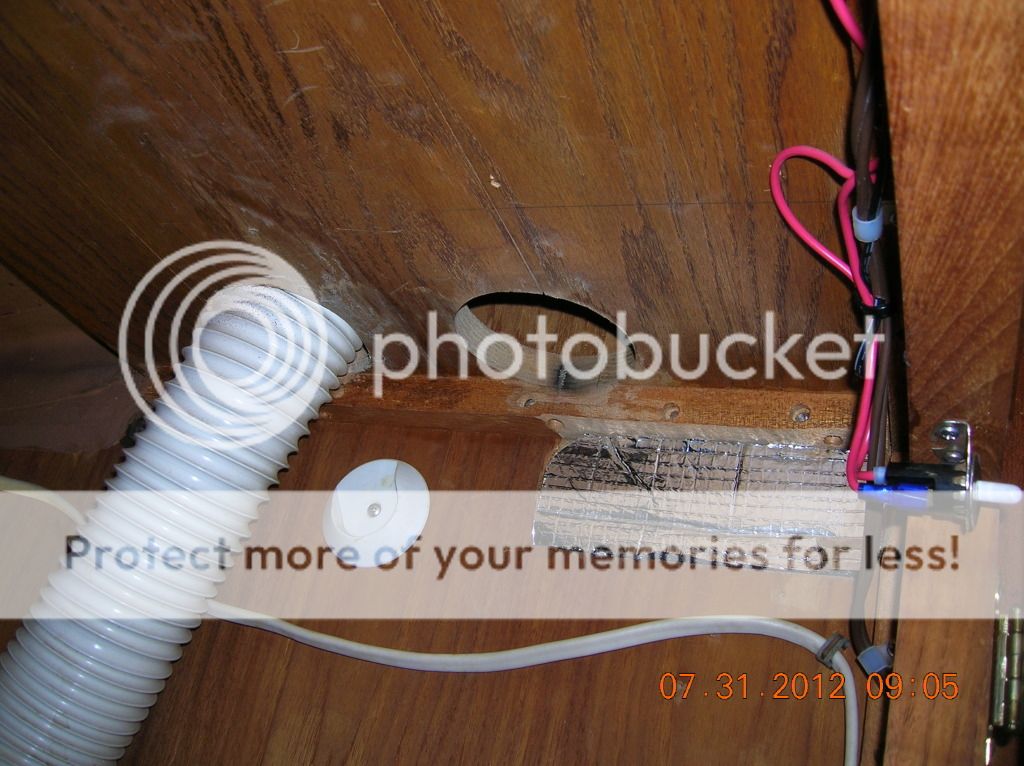
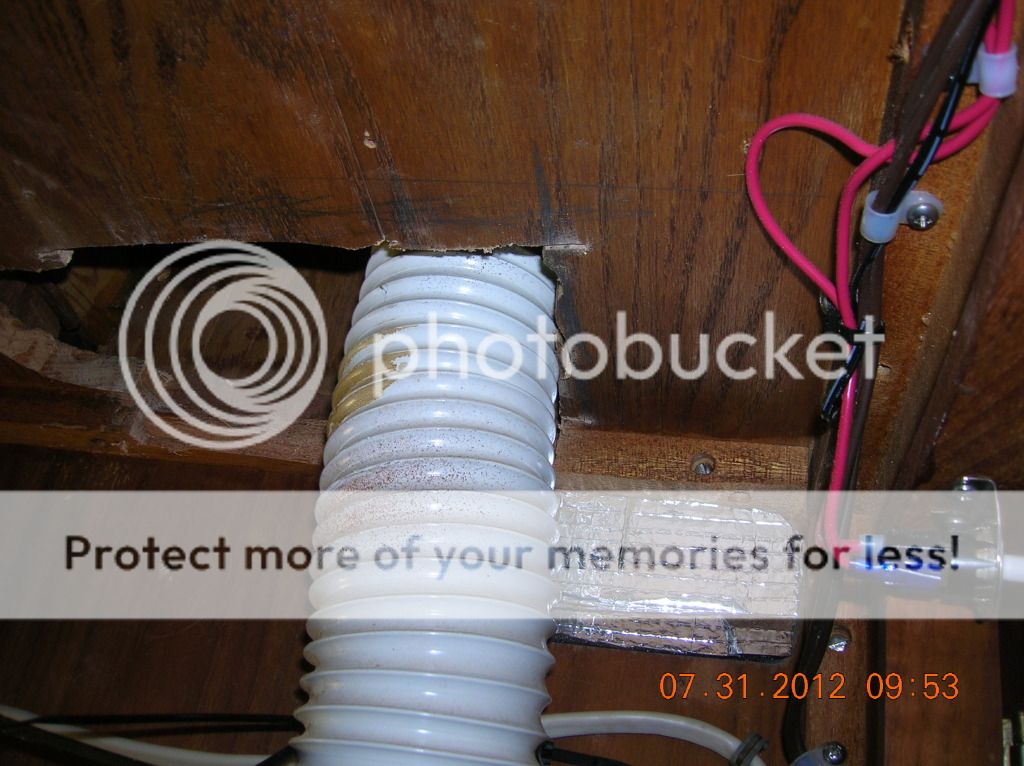
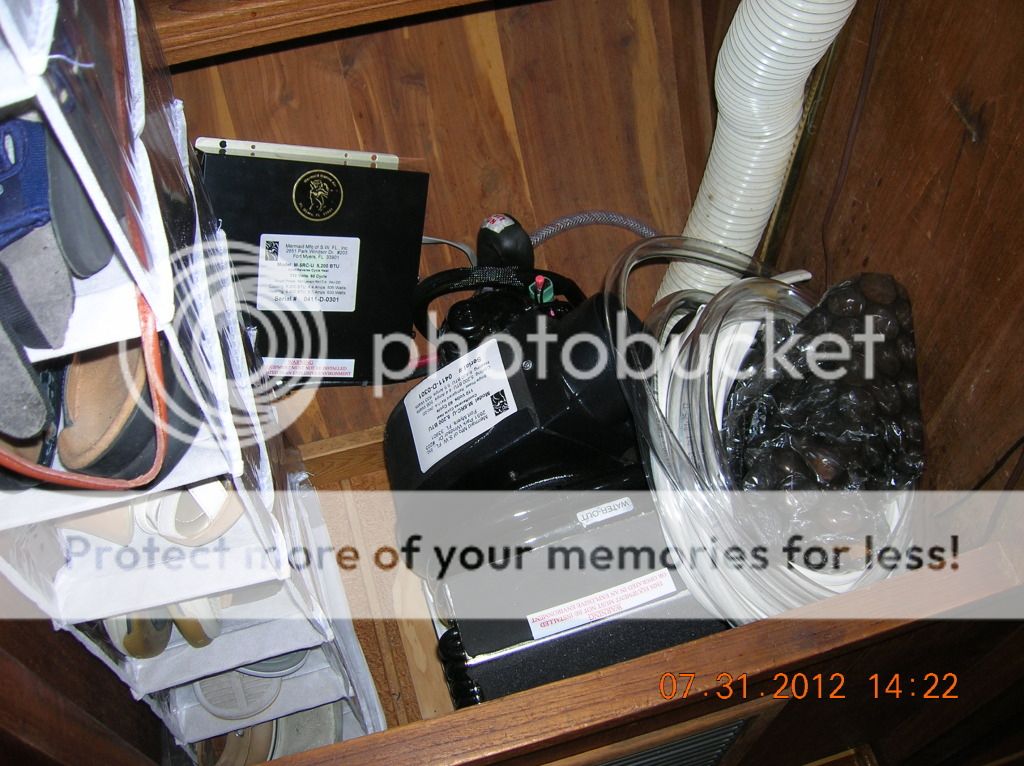
Now we had to connect the 4" hose to the transition box.
If anything happens to this hose we will use duck tape for what it is actually intended for!
Next was mounting the transition box to the teak dorad box on the inside.
We drilled and counter sunk two holes for the screws. The screws we kept away form the dorad hose so not to dame it. The dorad hose passes by the transition box to the outside so we placed one screw on the top and one on the inside edge.
We did this by putting 3M Marine Adhesive Sealant 5200 around the front of the box and then screwed in the screws.
Then we put some 3M Marine Adhesive Sealant 5200 on the old finger and went around the inside edge of the transition to seal it up.
We clean up and back at it.
Now to mount the teak supply grill.
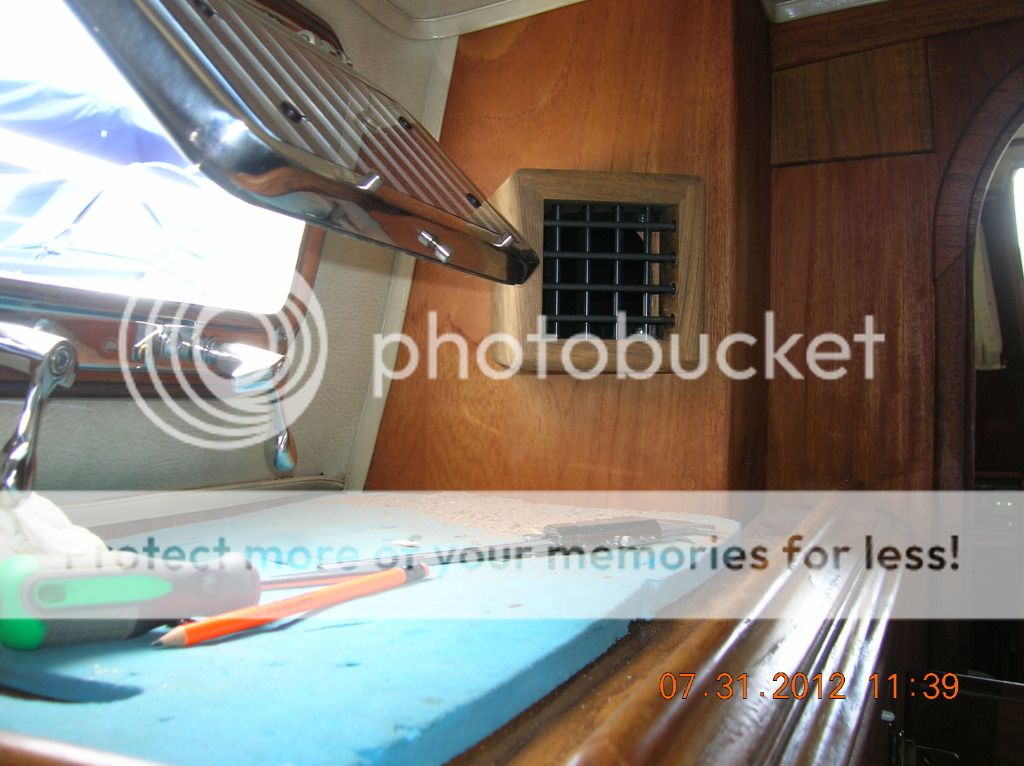
The teak supply grill we chose has two rows of adjustable louvers. That is good because getting into the grill to attach it with screws would have been a real challenge other wise. We were able to adjust the lovers so we could get two screws in to hold the grill. There is not much room left after cutting in the 4" hole to attach the grill.
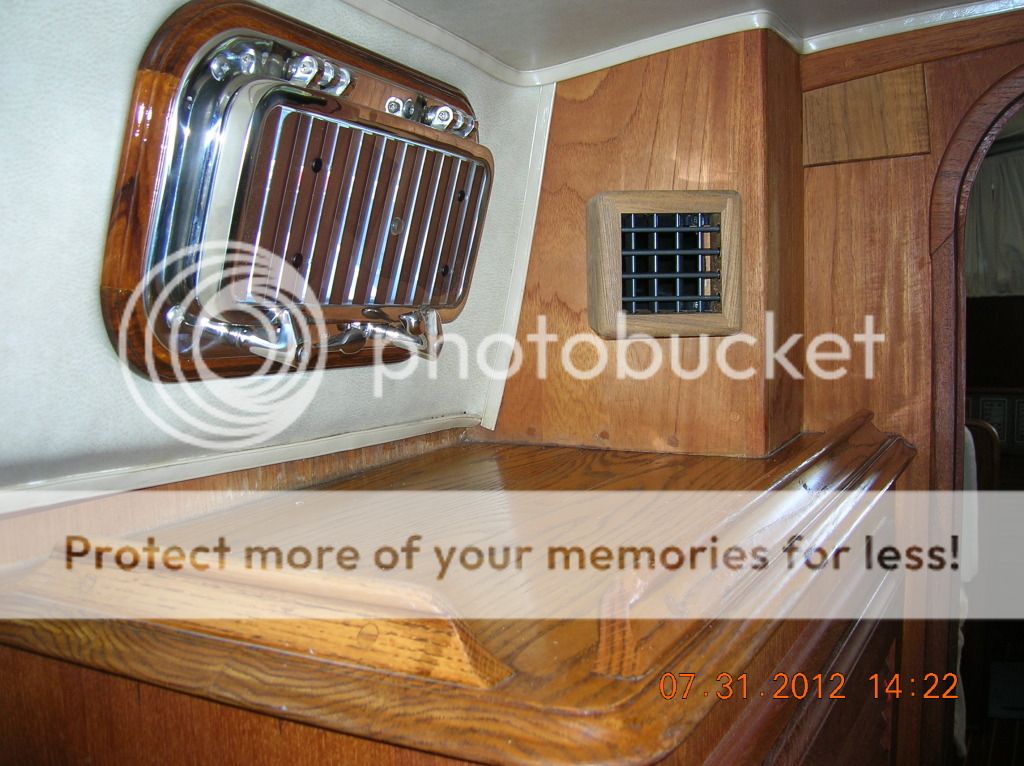
On our 1978 Islander Freeport we have teak and oak trim on the flat surfaces. We like it as it lightens up the boat.
Later we will remove the grill and paint the
transition box black covering the white 3M Marine Adhesive Sealant 5200 which you can see when looking into the grill.
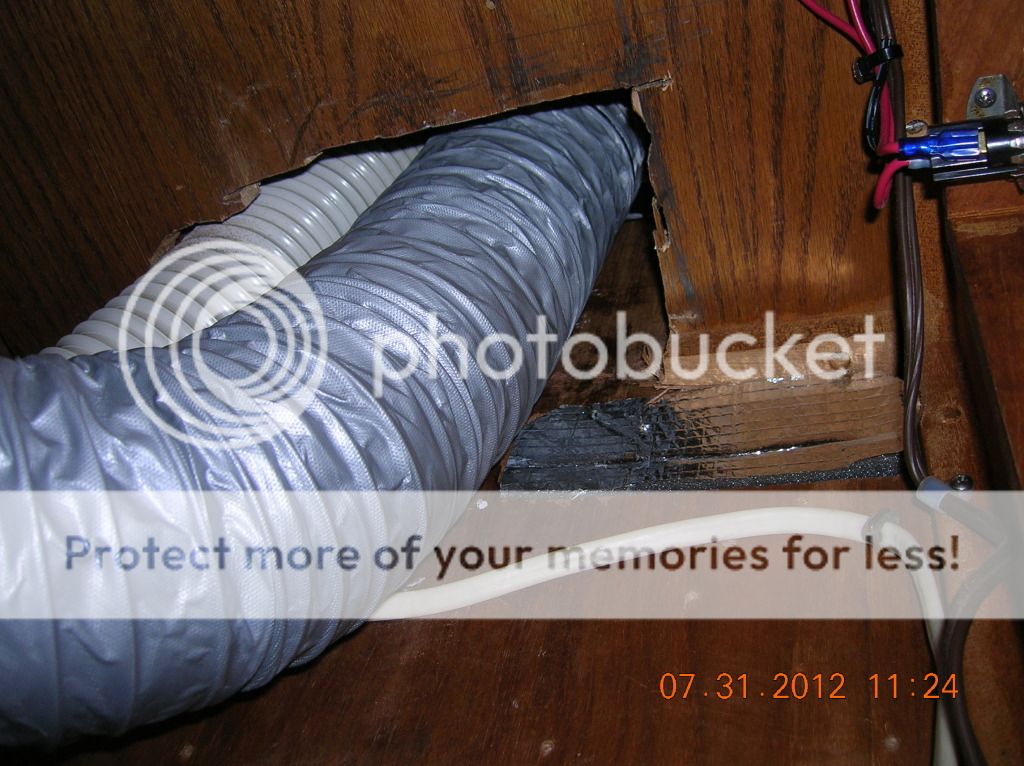
Neat was cutting another 4" hole in the aft hanging locker that will go to the forward hanging locker for more supply ducking. We got the hole cut but the saw kicked my butt and it was a bit dangerous so we decide for the rest of the cuts we need a 1/2 drill with a handle on it.
Next, well running wire and, and etc.
No comments:
Post a Comment