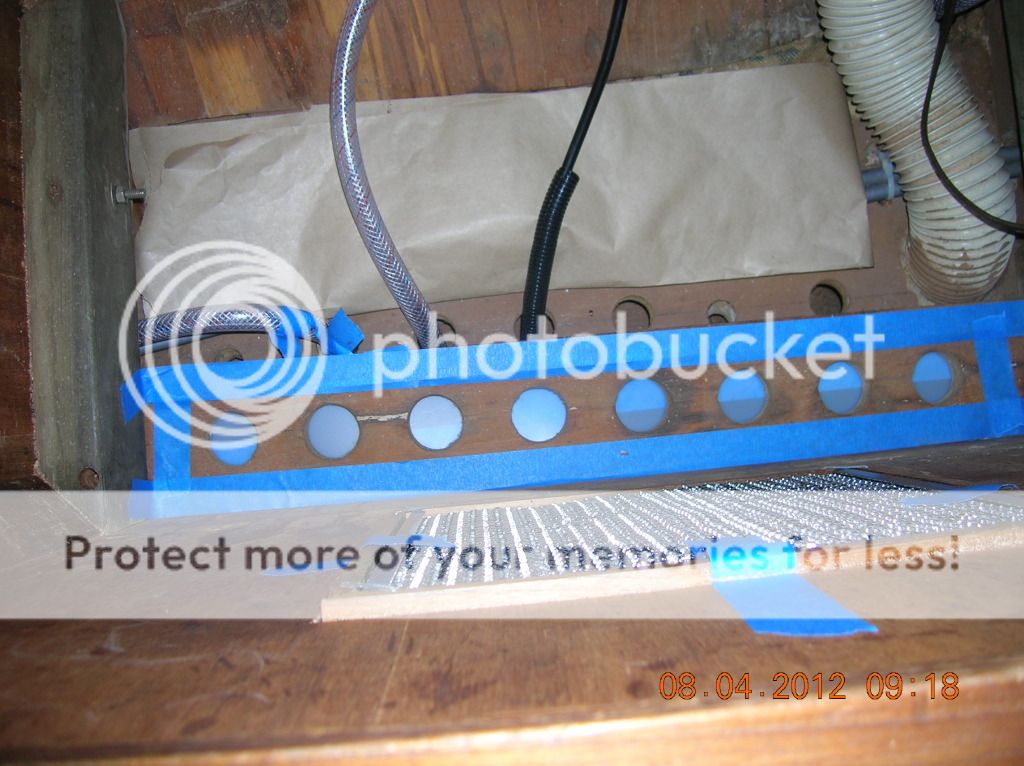
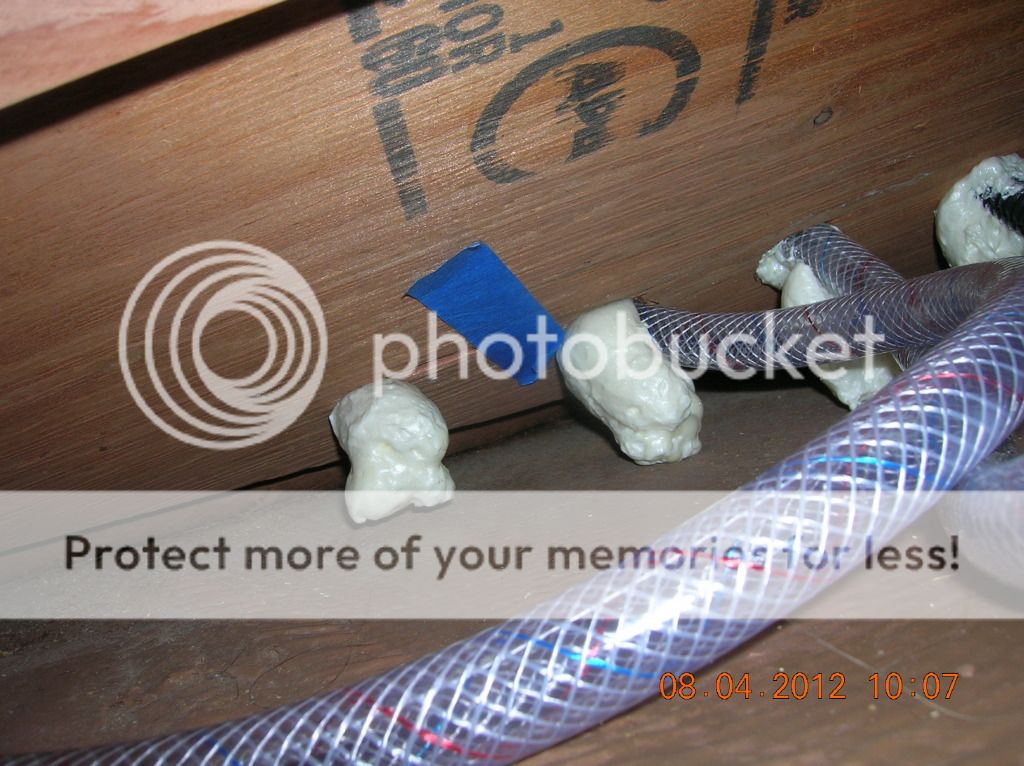
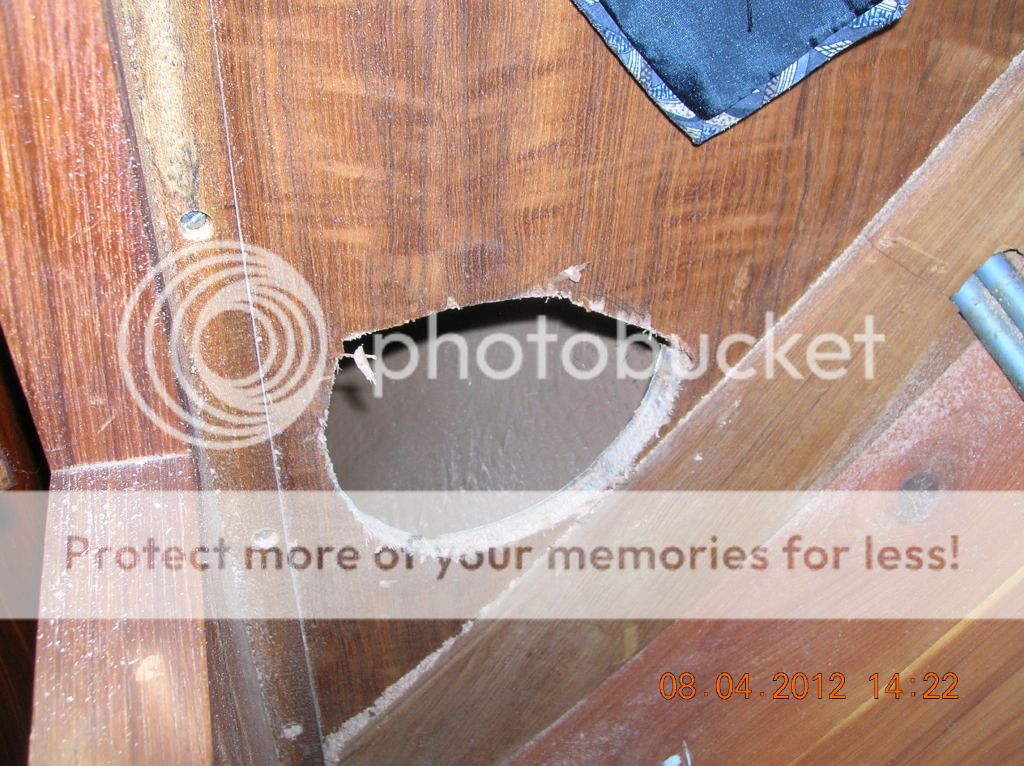
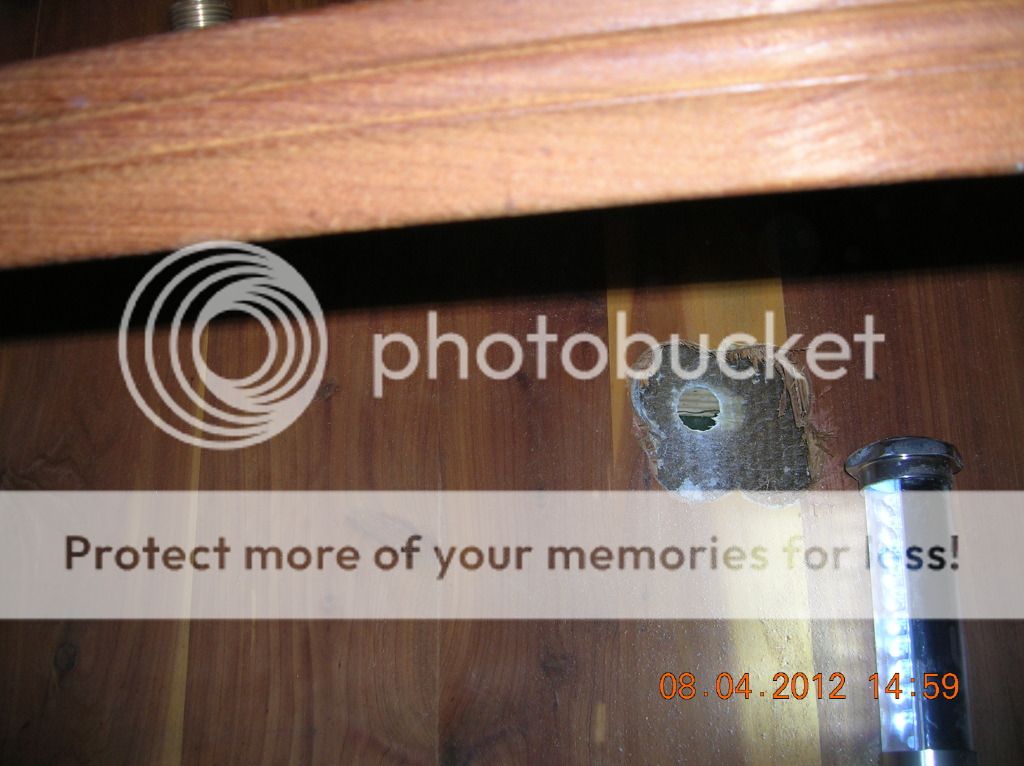
Holes with blue tape go into stateroom.
Debbie and I spent another good bit of time working on the stateroom Mermaid Marine Air 5200 btu AC\Heat system.
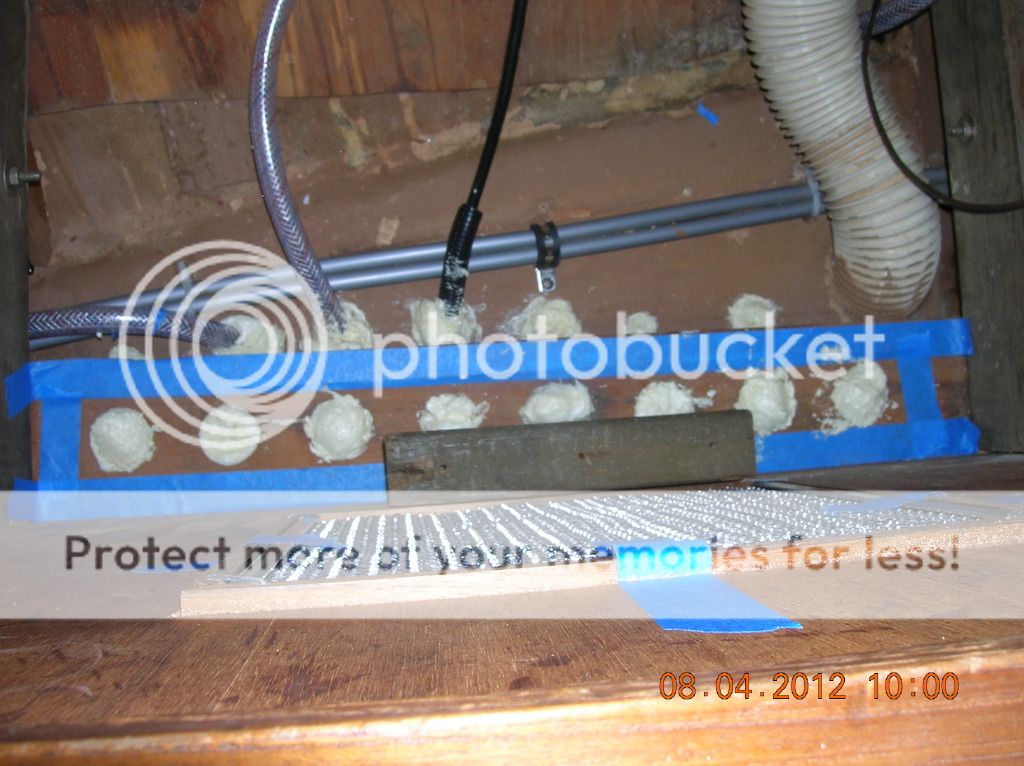
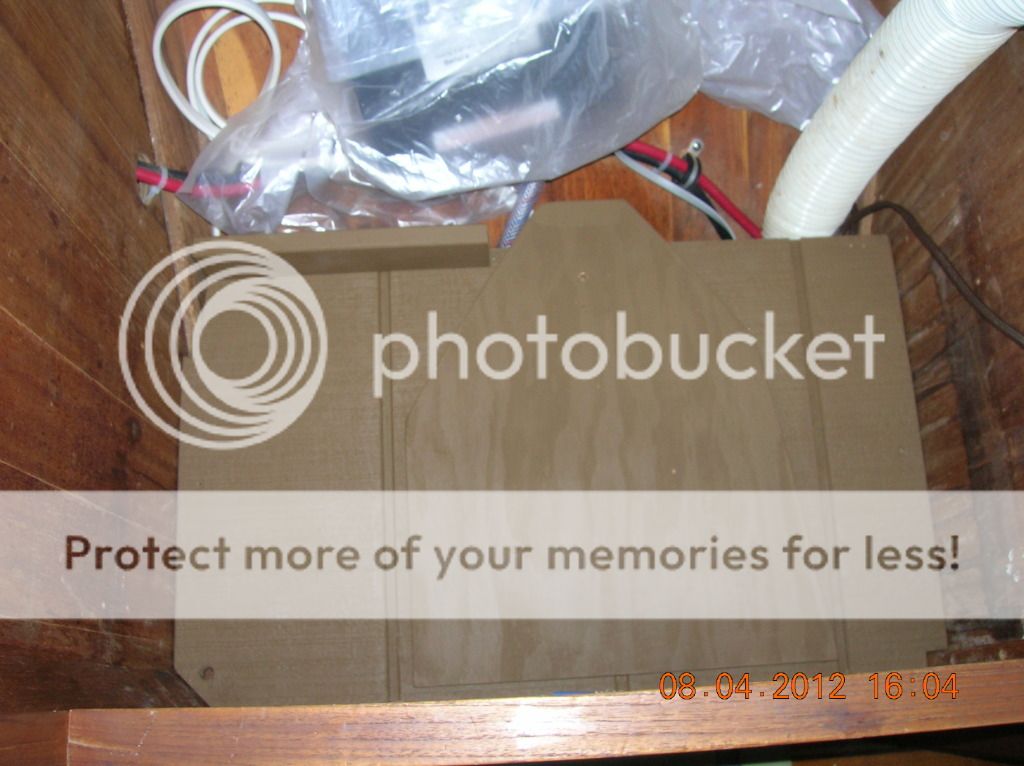
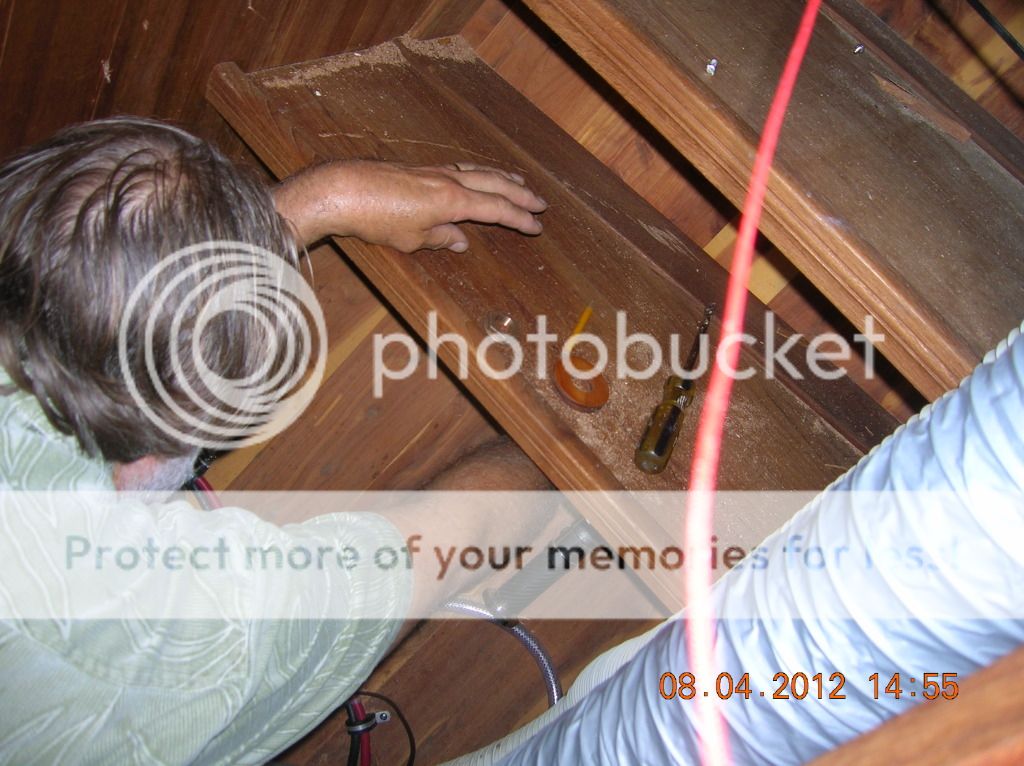
First Debbie prepped the are in the hanging locker to seal up the hole the previous owner(PO) had made.
August 2012 - Currently at Marina Kona Kai Shelter Island San Diego, CA
Debbie put some black plastic chafe on the pump electrical wire so the foam did not stick to the wire it's self.

Prepping materials.
The holes vented the area as there was four gulf cart batteries in the hanging
locker. We re-located them.
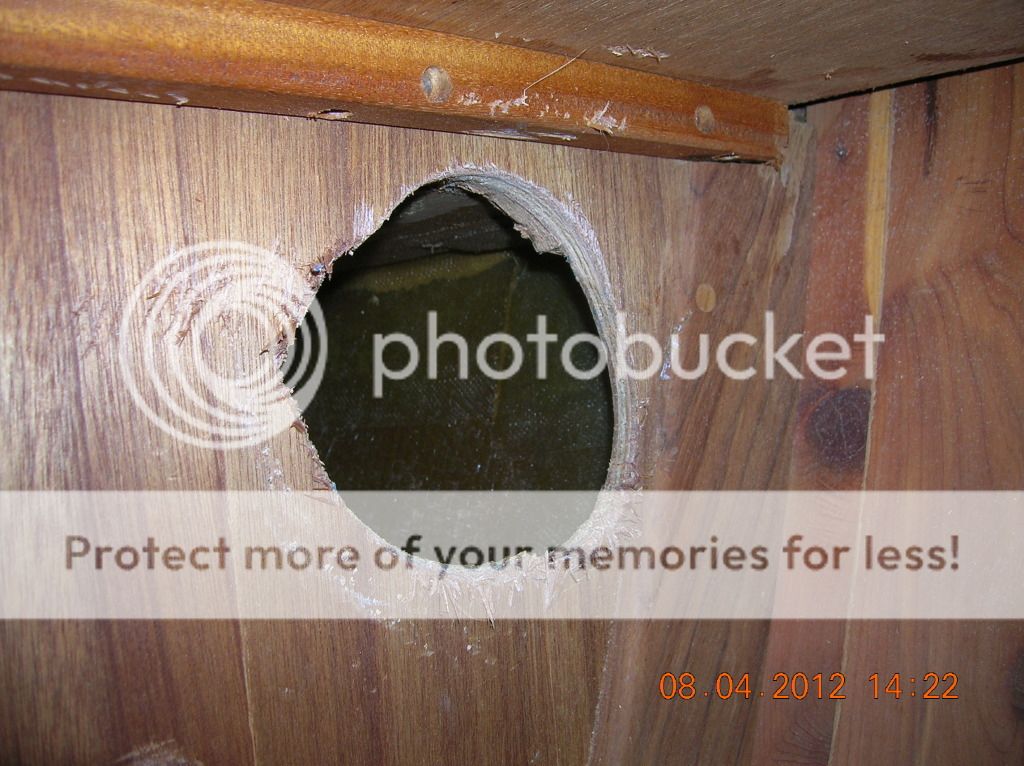
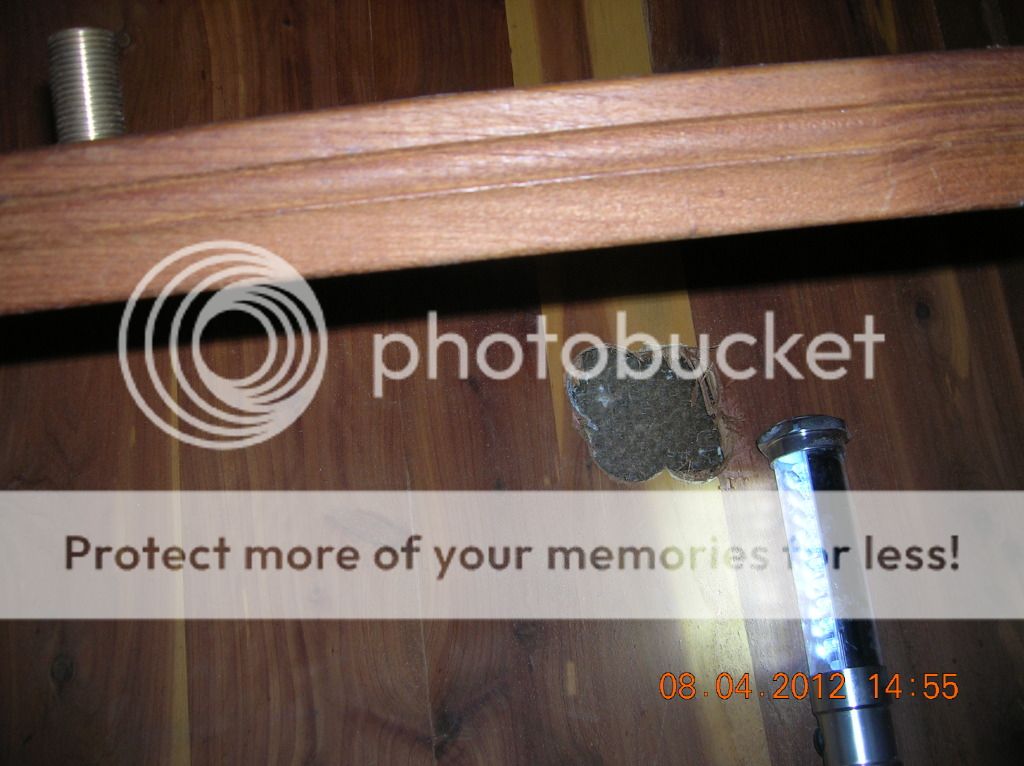
The holes to the
bilge needed sealing because the AC should only draw air from the area it is
cooling.
That is not the bilge.
The holes at the bottom of the hanging locker into the stateroom
could be left open but they would emit noise from the AC so we decide to seal
them up also.
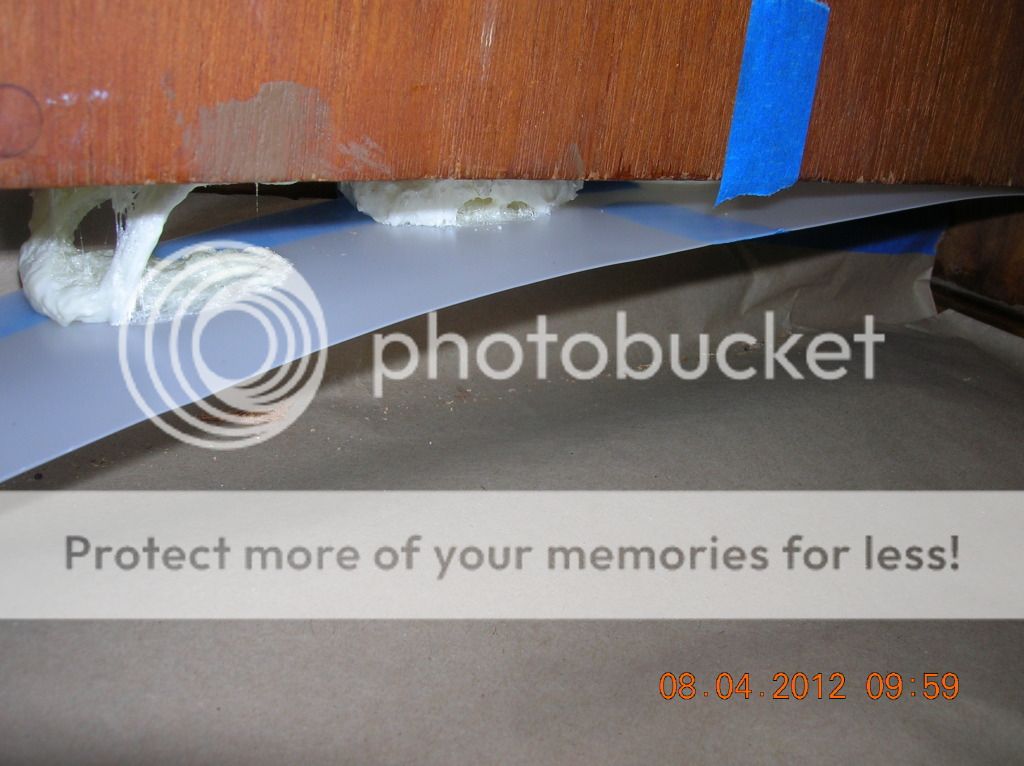
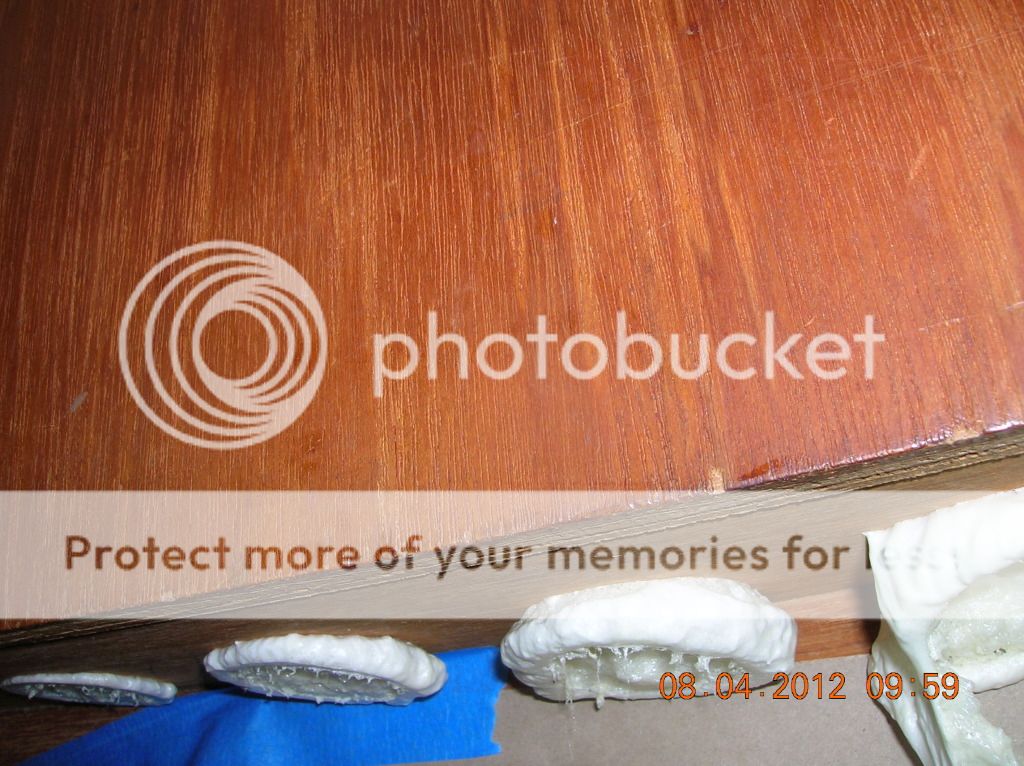
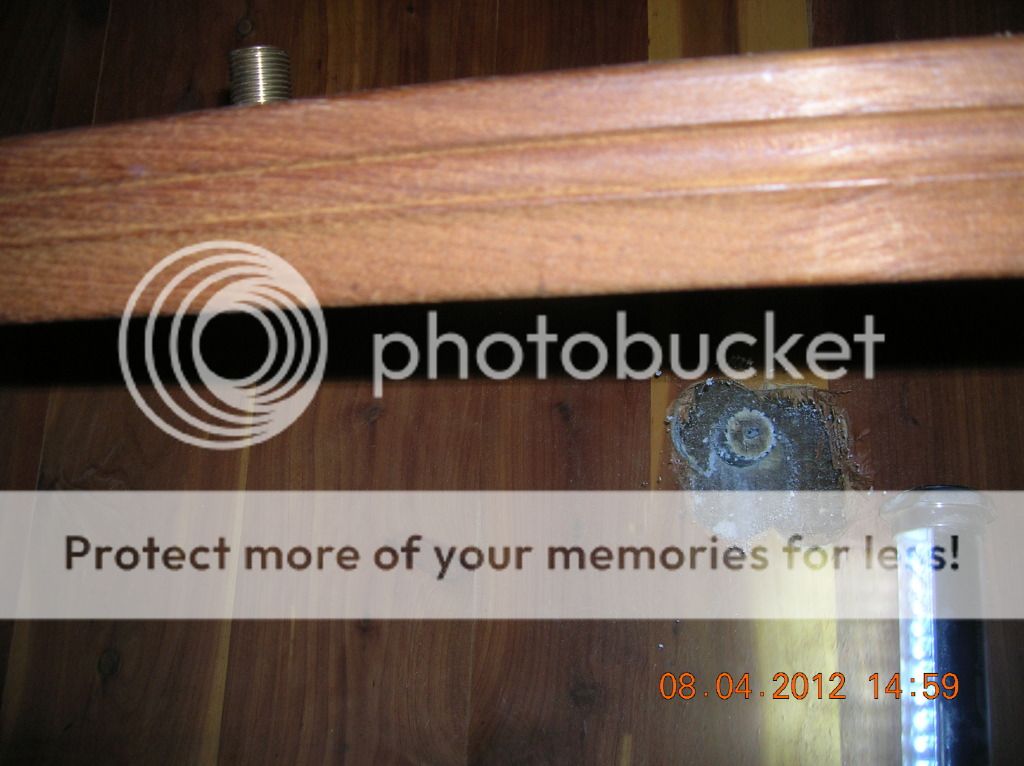
Debbie used foam from
Home Depot and did a real nice job with a messy product.
Stateroom holes.

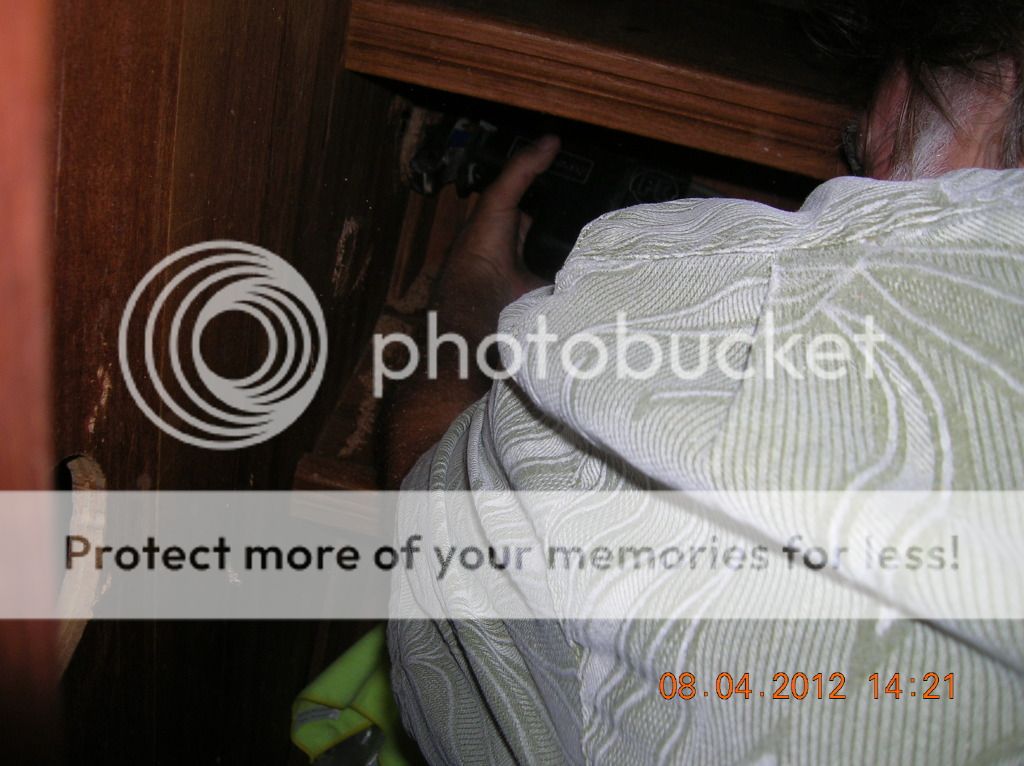
With that done we took a break from this project and worked on others till the foam hardened. We are going to cut the holes for the 4" ducking and do not want saw dust in the foam.
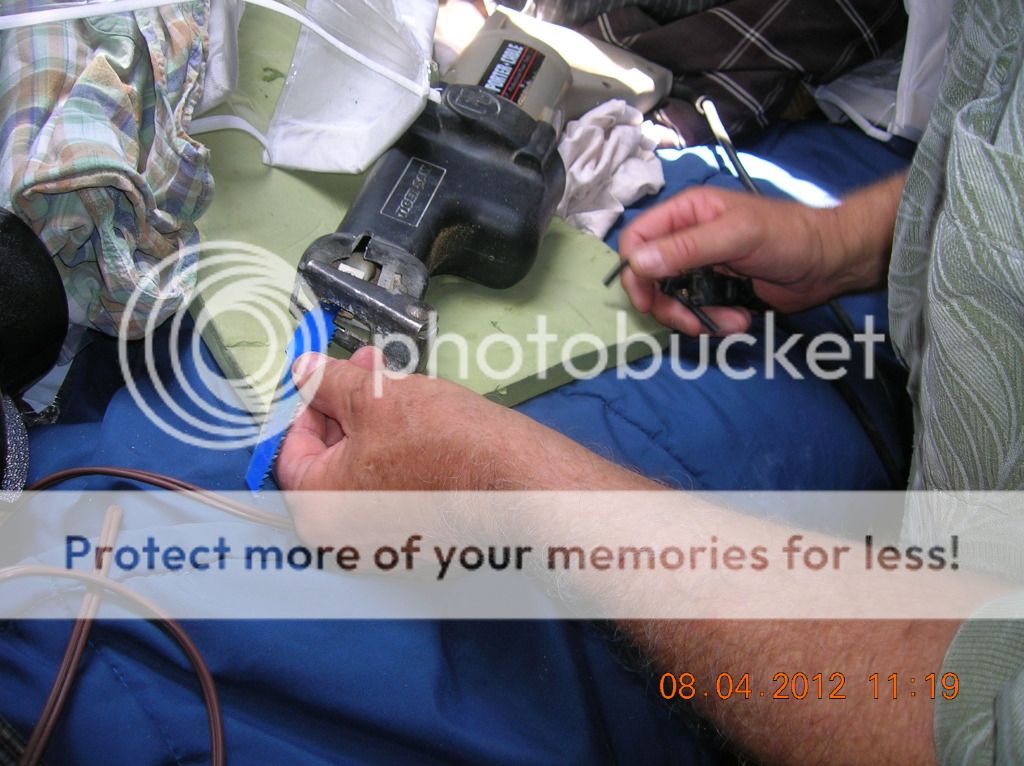
We had bought new blades for the saws all and it wanted to cut like mad dragging the saw deeper into the wood than what we wanted. It took some control to handle the saw. It cut like a champ now.
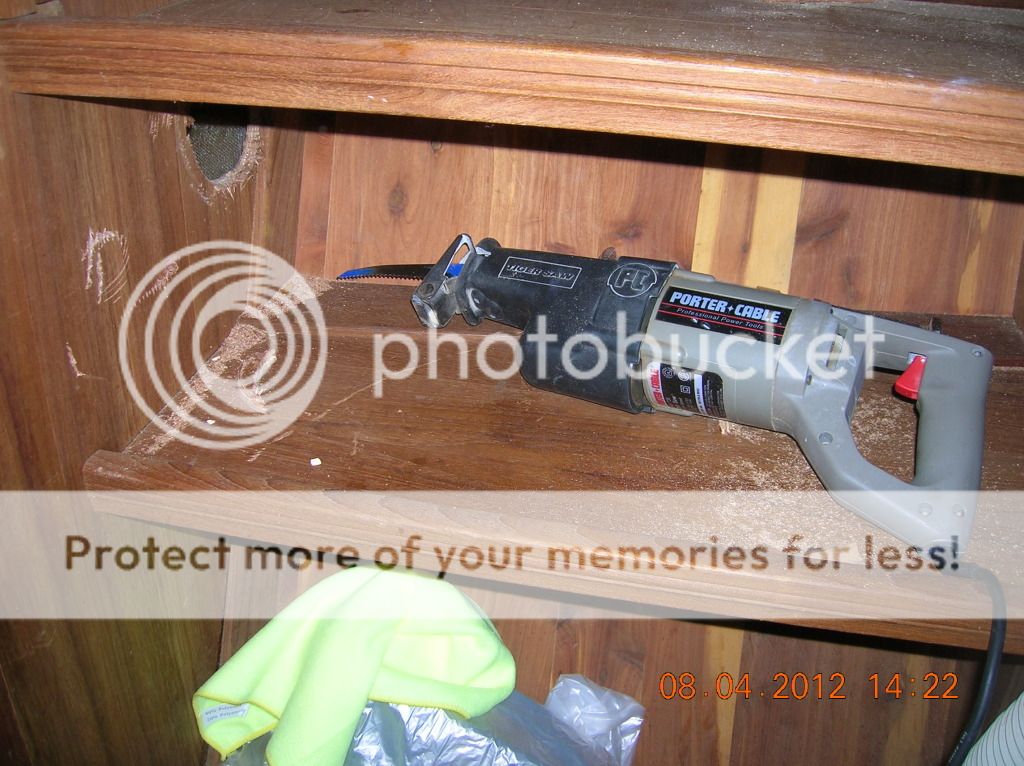
OK ducking 4" hose fits now.


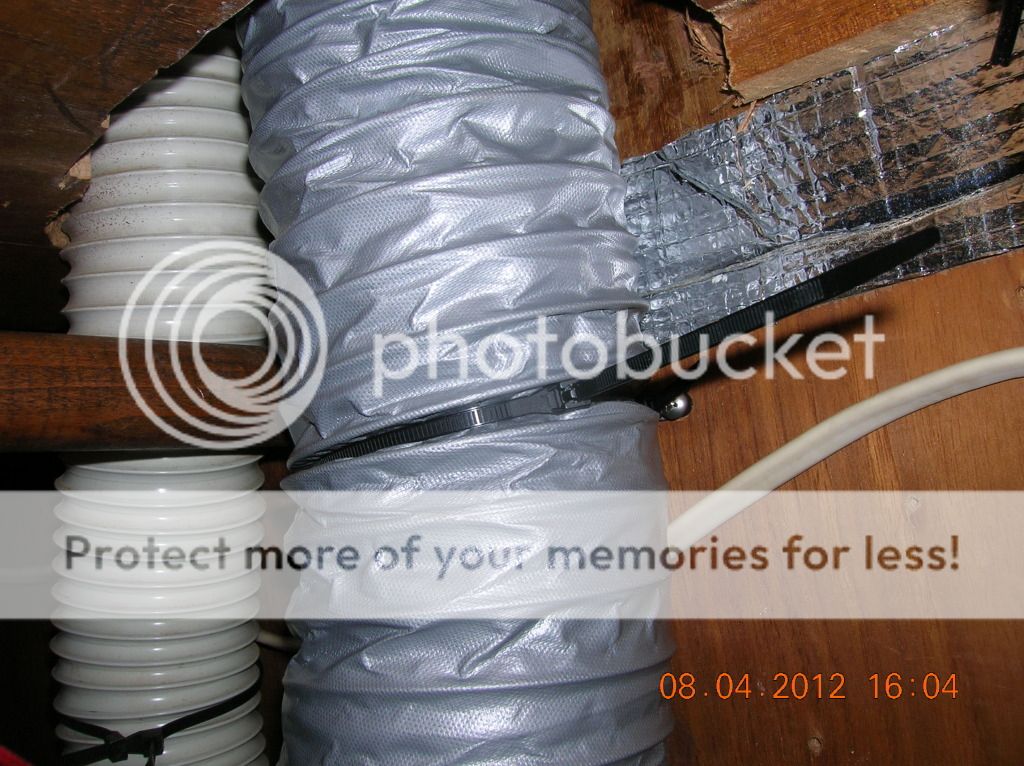
We used two wire ties put together to tie off the ducking.
The through hull turned out to be trickier than we had
thought.
First off the AC
calls for the through hull(TH) to be 6” above the water line. Well we have a
wide water line as there are three strips and then the middle is color filled.
The boat is riding astern down so the water line at the through hull location is
sitting high. Hmmm. We decide to play it safe and install the TH 6” above the
original water line.
Also the further up the the hull the more noise the out pouring water is going to make. Will this make a difference inside the boat in our bed at night???
Contemplating 😓
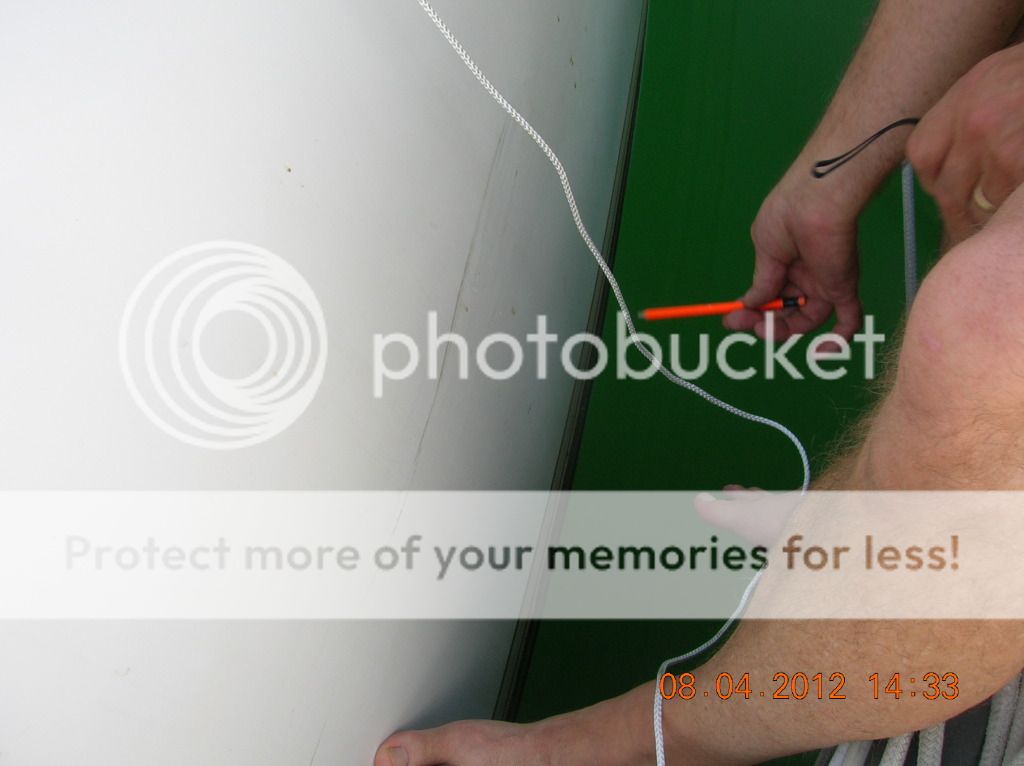
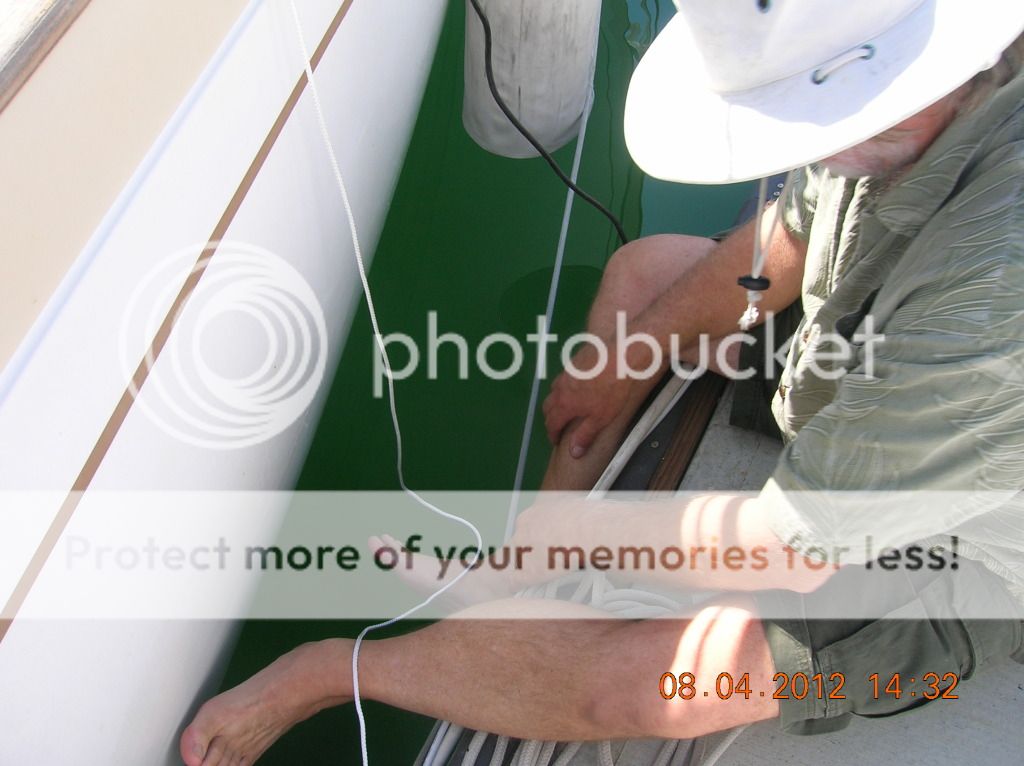
We first attached a
plump line to the port hole to try to get a general location.
Then we made out
mark 6” up.
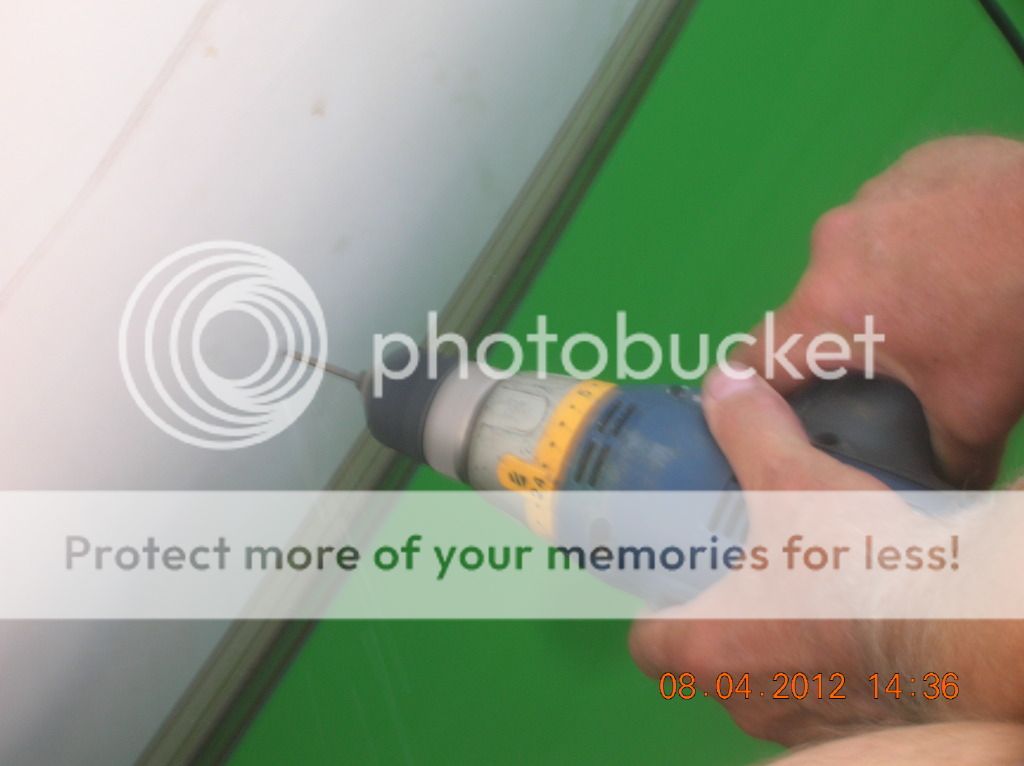
First we did the drill backwards deal for the gel coat anti chipping and then drilled the pilot hole.

The pilot hole turned out to be too high. It was too close to the shelf in the hanging locker. Go figure, never thought it would be that high.
Also the drill would not fit under the shelf on the inside. We could have possibly used the off set chuck but it is hard to control that in an awkward position like this one..
We opted for moving the hole a bit lower but still in the area of the TH so it would cover the pilot hole. We drilled another hole from the inside out this time to get the location.
It did chip the gel coat a bit but that part was going to get cut out any way.
We needed to remove the spruce wood from inside the hole are so we could install the wood O ring and then the TH nut and be able to tighten the nut.
We had to drill a series of holes using a hole saw and being carefull not to nick the hull.
We could get about half the hole per drill then chisel out the rest because of the angle of the hole and the shelf.
Now to drill the hole.

Just another hole😀
You can see the dock!
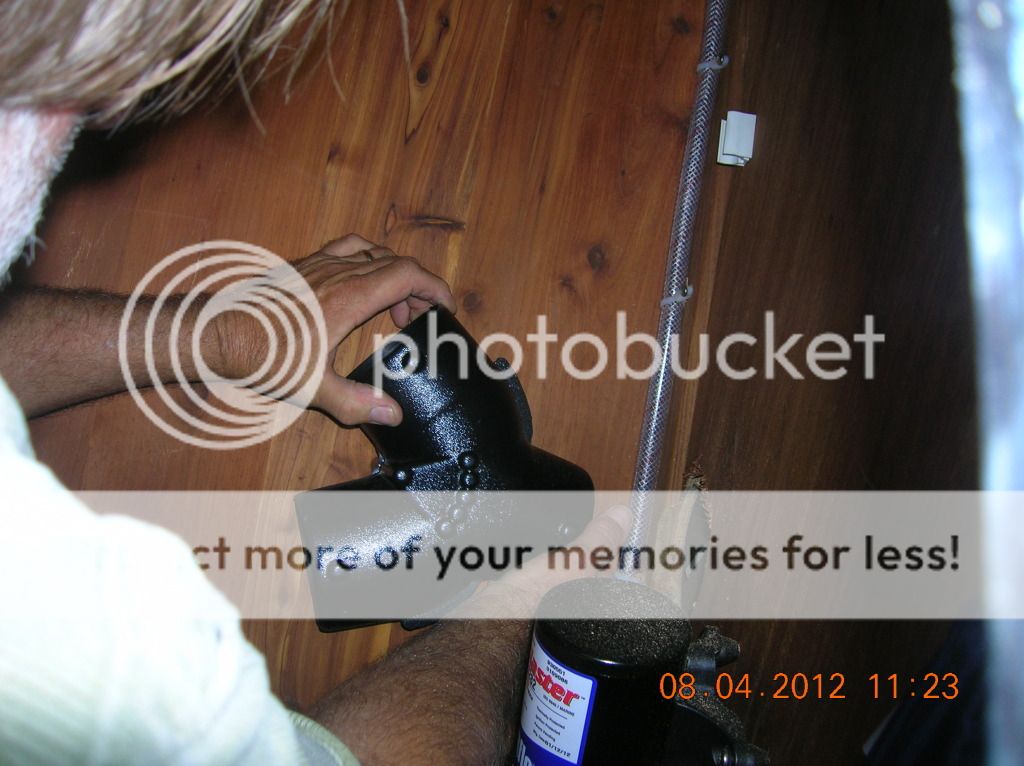
Debbie prepped the hull by doing some #220 sanding and then put lots of 3M 5200 on the through hull.
Debbie was on the dock with a ratchet and a screwdriver attachment on and extension.
She placed the TH into the boat and held it in place using the ratchet.
I was on the inside and placed some more 3M 5200 around the TH and then added the plywood " O" ring support and then the TH nut.
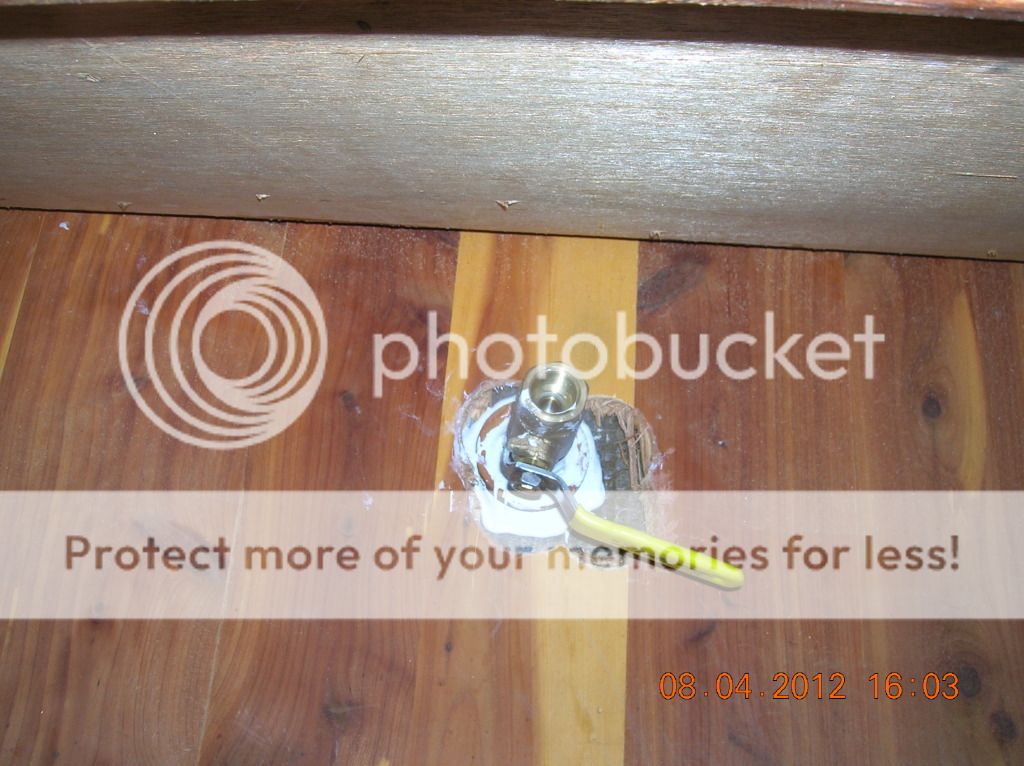
Some tightening with the trusty old pipe wrench and it was in. Next we installed the valve.
It came out good. The valve is easy to reach and will hook up to the AC unit fine.
Of course it all sounds matter of fact and easier than it was😊
That was it for the day.
No comments:
Post a Comment