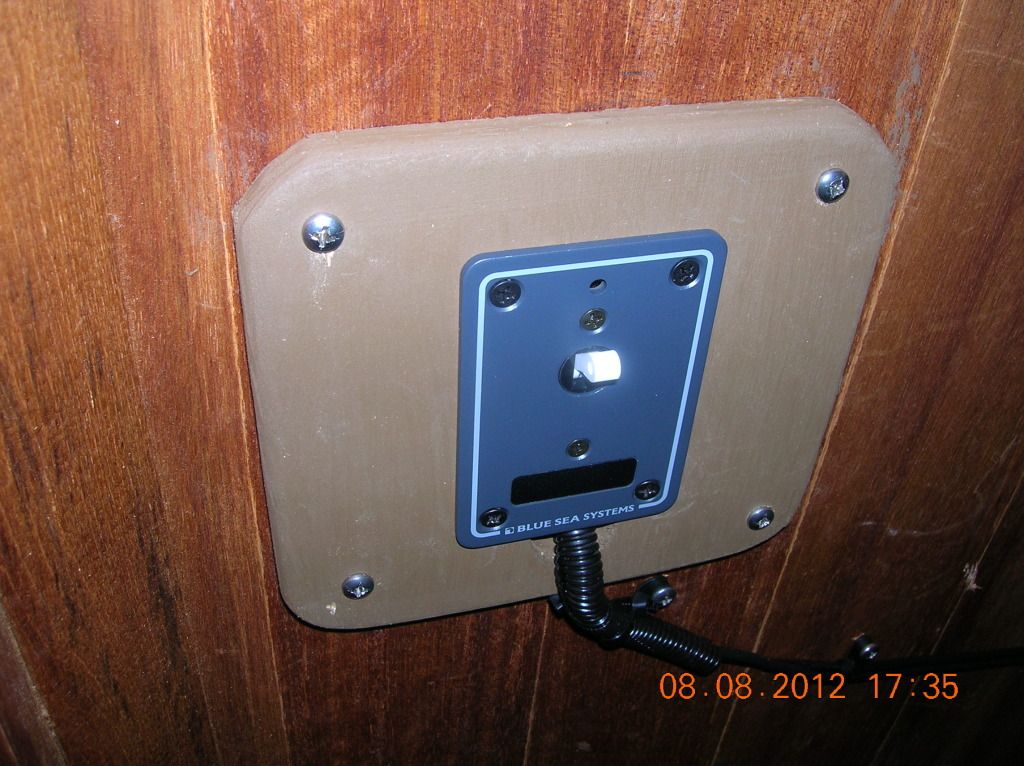
We took the unit out and the platform out once again and tried using the hose we got for the air bleed valve. It proved to kink to easily so we opted for the regular water hose. First we cleared out some foam in one of the holes and ran the hose. Then tidied up and replaced the platform and unit onto the platform screwing down the platform and putting one screw in the unit.
November 2012 - Currently at Marina Kona Kai Shelter Island San Diego, CA
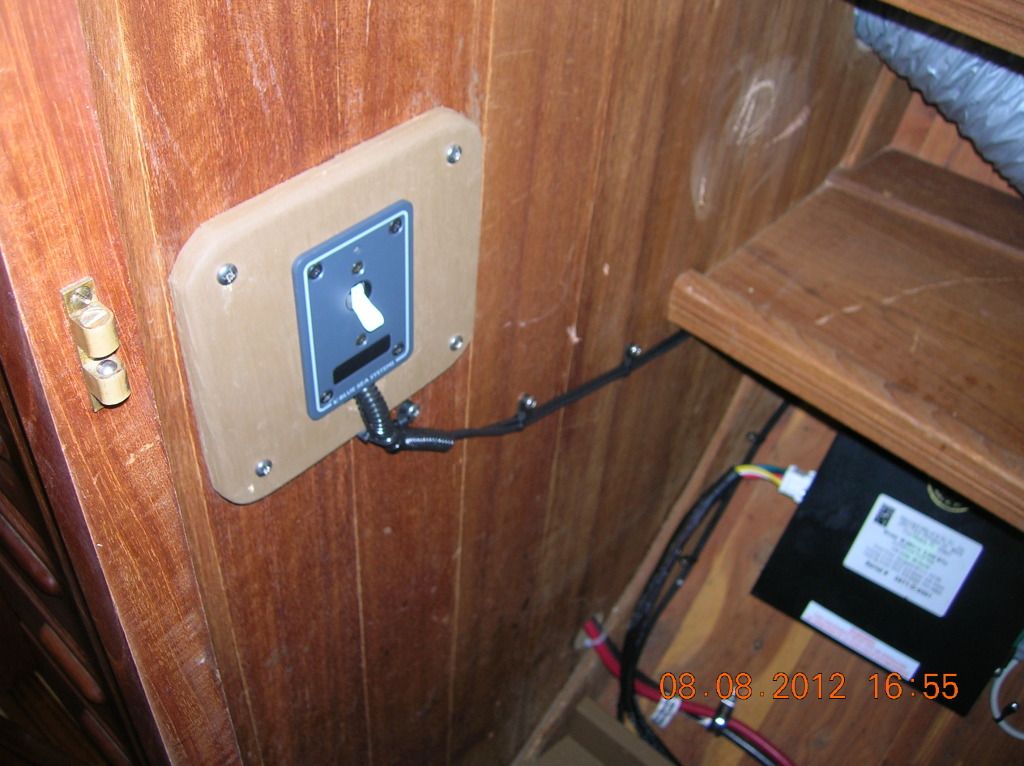
Then we removed the breaker and secured the wires on the back with staked down wire ties and added some chafe protection to the wires. Then installed the breaker with all the proper screws. We then staked down the wires from the breaker to the Magic box.

Next we installed all the plumbing and then all the ducking. We are short of 4" ducking so we just strung the rest of what we had to the other hanging locker to test out the unit.
We used three wire ties put together to hold the ducking to the Y and unit. We used plastic plumbers tape to hold the Y.
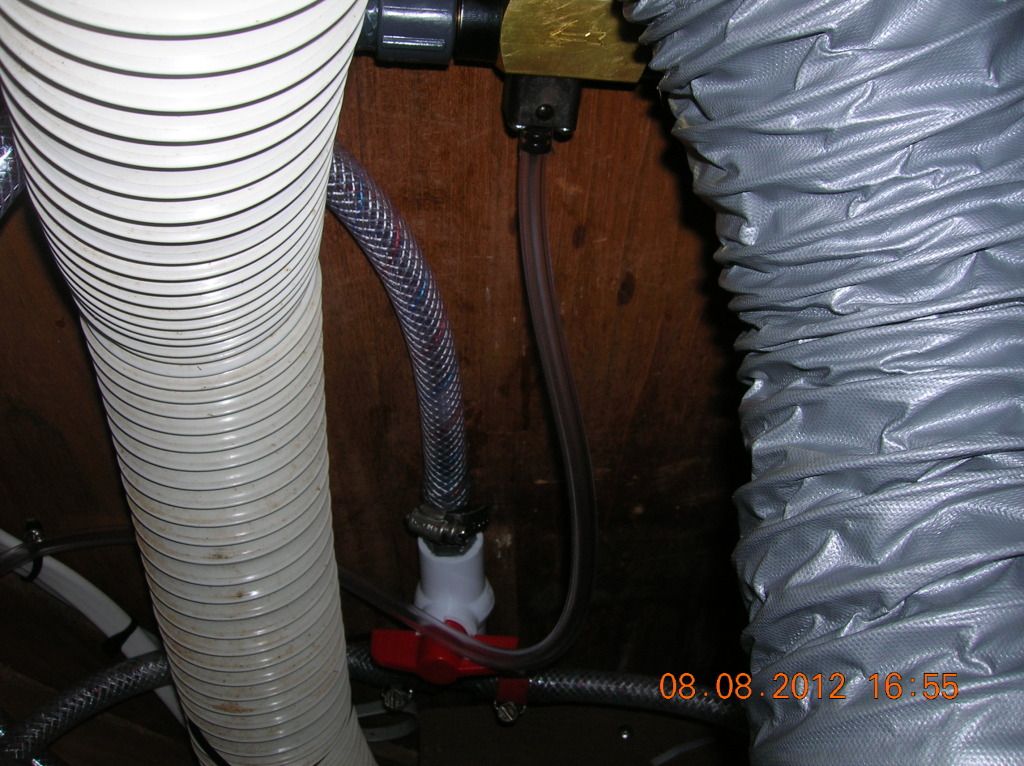
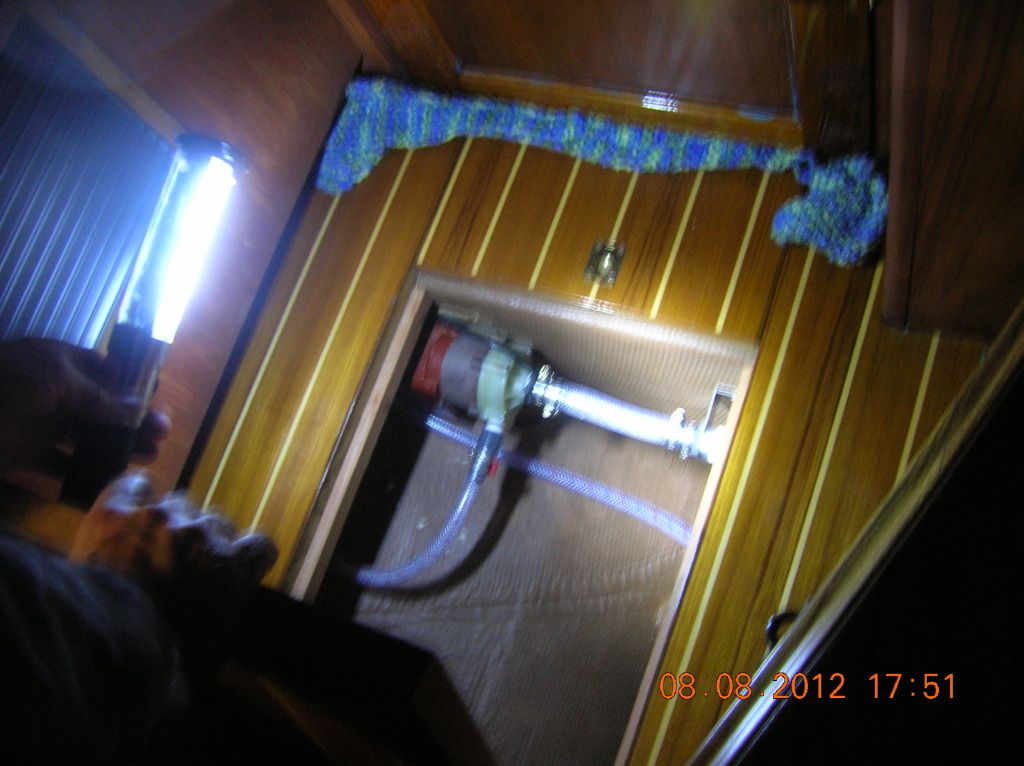
We installed the bleeder valve in the incoming water line. It is the valve with the red handle.
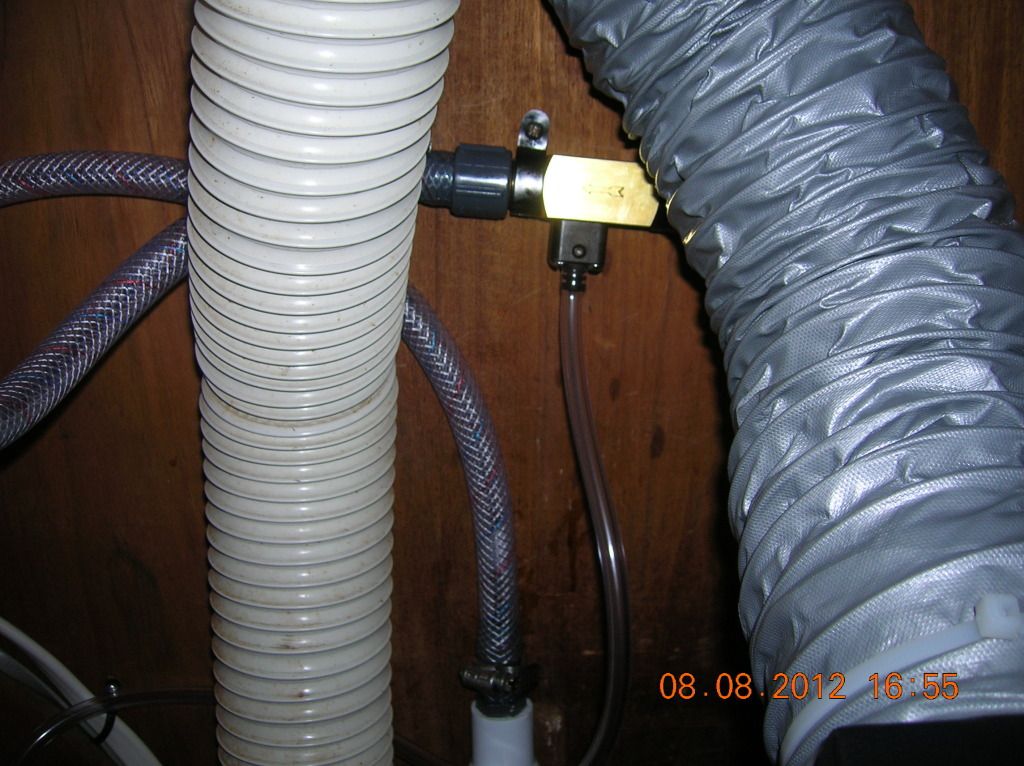
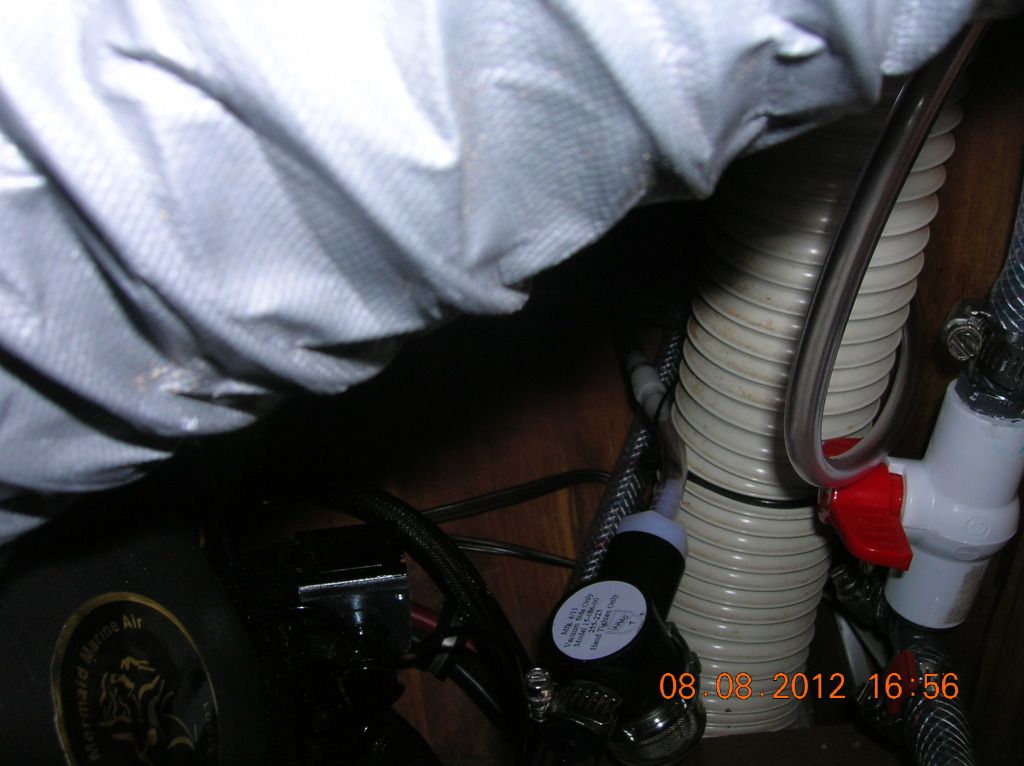
We installed the condensation remover which consist of a strainer, check valve and the bronze vacuum unit which you see at the top of the picture. This system was an extra and it takes the water that collects that normal would run to the bilge and sends it out with the cooling water. No water goes into the boat. This can be a lot of water as we had a dehumidifier on the boat and it collected a lot of water.
Then we ran the 110 volt 10\3 wire to the back of the nav station where we have three buses. These buses handle all things that would run off the inverter. This unit can run off our Xantrax 2000 watt charger\inverter if we chose to.
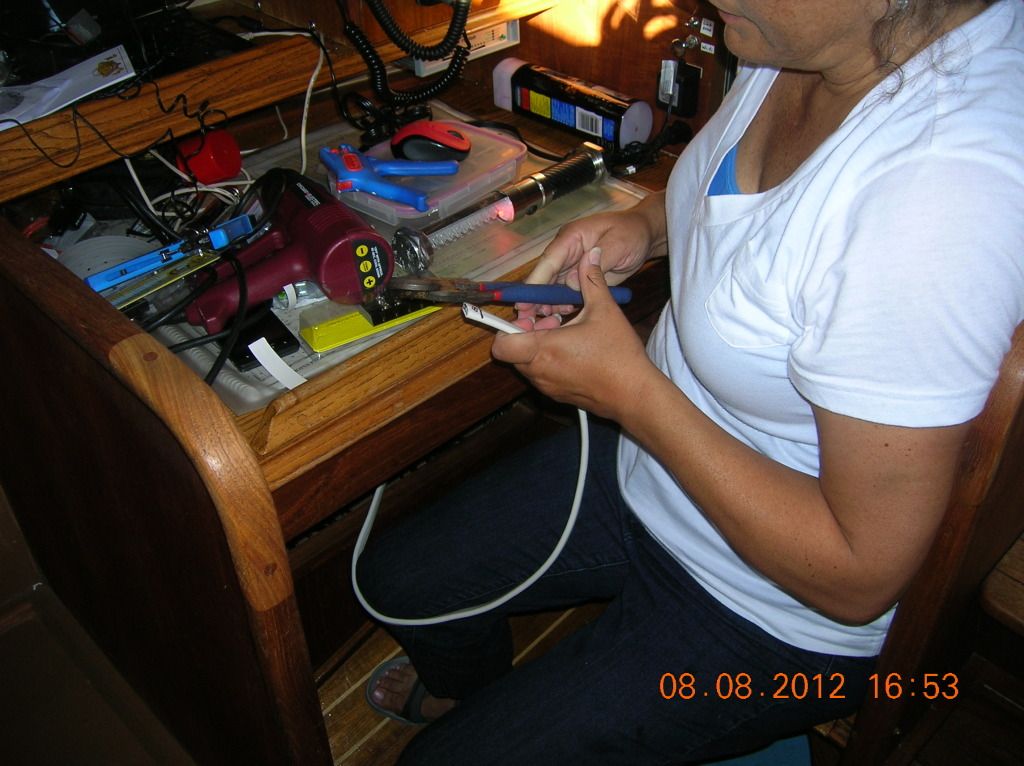
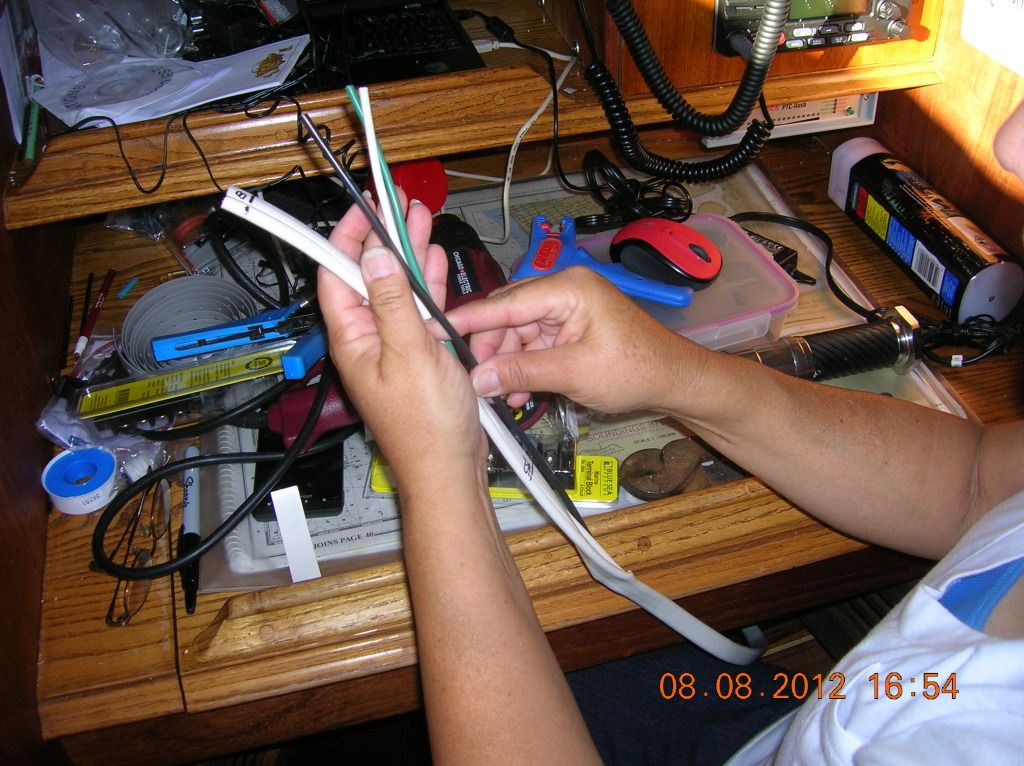
Debbie then stripped the wires and put on the solder-less terminal ends.
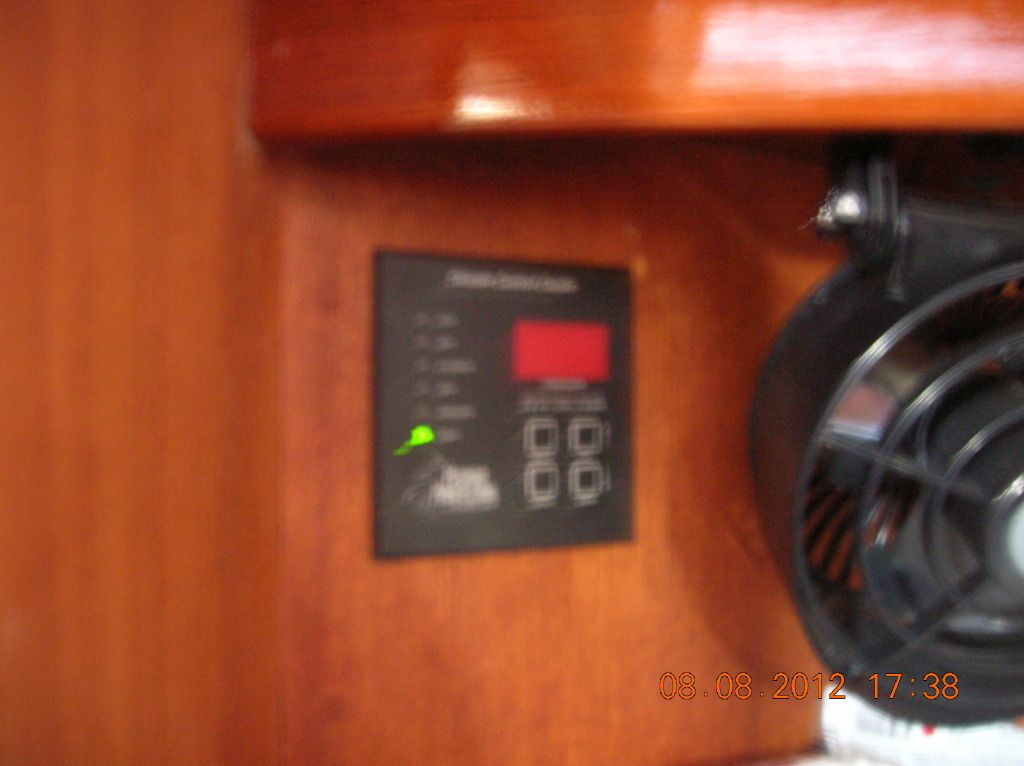
OK now for the fire up, lets not saw "fire" lets say start up test :)
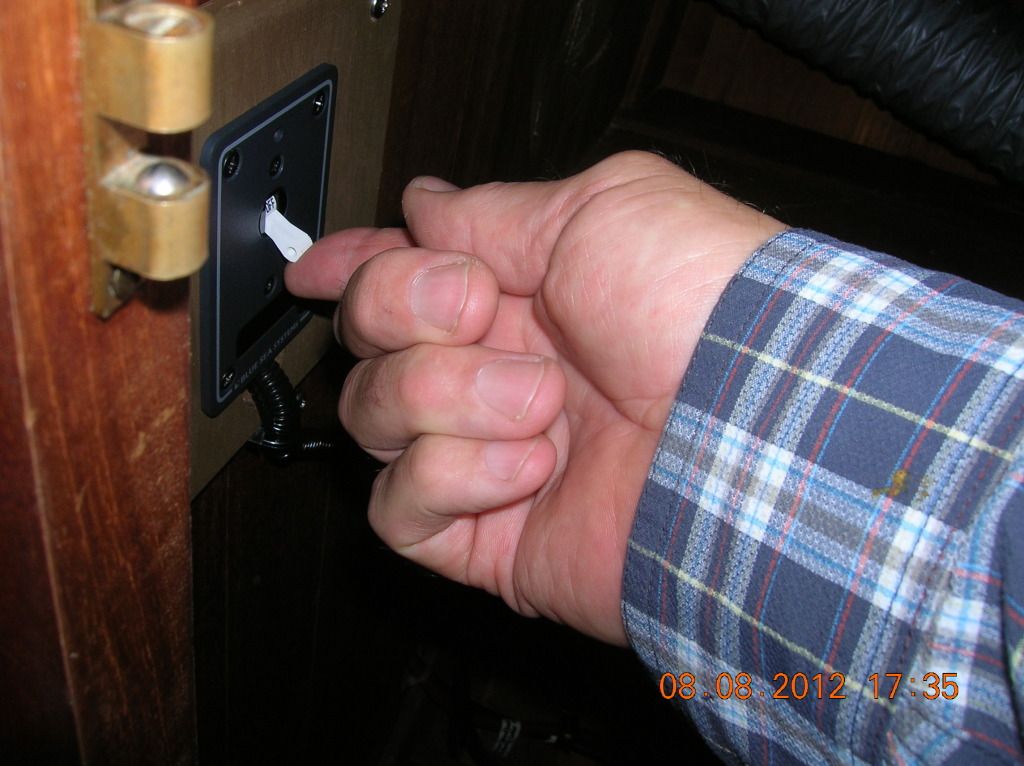
I flipped the breaker to the On position and we looked at the thermostat. It said "Ready" which was good. No smoke from any place and all was well.
We had previously opened the two through hull valves and there was no leaks.
We went and took showers and came back and tried it again. We let it run for a while but no temperature change.
It needs some trouble shooting.
Could be the high pressure switch needs re-setting on the unit and we will try that next. The compressor did not run.
This is our new Mermaid Marine AC\Heat 5200 btu unit. It is installed in our hanging locker in our stateroom on our 36 ' sail boat. It will be used to cool the stateroom and head. This is the first test and only ducked to the stateroom as we ran out of ducking. It ended up that the compressor was not running. We think it is the high pressure switch needs re-setting.
No comments:
Post a Comment