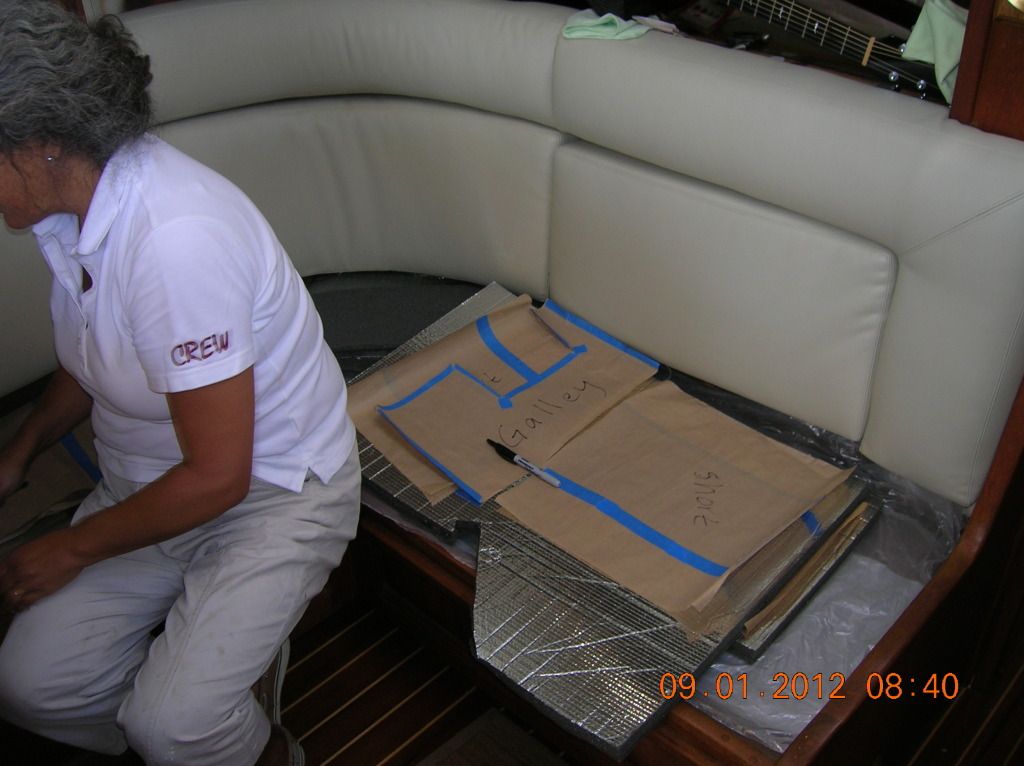
Debbie decided it was time for the engine room hatches to get the sound heat insulation. Debbie first made
patterns of the all the hatches where the insulation will go.
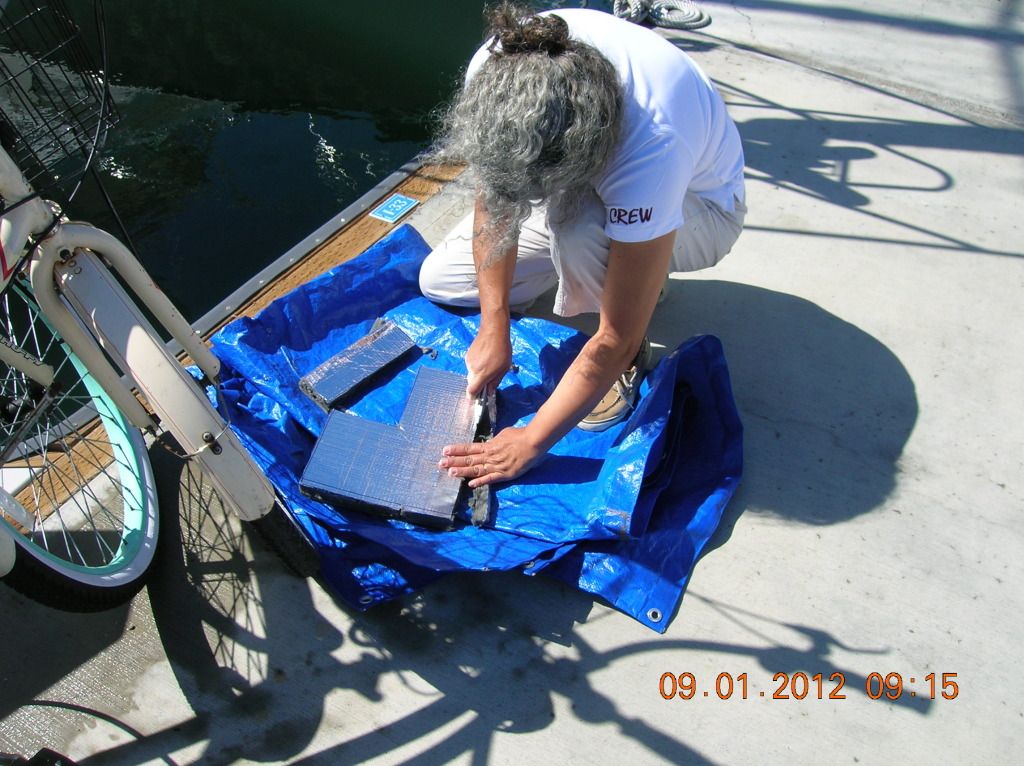
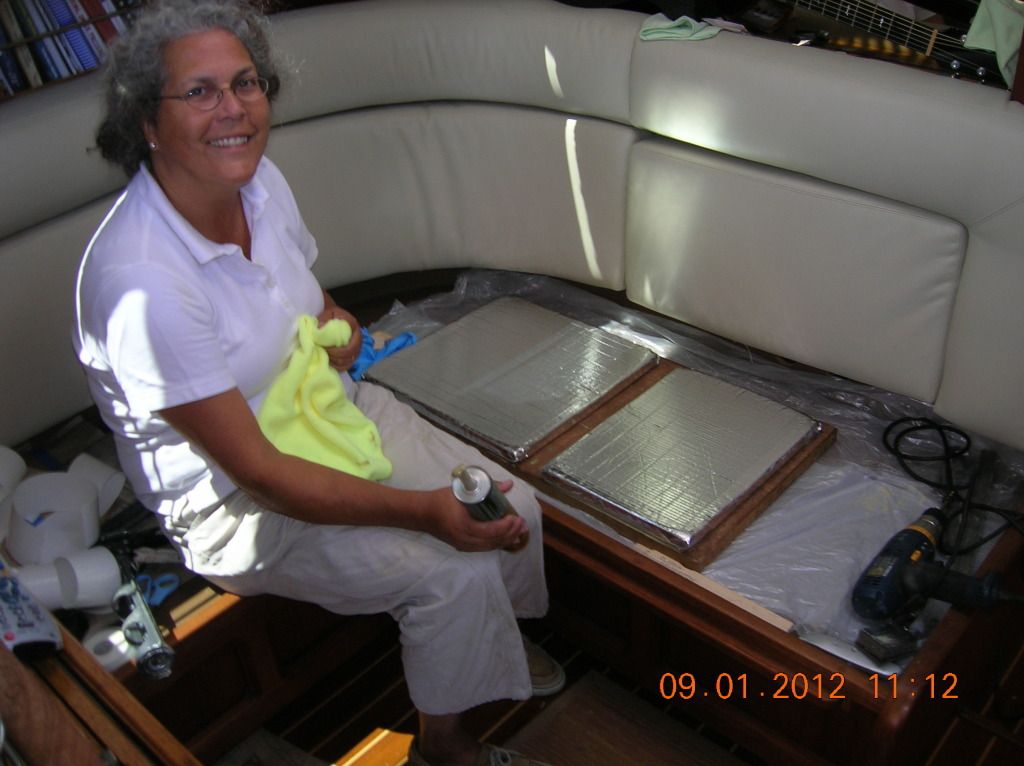
We went to Marine Marine Exchange (ME) to get a package of it only to find out it was not available any more. Now we have done the hole engine room in this insulation. It is good insulation with a layer of lead in it. Debbie did l a lot of research and found that it sells for a lot of money. Also they do not sell small amounts like 4x4 or so. We had put the project on hold pending finding some insulation but while at ME on Sunday at the counter they said they had one piece left, this guy is in the know! He kicked us down the last piece in ME and that was enough with what we had left over to finish up the hatches. We had put the extra insulation in storage and many times I was tempted to toss it out but did not. Who would know it would stop being made. The company’s machine or some machine broke and then they moved the company. Nothing will be available for quite some time and ME has not found another supplier that is reasonable yet..
Debbie had previously purchased Hard As Nails glue (marble and tile) at Home Depot to
glue the insulation to the hatches. It was a good thing too as we went back again to pick up another tube and they were out, saying they thought the product was being replaced with a different one.
Then Debbie went to United
fasteners and picked up 50 Stainless Steel screws
and 50 Stainless Steel fender washers for additional insulation attachment to the hatches. There is no downside to too many fasteners. The more the better. There could be the case of water being slung around by the shaft and saturating the insulation and the fasteners would keep it from dropping onto the running engine. You just never know.
In fact this happened to us when we took delivery of the boat, the exhaust hose cracked and the bilge filled high with water and the shaft slung it around all over the place. The old insulation was falling into the bilge and on the motor.
After cutting each piece of insulation, Debbie taped the corners off.
Then she taped each edge off.
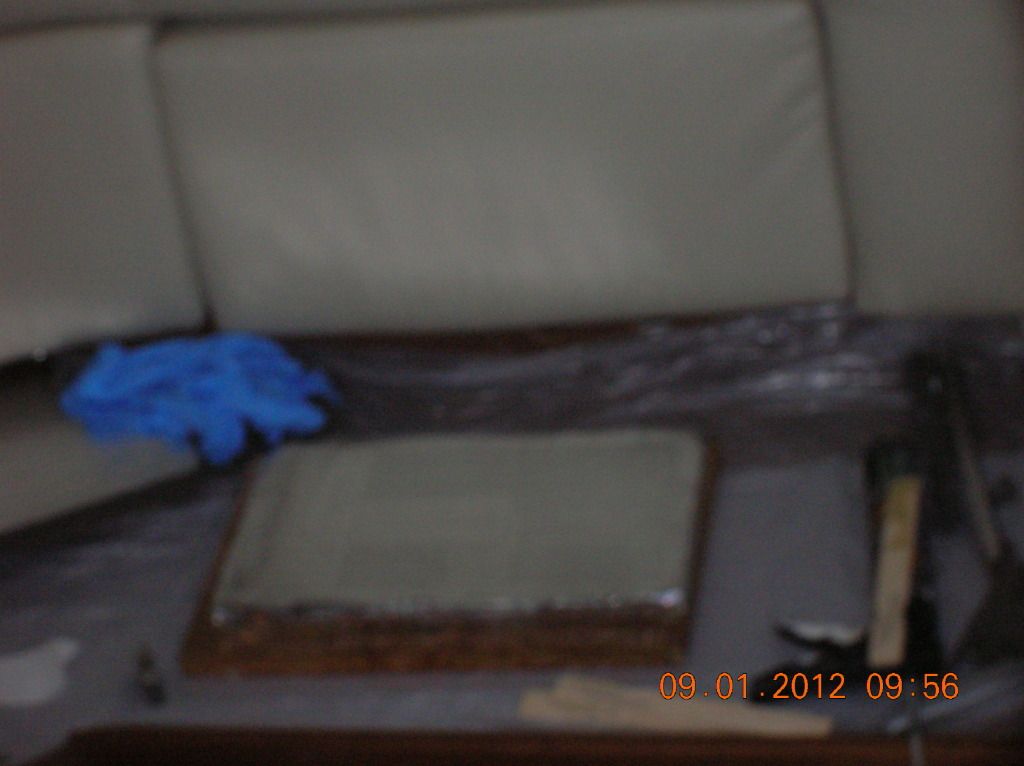
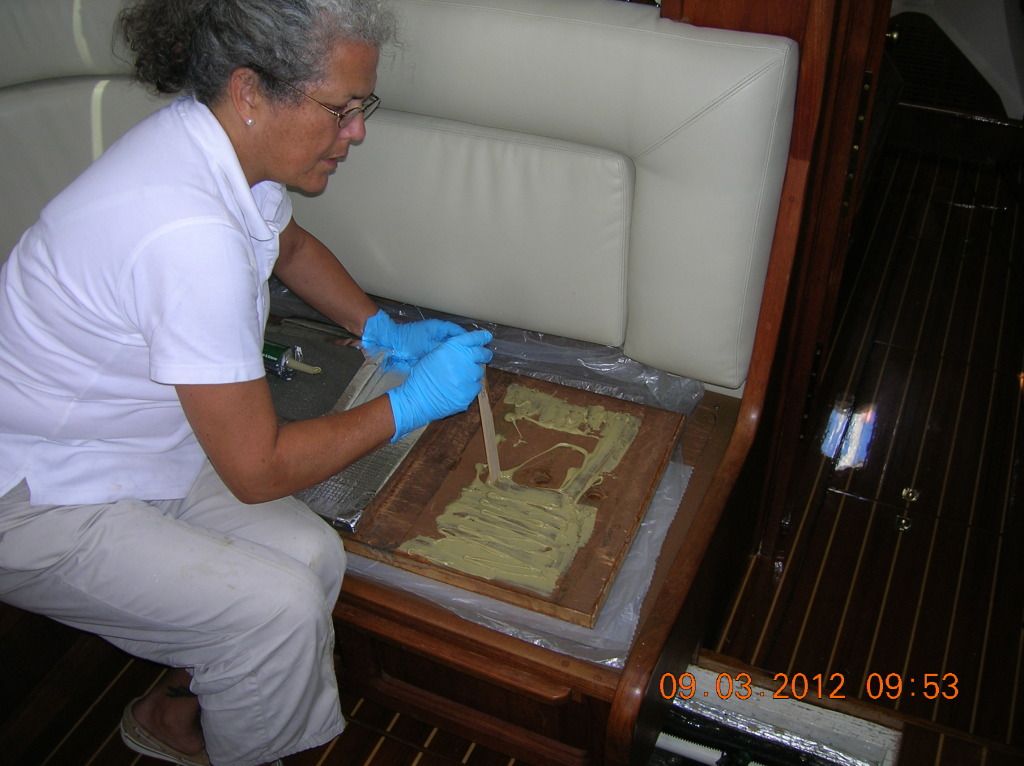
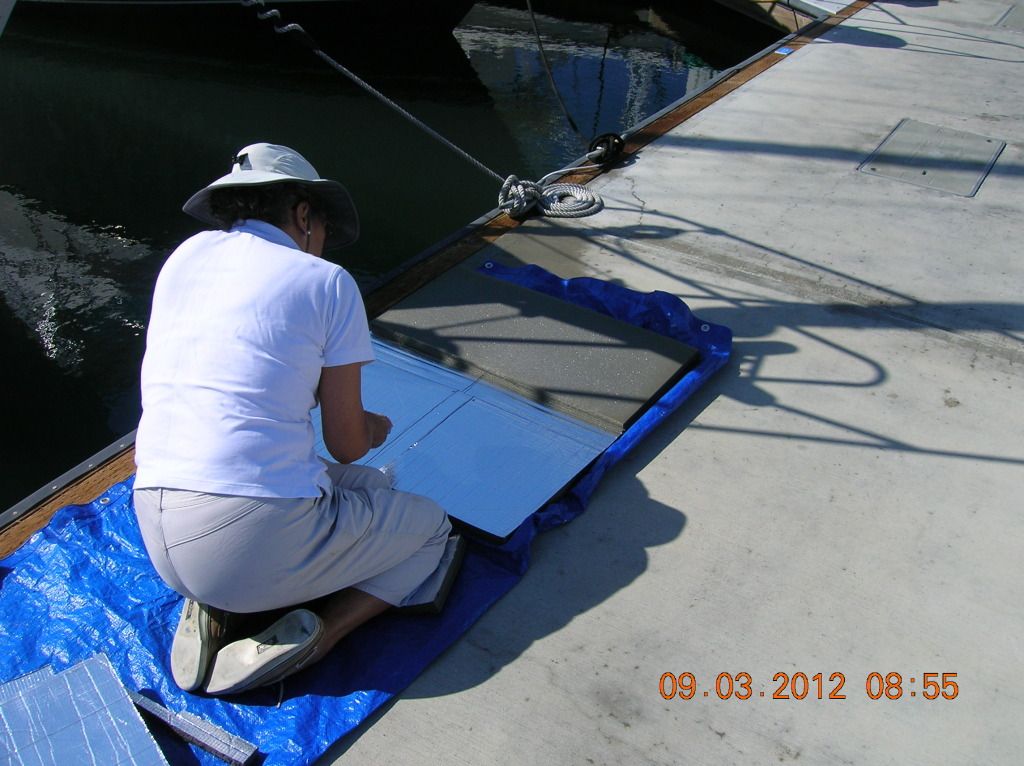
Then she would apply the glue on the insulation and do a fit with the hatch.
So far so good, they all fit fine.

Debbie is such a sweetie (she leaves these love notes for
when I pull the pictures off the camera)!
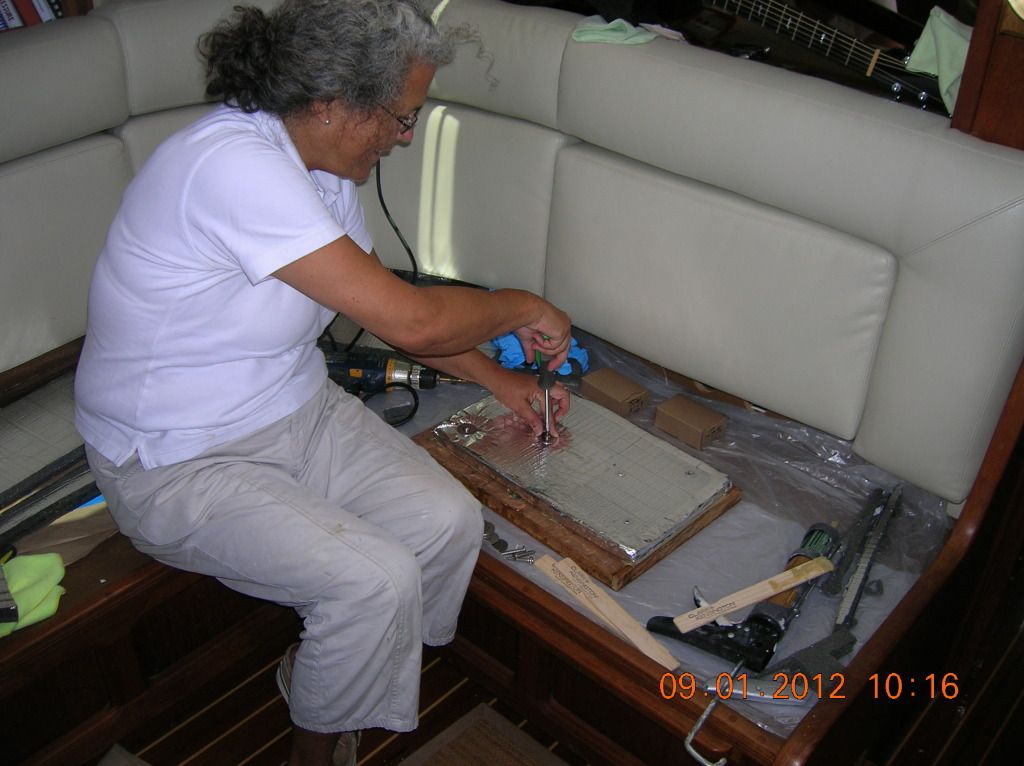
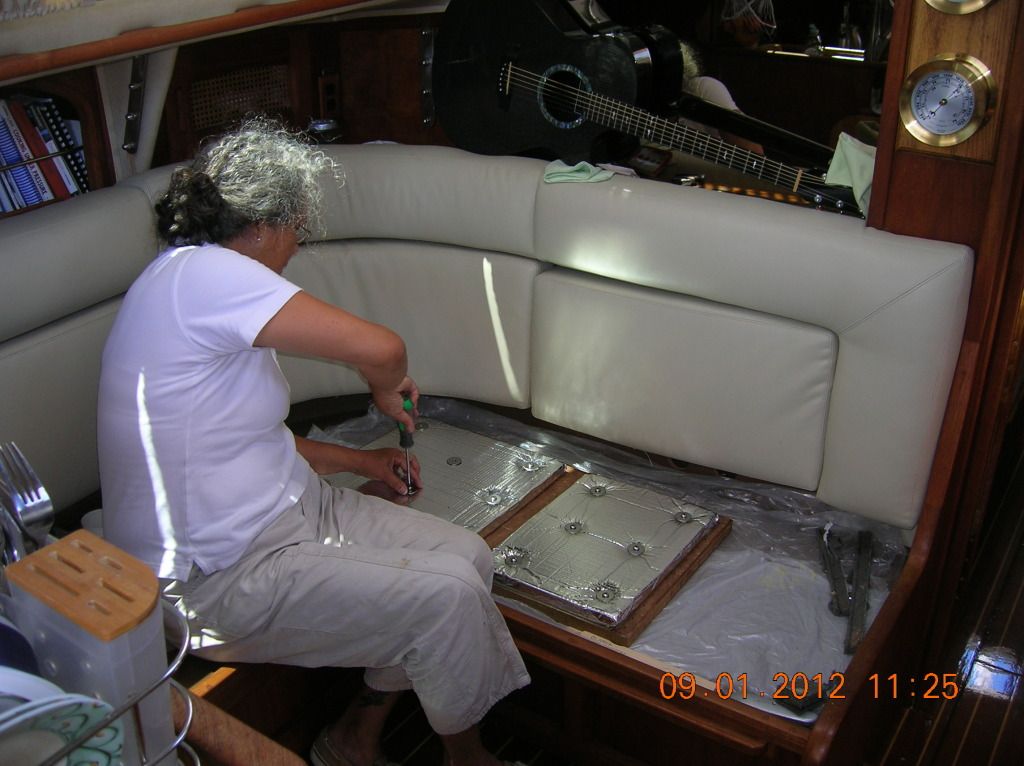
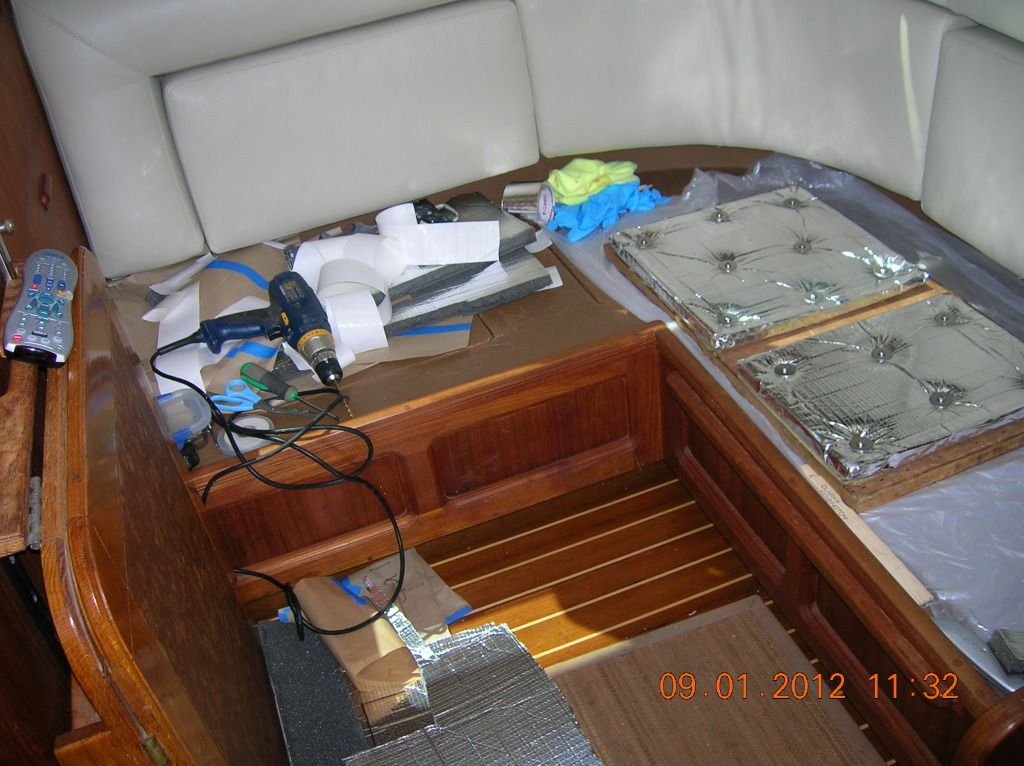
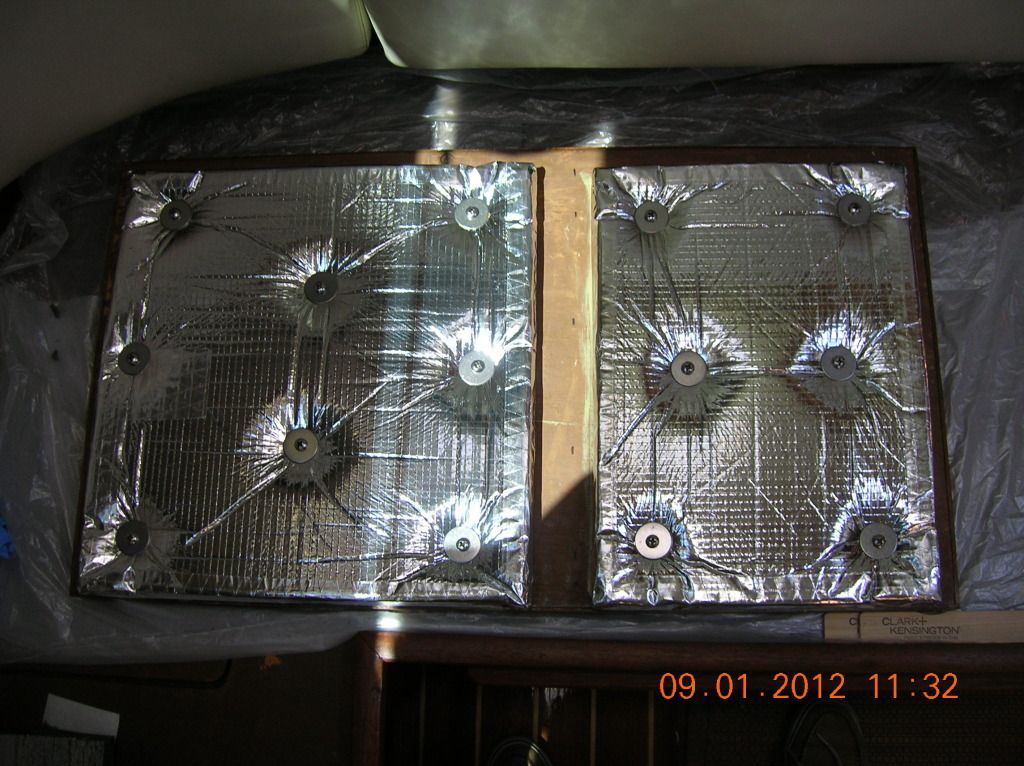
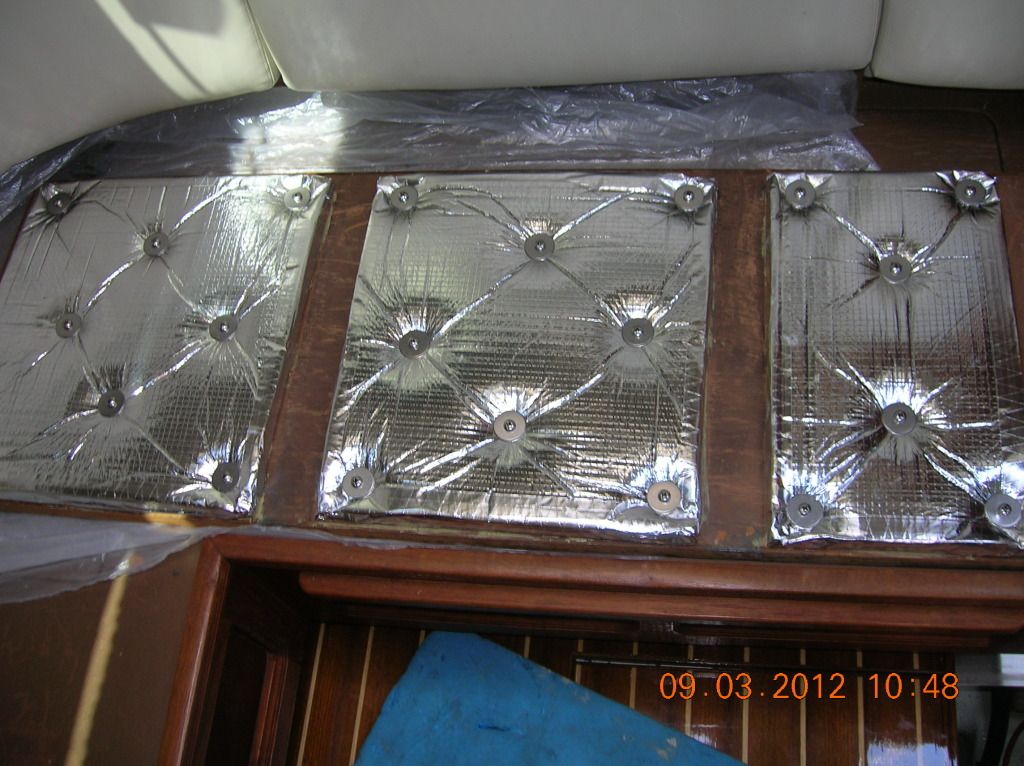
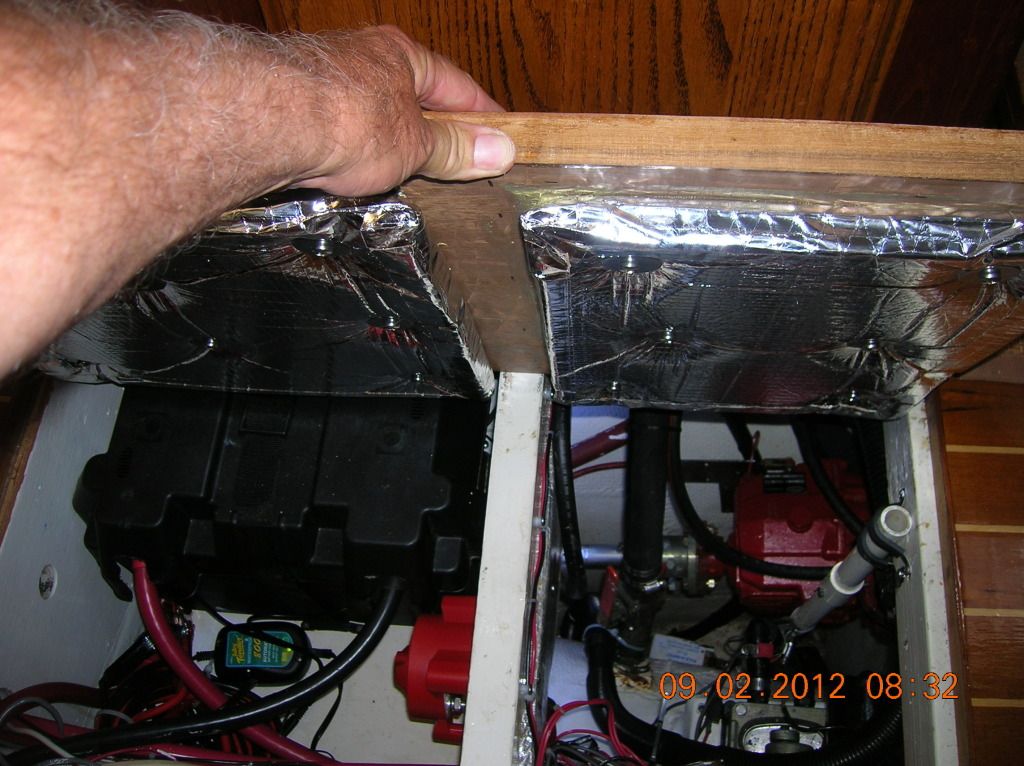
The next step was to drill all the holes for the screws.
Debbie used a drill stop for accuracy. This way she was less likely to go
through the teak and holly sole on the other side of the hatch. This drill stop
does not prevent you from going through it is only a a guide. When the stop
hits the insulation then well you stop.
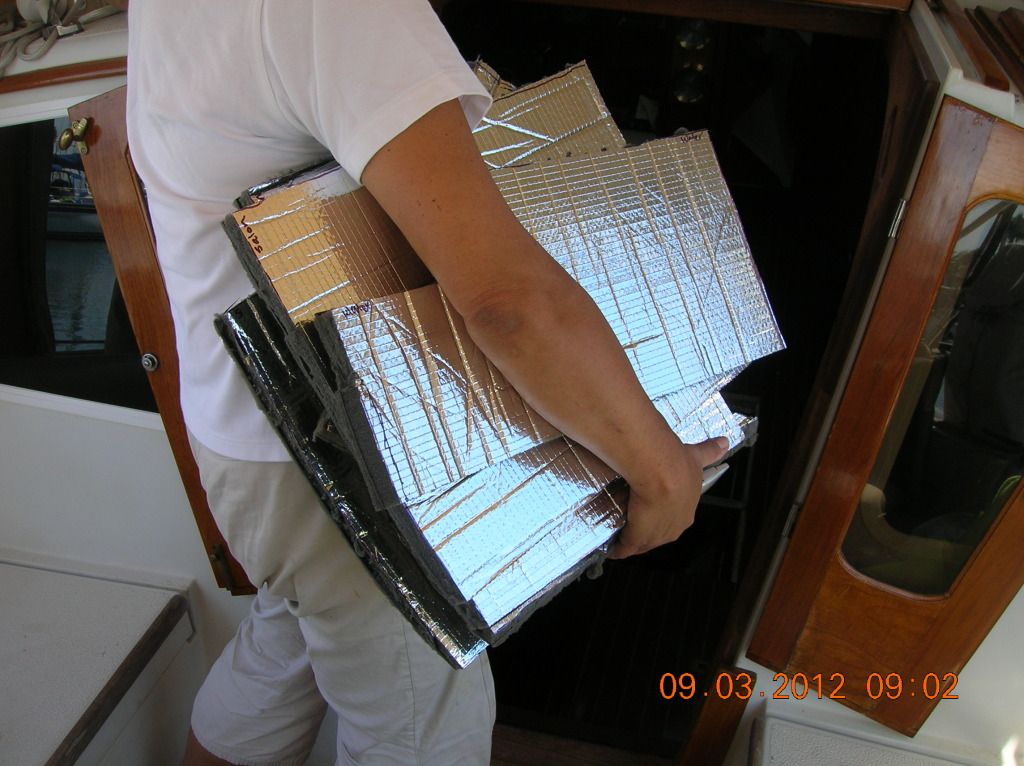
This should make our motoring a much nicer experience.
We have a total of five hatches and that is not including the one at the nav station.
It took a couple days to do as we had so social plans to attend
but all went well. The small hatch cover under the salon seat is the only one
left as we are still working in that are on other projects.
No comments:
Post a Comment