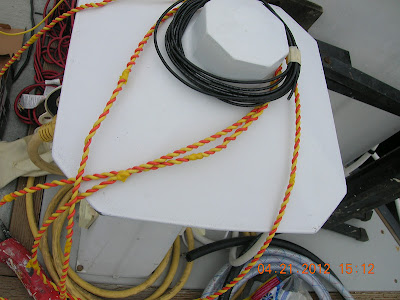
The Link 2000 installation needed twisted pair for installation wiring. They used to sell it but they no longer sell the Link 2000 nor the twisted pair. So we needed to make our own twisted pair.
I looked at the back of the Xantrex Link 2000 and saw that
there were orange and yellow twisted pair.
There were brown and green twisted pair.
Then there were the rest of the wires twisted together. The
blue, black vilot and red.
Nicely done!
So I asked Debbie to help me twist up the wires. We did the
same as was coming out of the Link 2000, makes perfect sense to me.
Now it was time to install the terminal block for the Link 2000. We decided that by the radios was the best location as there was no way to get at the section behind the link at the nav station.
Some of the last of the virgin places!
OK got the terminal block in.
Now I found out that the twisted pair are twisted wrong!
I am yes, reading the instructions fro running the wires.
The Yellow and brown are twisted together and so that means the green and red are twisted together!
UN-twisting
OK I ask Debbie, much to my chagrin over not reading the instructions and Debbie was nice and only gave a passing reference to the reading of the instruction to help me again.
Re-twisted.
The Yellow and brown are twisted together and so that means the green and red are twisted together!
This was done too late for the install to be finished and so another delayed project buy my own making. But it is about ready to be wired.
Un-twist was the word for the four wires, the blue, black, white and vi-lot.
The
vi-lot goes to the second battery, we are starting off with one bank for the iniital install so they get jumper-ed at the terminal block. The white if for the Link 2000 light. It draws next to nothing and can be left on all the time.
Back to the install.
We do not want to see it all the time at night so we connected it to an orphaned off SS toggle switch the PO had installed. We can now turn the light on\off as desired.
After we got the Link 2000 terminal block installed we needed to drill a few holes. Whats new.
One for the wires to the batteries and one for the Link 2000 cumming in. Hay and why not a bigger one for the ICOM802 SSB? Ok did that too.
The Link is now ready but for the twisted pair. Because we need to use the mounting hole for the Link 2000 to reach around for the Link 2000 wiring we leave it out.
Now while were at it we install a terminal block for the VHF and AIS\ haler wiring. Also I realized there should be a terminal block for the LED map light so we install one there too but it is too late to do the wiring for the day on the LED lamp light. That side panel will come out and we will install the ICOM 802 speaker there (flush mount) so a square hole will need to be cut in the panel.
All done for now.


No comments:
Post a Comment