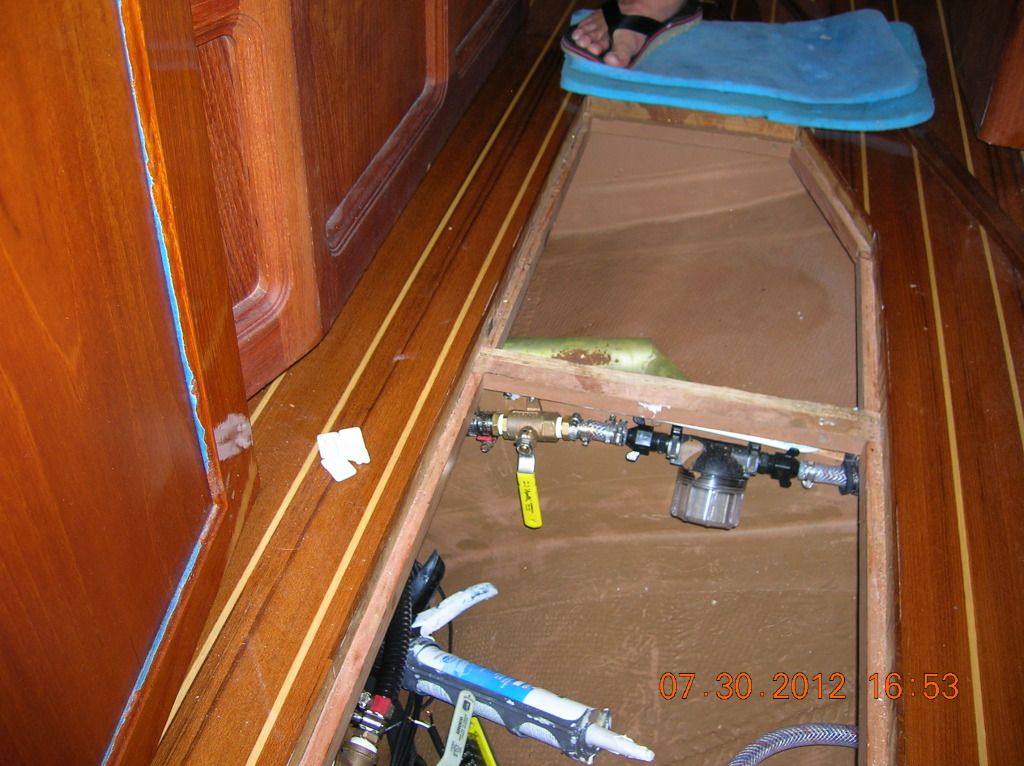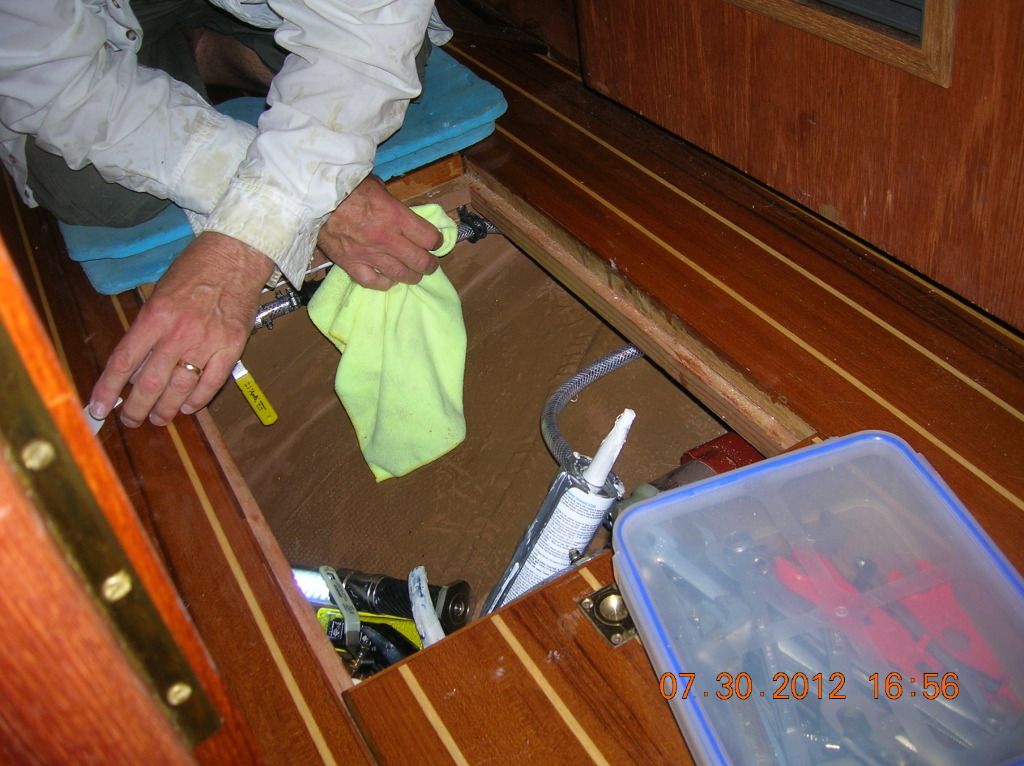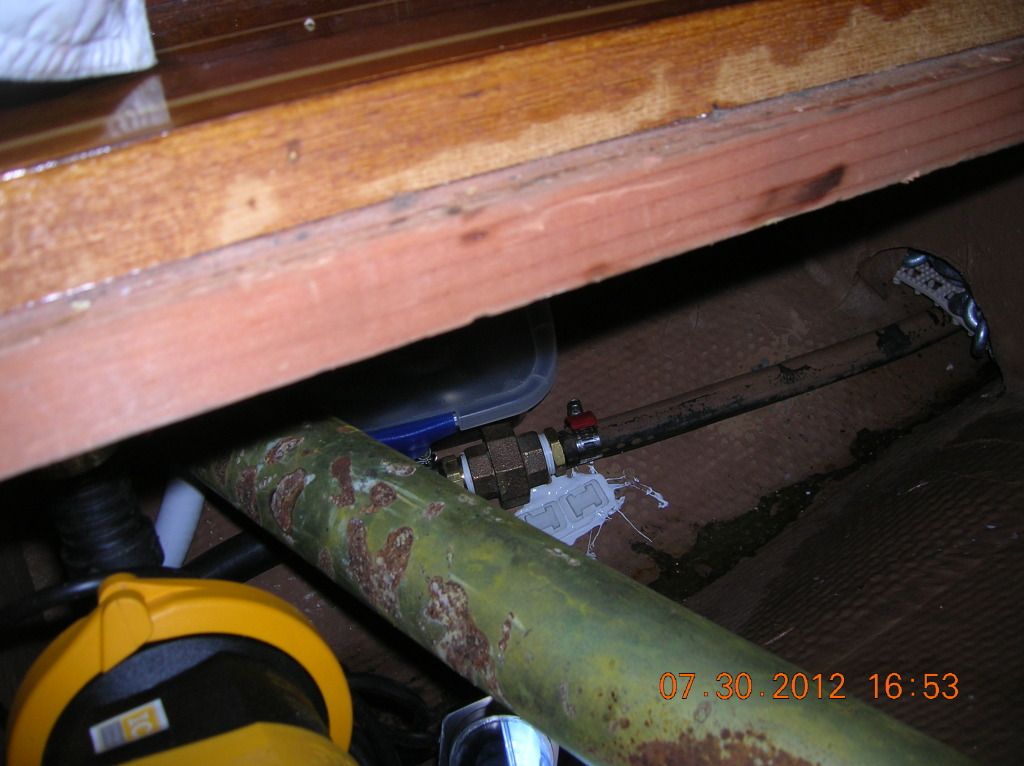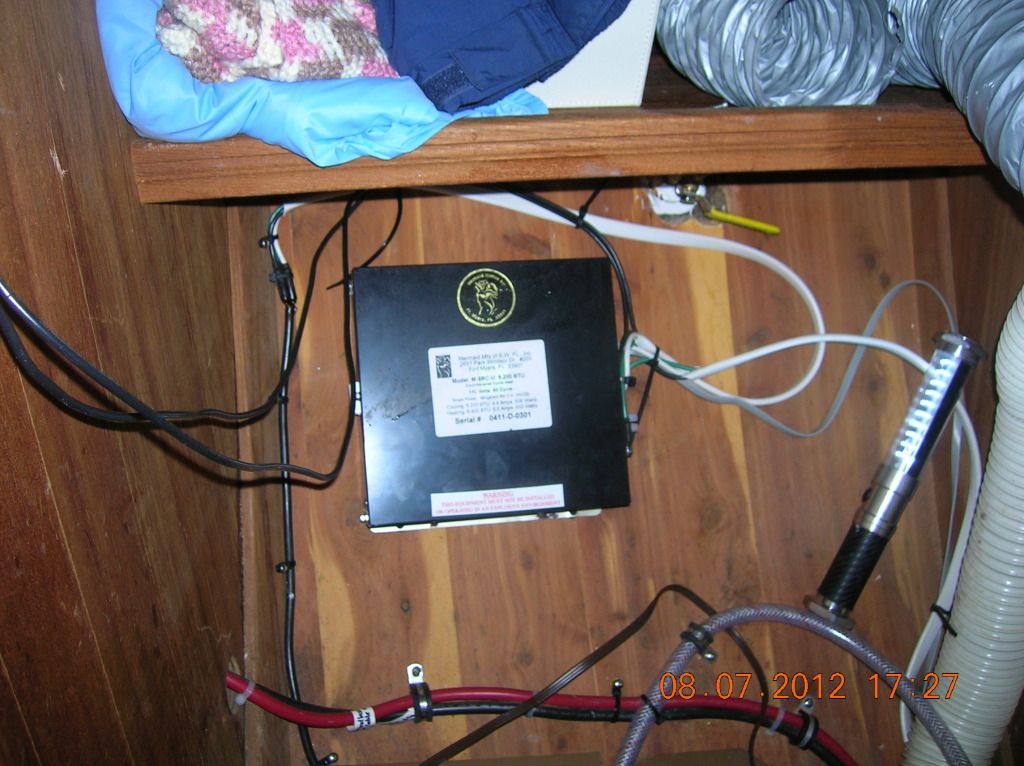
Got the Mermaid 5200 AC\Heat unit in place-wired


 We decide to put the Magic Box (electrical box) on the hull screwed to the Ceader lining. We were thinking of putting it up under the shelf but it got too complicated and hard to get at. I would also be hard to get at any wiring etc if something went wrong, it never does but just in case J


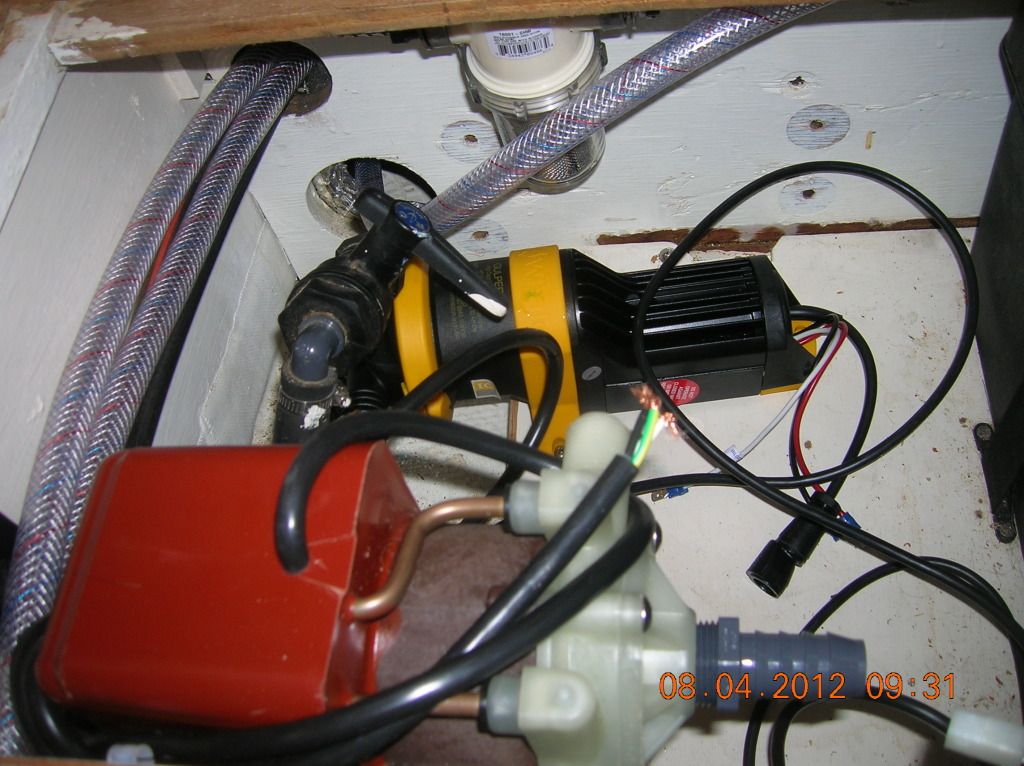
The March pump and the 110 volt wiring with the 20 amp breaker connect to the magic box(MB).
The MB will need to be secured better and the wire connections will get water proofed with liquid electrical tape when it is proven to run OK.
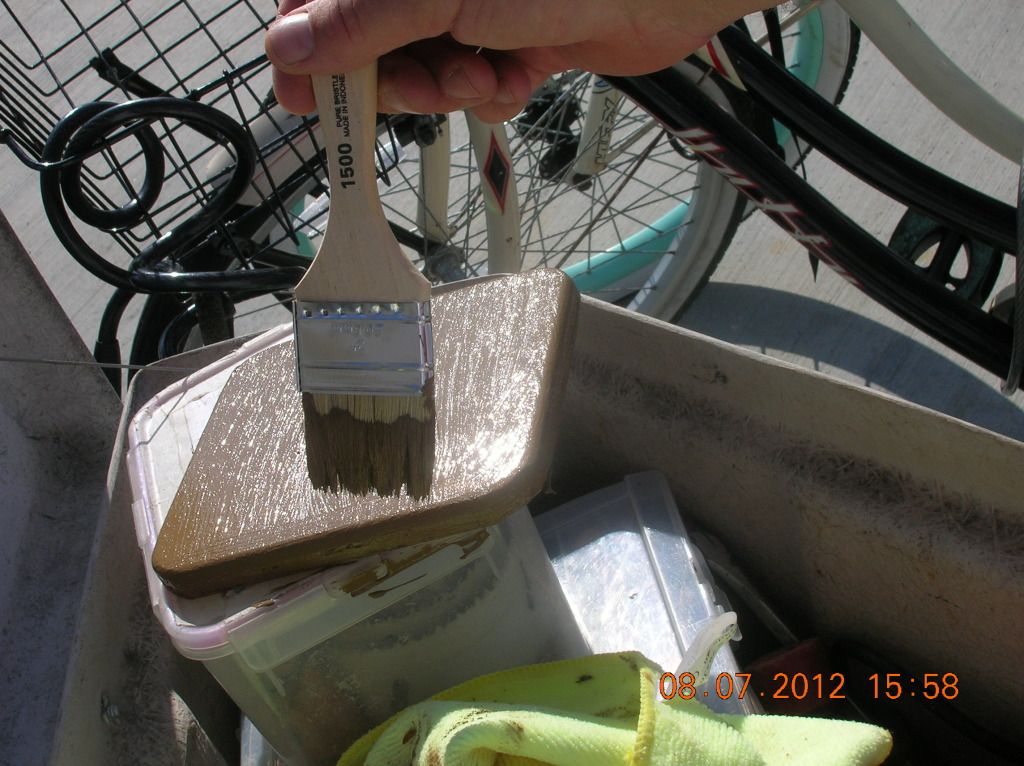


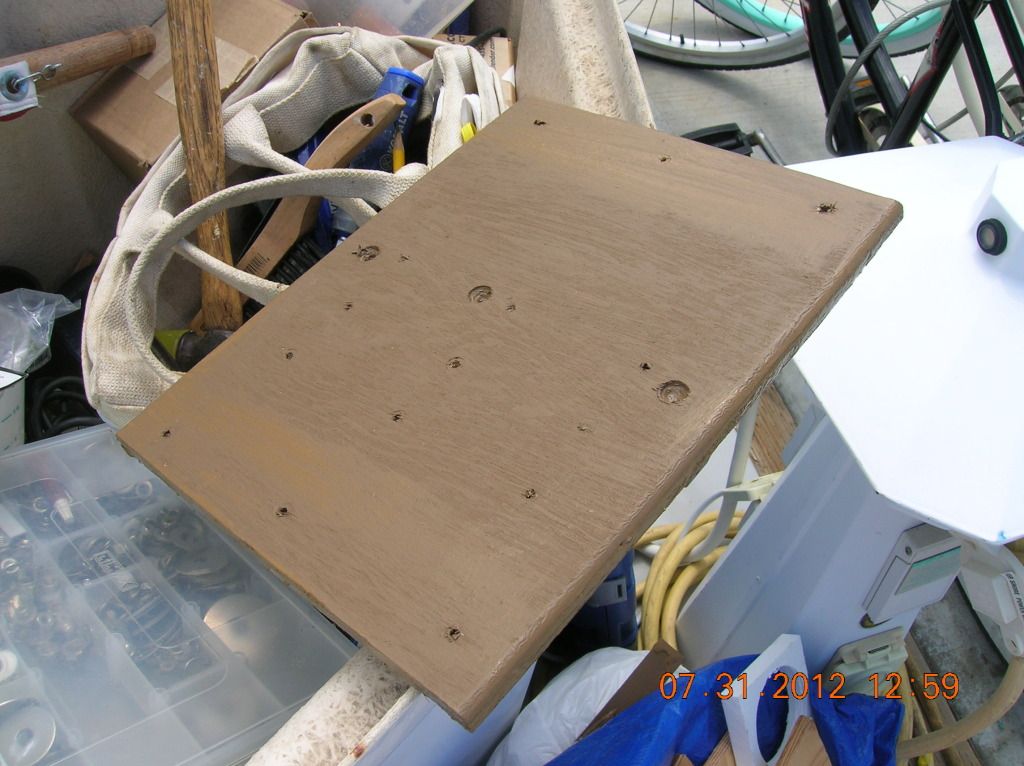
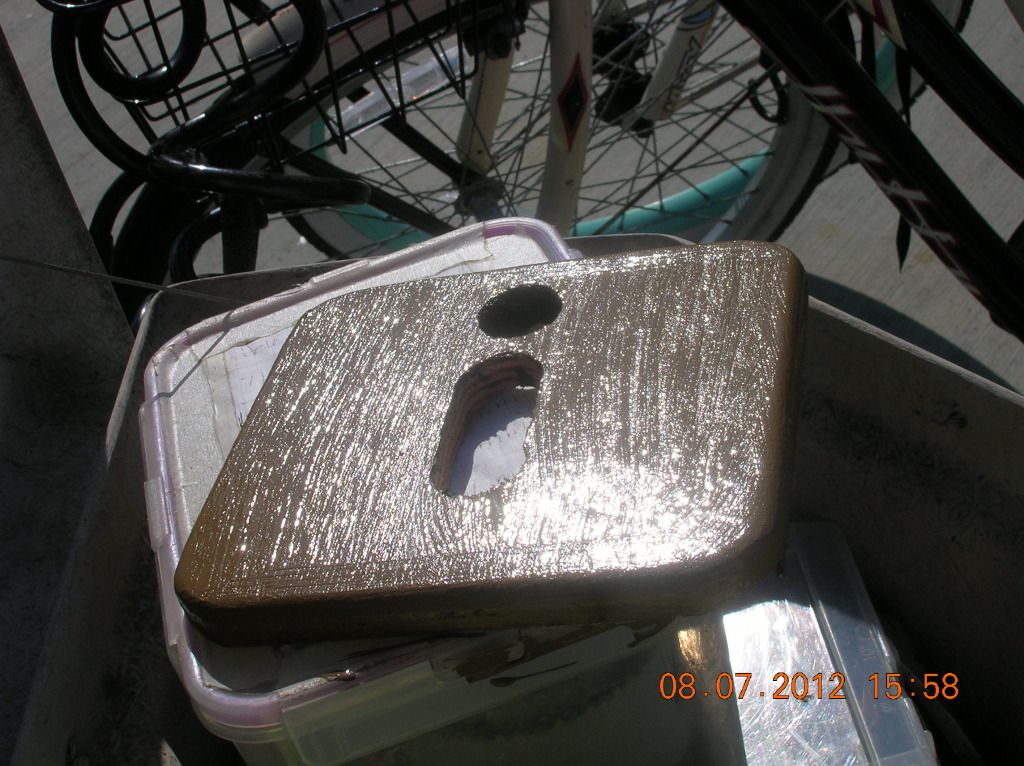
We made up a 20 amp breaker mount and painted it up.
We used some marine 1/2 plywood.

Because we can not get at the wires if we installed them between the drawers and the hanging locker we chose to have them run out from the breaker and directly to the magic box. This way we can secure them properly behind the breaker and onto the mount and then onto the hanging locker bulkhead.
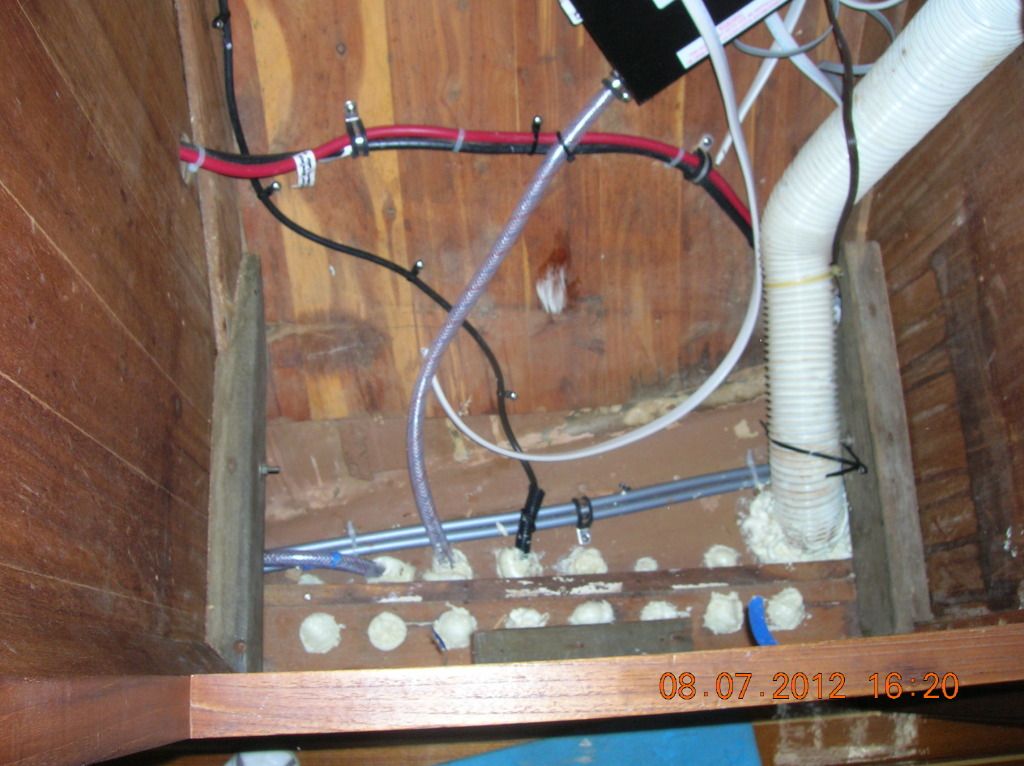

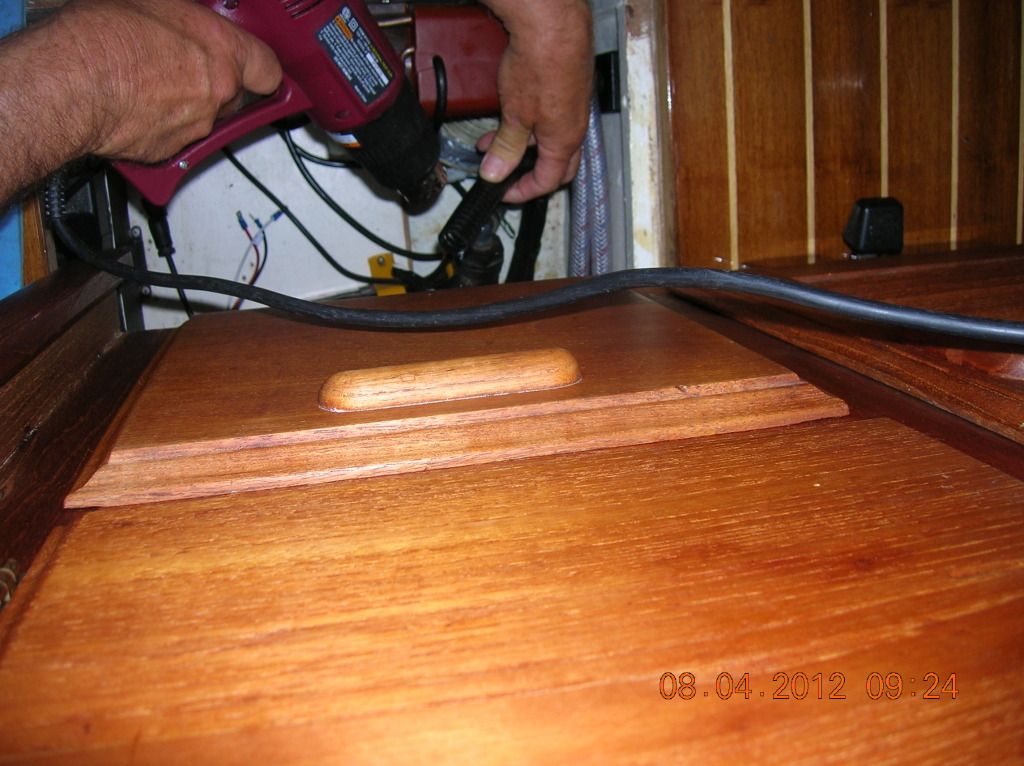
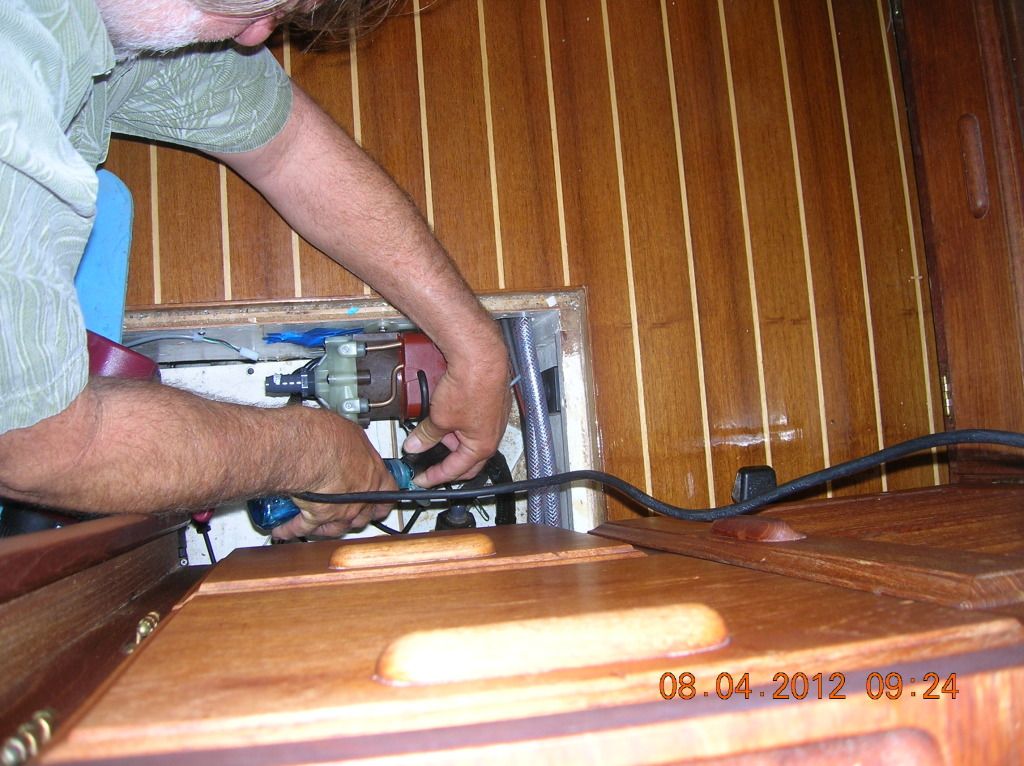
 We found another spot to foam, around the dorad hose going into the engine room. It passes under the AC to the bilge and at that spot needed to be sealed. Debbie did that and we secured all the wiring under the AC platform and installed the platform with six screws.
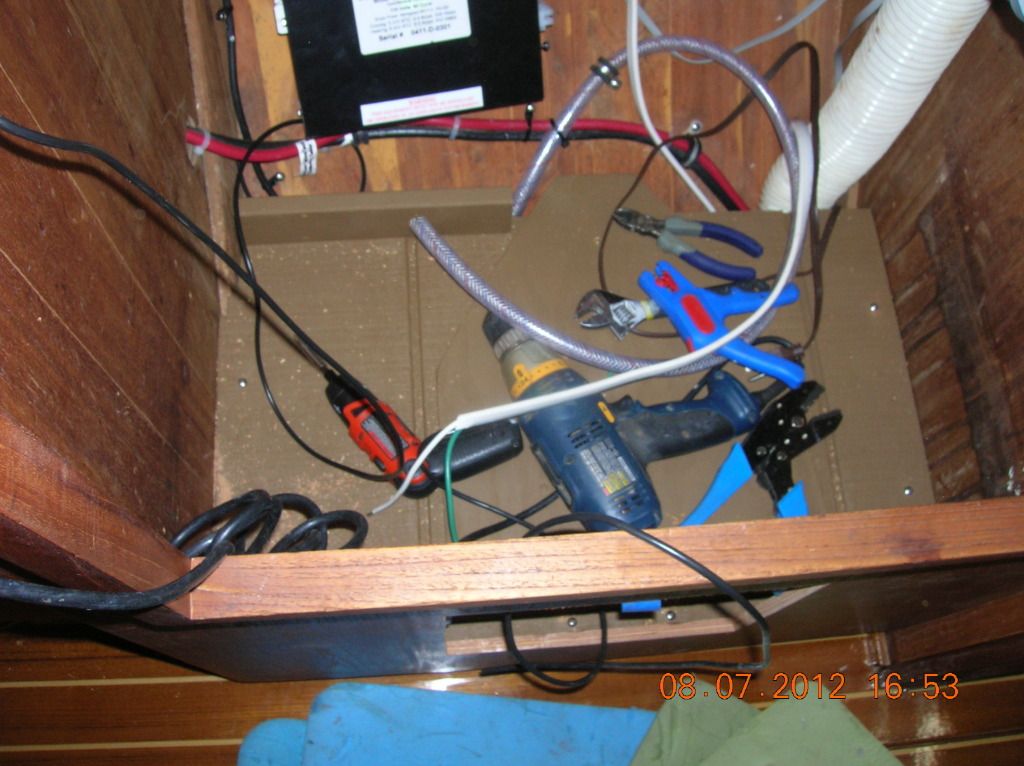

 We wired up the 20 amp breaker and somewhat secured the wires to the MB but ran out of wire tie screws.
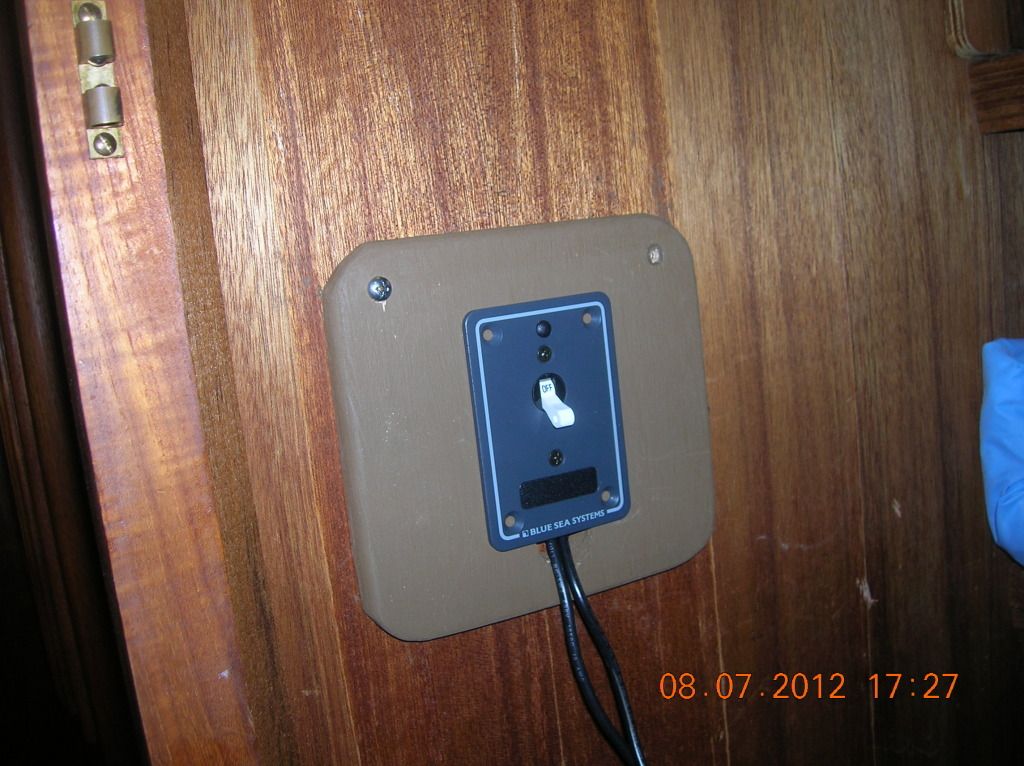
 We also ran out of screws for the breaker mount.
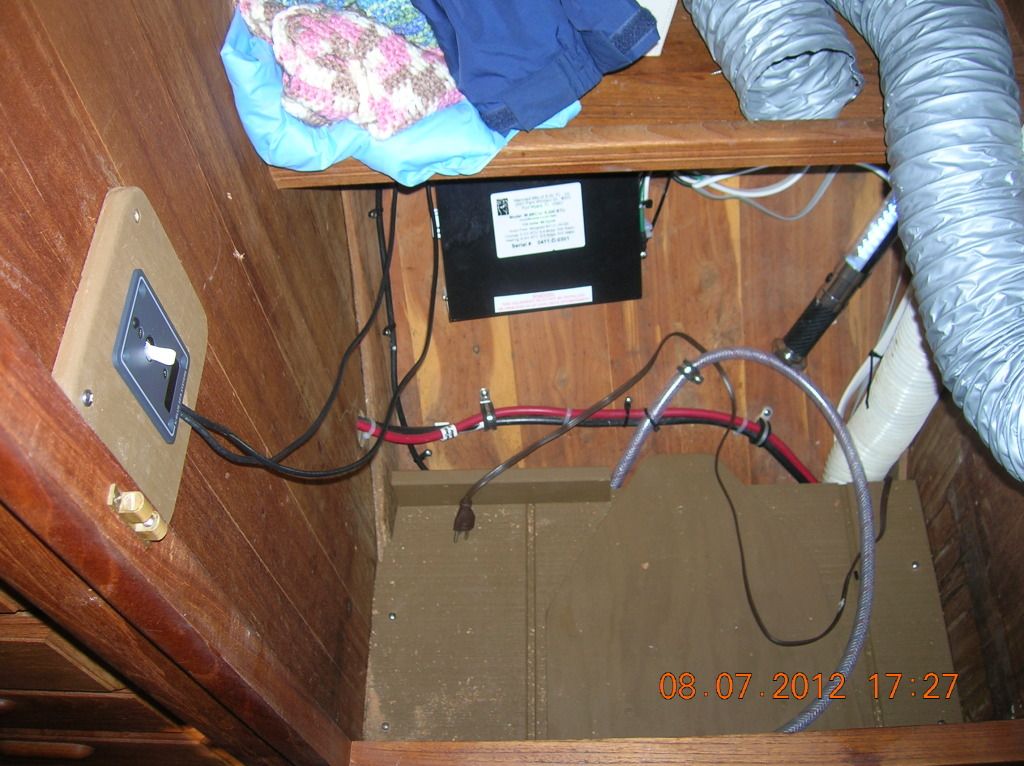

 We then put the AC unit back in and screwed it in with one screw. It was past time to quit by this time, after 7:00PM and it was hot especially leaning over into the hanging locker for some hours.
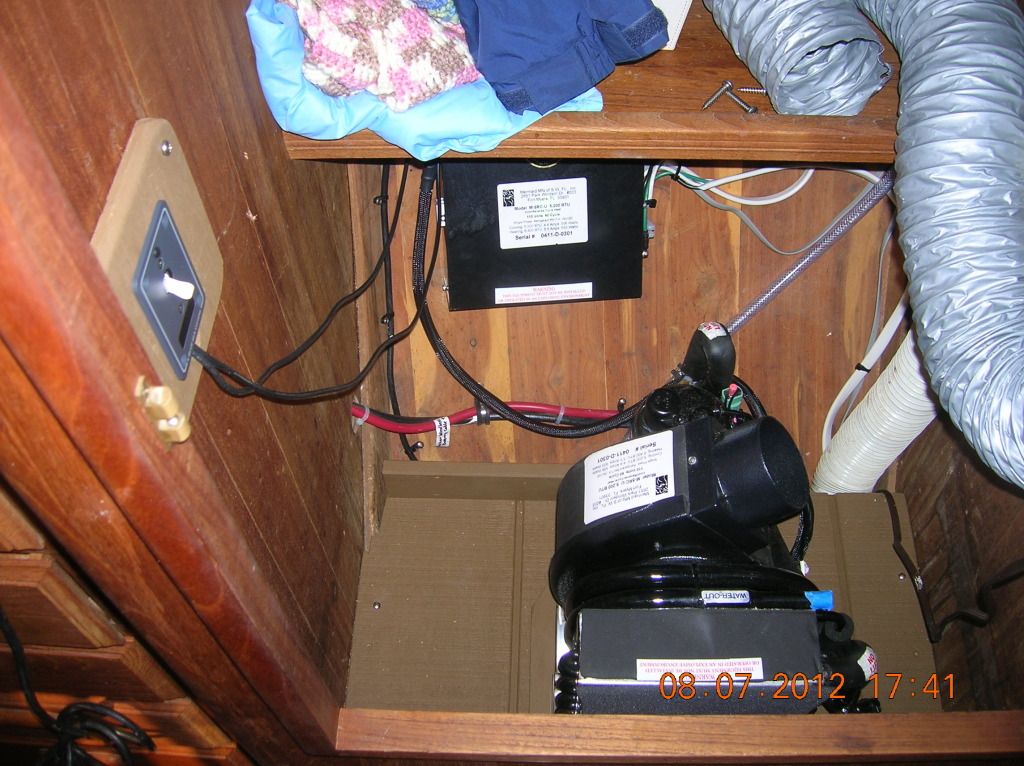

 After admiring our work we relized that we forgot one hose. So darn it we need to remove the AC unit and the platform again and remove some foam so we can run a air bleed hose through to the bilge.

Oh well, more work on plumbing and ducking today and maybe we can fire it up. We are having a heat wave with temperatures in the 80’s +.

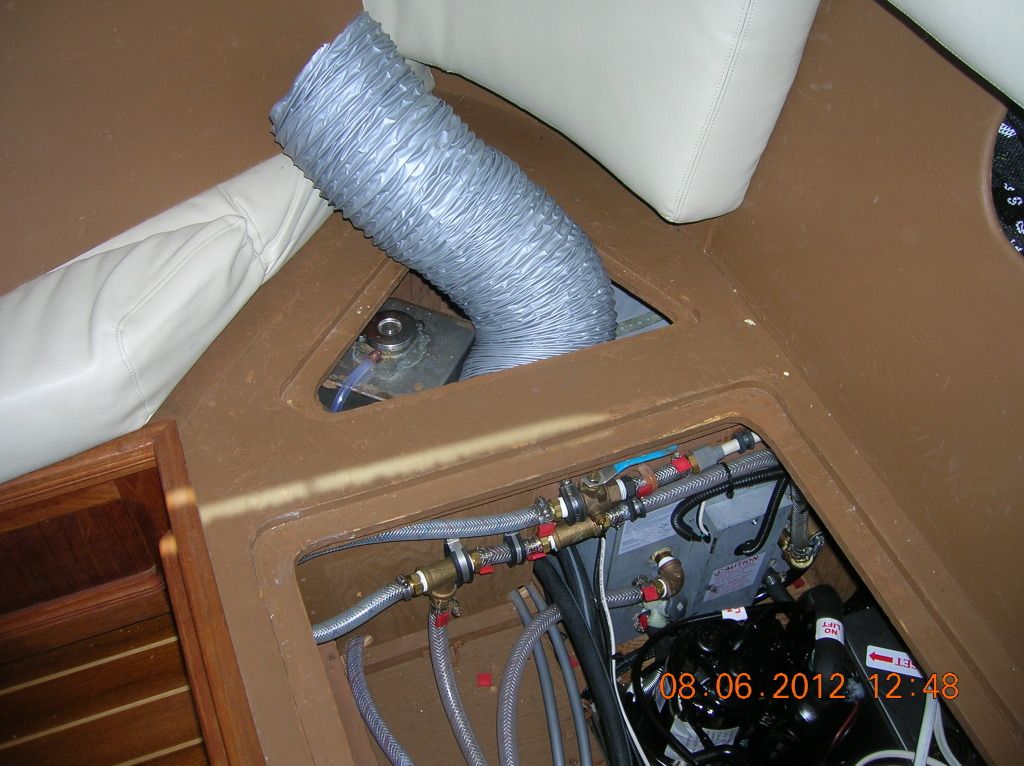
Mermaid 12000 btu ducking - Magic Box - 2012

We stopped at A to Z Marine and picked up 3’ of 6” AC hose. We want to determine if we can carry the 6” hose through the ducking. We would branch off with 4” hose and 4” supply grills. The first grill needs to be 8" x 6" and then at least two 4” grills.
The 6" hose would of course not come out of the space but keep going towards the port side.

We got the ICOM 802 SSB working - 2012

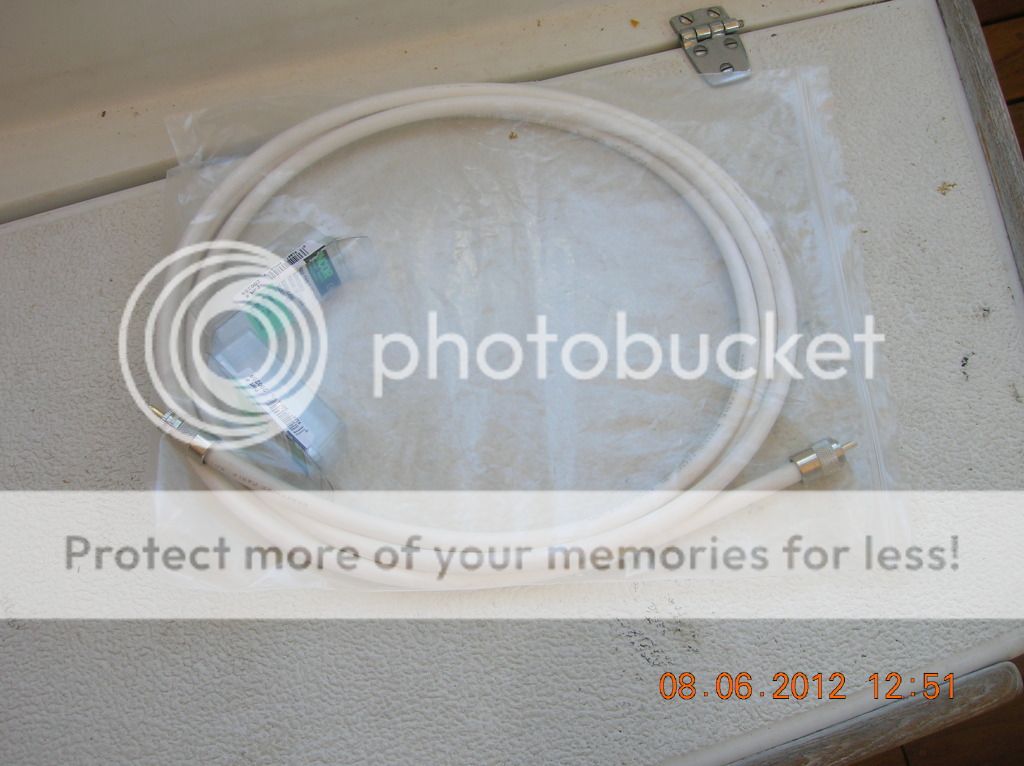
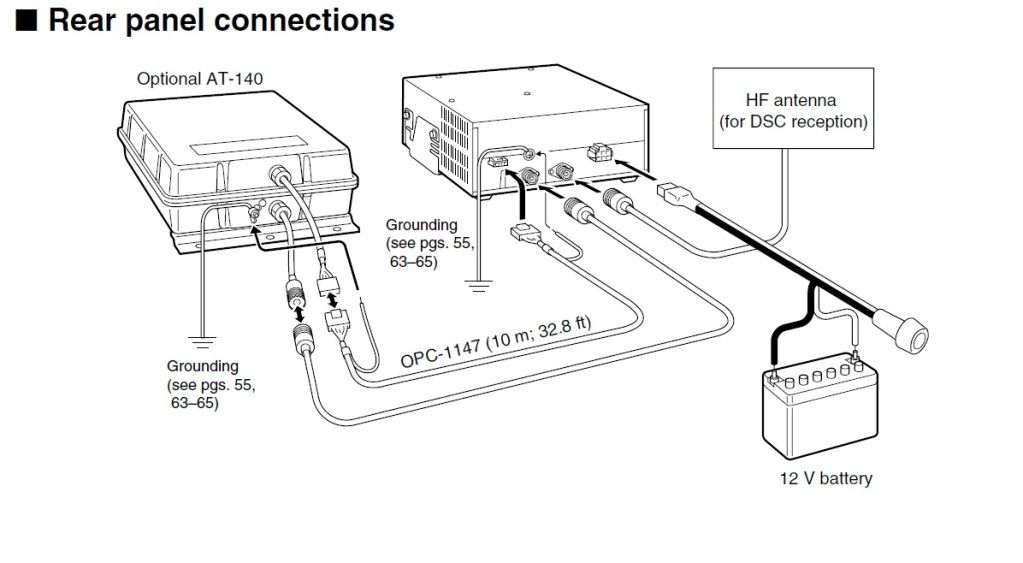
A friend at Debbie’s work Tim soldered the connections onto the cable from the  ICOM AT-140 Automatic Antenna Tuner and so we were ready to connect up.

Bilge pump intake hose connected etc.

We got the new bilge pump in place with the intake hose connected.
Now we need to wire it up.

We purchased a new blade fuse holder for it so we could get rid of the glass fuse holder that came with it. It takes a 10 amp fuse.

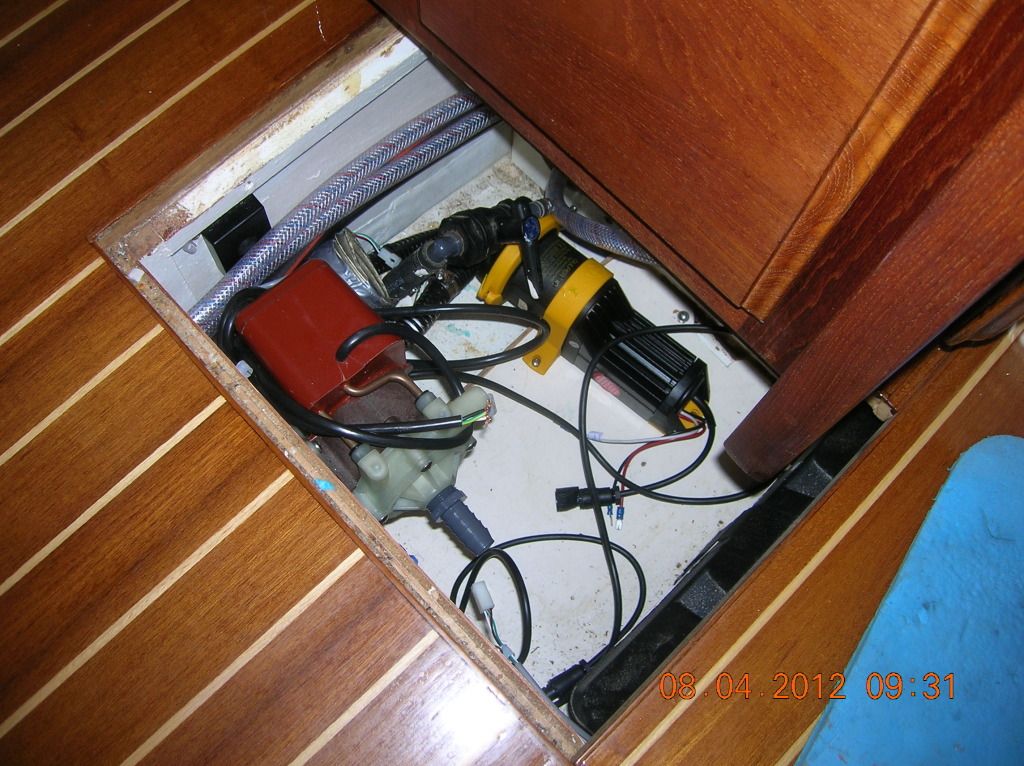
 We also put in place the March LC-3CP-MP AC pump and raw water strainer. Probably temporarily but this will work for now. Gets them out of the way and secure. The strainer may just mount to the through hull to save space and routing.


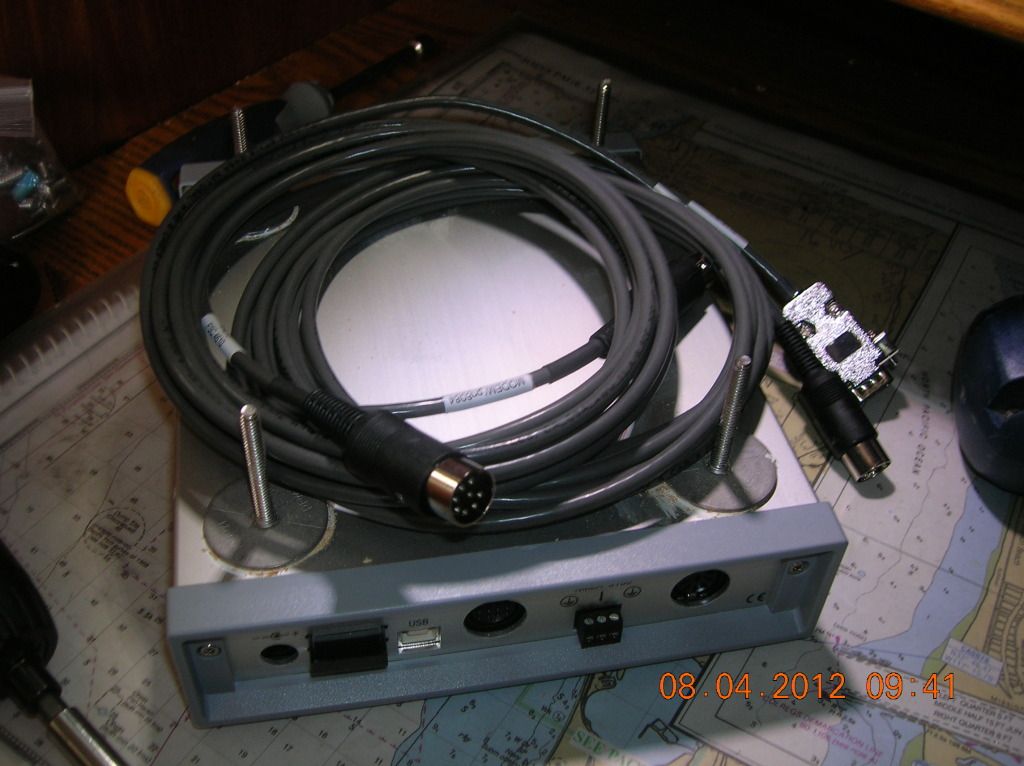
Pactor modem wired


We got the modem hole drilled for the modem cables and snaked them down into the SSB radio area.
 Just time consuming so as to not hit other things while drilling etc.

 First we removed the radios from the nav station by removing the plywood . The removed the Pactor modem.


Needed a hole here to snake the Pactor modem cables to the SSB radio unit that is under the nav station.

After a pilot hole and Debbie crawling into the back of the nav station to locate the spot and give it her OK we drilled the hole. The drill bit is to locate the hole so she can pass up one cable.

 We re-installed the Pactor modem and radios and were done. We lefty it all temporary until we confirm an email goes out when the installation is done.

Stateroom HVAC - sealed holes cut holes + through hull etc - 2012

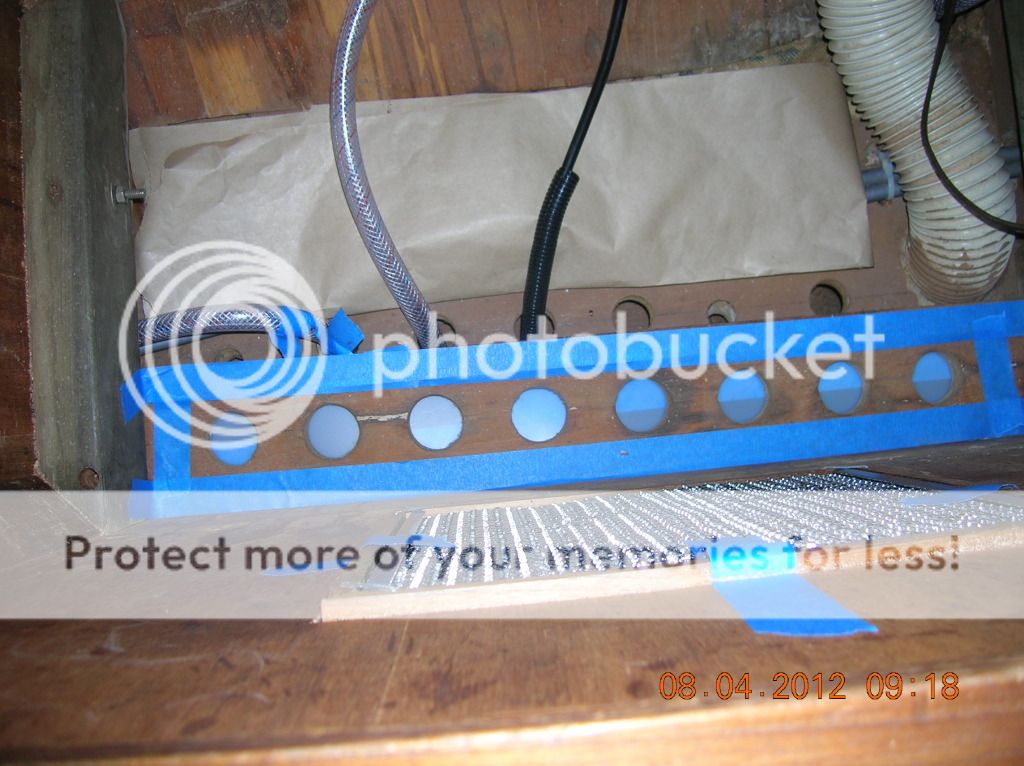
Holes with blue tape go into stateroom.
 Debbie and I spent another good bit of time working on the stateroom Mermaid Marine Air 5200 btu AC\Heat system.
First Debbie prepped the are in the hanging locker to seal up the hole the previous owner(PO) had made.

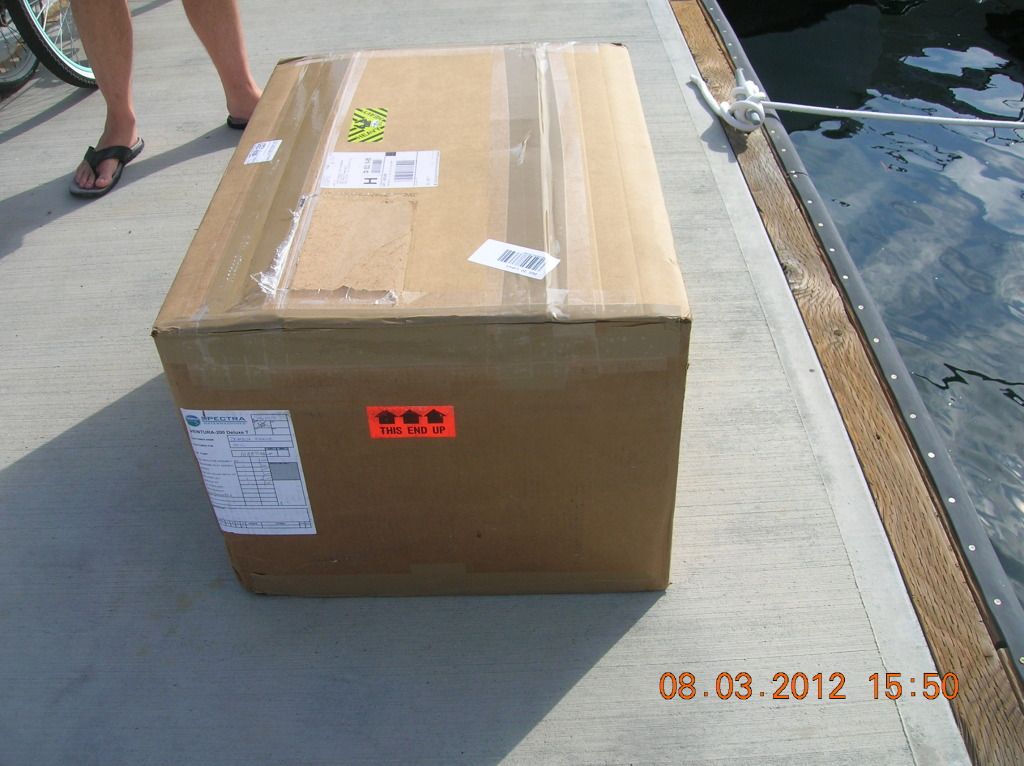
Spectra Venture Deluxe 200T water maker arrived - 2012

August 2012 - Marina Kona Kai Shelter Island San Diego, CA

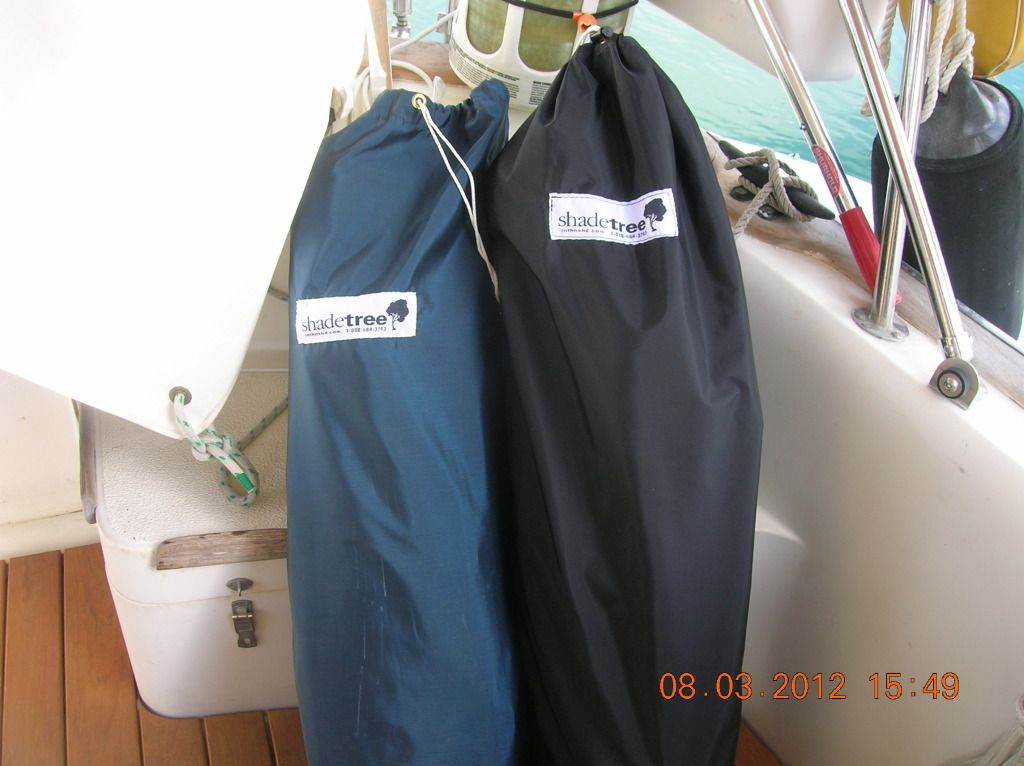
Our ShadeTree system arrived

  We stored it under the bed in the compartment by the hanging lockers. They are a bit heavy so the weight forward will help.
 Now we hope to find some time to set them up and make some needed modifications. There needs to be some slits added for the stays and a U for the Whisker Pole.


OK I messed up but it still works- VHF - wiring SSB - 2012

August 2012 - Marina Kona Kai Shelter Island San Diego, CA
We called ICOM 802 SSB support ((800) 253-1498 or (425) 450-6087) and the Garmin support (US Toll Free: 1-800-800-1020), both very nice.

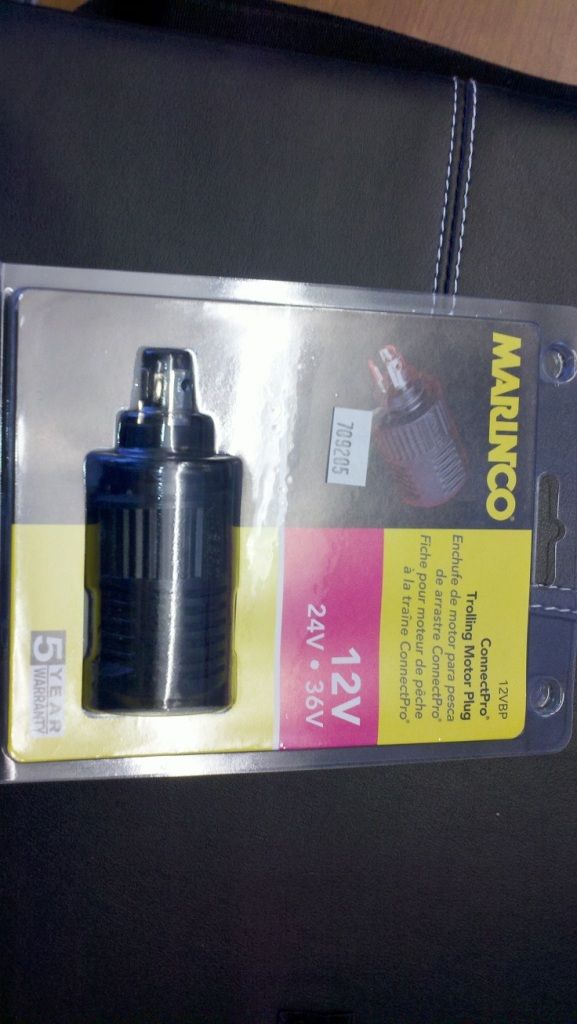
Converted a Marinco Trolling motor plug with two WM 12v outlets - 2011

We took a 12V BP Marinco Trolling motor plug we purchased at Downwind Marine and attached it to the West Marine 12V Dual Outlet Receptacle (6867857). It took some wrestling and some serious cutting of the wire insulation but we did it.

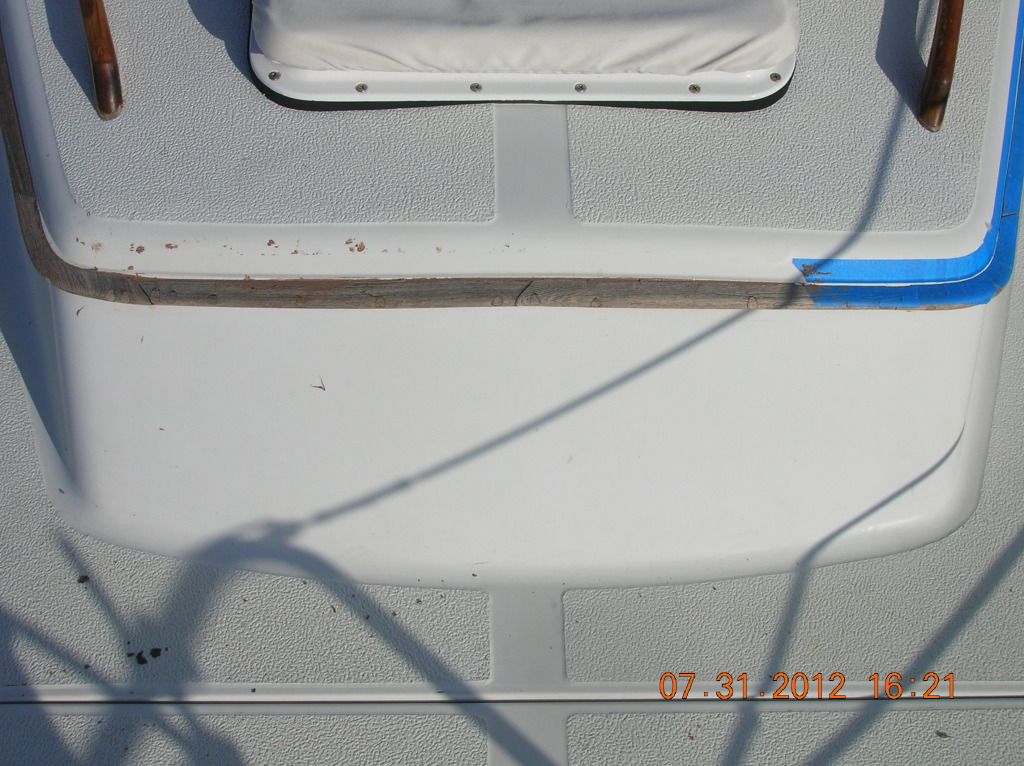
Finished calking the forward eye brow

 OK finished up the calking of the forward eye brow.
There are a couple seems in the teak eye brow that we want to caulk and then  it will be time to give the eye brow a good washing and sanding.


Mounted ICOM 802 SSB and Automatic Antenna Tuner and KISS ground - 2012

This wood mount we made is going under the nav station.
 We also got the KISS SSB ground installed also.

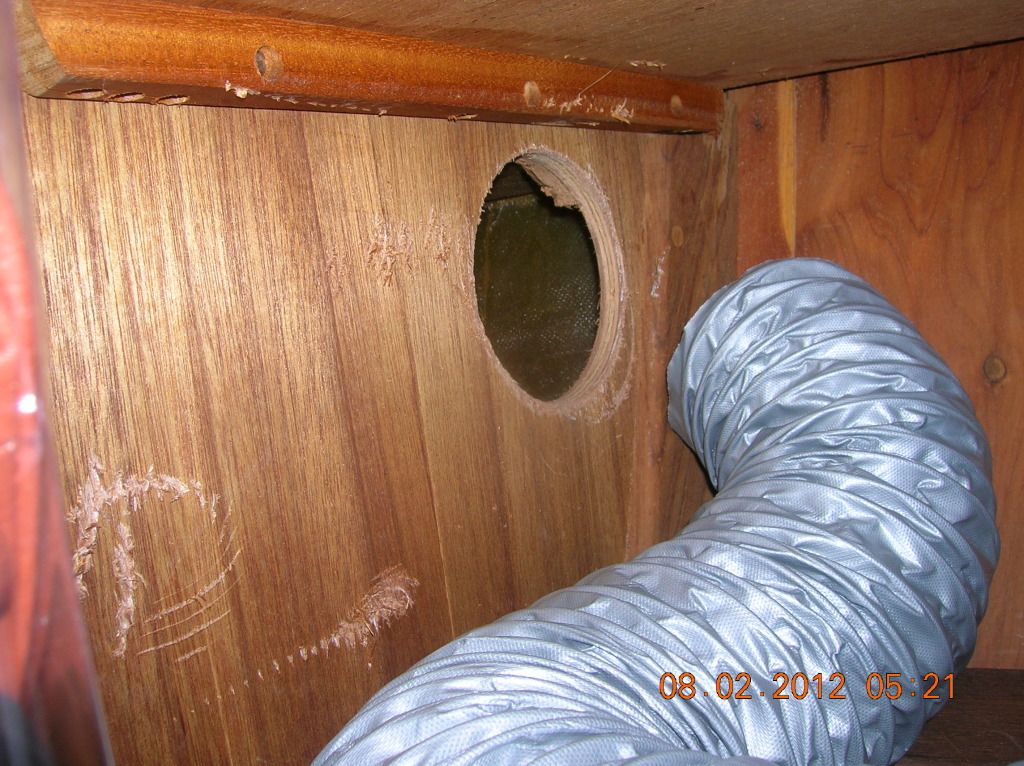
4" hose + 4 hole = 0


 We went to snake the 4 “AC supply duck hose through the 4” hole we cut and guess what. They are the same size so the hose does not fit through. Why would I think this would not happenJ?


Now we will need to get a new saw blade for the saws all and cut that hole bigger.

 We also have two more holes like this to run 4” ducking through. We are not buying an even bigger hole saw so we will cut a smaller hole, like a 2” and then use the saws all to cut the rest.

The holes for the supply vents should work with the 4” hole saw as the supply grill  attaches directly to the hose so it is a bit smaller in diameter.

 More to be reviled.

We purchased our water maker - Spectra Ventura Deluxe 200T

We should have it in a week or so.

Debbie and I went in to Dailey WaterMakers and spoke with Craig. This was our second or third trip there (on our way home). We worked out a deal and bought it.
866.456.1379
619.231.8324 


We decided on the Spectra Ventura Deluxe 200T.
They also threw in a year supply of maintenance goods.

WATER PRODUCTION Gallons per Day / Hr 
V200T  200 / 8.3
 
POWER REQUIREMENTS
V200T Current Draw 12V = 10 Amps
V200T Watt/Hr per Gallon 16
 
SYSTEM TOTAL WEIGHT (Dry) 
Ventura 200T
 65 Lb (29.5 kg)  


Companion way hatch screen zipper

Marina Cortez in San Diego Harbor Island 8\11\2012


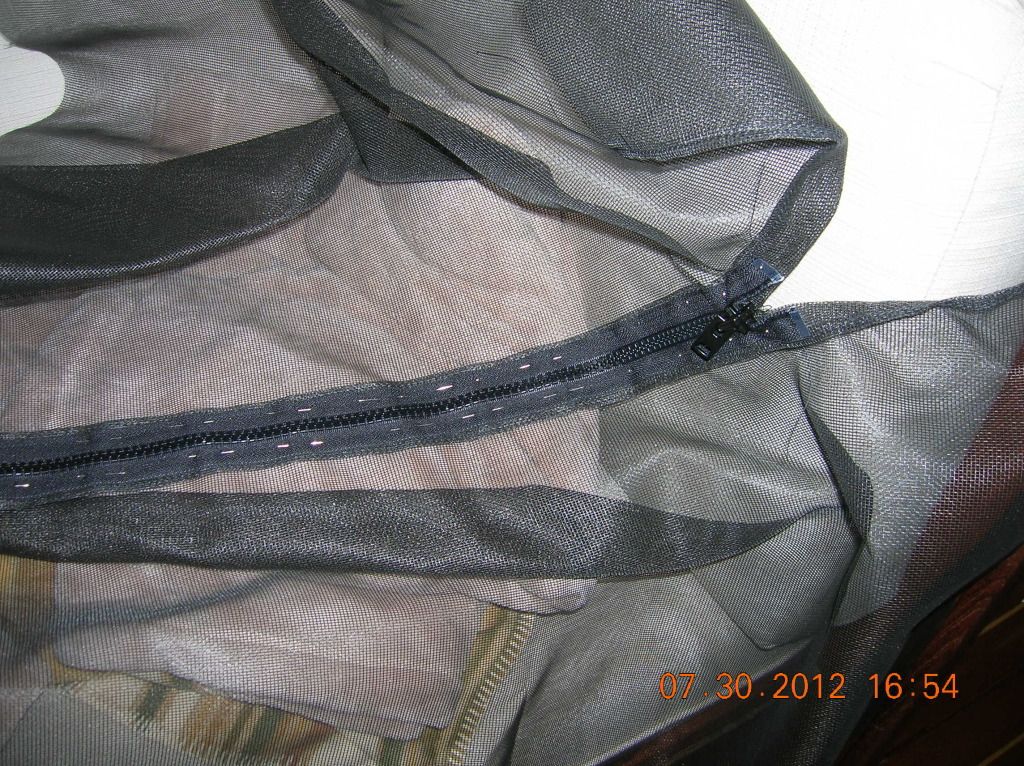
Debbie got some work done on the companion way hatch. She put together the zipper and the screening for the entry into the boat from companion way.


Companion way hatch screen zipper

Marina Cortez in San Diego Harbor Island 8\11\2012


Debbie got some work done on the companion way hatch. She put together the zipper and the screening for the entry into the boat from companion way.


Shower sump wire tabs


We finally got the wire tabs for holding down the shower sump hoses installed. After they set up we will secure the hosing.


The SSB mounts finished


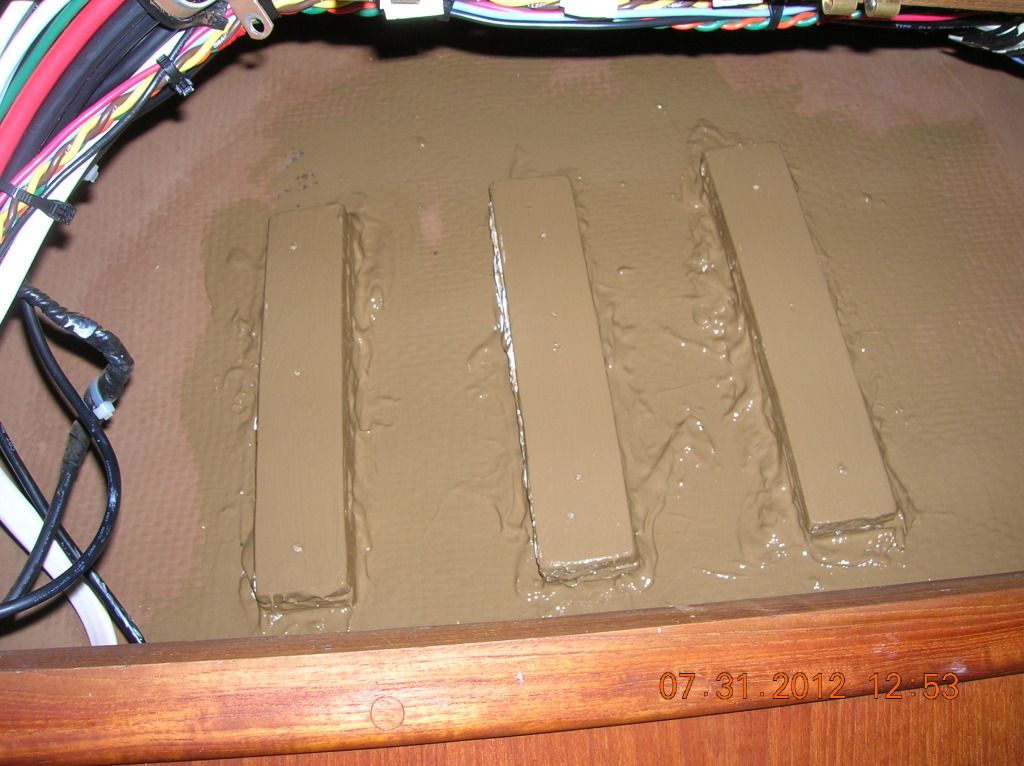
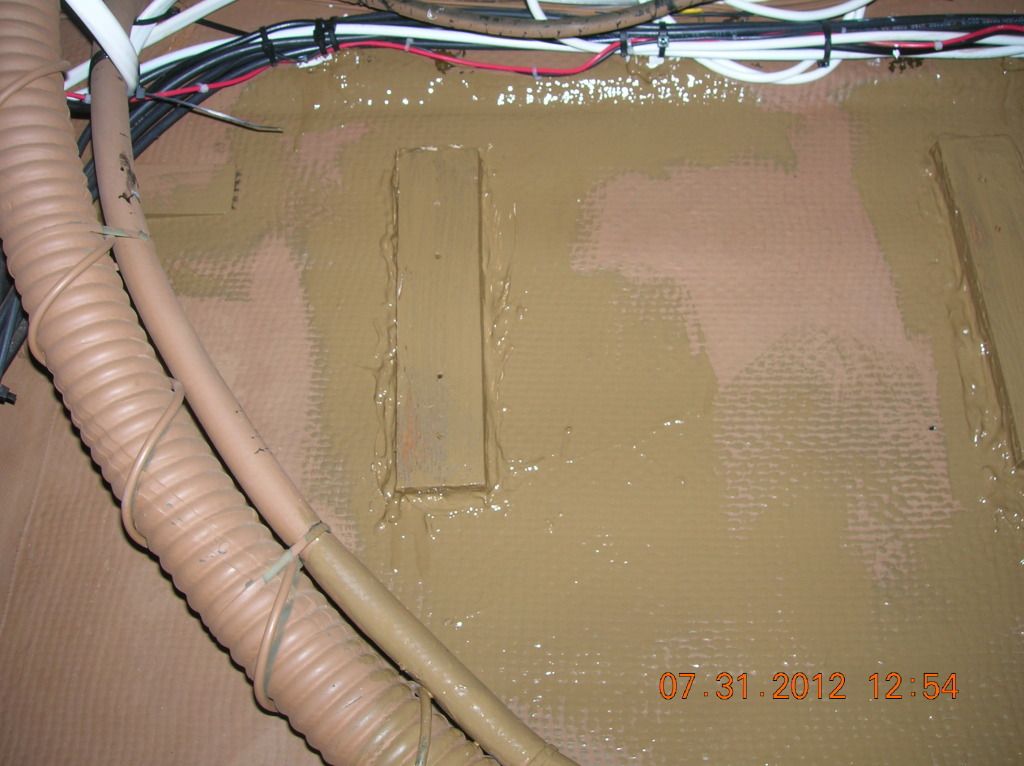
  The SSB mounts got some more 3M 5200 applied to the gaps and some edges. They should cure up fine now and hold real good. We then painted it all up and are ready to mount the SSB radio and the Automatic antenna tuner.

Oops may have missed a spot. Do not know if we had finished at this point. The plywood will cove it any way but lets not be half SSB mount now :).

Radio plywood mount.

ICOM Automatic Antenna Tuner mount.

Forward eye brow calking

 We got some eye brow caulking done. We used what we have been using, the teak Life Caulk and it is coming out good. It will clean up fine.


Teak HVAC supply grill installed, just has hard as we thought - 2012

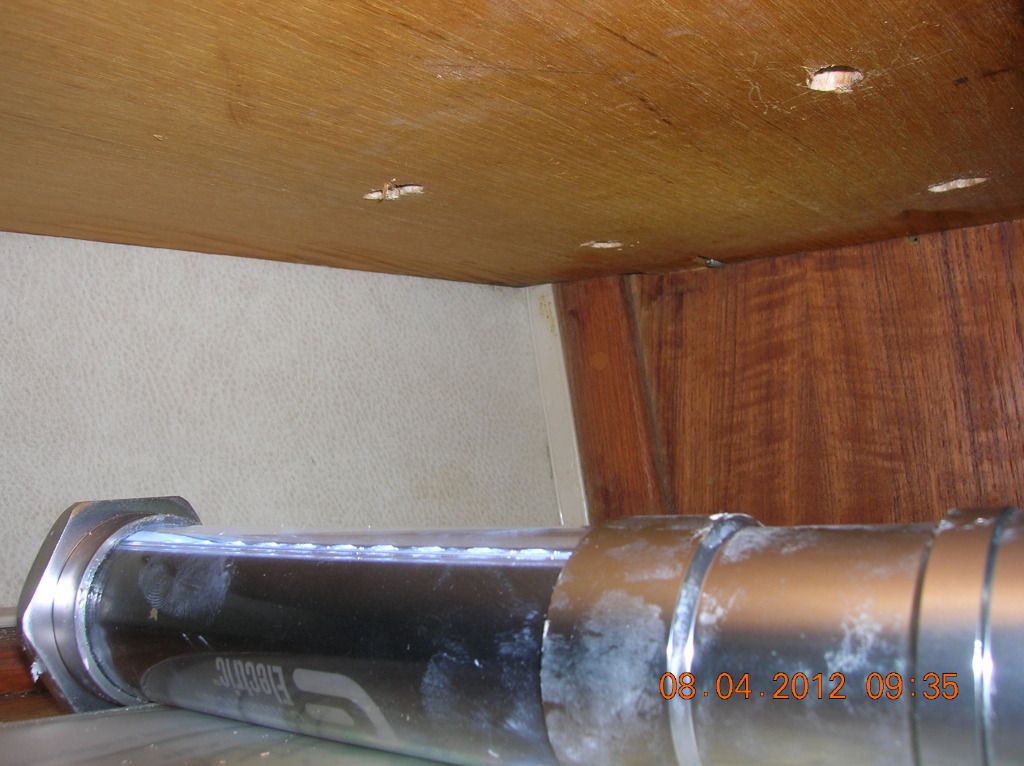
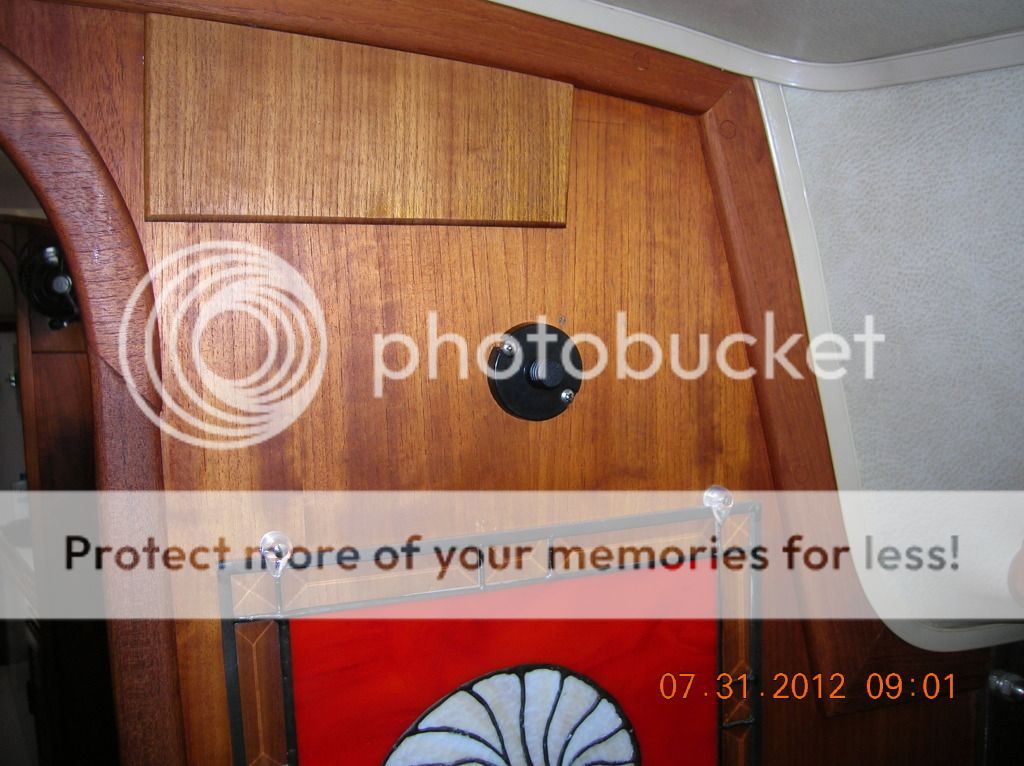
 We made some progress on the stateroom Mermaid Marine Air AC\Heat installation. We installed a supply vent over the aft handgun locker. It was every bit as time consuming and as hard as we thought it was going to be.