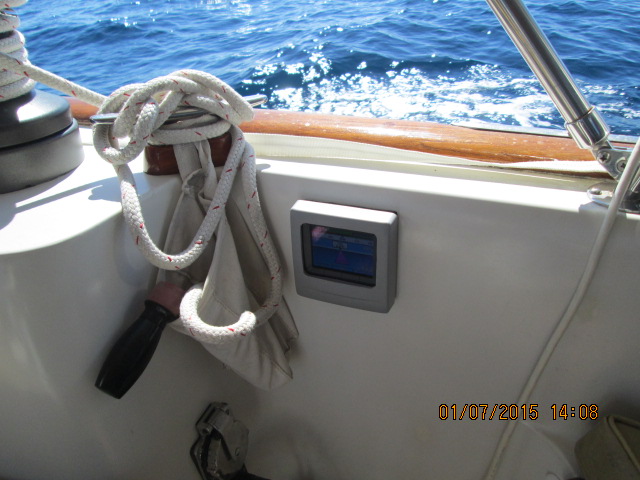
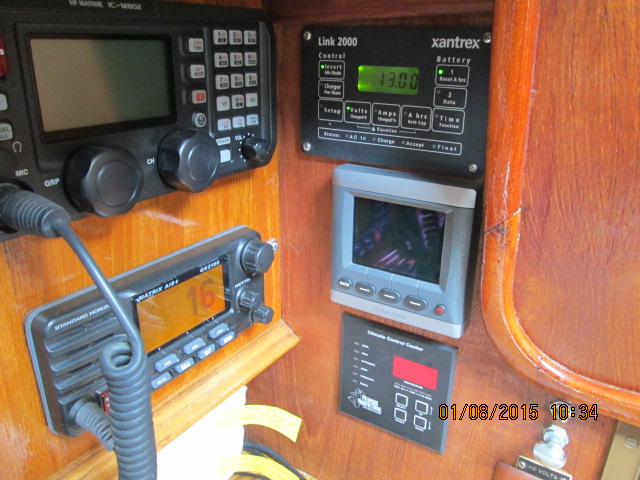
We installed this GHC™ helm control unit display here because it is visible throughout the cockpit and also there are limited choices for the install. We do not want a crowded binnacle as you see in our other posts - we just have a simple Garmin Garmin GPSMAP 740 chartplotter on our binnacle. However this placement has it's own set of problems as we have found out. It is susceptible to the buttons being hit by your knee. Also, as you see lines and other objects that can bump the buttons sending the autopilot in "You have the wheel" mode or worse. We have another display for the Garmin electronics (GMI™ 10 Marine Instrument ) at the nav station and we do not use a cover on it. So we modified the cover as it is extra.
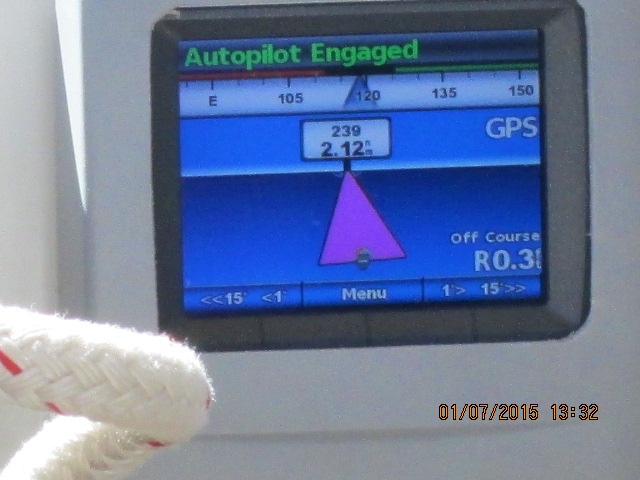
Here the autopilot is following a route.
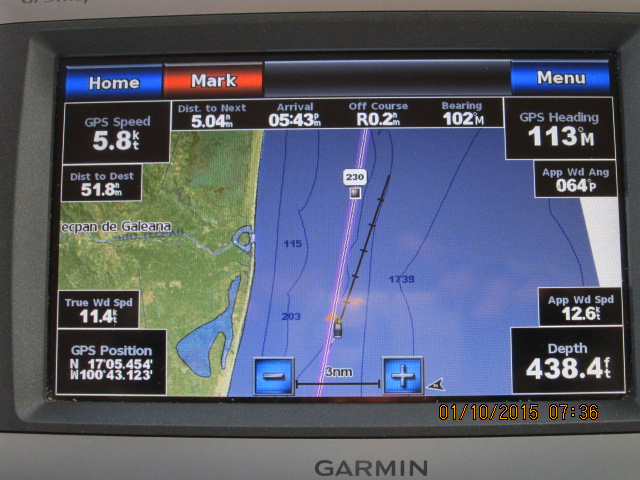
Here the autopilot is following a route which is shown on the GHC™ helm control unit.
Garmin GMI™ 10 Marine Instrument at the nav station.
What we did was pretty simple really. We just cut out the middle. This cove is before we cut out the middle.
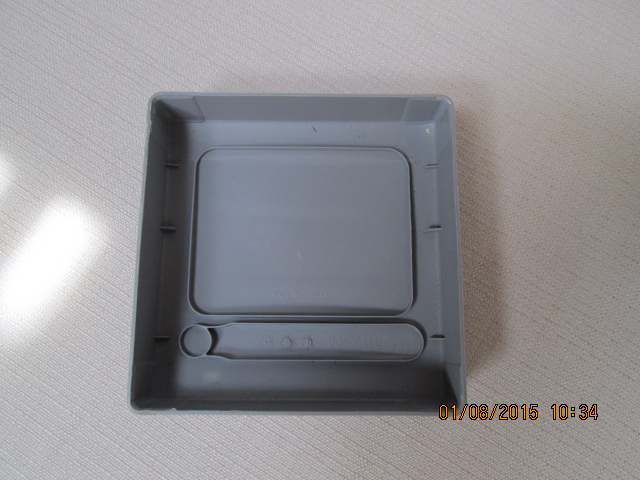
As you can see the cover has a ridge for the display so we used a box cutter knife to cut around it and Wa La - we got a solution to our problem of accidentally hitting buttons.
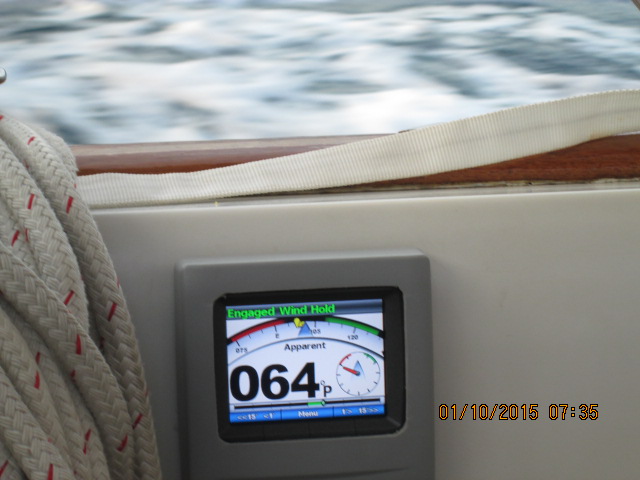
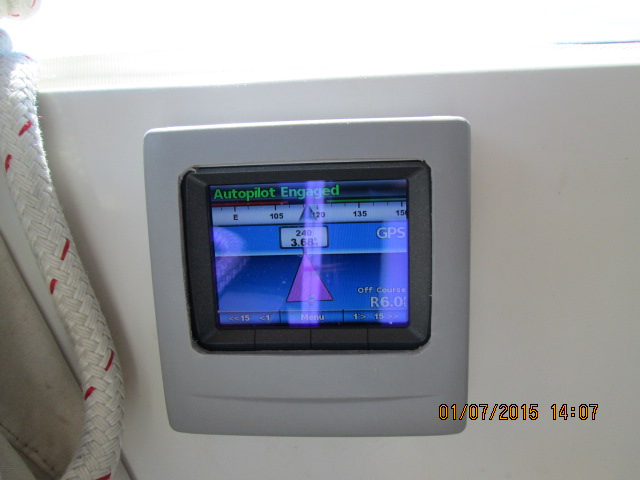
Here we are sailing with "Wind Hold". You can see the cover with the center cut out.
With 450 nm under our belt this season so far this is proven to be a good solution! To change anything using the GHC™ helm control unit.you pull off the cover and push buttons. Or it can be done on the Garmin GPSMAP 740 chartplotter..
No comments:
Post a Comment