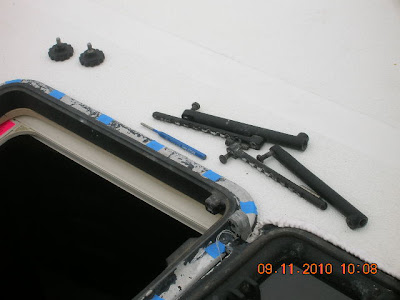
Me removing top of hatch on s\v Elegant'sea.
Continuing the final Bomar -Pompanette llc Hatch re-build we pulled it out on Saturday. Debbie had pulled out all the fasteners and taped up the holes already.
I removed the drift pins from the hinges.
Then I removed the four bolts from the adjustment arms. It took a little while as they were tight. Needed some oil and patience. I like to turn one a couple times then go to another. That way the bolt does not heat up from friction and possibly break.
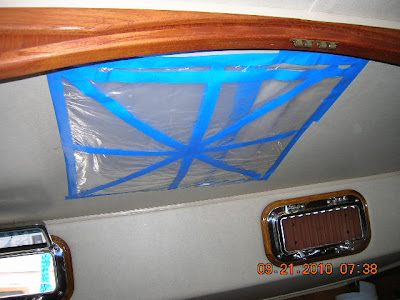
Debbie tapped plastic in the hatch so as not to get the bed full of crap while removing the top of the hatch.
After working the putty knives all around a bunch of times (going straight in, cutting the bond) then sliding all around and going up from inside to cut the bond) we put a screw driver under the putty knife to get more leverage. I could tell it was starting to come loose before I applied the screw driver. It is just prudent not to use the screw driver or any tool directly without some way of distributing the load so you do not break the aluminum.
Debbie had coverd the bed with plastic
Got it loose!
Then we removed the gasket being careful not to harm it as we will need to re-use it.
Again being carful not to break off any of the arms holding them in. Lots of oil and a smaller drift pin punch works well.
Debbie then removed the rubber seal and then cut out the old glass.
Next I will wire brush both hatch pieces and clean them up so there is no rubber or glue on them. Bead blasting will not remove that.
Then to be safe I will fill the bolt holes with tape to prevent paint from getting in. Just not depending on them to do that. I will need to re-tap the holes any way when they come back at there will be old crap in there from 30 years of sitting.
Then we will wire brush all the bolts and threads on any part and tape them.
I also ought new bolts to get painted.
W also bought all new fasteners for the hatches when we started the project from a fastener shop here in San Diego.
I then had Sailing Supply order new drip pins for the hatches. I could not do it myself.
Any way I am getting a little ahead of where we are.
After the hatch was out we put a piece of plywood we made over the opening.
There are two screws holding it down.


No comments:
Post a Comment