Finished product - here's the process!
The other Debbie said she had one and invited our Debbie over to check it out for ideas how to do one of our own.
Morris and Debbie on s\v Impulsive came over to play Mexican Train Dominoes and the two Debbie's were talking "sewing projects". Our Debbie was showing the other Debbie the modifications to the bimini she did from changing the davits (see other post on that project!). Our Debbie said she would like an inside shade for the window (which was installed on the original build for seeing the sail tell-tails as well as the Windex) as the sun shining through can be very bothersome when out sailing or sitting at anchor. It is a little troublesome to put the outside cover over the window as one foot goes on the top of the binnacle and another on the combing. It is a far reach and when tired it really is not safe or when the boat is moving.
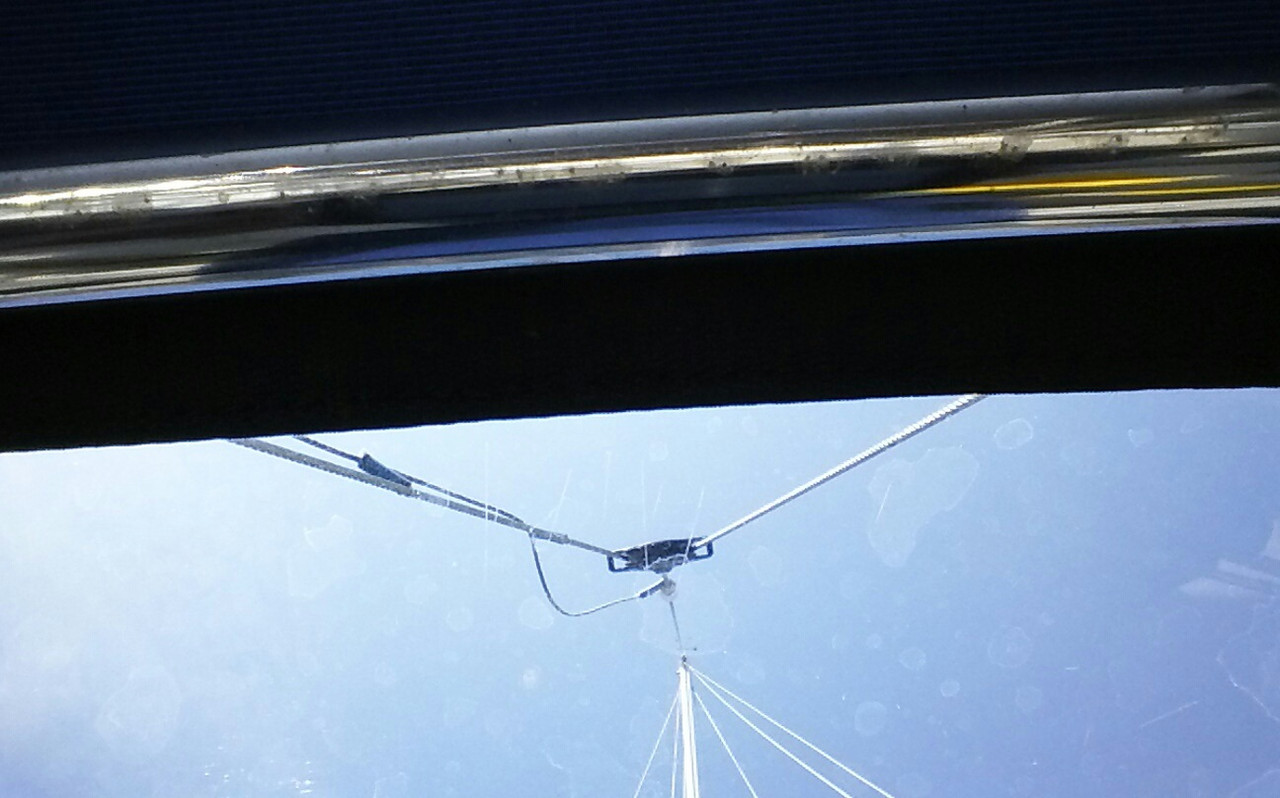
Here is the window on s/v Impulsive.
Our Debbie went over to s\v Impulsive and came away with a plan!
She used the existing outside shade
(which is a little dicey to put on and take off) as a pattern.
This is the Velcro attachment point.
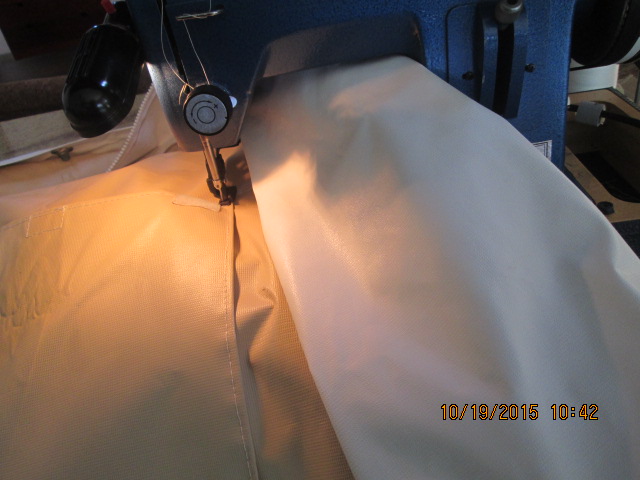
Again, the bimini had to be rolled up
to fit into the sewing machine in order to sew on the Velcro.
This was interesting - sewing Velcro onto four layers, one being the strata-glass...yet the Sailrite machine handled it like the champ it is!
This is for the rolling up part.
Another Velcro roll-up point.
See all that fabric to the right of the needle!
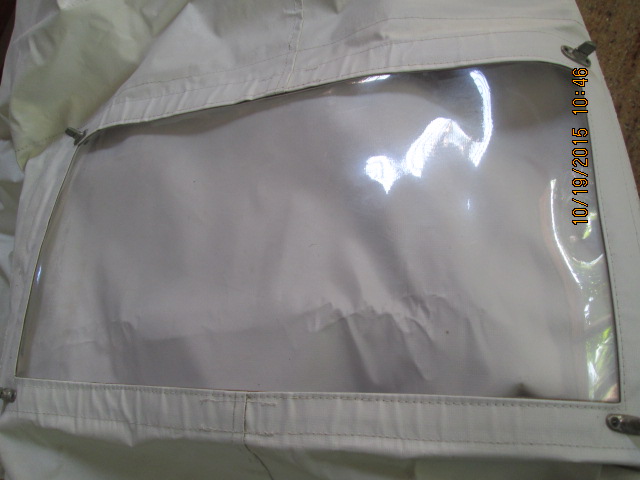
Here is the window getting sewed onto the bimini.
From the top - we'll rarely see this view!
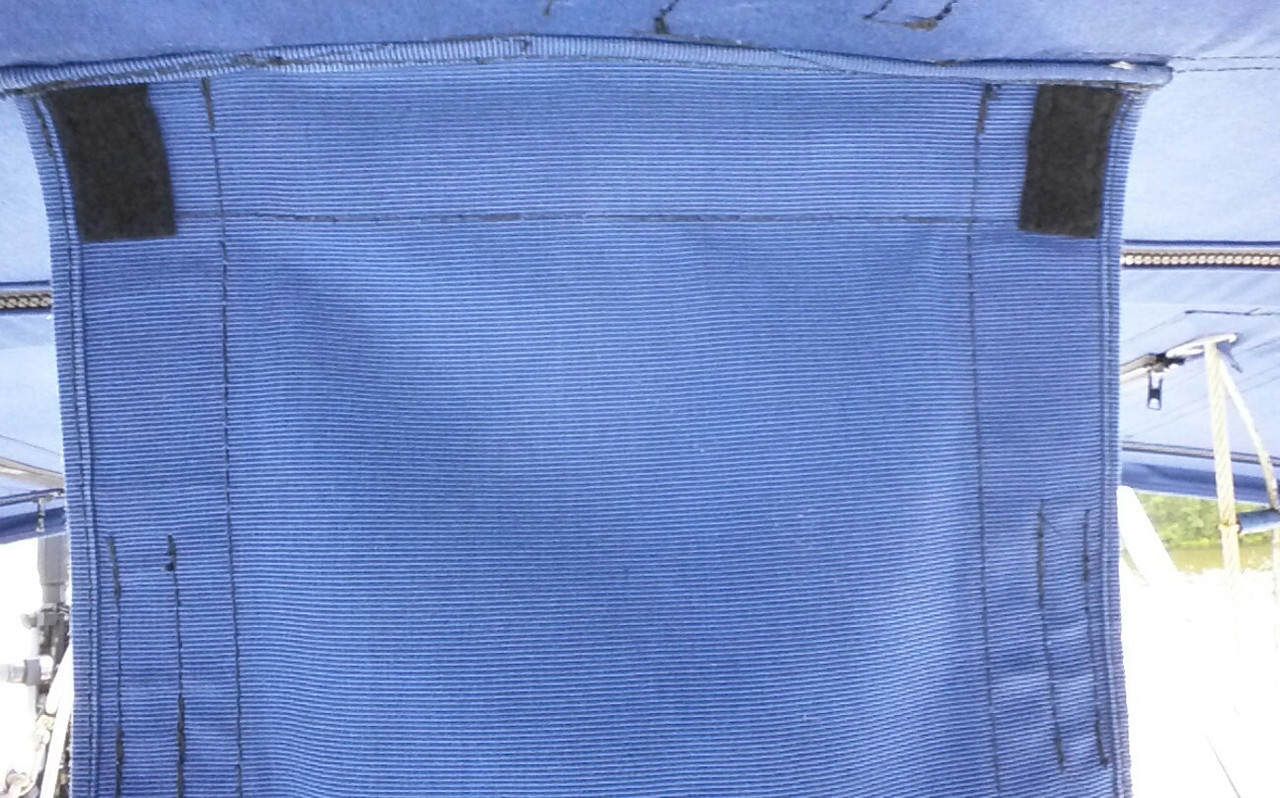
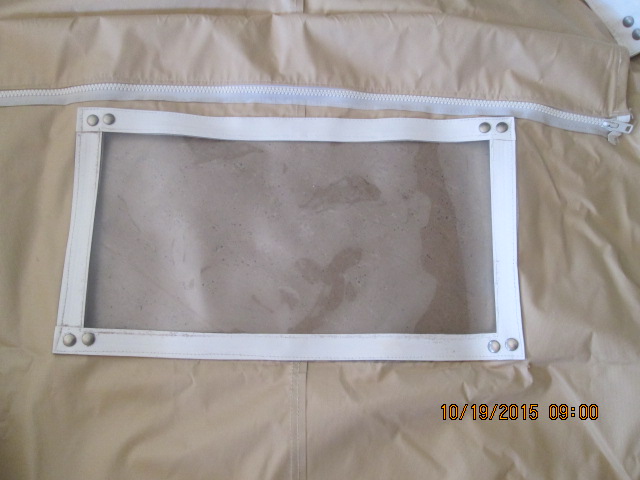
The top cover.
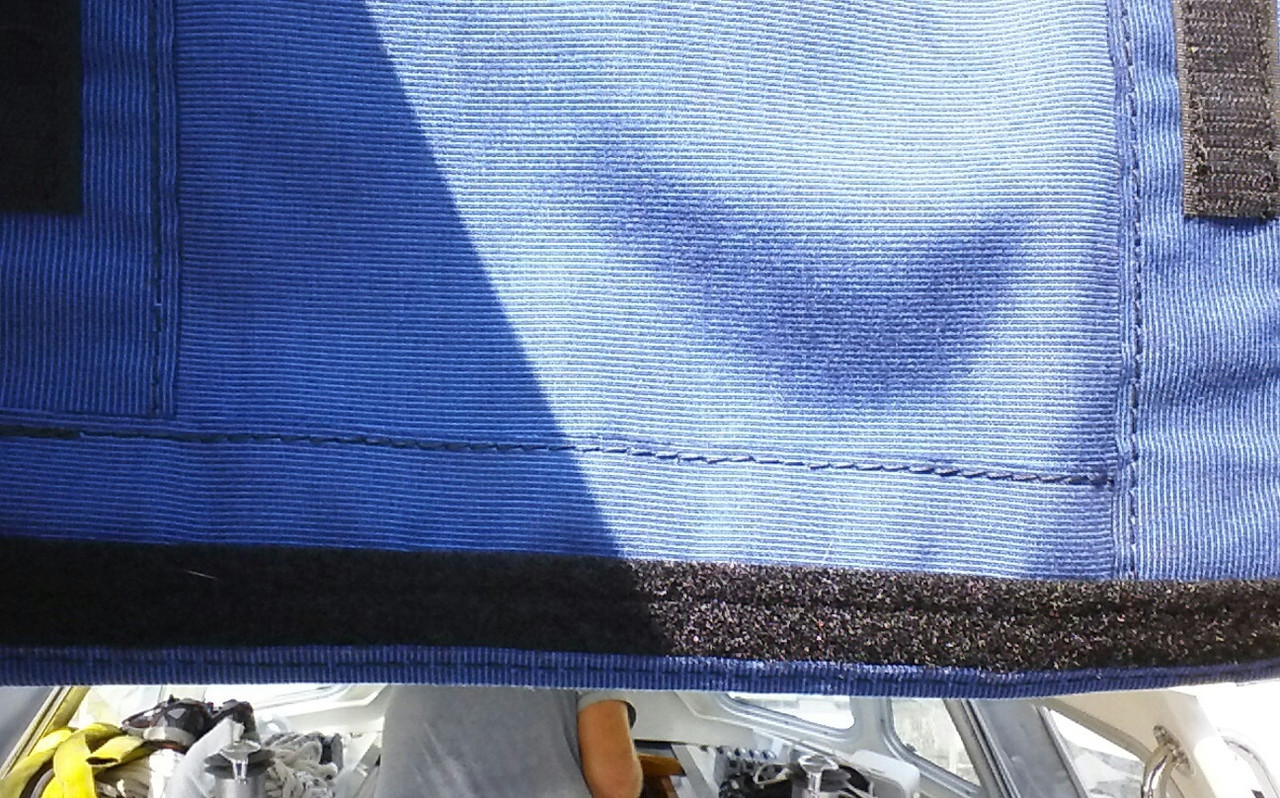
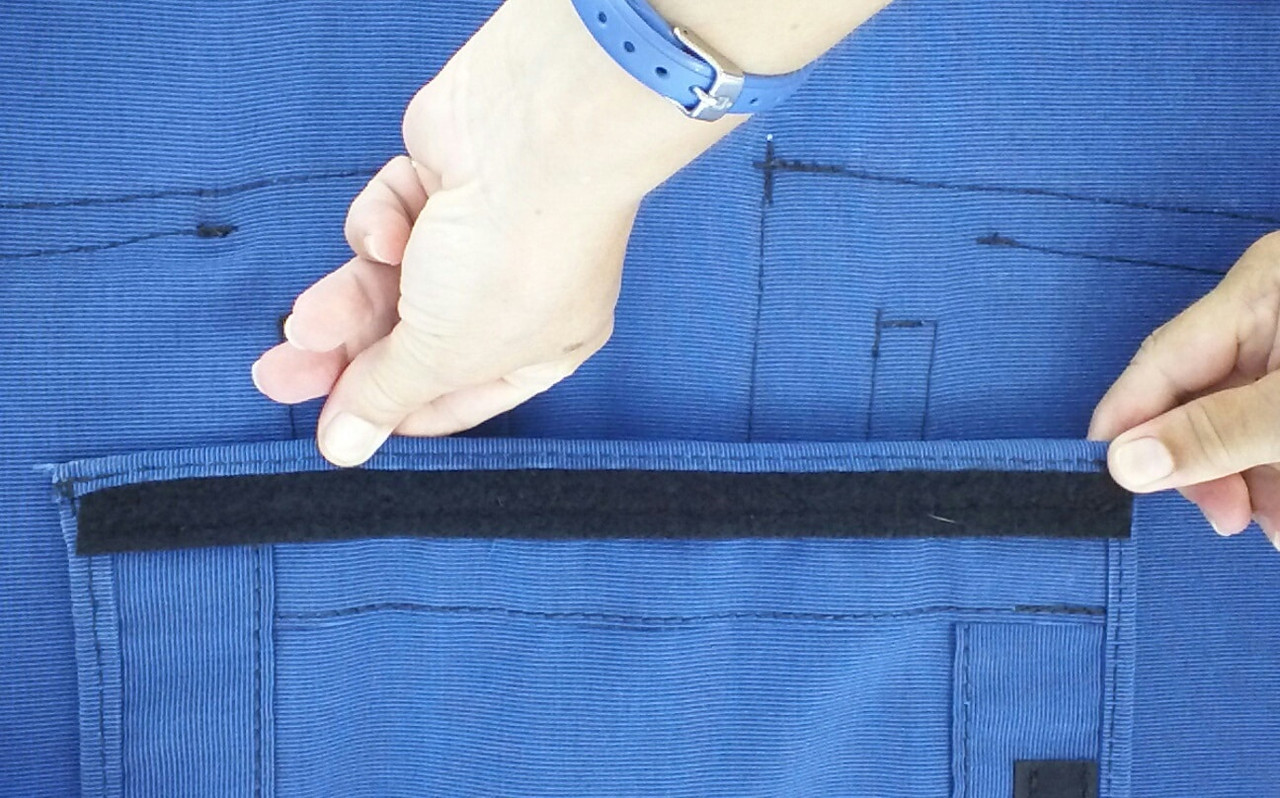
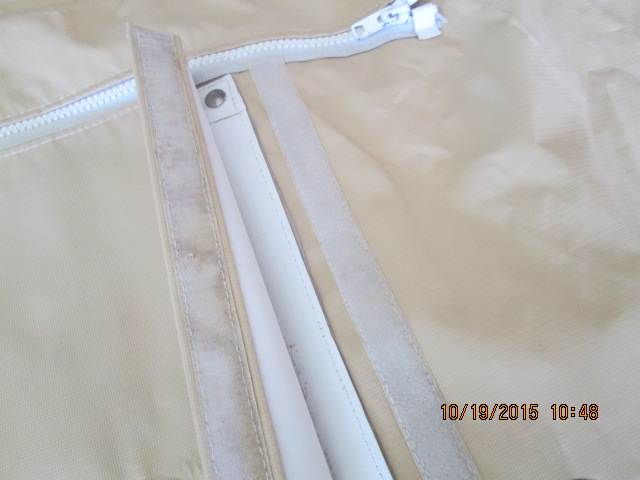
The long end of Velcro to hold the shade in place when we don't want sun.
Rolled up - this is the Velcro that will hold it into place.
This is what it will look like when we
are under-way or at anchor!








No comments:
Post a Comment