


This door will get varnished. Last piece in head to need varnishing!
Debbie first removed the louvered door to the sink area and
the hinges and clasp.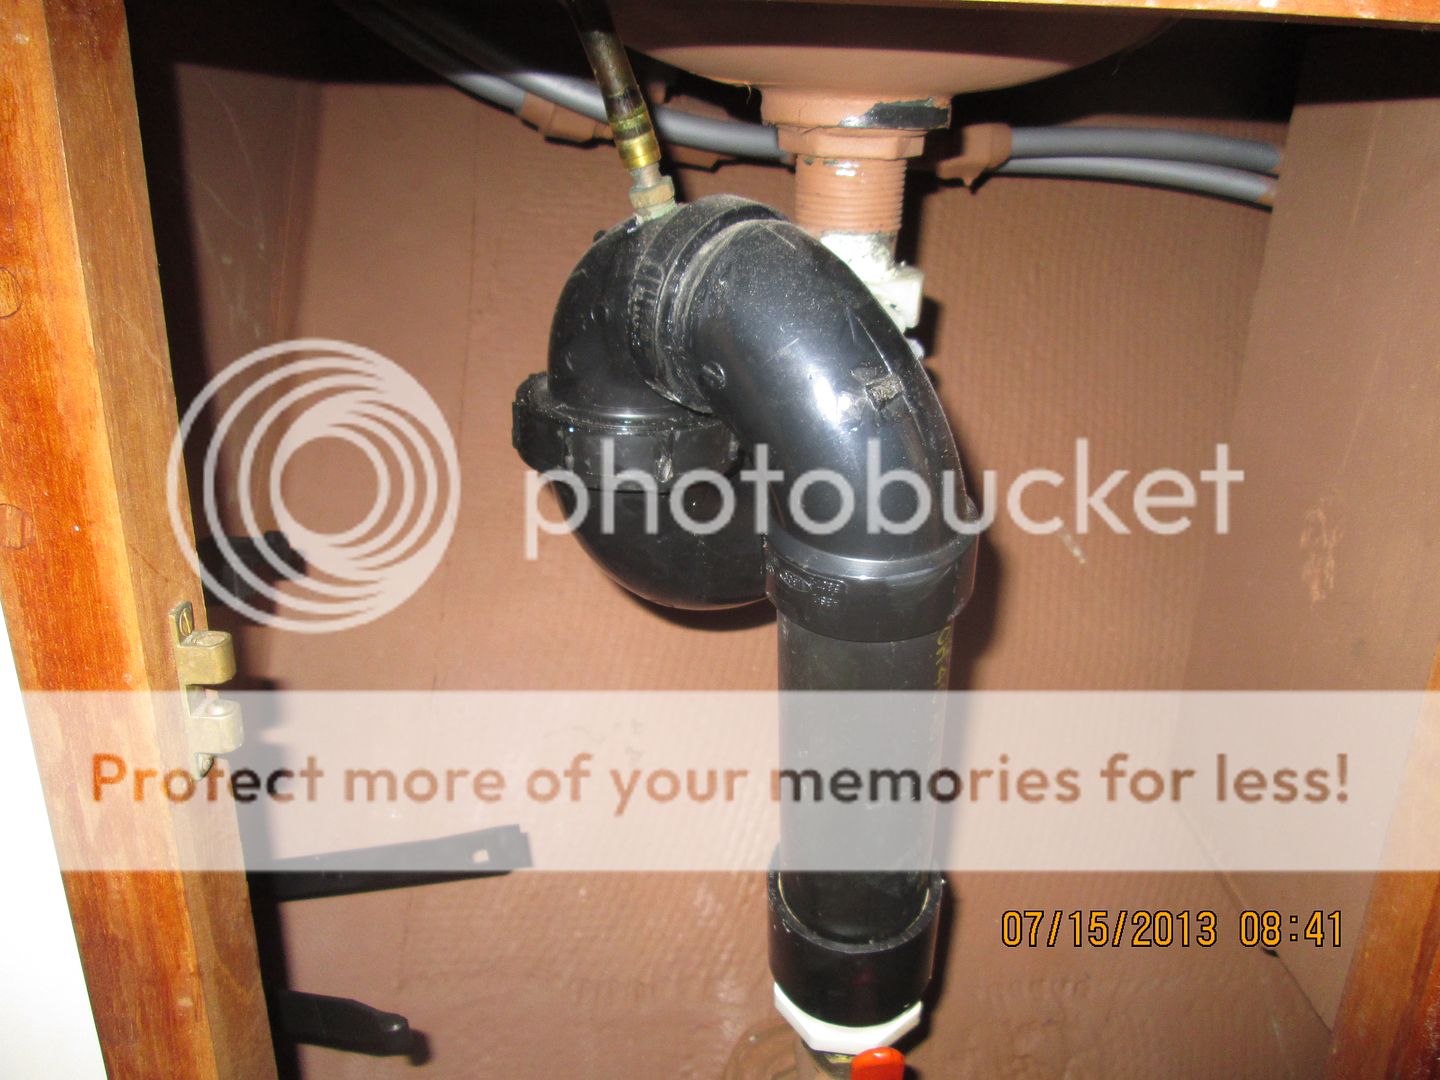
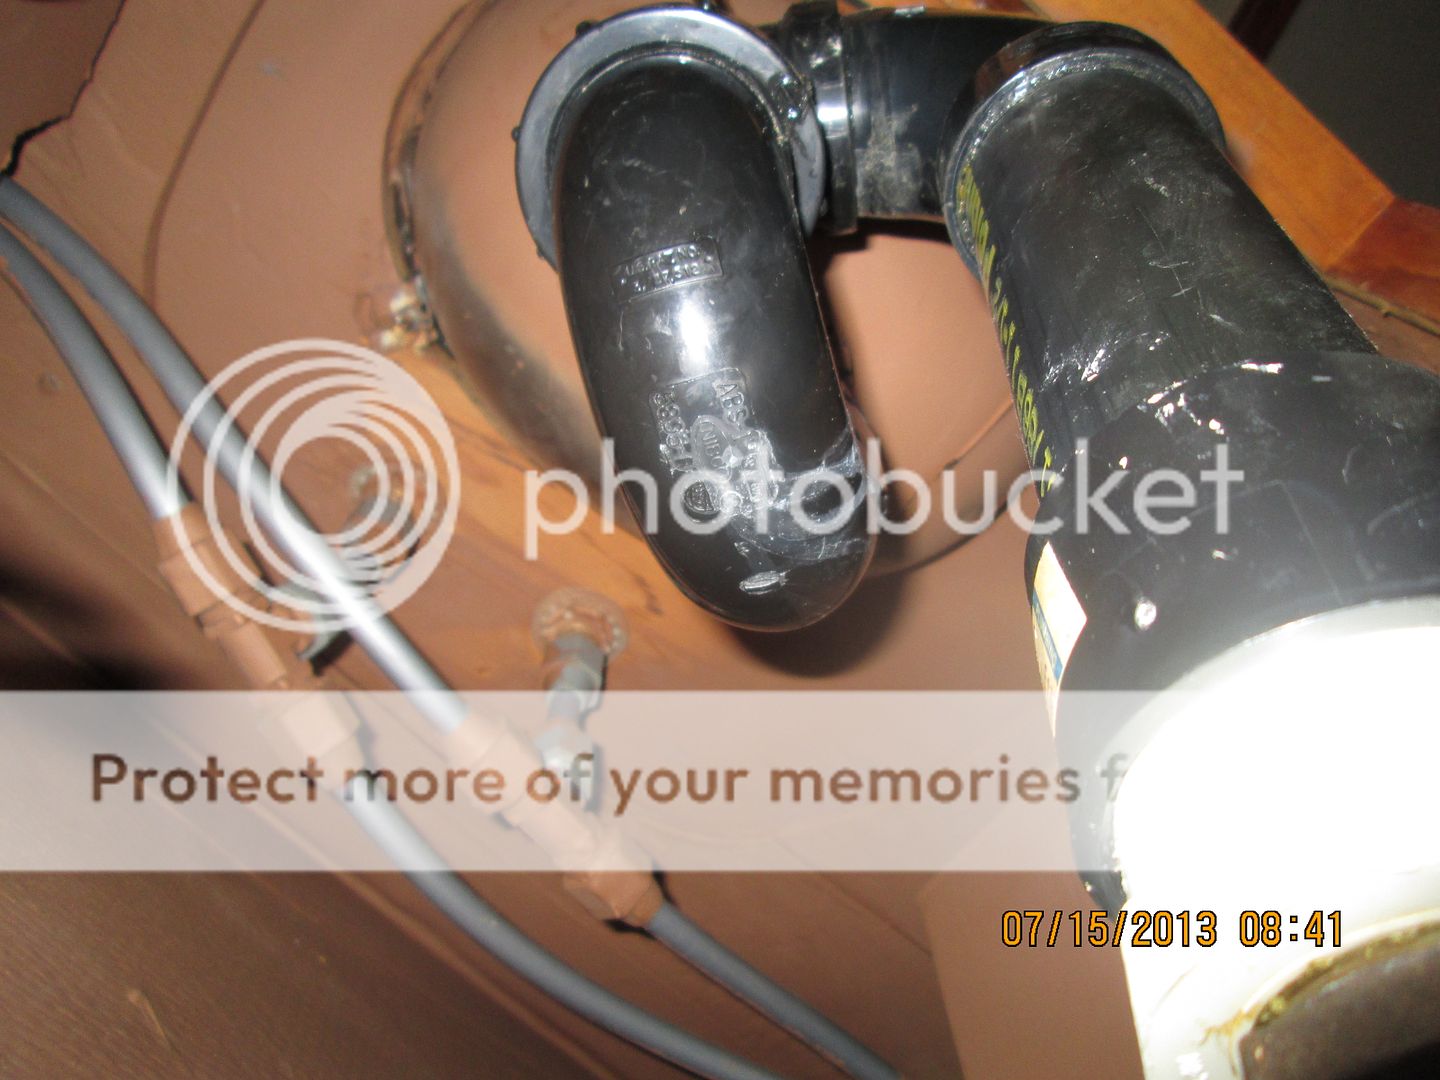
Next Debbie removed the plumbing from the sink to the
through hull valve.
First the four wing nuts had to come off the four studs.
Then she had to dig out the four L- brackets that were on the studs. Then it was
cutting the buttle-type sealant from around the bottom of the sink. Then we
both got involved lifting the sink at the top with a chisel and cutting the sealant
around the edges.
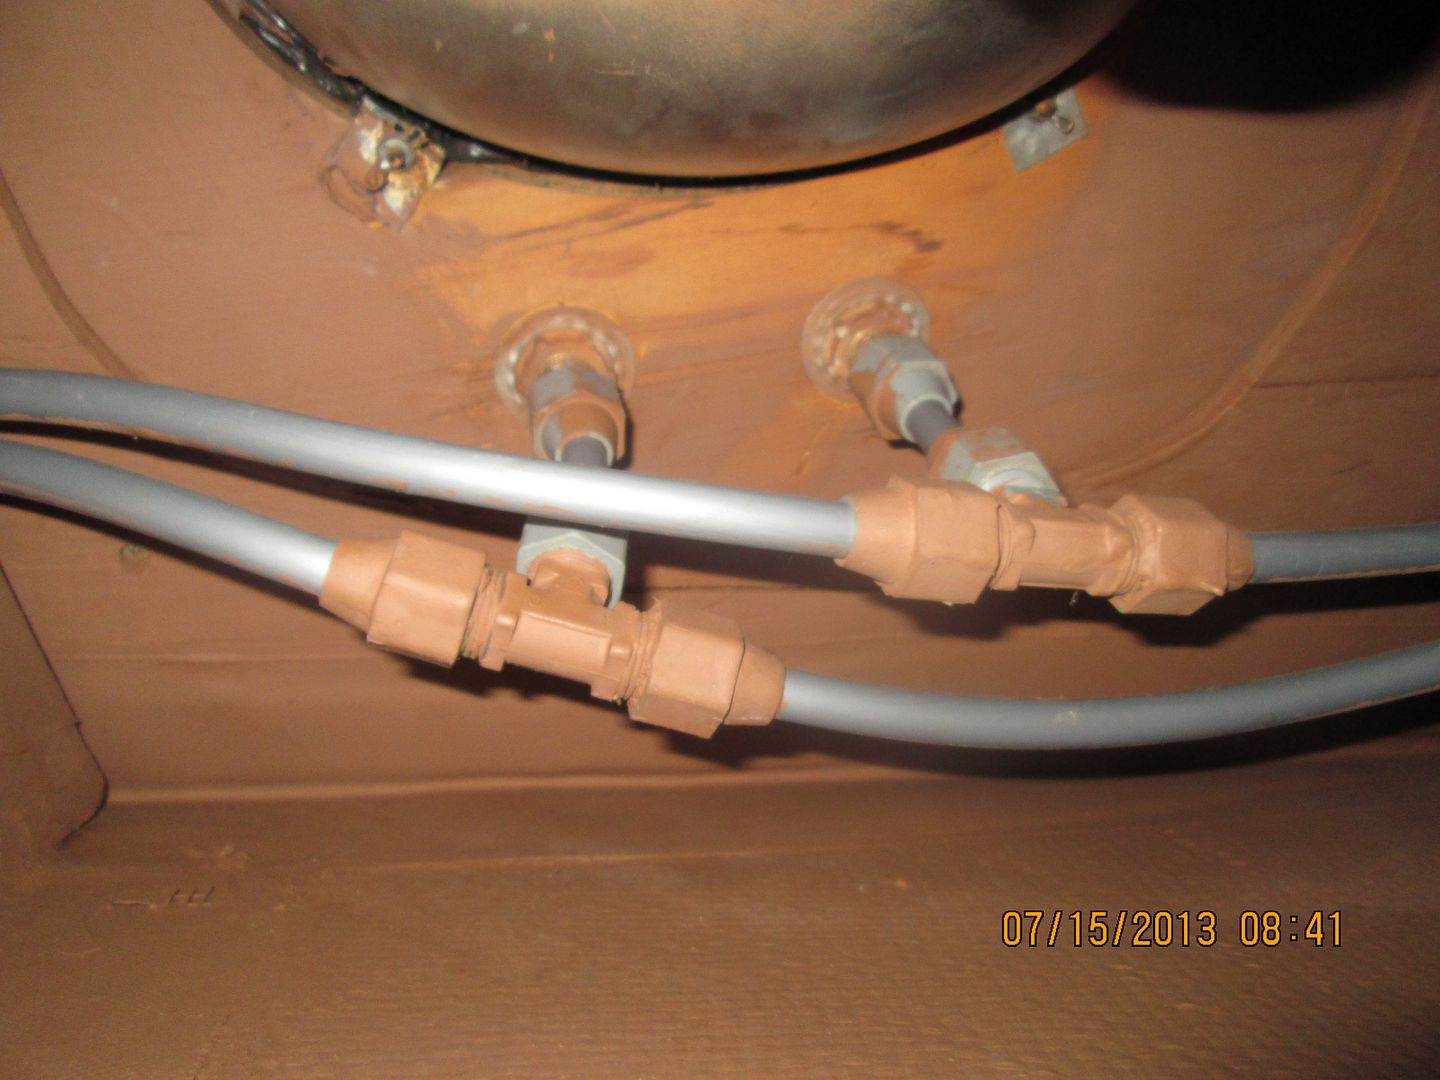
You can see two of them here
.

Debbie removing the sink brackets.

Finally we got the sink free.
Next Debbie removed the faucet. We had previously purchased
two whale valves to put in the head faucet plumbing. There are no valves there
now.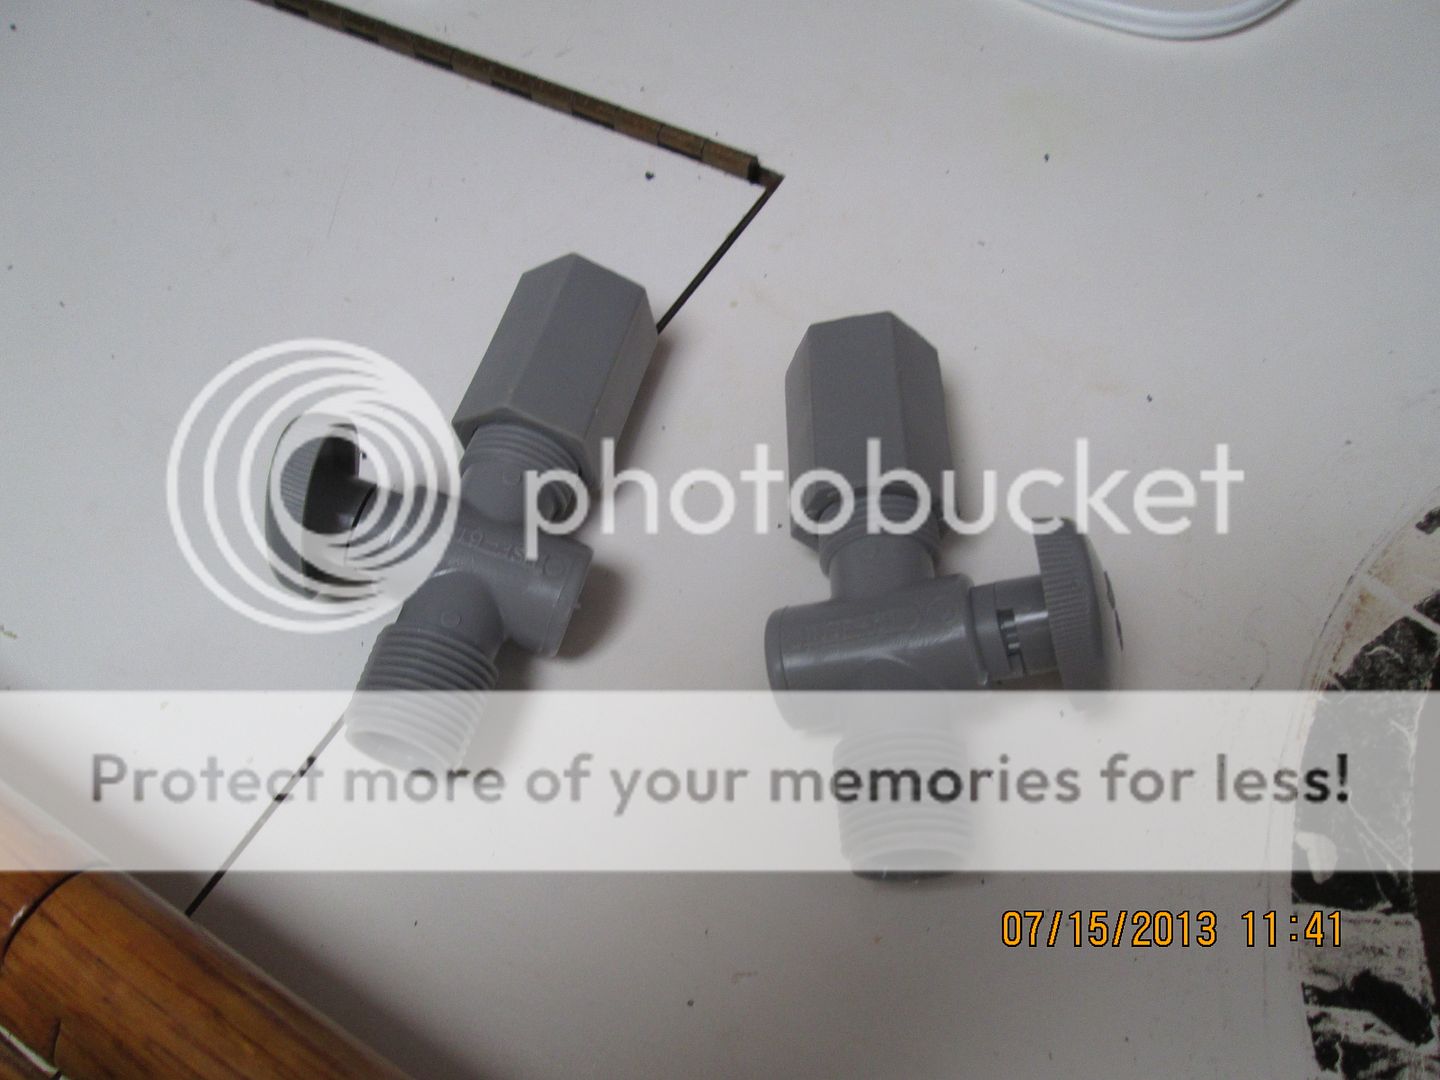
So Debbie removed the faucet and then installed the two valves so we could
turn the water back on.

The valves will need to be moved to facing down later
before we connect the new faucet but for now they are fine.

The sink we purchased is round, the original one is oval. This makes for a challenge. To get the new sink in the counter top and not hang out over the fiddle, we had to have some space on both sides of the side of the sink facing you. When making the cuts we slanted the jig saw so the sides of the counter top were slanted. This helps hold the sink in place. Once we have installed the faucet we will then secure the sink into its resting place. Probably with 3M 4000 and then find some trim at Home Depot to cover the gaps that have 3M 4000 in them. The sink will be secure and will not be in the way.
Debbie made some templates of the sink and we determined that the sink should sit two inches above the counter top so the new faucet (water fall faucet) would fit nicely. By putting in a vessel sink we were able to enlarge the sink as it sits up above the counter top by three inches. This is a household sink and we just ordered it and then decided on a faucet. We took a leap of faith and decided the new design would work out. We did our homework of course by measuring everything MANY times and discussing it the same amount. This is an upgrade we have been wanting to do but have not had the time till now. We have had the parts for about a year.


So on it goes with this project. Installing the head sink is here.
No comments:
Post a Comment