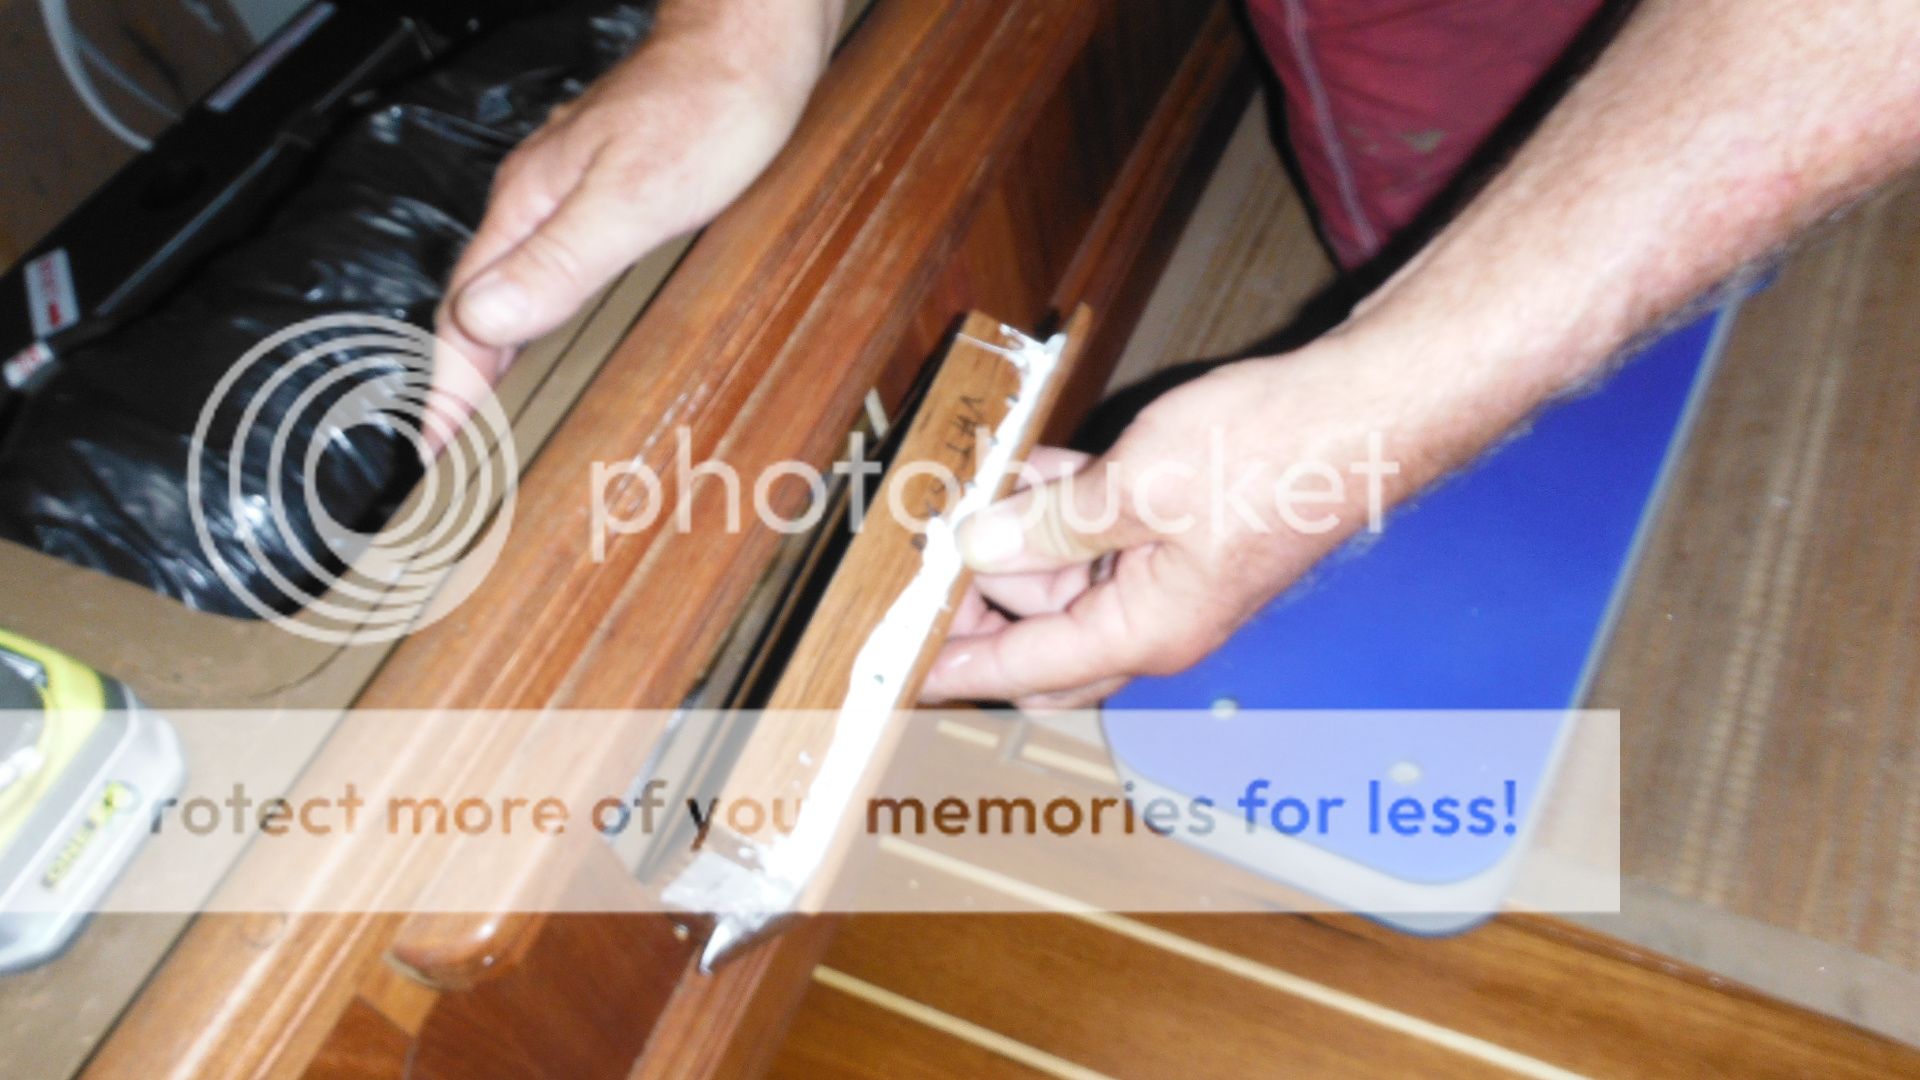

Put in teak grate in the salon with 3M 4000 UV Marine Adhesive and some screws.
These pictures represent about two – three days’ work at anchor.
April 2013 - Sitting at anchor in Punta De Mita in Banderas Bay Mexico
Put in teak grate transition box in the salon with 3M 4000 UV Marine Adhesive and some screws.
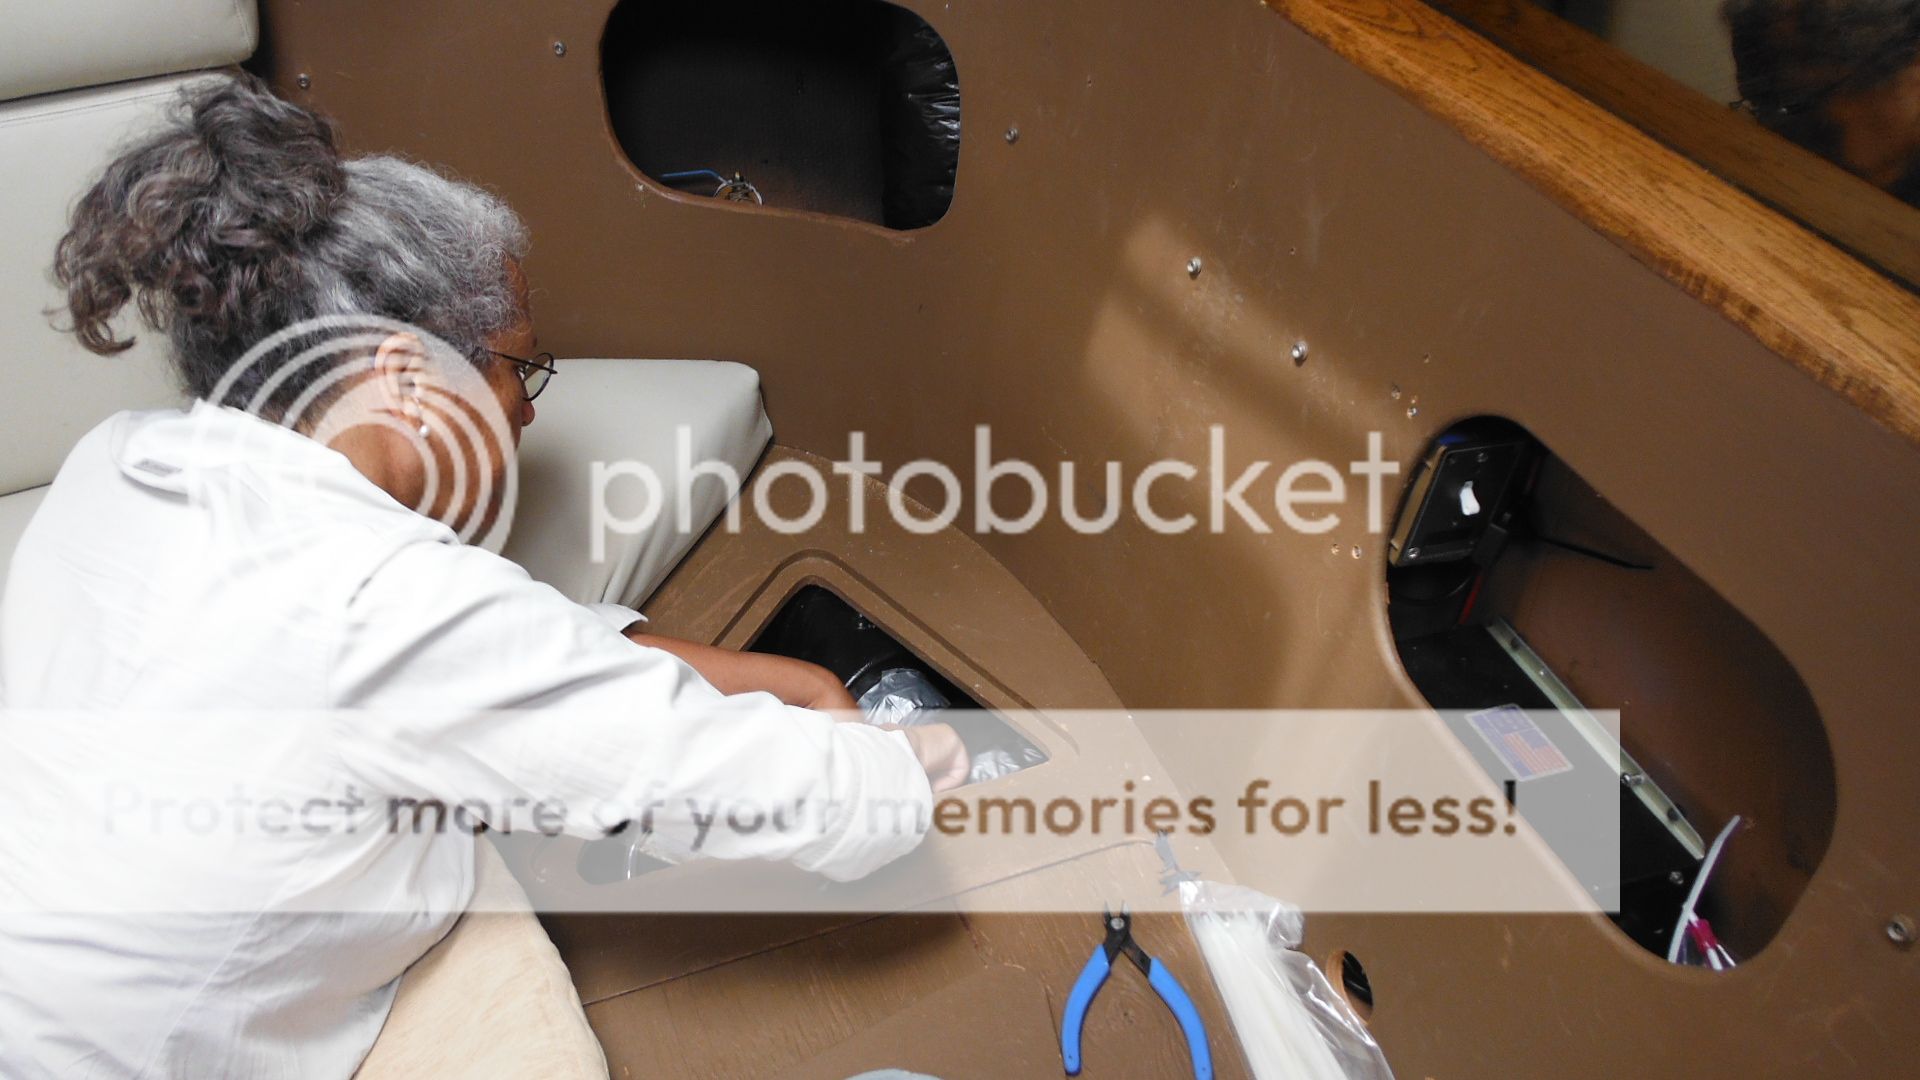
Debbie did all the duct hose attachment to the "Y" connectors.
This was definitely not easy.
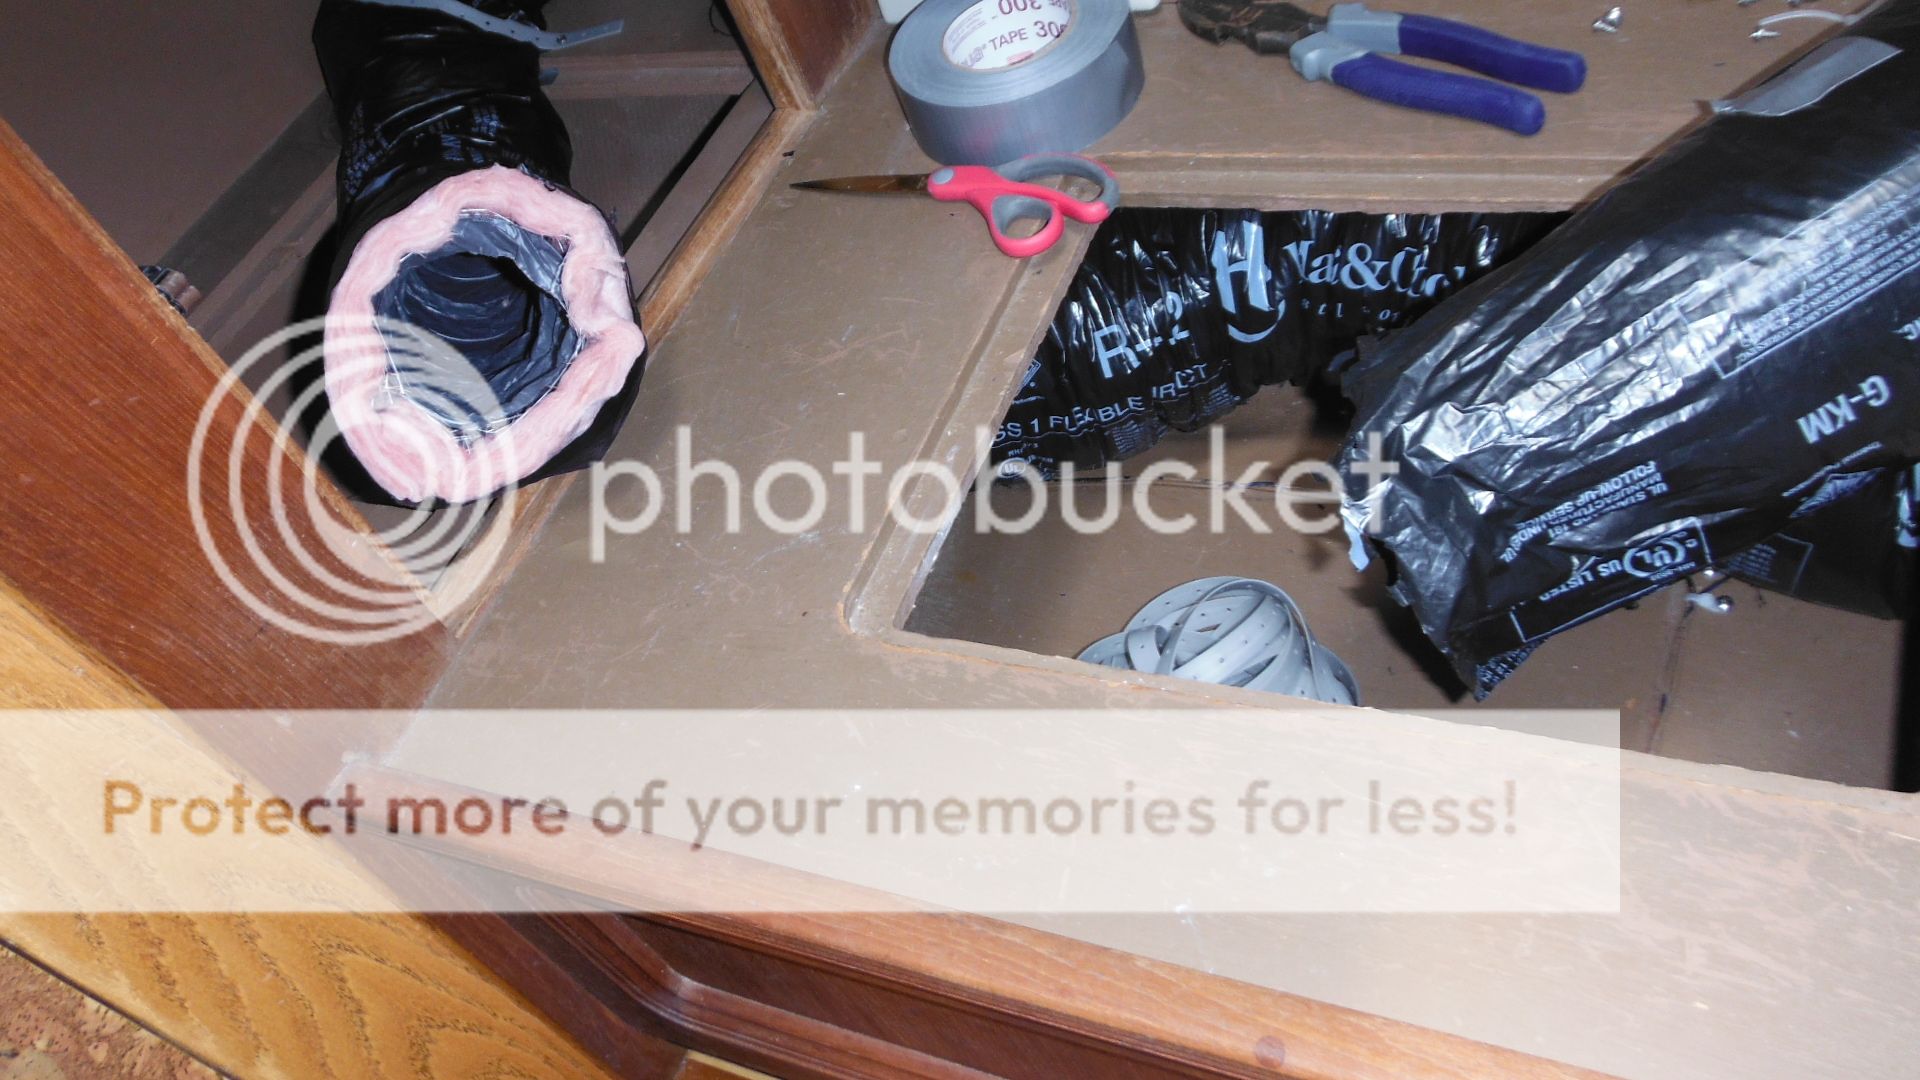
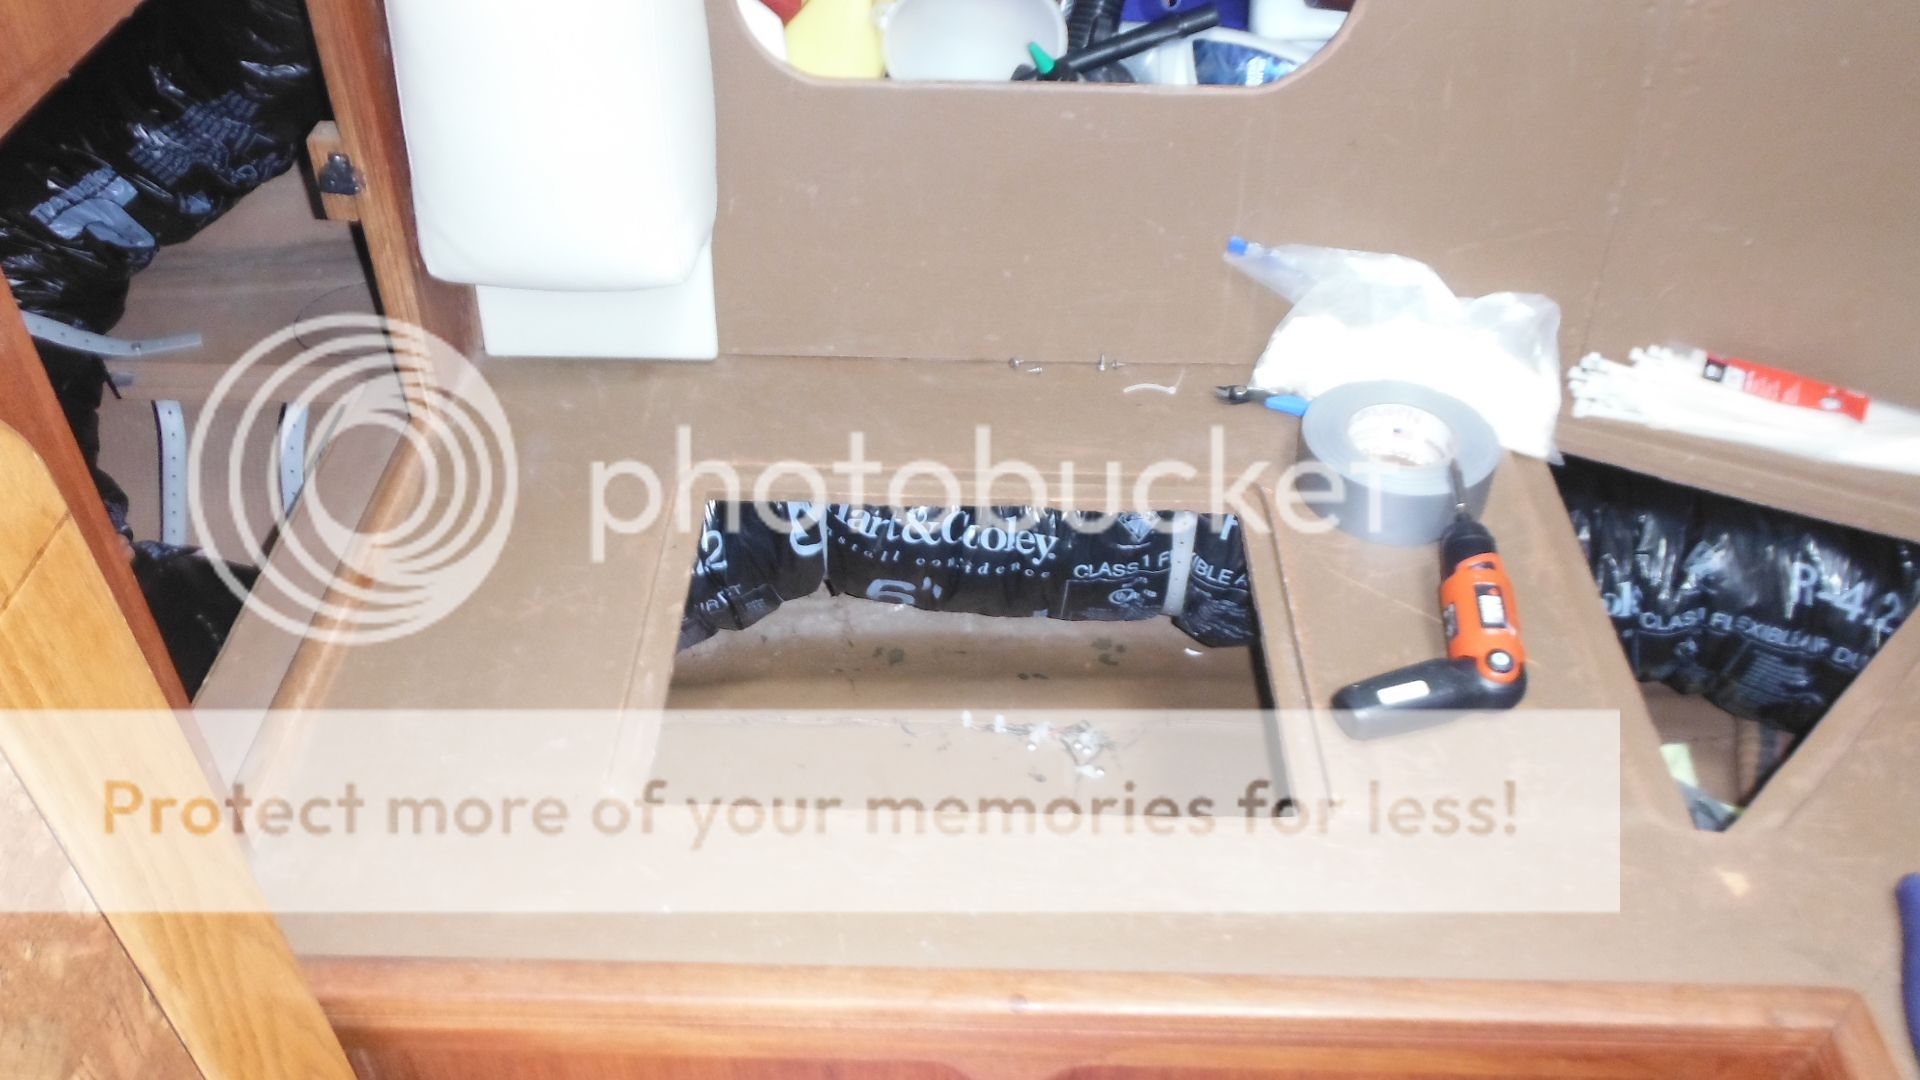
There is not any room to work and there is a lot to do for each connection. Here is the process:
- First wrap 3 layers of duct tape on the inside connection.
- Then connect a couple few wire ties together then put them around the inside duct.
- Then wrap that up with another piece of duct tape.
- Then pull up the outside insulation covering to cover the inside connection and wrap it with some more duct tape to seal it together.
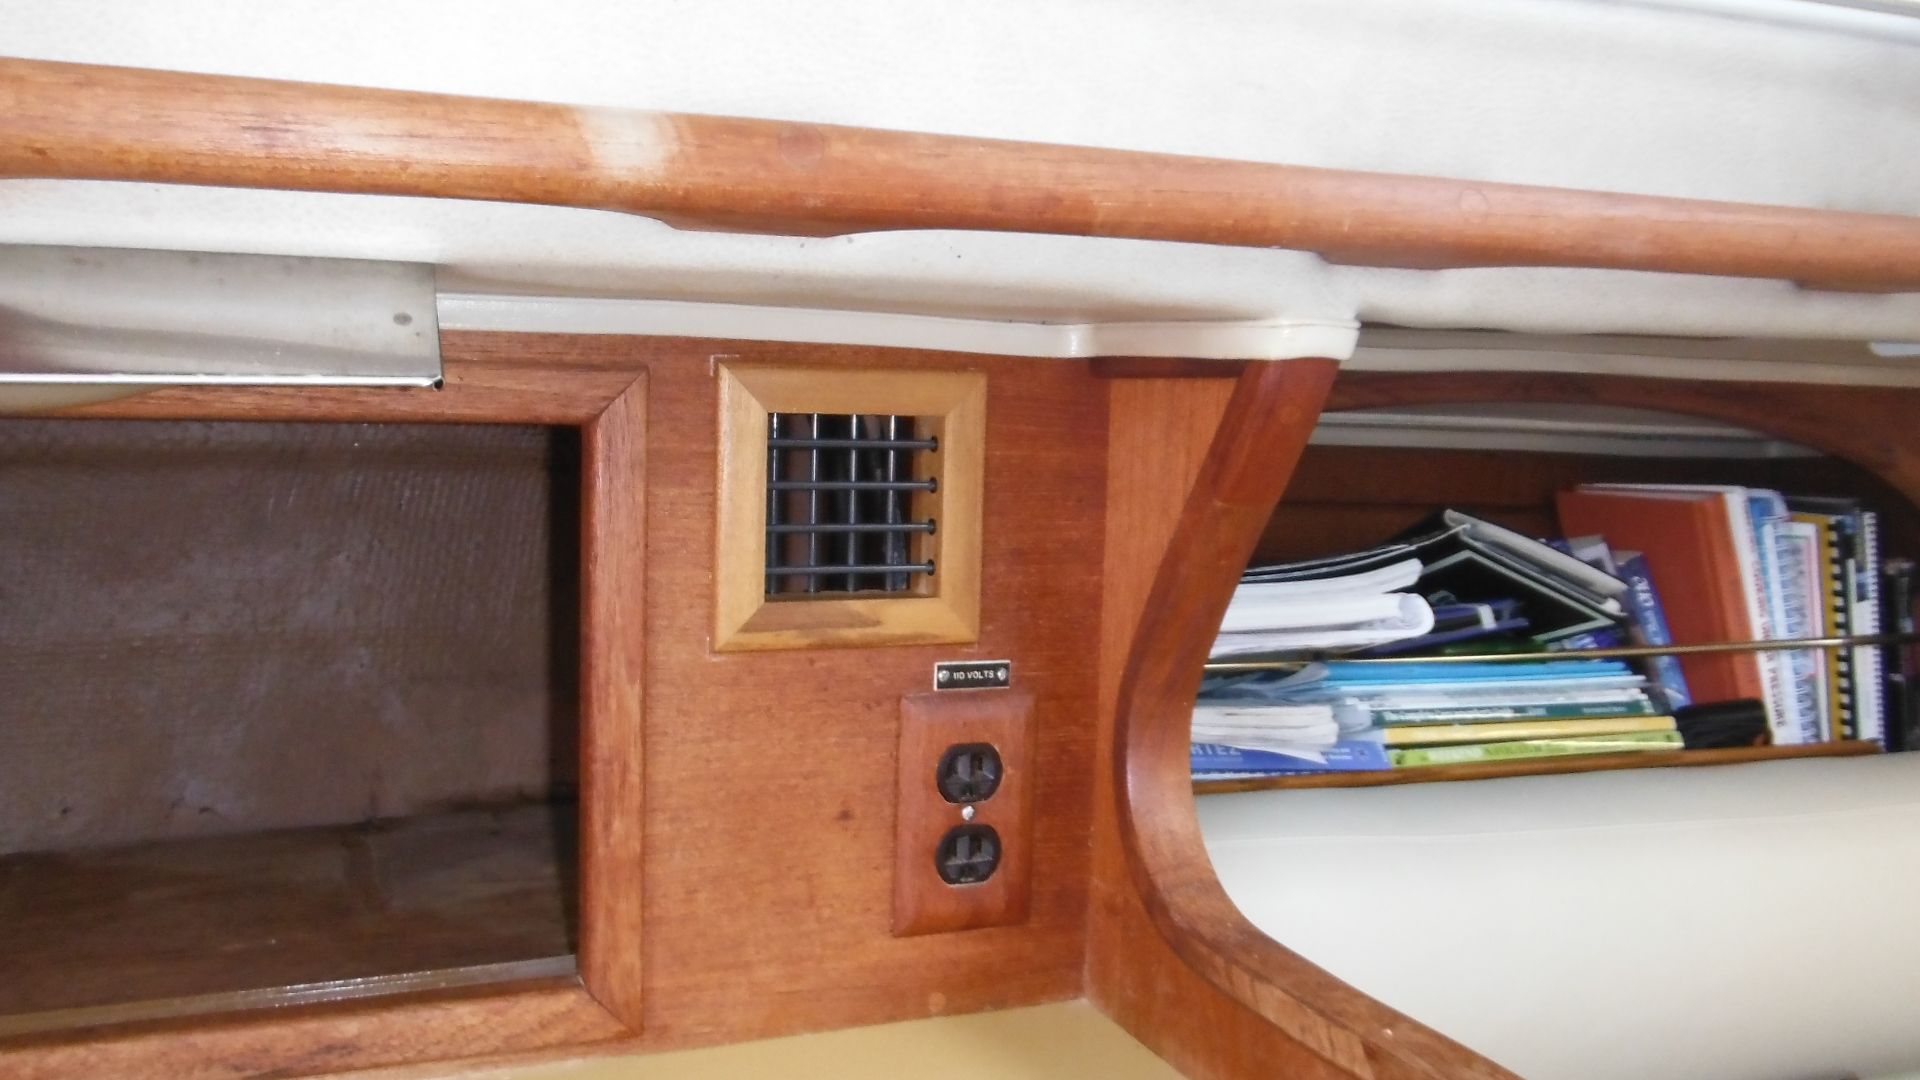
Dish cabinet over the stove.

In the dish cabinet over the stove.
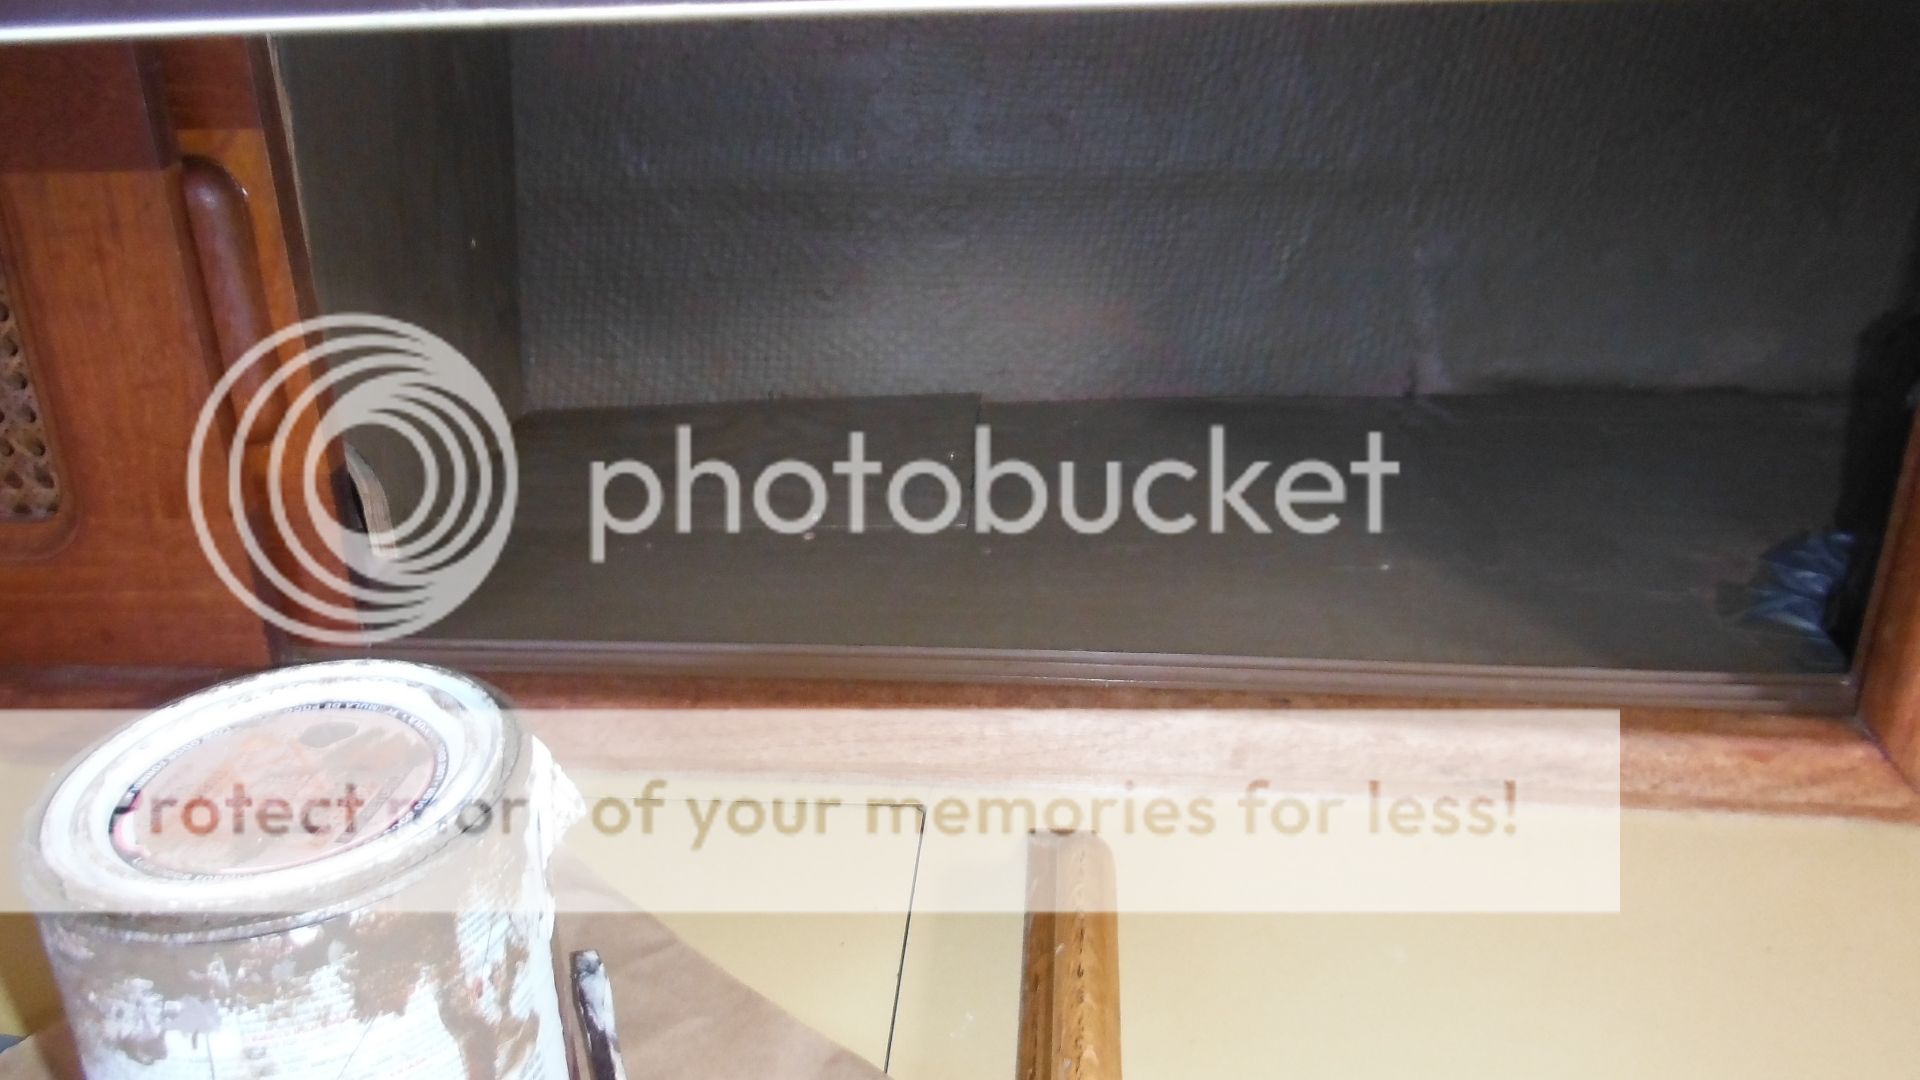
While Debbie was installing the transition box and the
ducking to it she painted out the interior of the dish cabinet (some light was shining through!).
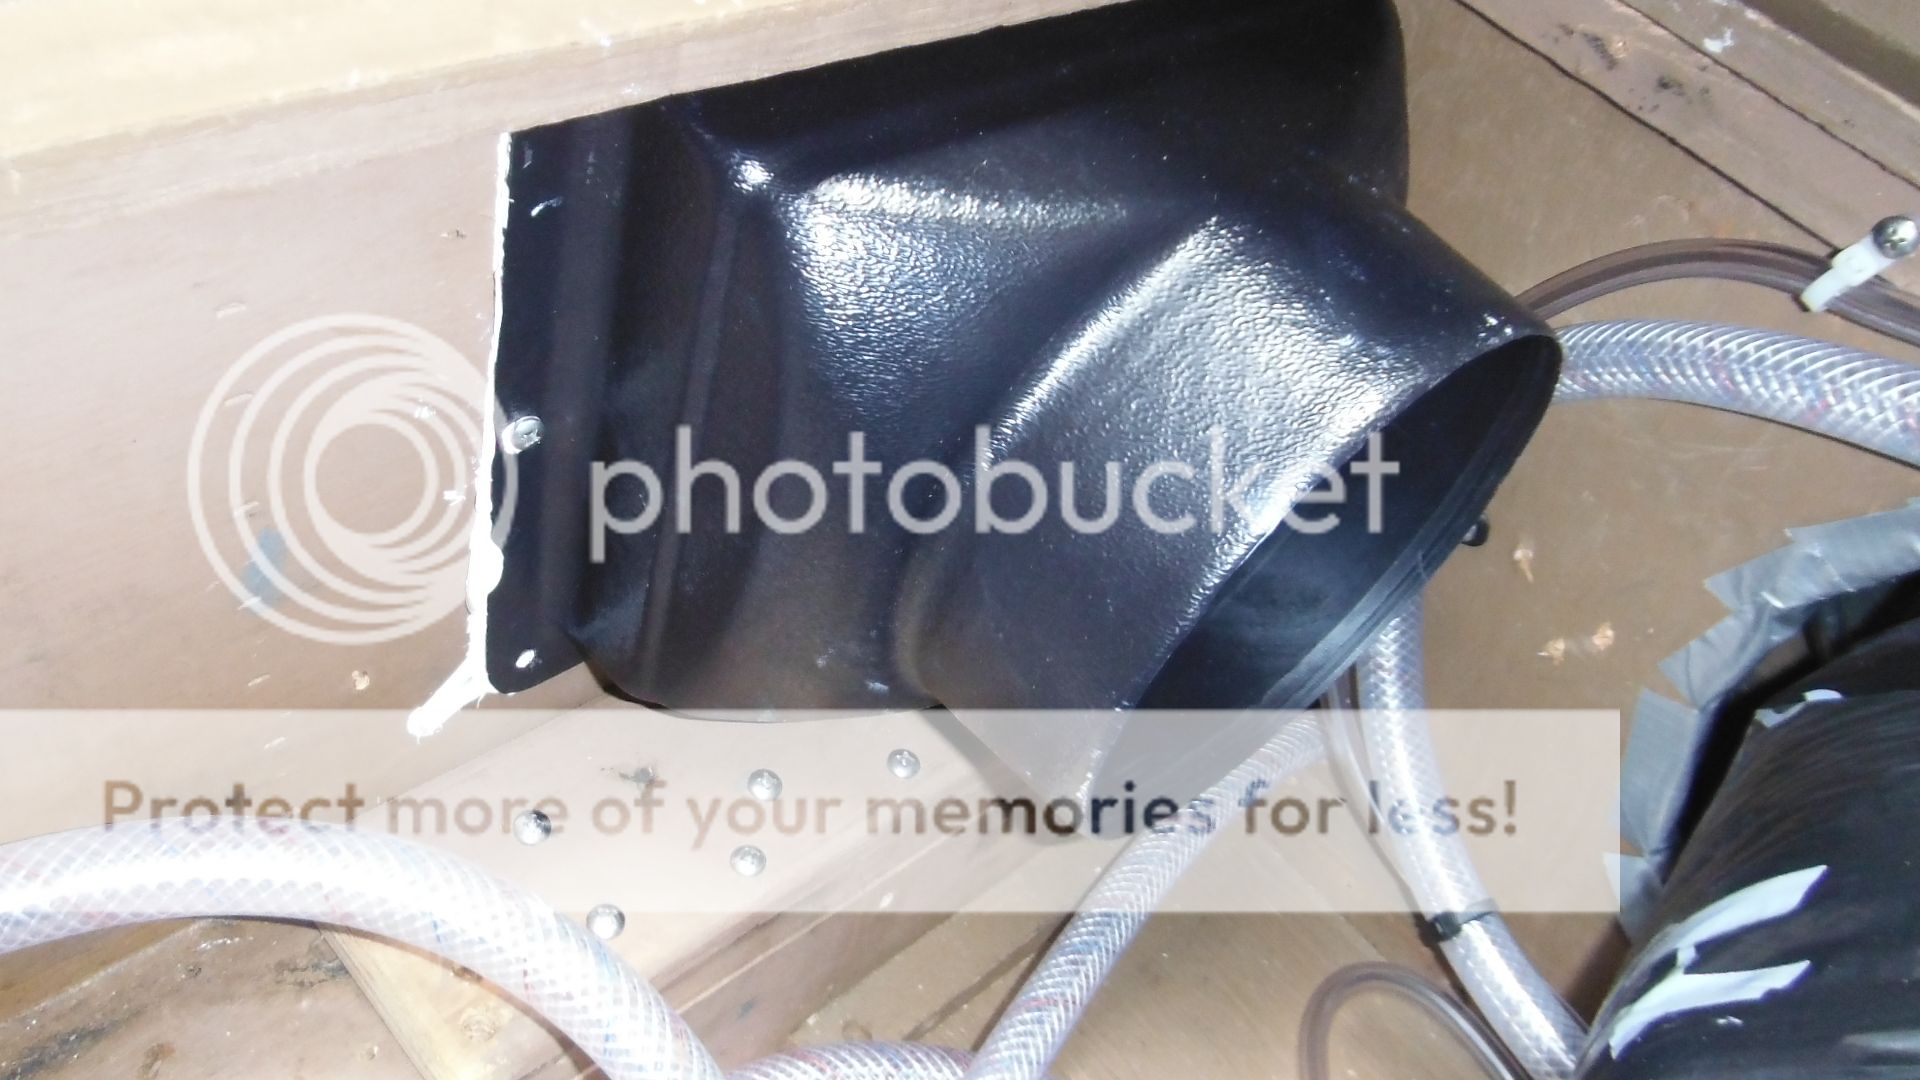
To the right of the sink. A 6 inch "Y" to two 4 inch ducts.
Debbie duct taped up one 4” duck on the "Y" as it will get installed later. We want to test the system out and get it running as the summer is approaching fast. Then we will go ahead and install the other 4” duck in the galley by the stove.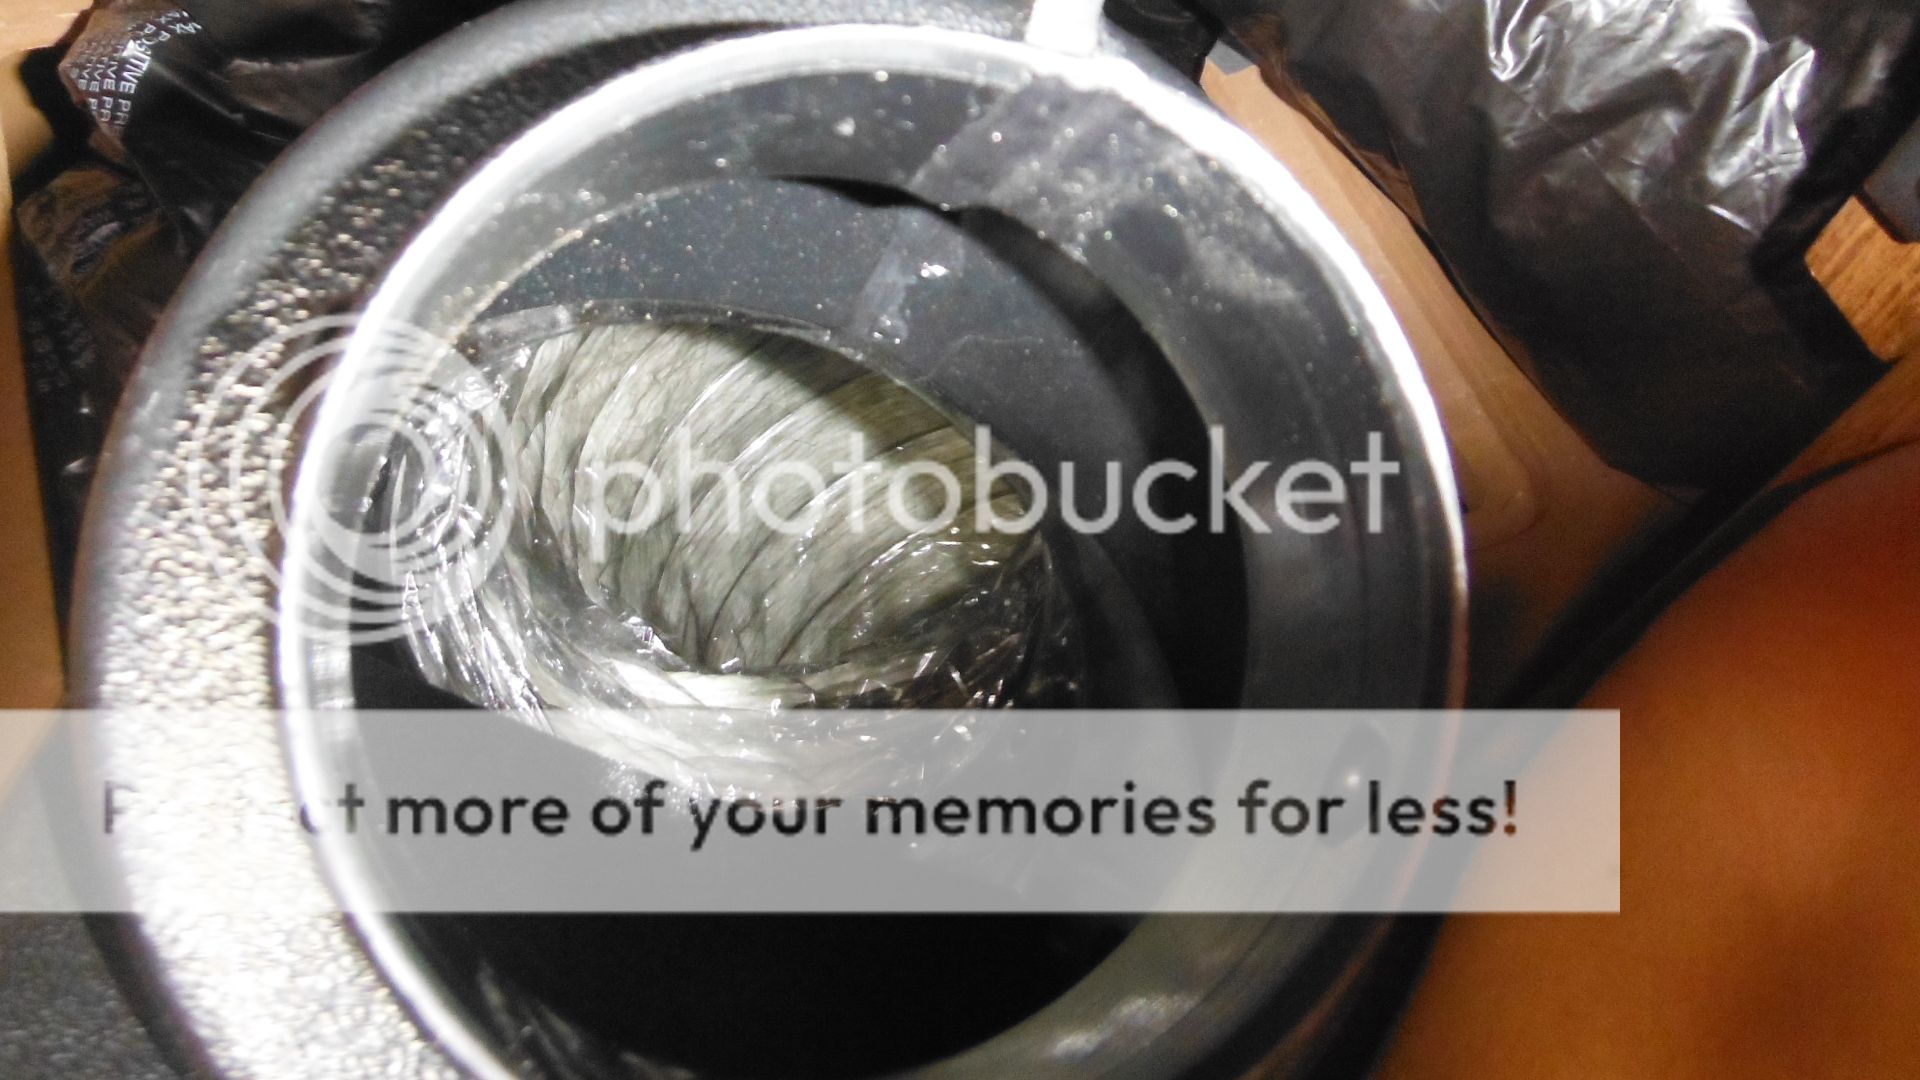
Looking in a 4 inch duct.
Branching off to 4 inch ducking.
All done here.

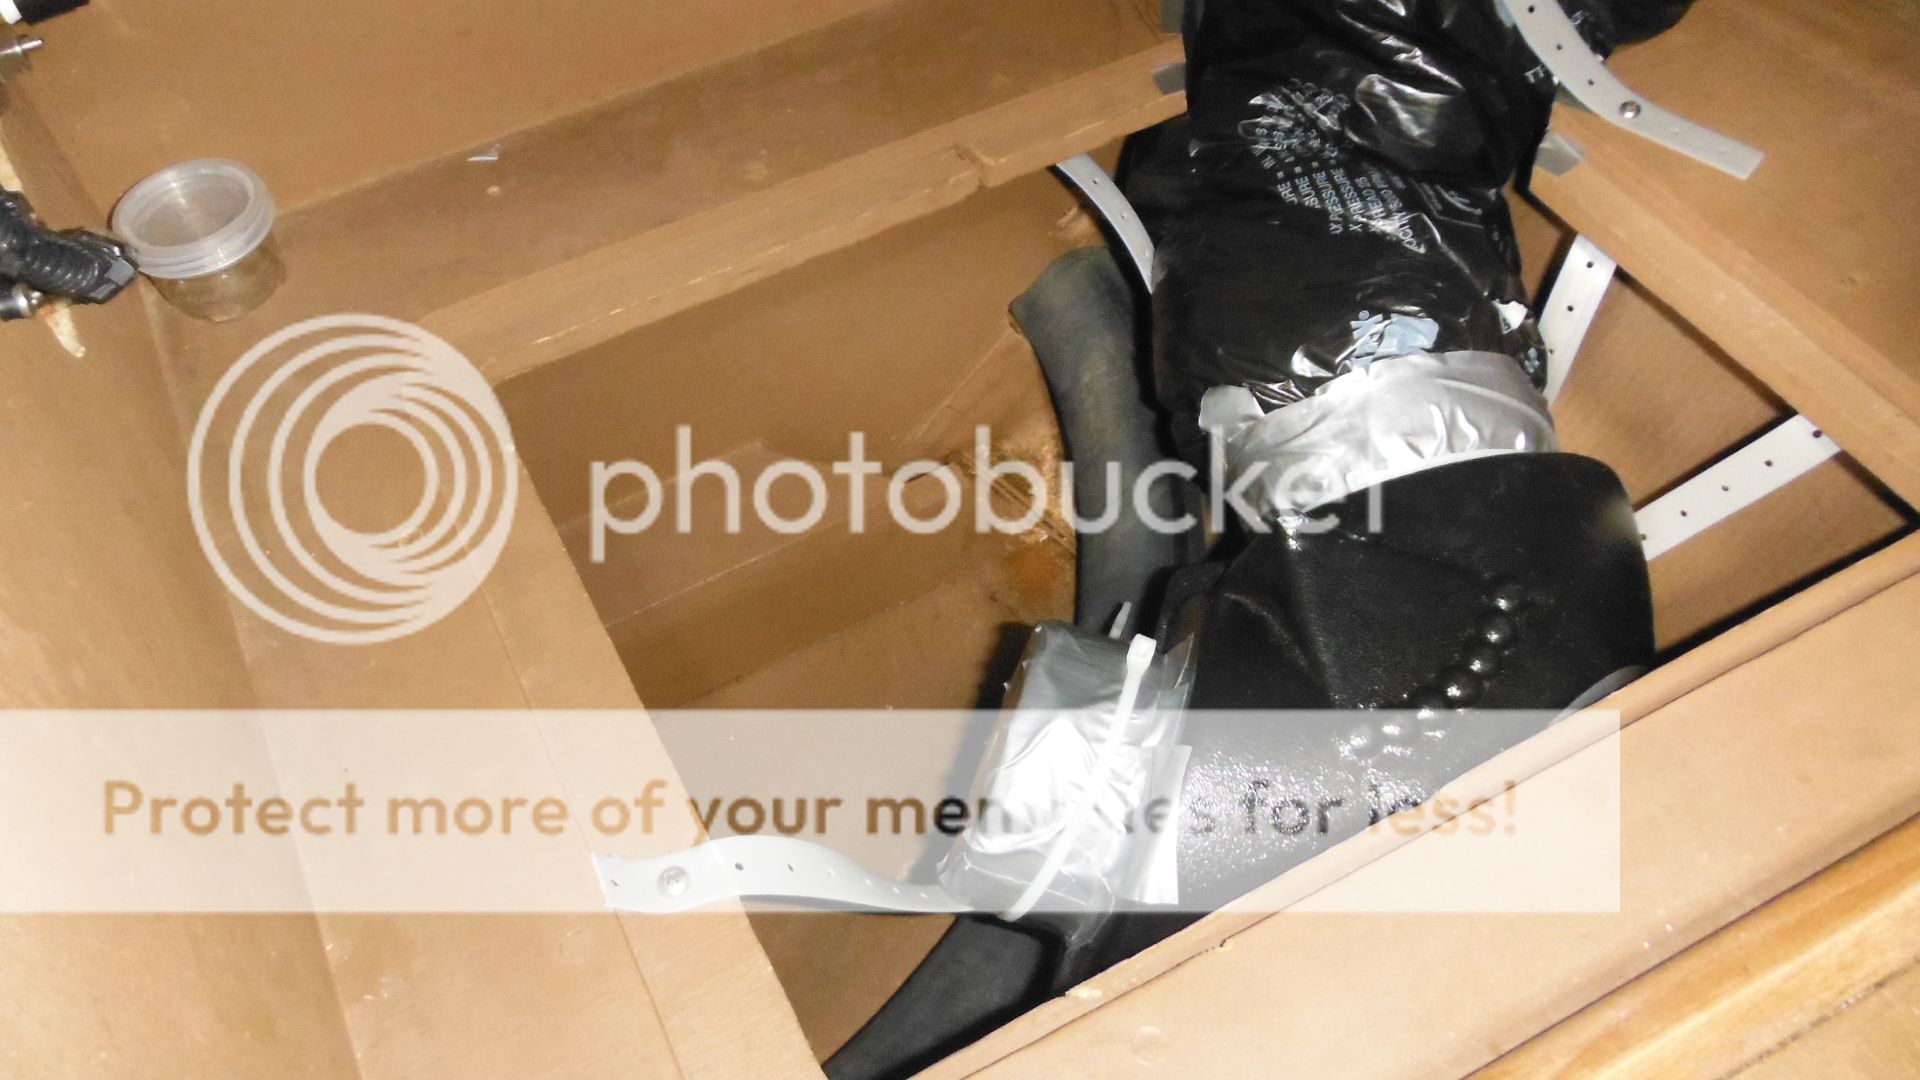
Securing with plastic strapping.
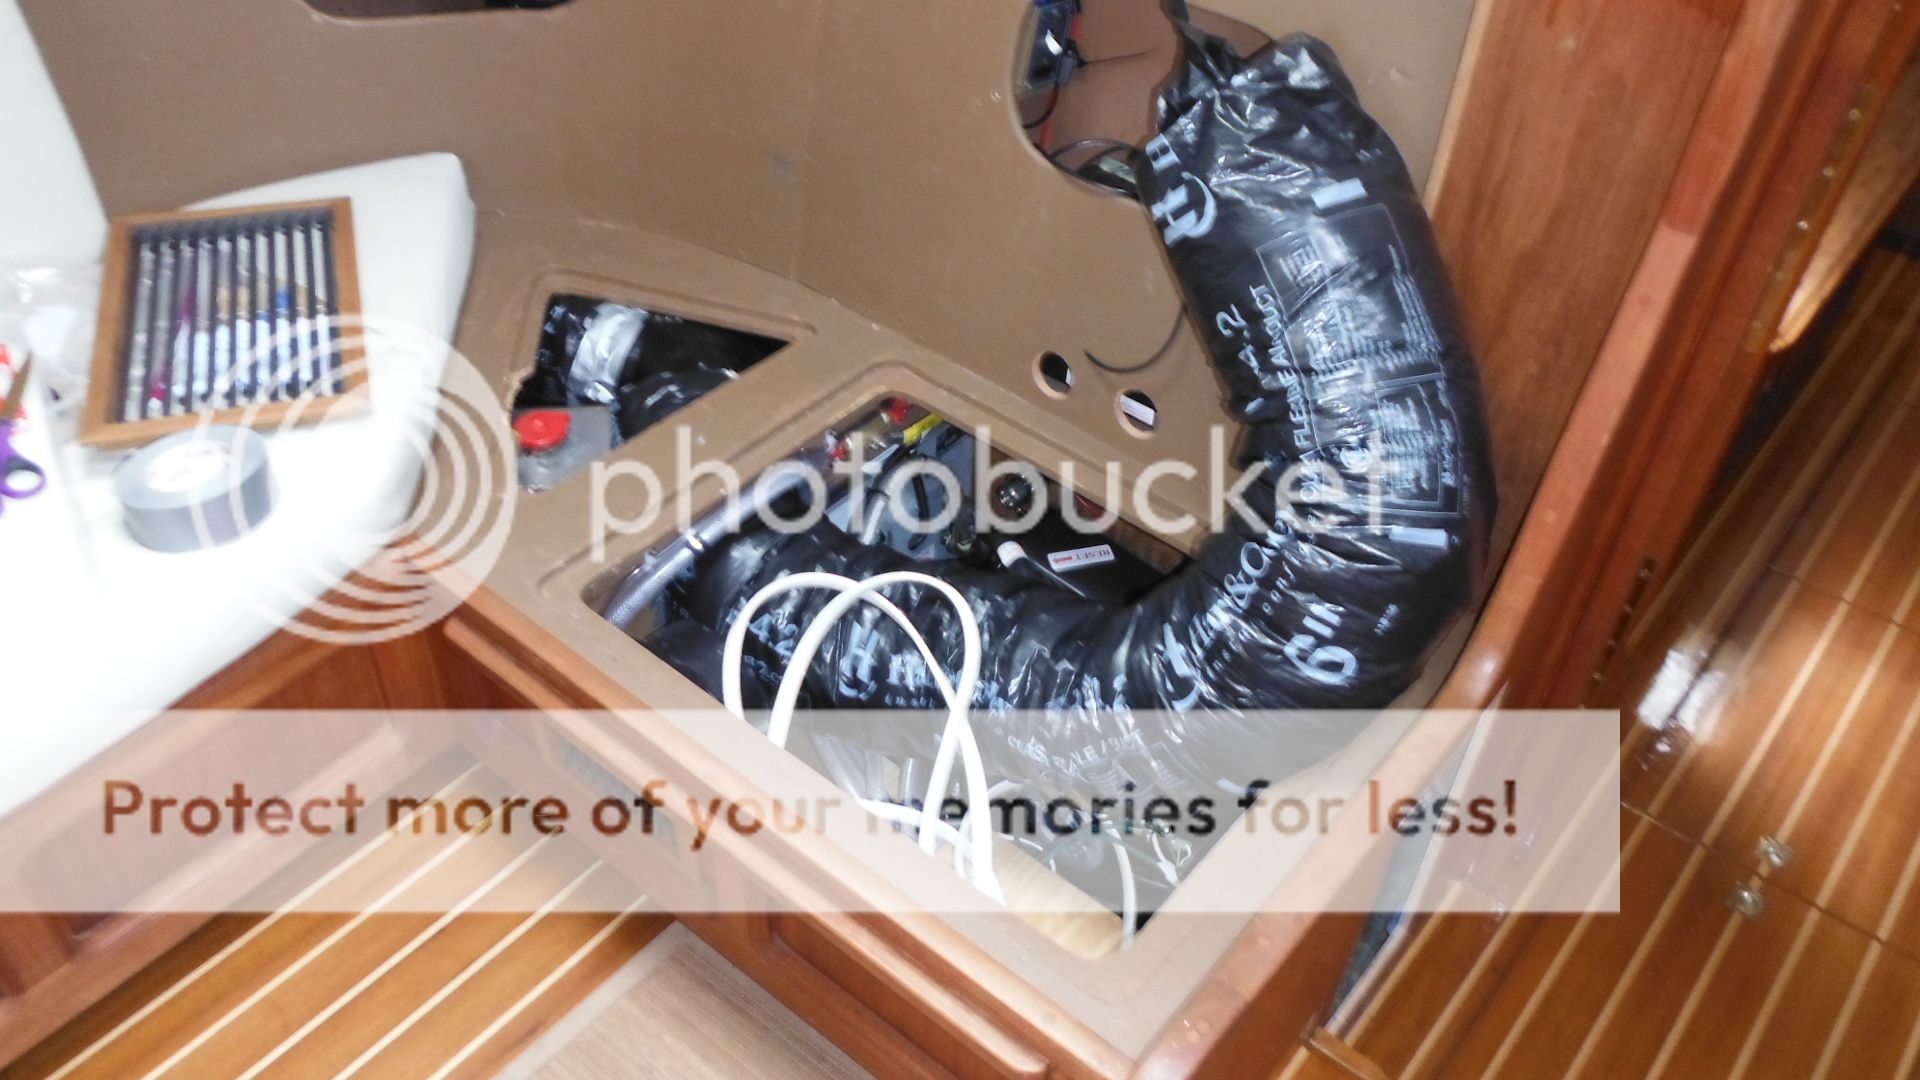
This is 6 inch duct that goes to 4 inch duct as it goes up to the dish cabinet
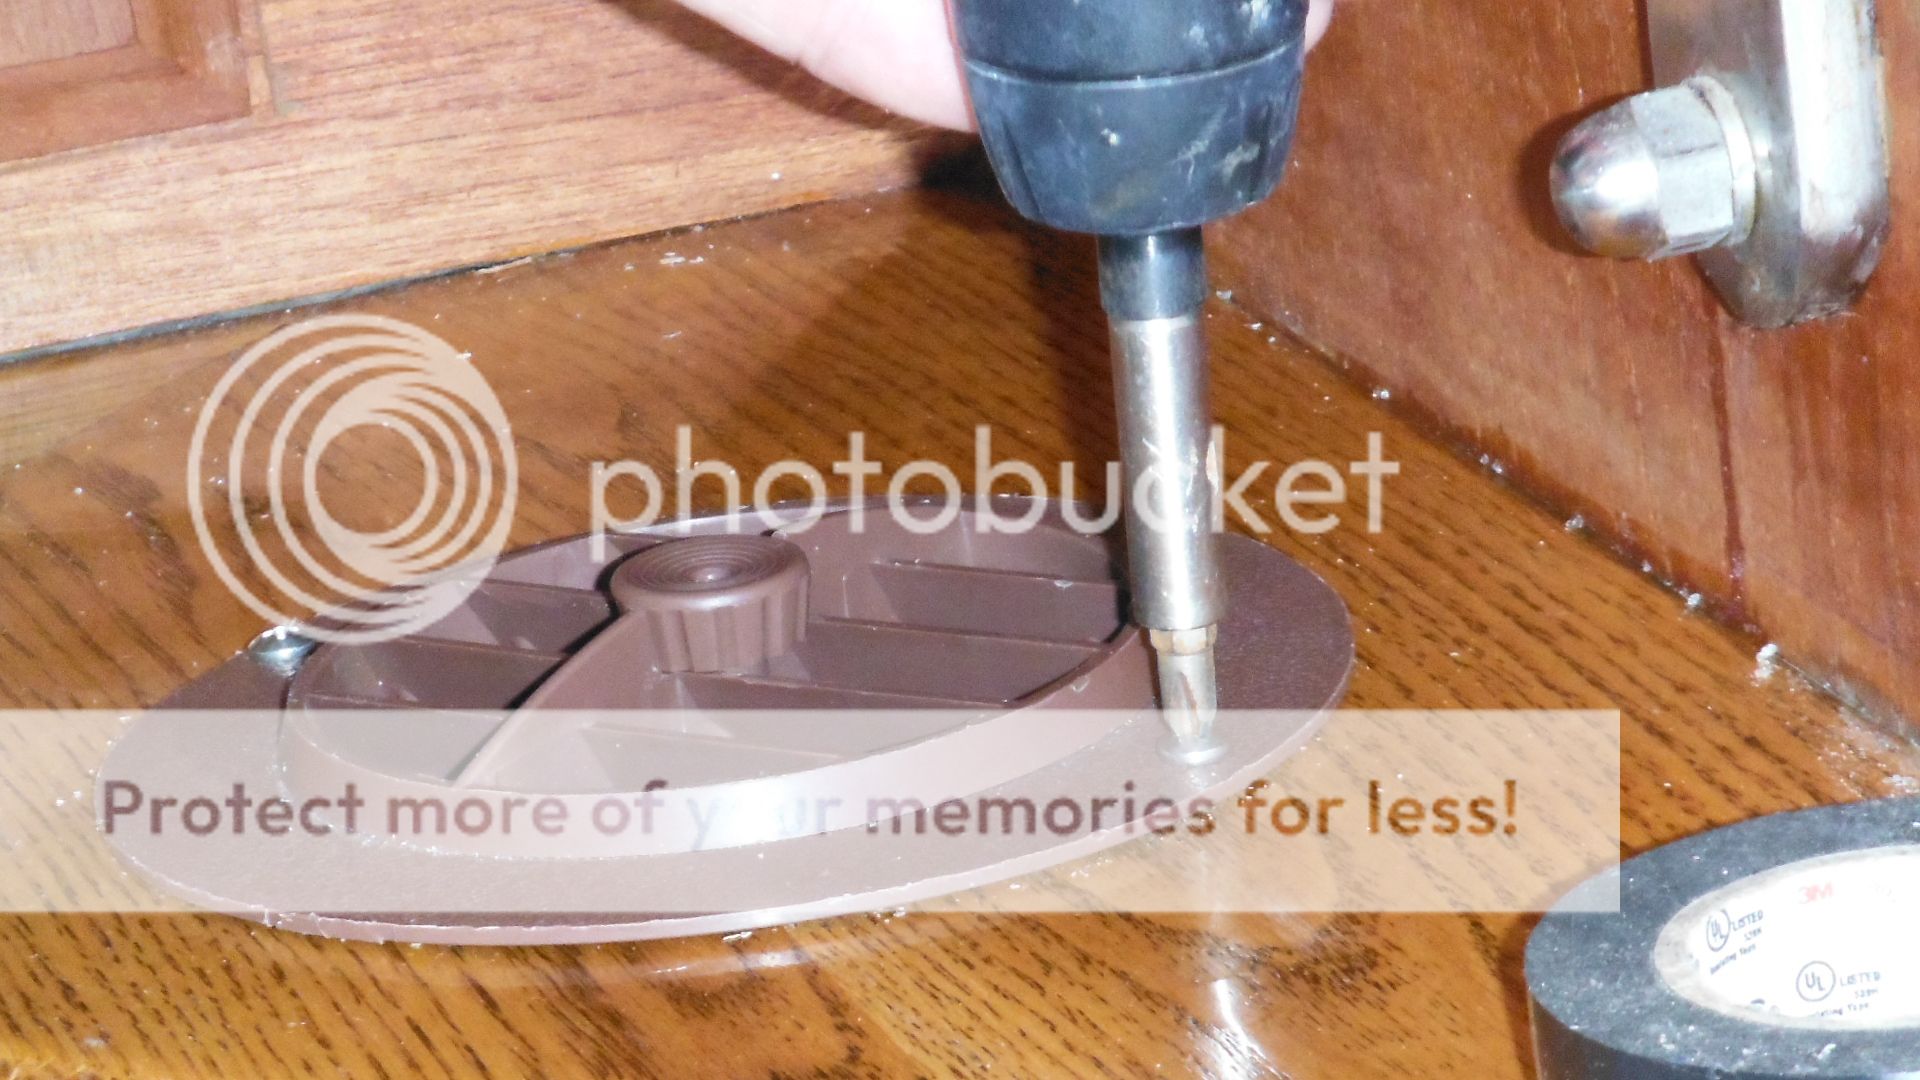
All this work is being done at anchor and these days there
have been a lot of swells. Even with the flopper stopper it is sometimes hard
to get the screw driver on the head of the screw!
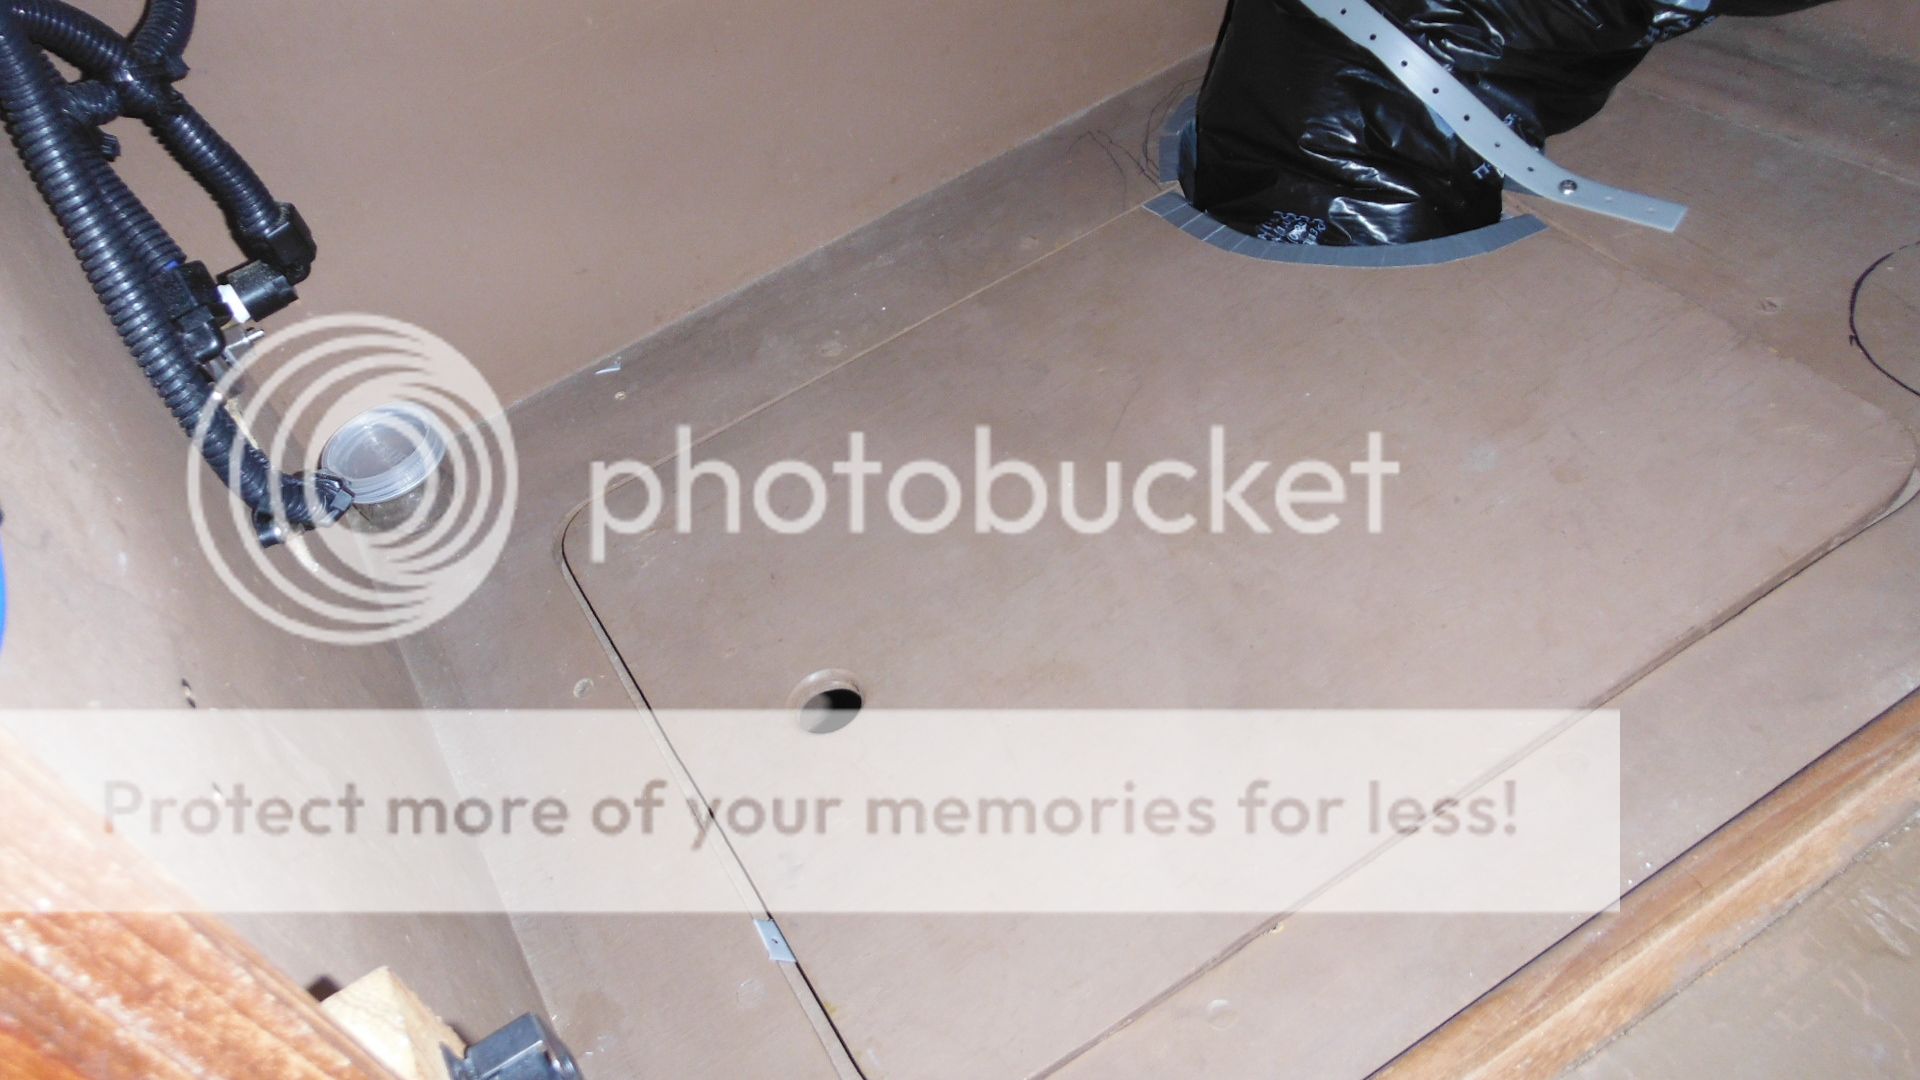
This branches off to a 4 inch duct and also keeps going with a 6 inch duct to the galley.

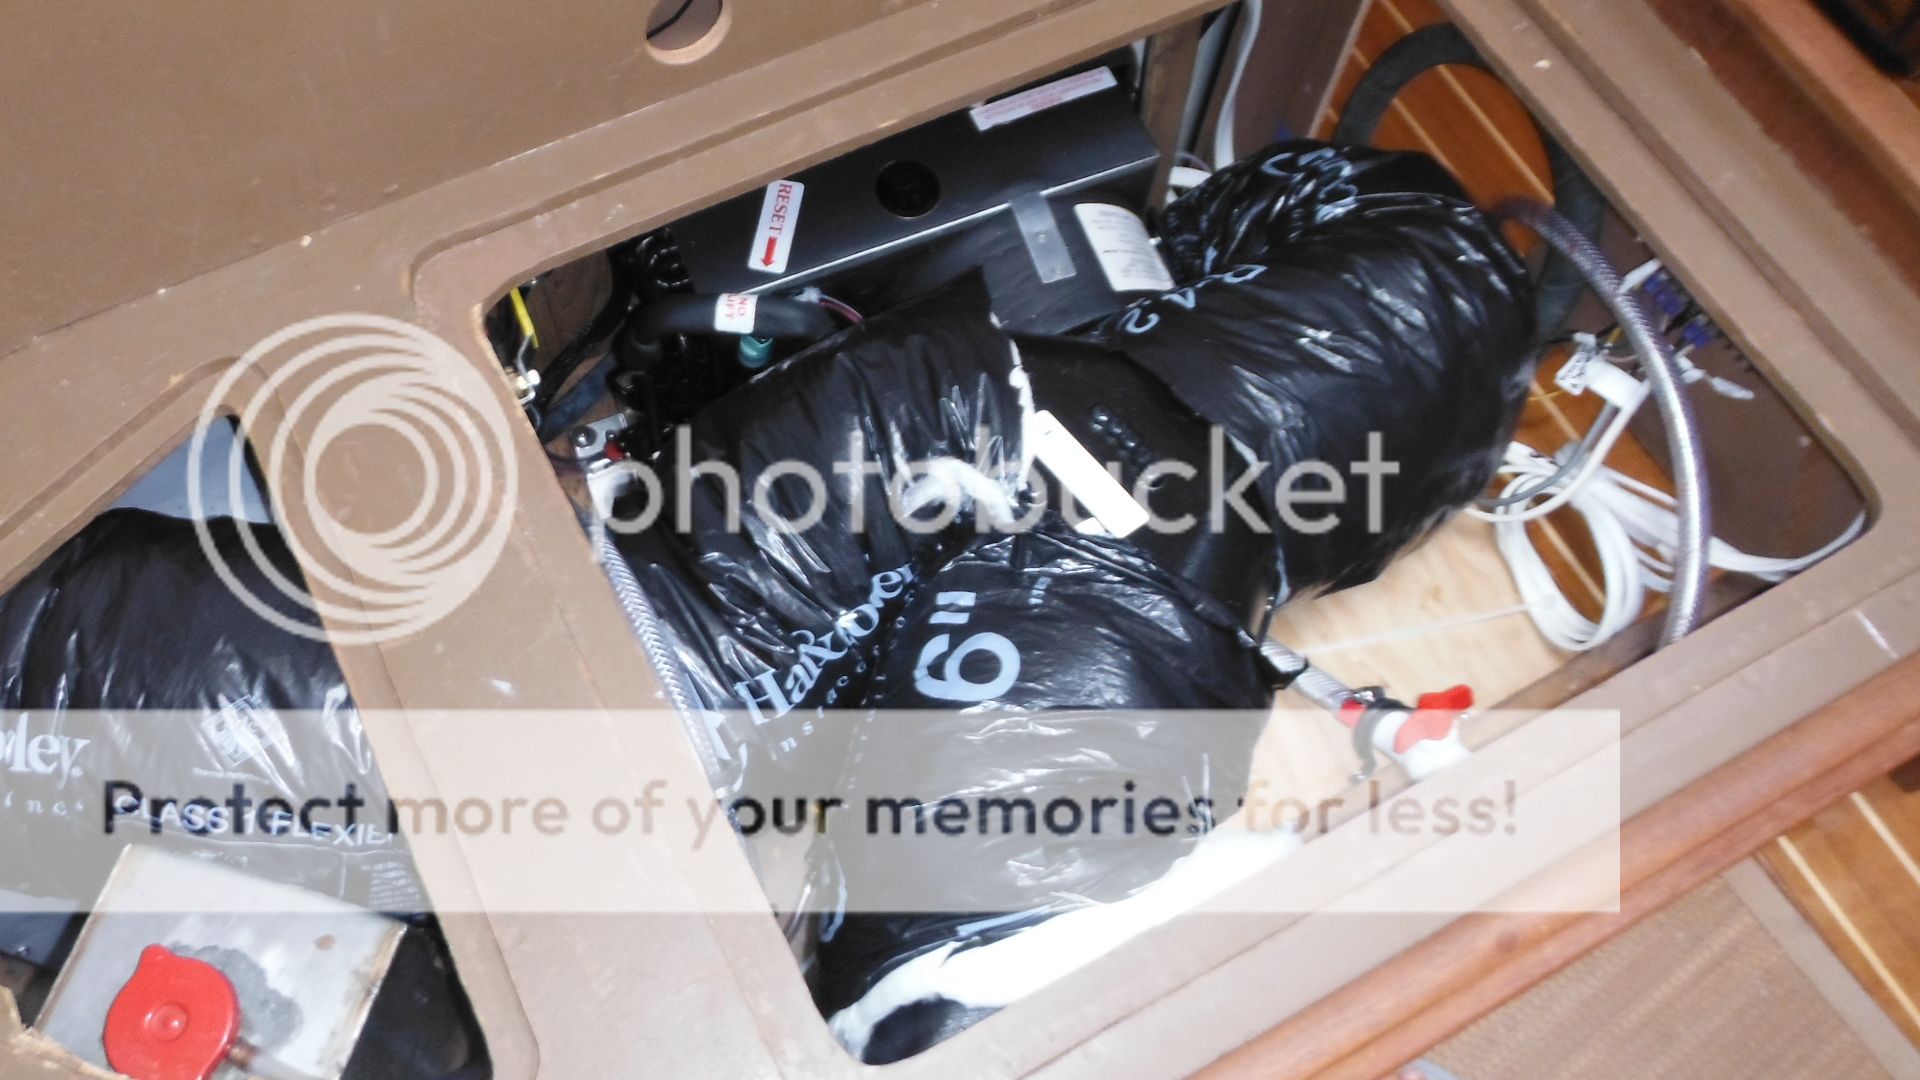
No room to work. This "Y" sits right on top of the hot water heater and just gets by to the back side.
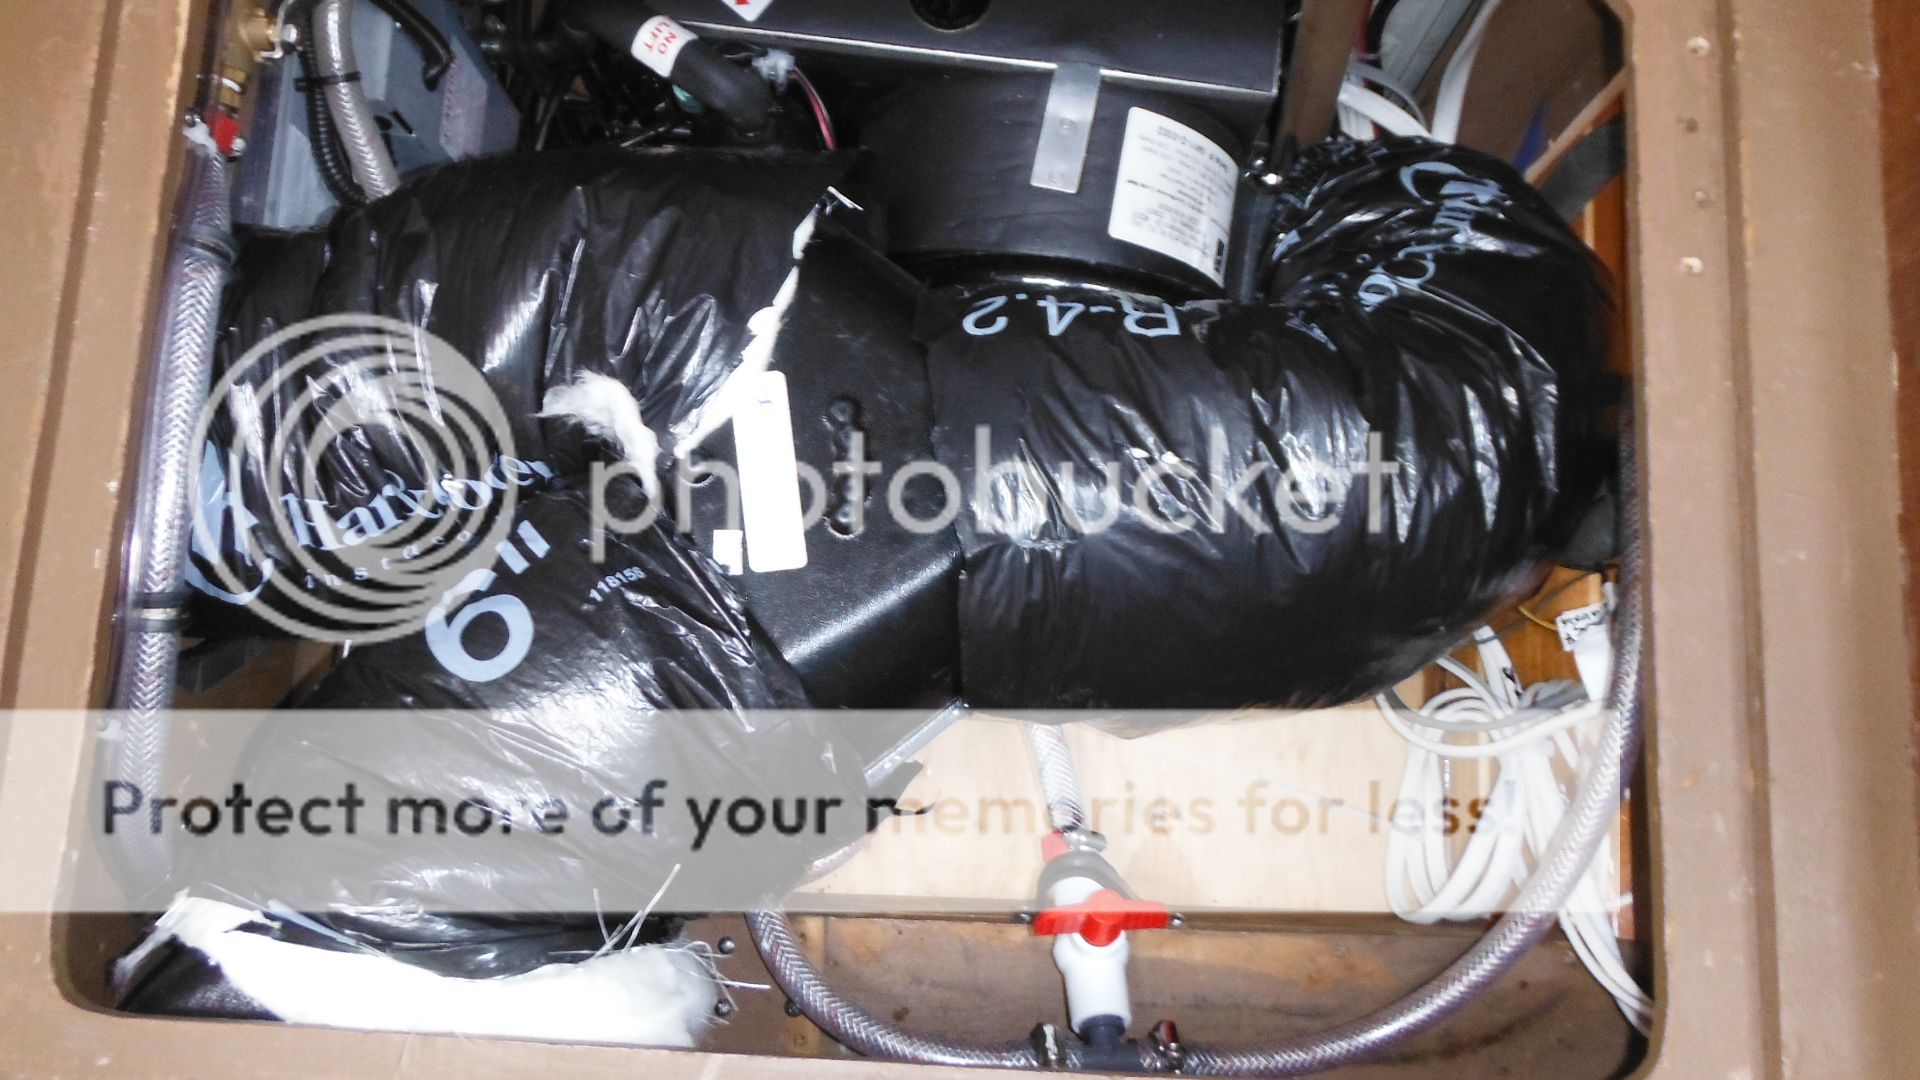
This is all six inch ducting here.
This is with this “Y” over the Mermaid Marine Air HVAC unit and is only temporally
attached because we want to test everything out first. If there is a problem we
want to be able to get at the problem easily.

Finished all the wiring
Finished all the wiring but we will need to come back to
this. We ran out of butt connectors so we used # 8 screw connectors and put a nut
and screw in them to connect the wires up. No one in the anchorage or at La Cruz had any # 10 yellow marine butt connectors.
Ahhh what a pleasure to actually finish this major project off.
We will be going to La Cruz Marina for a couple days so we
can get some shore power to test this installation out. We also want to remove
the prop from the Honda 9.9 outboard and that will give us a good opportunity
to it without bouncing around in the anchorage or on the beach where we would
need to get it back on so we could navigate the surf.
No pressure at the
marina.
We could run the Mermaid Marine Air HVAC
off the Honda EU 2000i generator but we are not sure it would be a true test.
Now for the vessel sink in the head project. Did I say that!
No comments:
Post a Comment